- Joined
- Nov 26, 2005
- Messages
- 5,240
- Reaction score
- 10,995
Hi Folks,
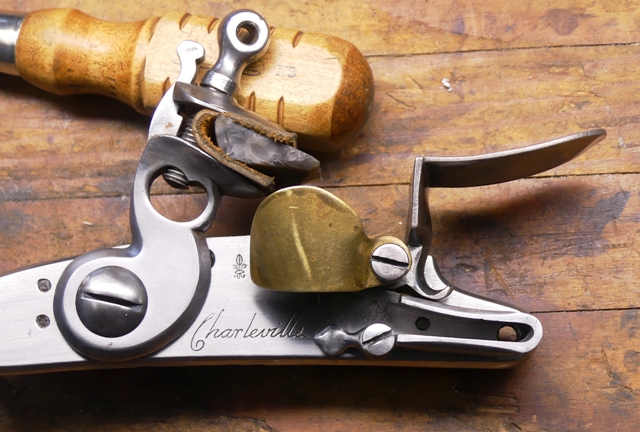
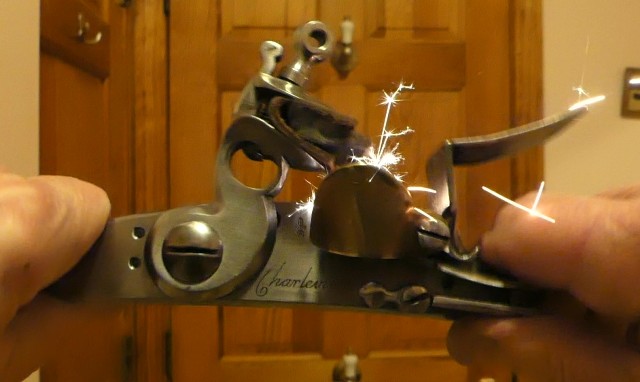
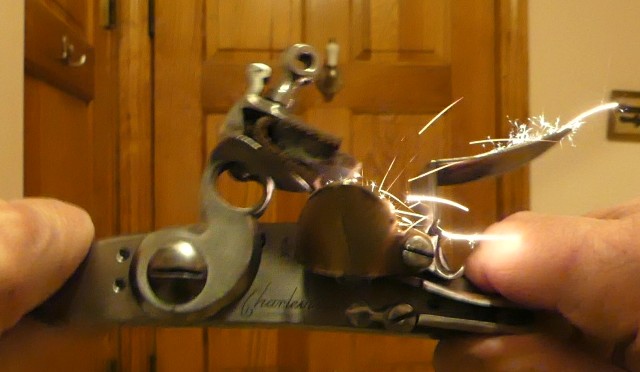
A few weeks ago, a friend and client, for whom I've made several muskets, brought me his Miroku model 1766 Charleville musket. It is the best commercial reproduction of any Rev War period musket ever made. The frizzen did not open completely upon firing. This was the classic example. Watching it fire, you would swear the frizzen did not open all the way. However, the flint was the right size, the mainspring strong and the feather spring (frizzen spring) was not very strong. So, I held a bit of paper on the top of the feather spring where the curl of the toe of the frizzen hits it and fired the lock. There was a dimple on the paper indicating the frizzen opened fully but rebounded. Everyone watching was surprised because they could swear the frizzen did not open. I told all of them that you cannot see rebound. Don't kid yourself thinking you can.
The feather spring was too weak and needed work. So I took the lock home to fix it. Unfortunately, when I polished up the spring before working on it, I found it had a network of cracks. At first I thought they were shallow and tried to polish them off but some were deep. That might explain why a well functioning lock suddenly stopped working right. So, I decided to forge a replacement. I have some great 1075 steel from Bob Roller and used it to create a new spring. Here is how I did it.
First, I needed to measure the length of the steel required. I placed tape on the original to measure the length.
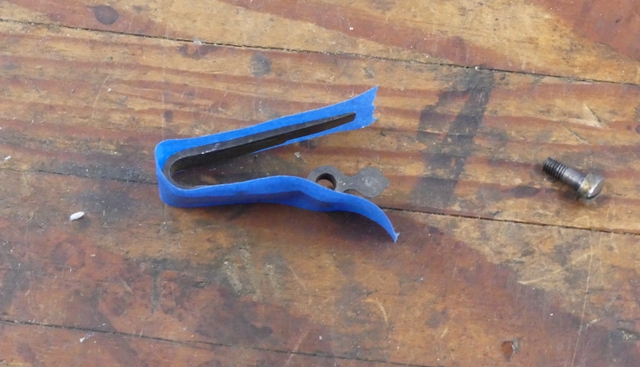
I used a piece of 1075 spring steel that Bob Roller sent me and used tape to establish the important points such as where the pin is located and where the finial for the screw is located.
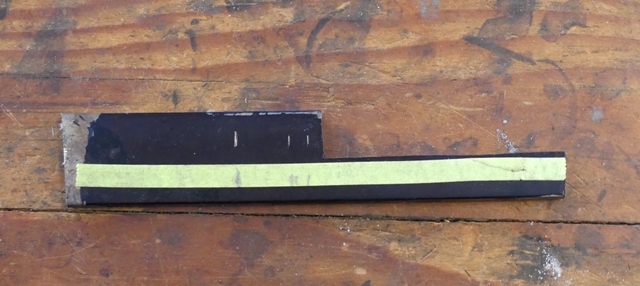
Using the tape as a guide, I cut the steel and created the template. The template had sufficient excess steel to form the peg but also a wider section to form the finial and boss for the screw.
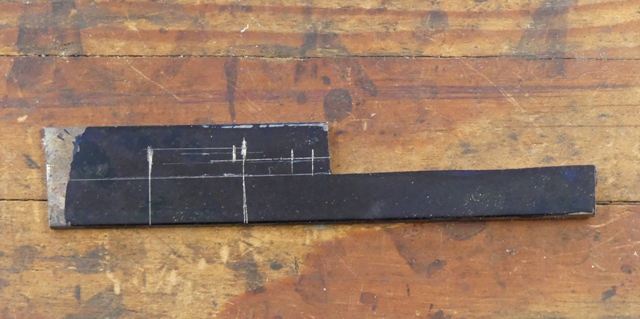
I cut out the spring blank with a hacksaw and filed away excess areas. I also cut part way through the blank to create the neck for the finial.
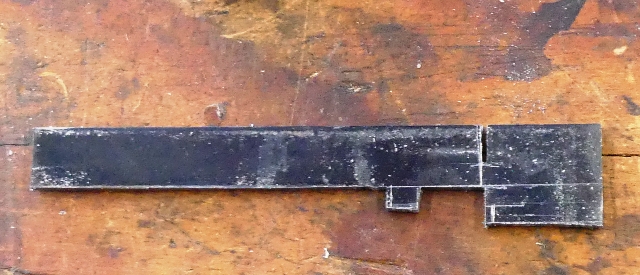
Next I heat the neck red hot and twist it perpendicular to the spring and file off any excess created by the twisting.
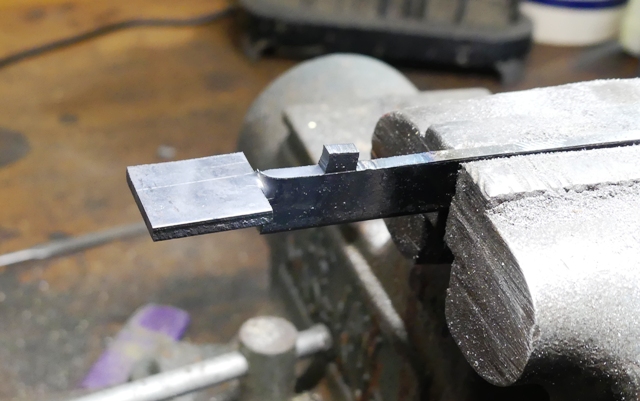
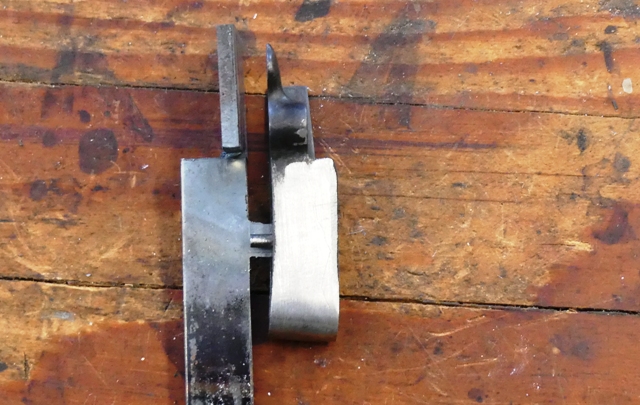
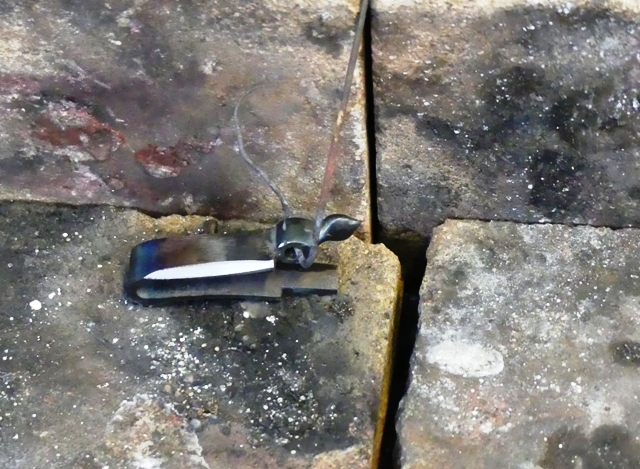
Now I have a base for the finial. Time to weld on steel "blobbies". I have a simple oxy/acetylene torch and use mild steel rod.
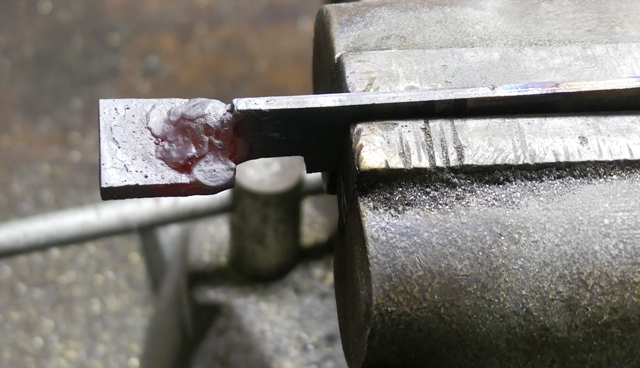
I shape the blobby to form the finial and boss for the screw. Small files are handy.
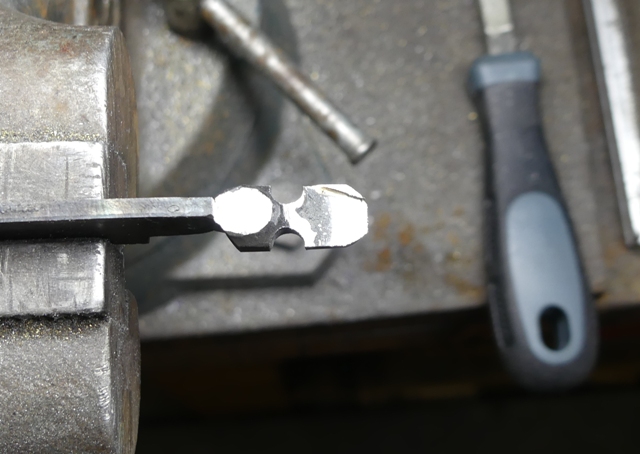
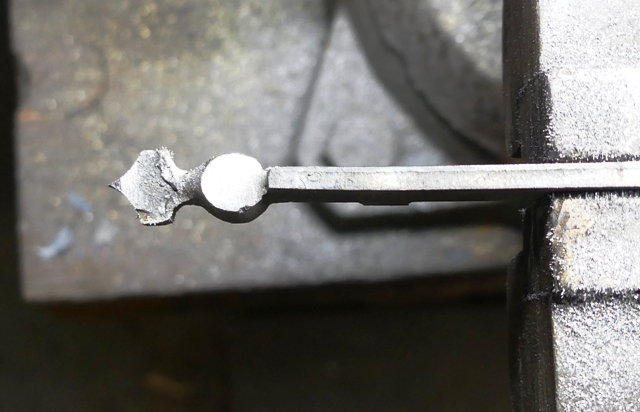
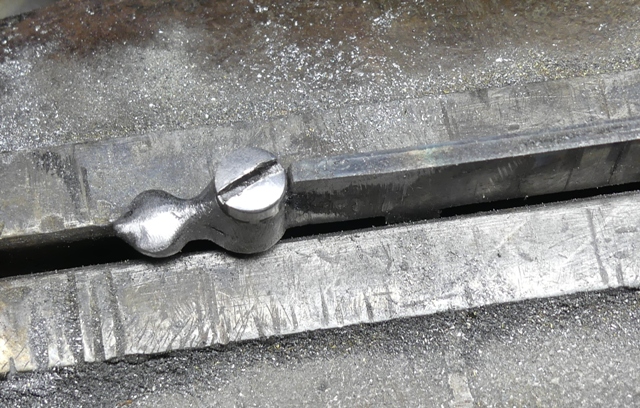
Next I shape the pin after determining its exact location. I left a lot of excess steel on the blank so I could adjust its location to match the lock plate.
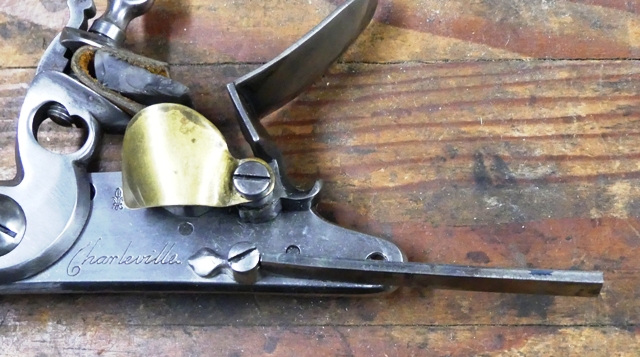
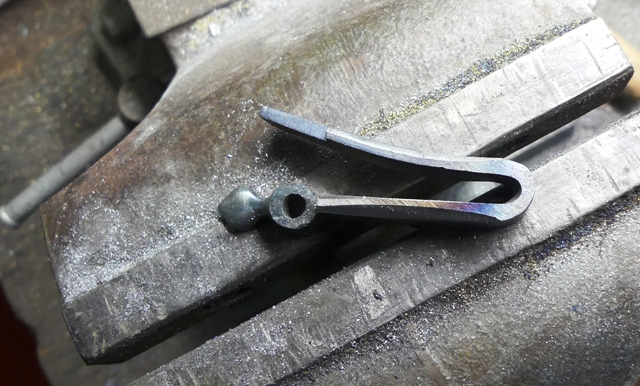
Using my belt sander and files, I tapered the spring so it narrows toward its end and then I cleaned up both sides of the spring with files and sand paper. It is easier to do this before bending the spring.
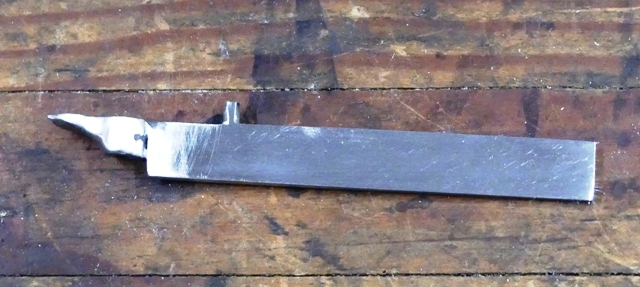
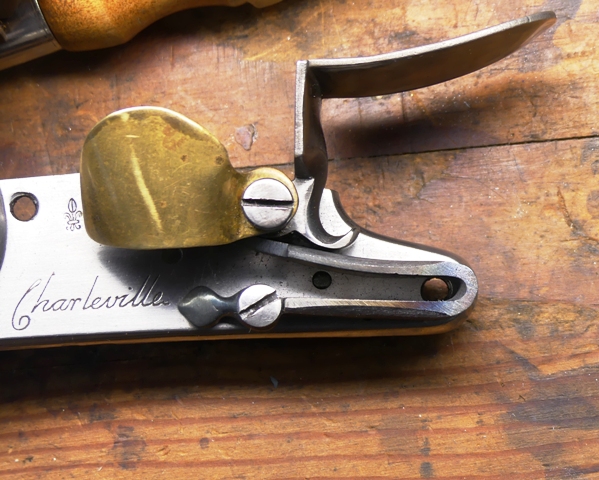
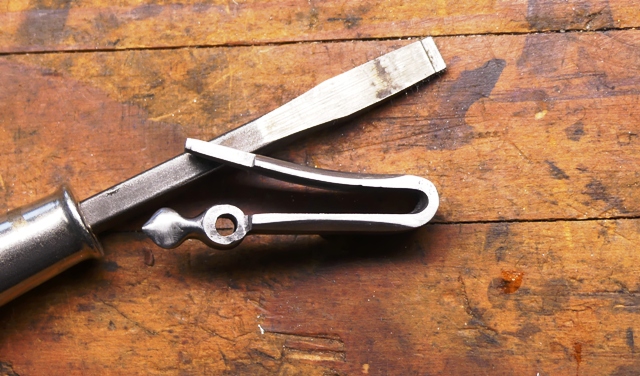
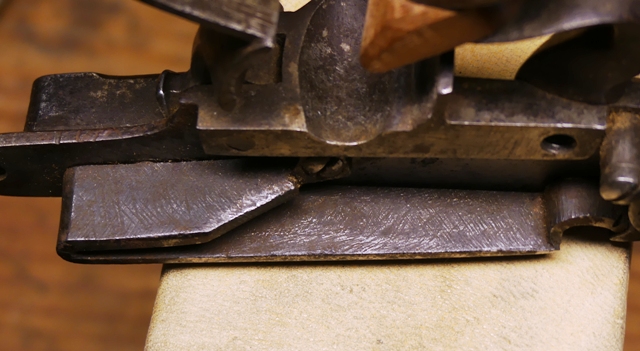
I don't obsess about getting out all scratches. There is a persistent notion that you cannot have any nicks or transverse scratches because the spring will break as if it is a pane of glass. That is nonsense. Here is a spring used for 250 years. Note all the file marks.
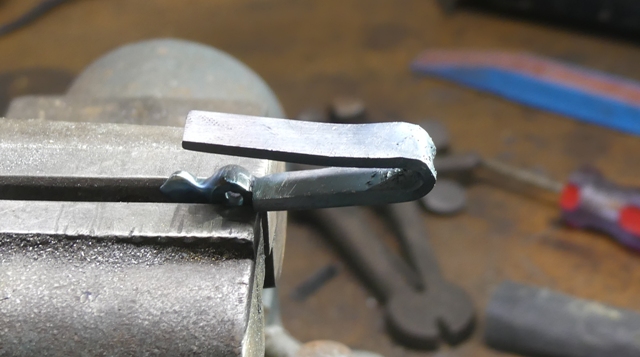
Tomorrow, I bend, final shape, heat treat, and polish the spring.
dave
A few weeks ago, a friend and client, for whom I've made several muskets, brought me his Miroku model 1766 Charleville musket. It is the best commercial reproduction of any Rev War period musket ever made. The frizzen did not open completely upon firing. This was the classic example. Watching it fire, you would swear the frizzen did not open all the way. However, the flint was the right size, the mainspring strong and the feather spring (frizzen spring) was not very strong. So, I held a bit of paper on the top of the feather spring where the curl of the toe of the frizzen hits it and fired the lock. There was a dimple on the paper indicating the frizzen opened fully but rebounded. Everyone watching was surprised because they could swear the frizzen did not open. I told all of them that you cannot see rebound. Don't kid yourself thinking you can.
The feather spring was too weak and needed work. So I took the lock home to fix it. Unfortunately, when I polished up the spring before working on it, I found it had a network of cracks. At first I thought they were shallow and tried to polish them off but some were deep. That might explain why a well functioning lock suddenly stopped working right. So, I decided to forge a replacement. I have some great 1075 steel from Bob Roller and used it to create a new spring. Here is how I did it.
First, I needed to measure the length of the steel required. I placed tape on the original to measure the length.

I used a piece of 1075 spring steel that Bob Roller sent me and used tape to establish the important points such as where the pin is located and where the finial for the screw is located.

Using the tape as a guide, I cut the steel and created the template. The template had sufficient excess steel to form the peg but also a wider section to form the finial and boss for the screw.

I cut out the spring blank with a hacksaw and filed away excess areas. I also cut part way through the blank to create the neck for the finial.

Next I heat the neck red hot and twist it perpendicular to the spring and file off any excess created by the twisting.


Now I have a base for the finial. Time to weld on steel "blobbies". I have a simple oxy/acetylene torch and use mild steel rod.

I shape the blobby to form the finial and boss for the screw. Small files are handy.


Next I shape the pin after determining its exact location. I left a lot of excess steel on the blank so I could adjust its location to match the lock plate.

Using my belt sander and files, I tapered the spring so it narrows toward its end and then I cleaned up both sides of the spring with files and sand paper. It is easier to do this before bending the spring.

I don't obsess about getting out all scratches. There is a persistent notion that you cannot have any nicks or transverse scratches because the spring will break as if it is a pane of glass. That is nonsense. Here is a spring used for 250 years. Note all the file marks.

Tomorrow, I bend, final shape, heat treat, and polish the spring.
dave


