Another .36 cal Rifle from a Plank

Muzzleloading Forum

Help Support Muzzleloading Forum:

This site may earn a commission from merchant affiliate links, including eBay, Amazon, and others.
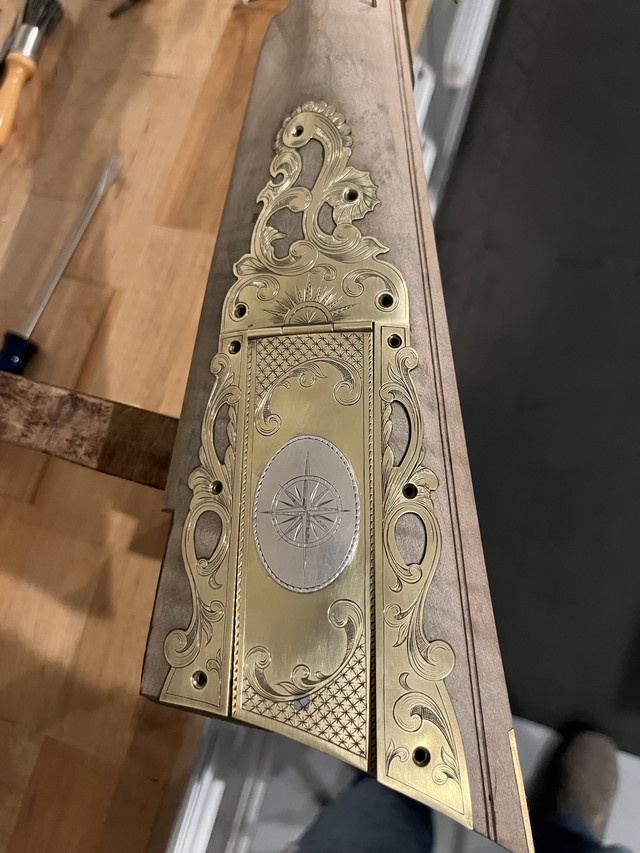
Made a decision to duplicate a patchbox I did on another rifle in 2012 and gave away. I don't have one like it and I like the asymmetric design. Here is the layout.....
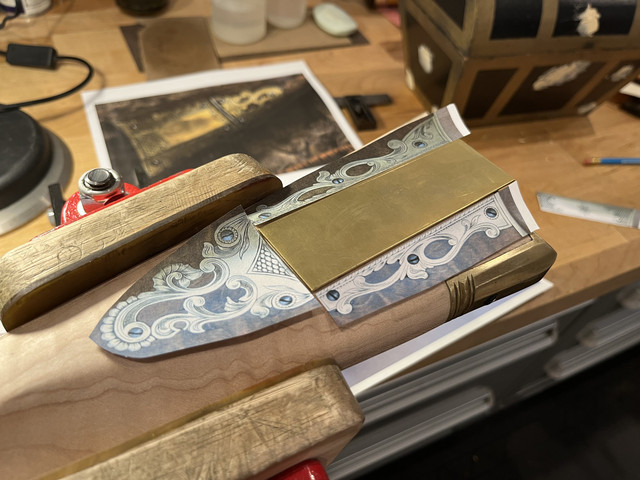


The door in 0.050" material. The side pieces are cut out of .032" brass.....
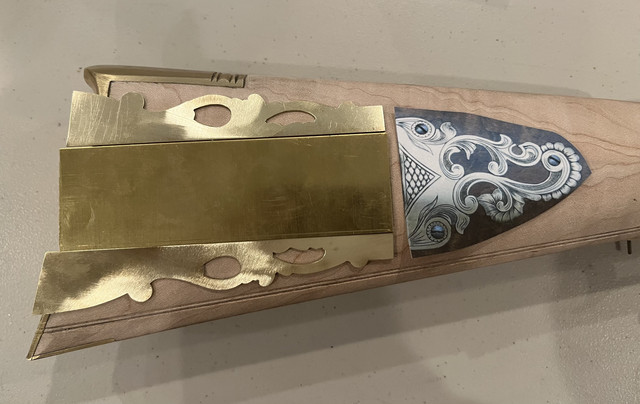


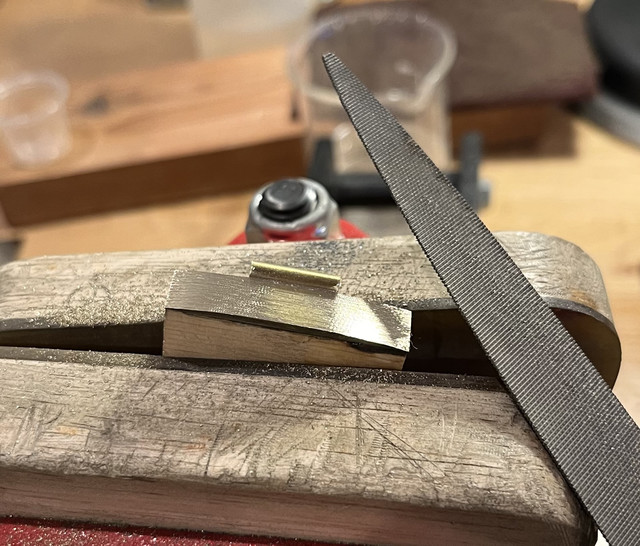
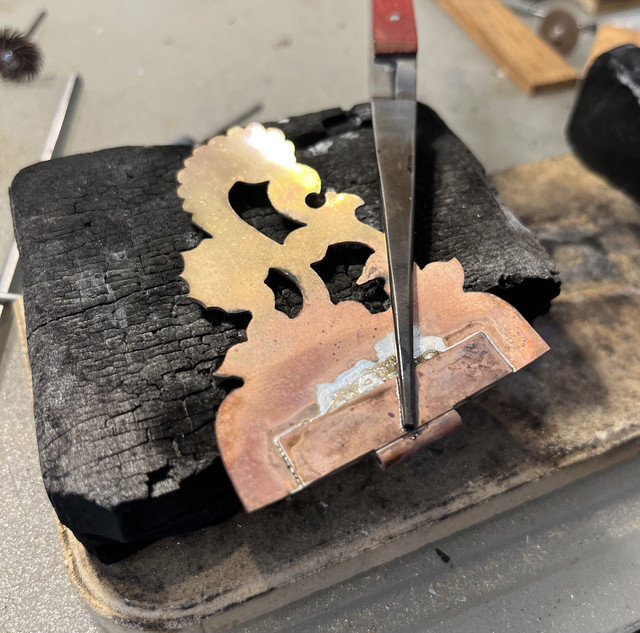
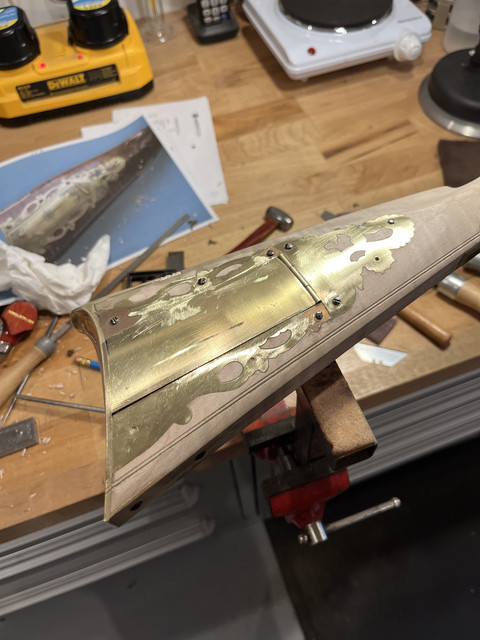
Then I contoured the door to the curvature of the stock and prepared one side of the hinge I made earlier for silver soldering to the door.....
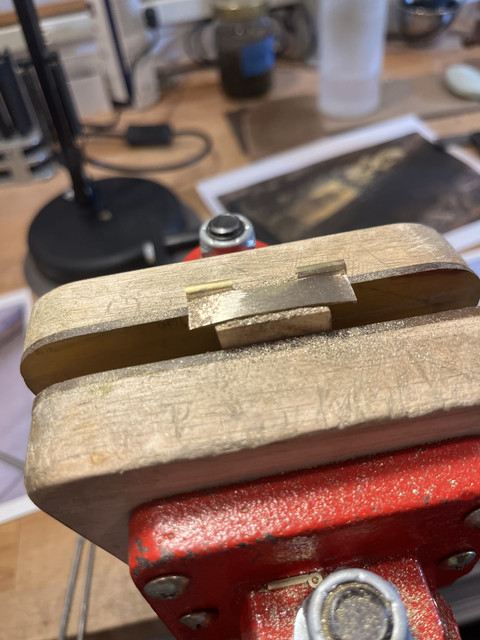
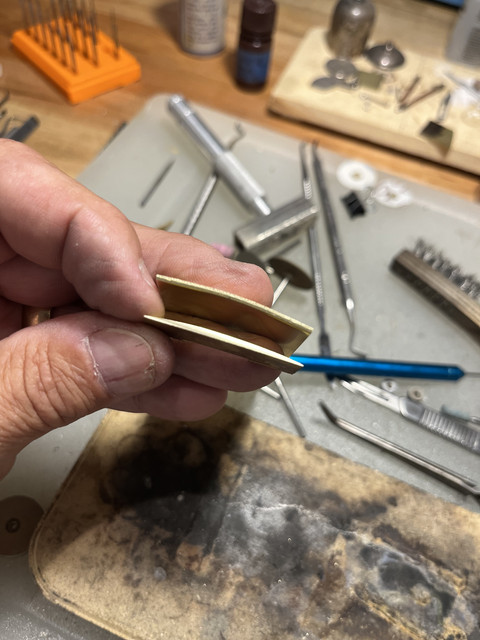
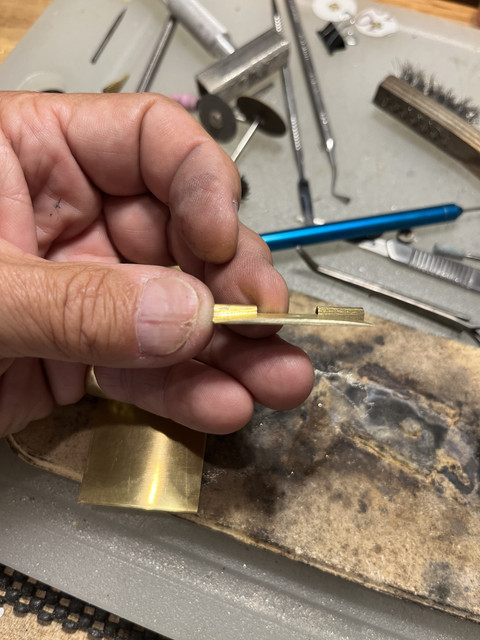
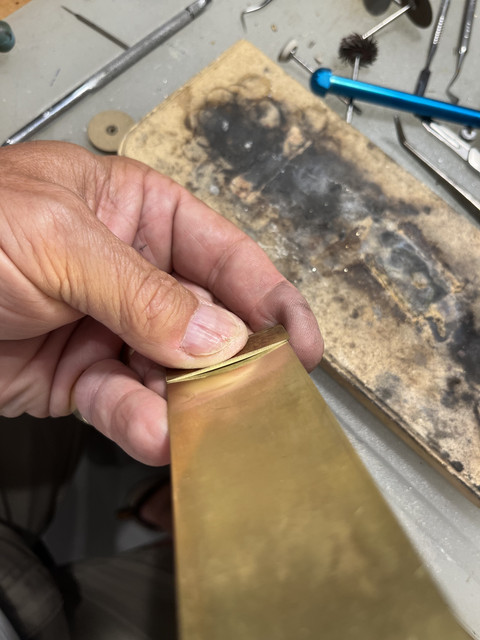
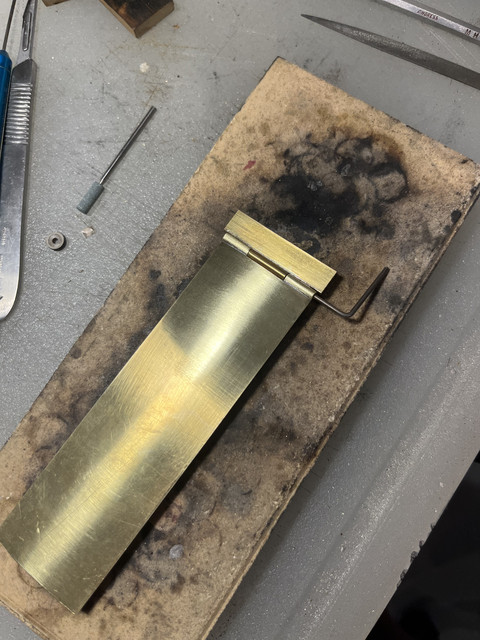
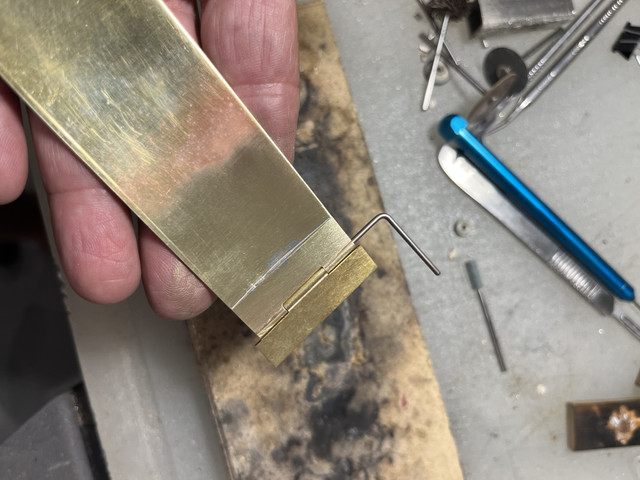


I ran out of the appropriate thickness of brass sheet to make the top of the box. Material is on order. Once that is cut out and contoured, I will attach the opposite side of the hinge in the same way.
 
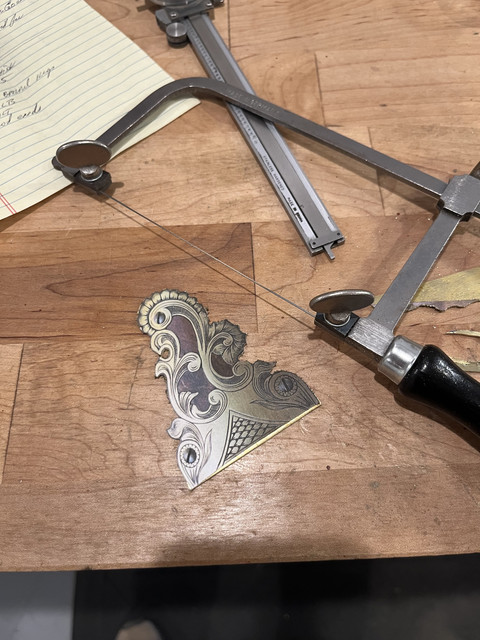
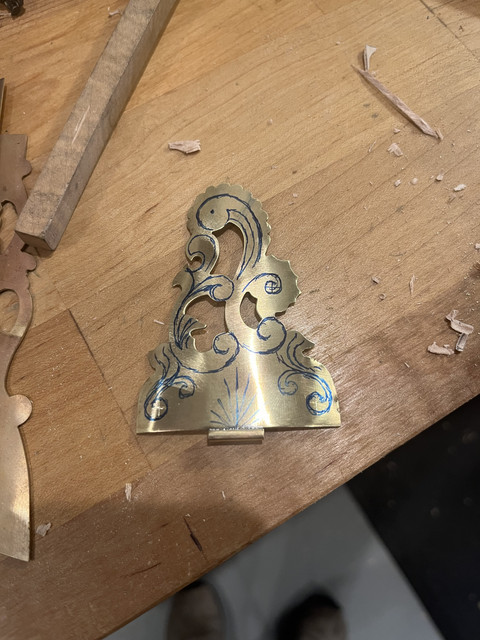
was gone for a month and more. Today I had a chance to print out a copy of a patchbox I did on another rifle (in 2012 or 2014), scaled it to size, printed it, and glued the print on the sheet brass. Got it cut out with a jeweler's saw and mostly cleaned up with needle files. Needs a little more work before I contour it to the stock and start the inletting.


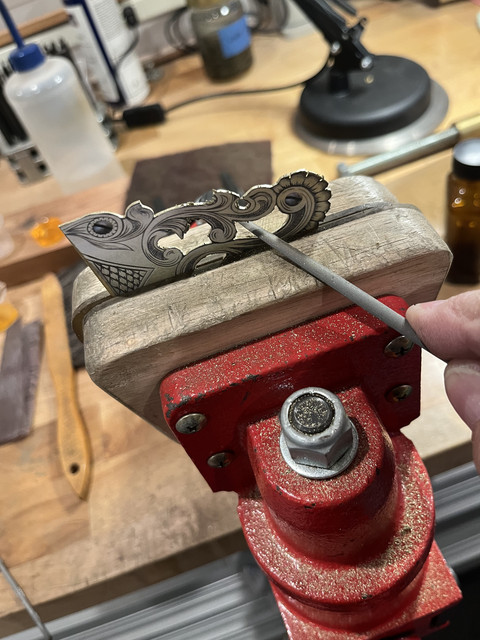
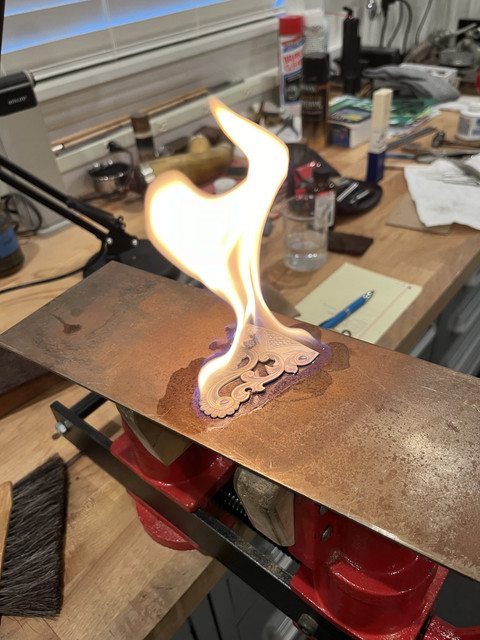
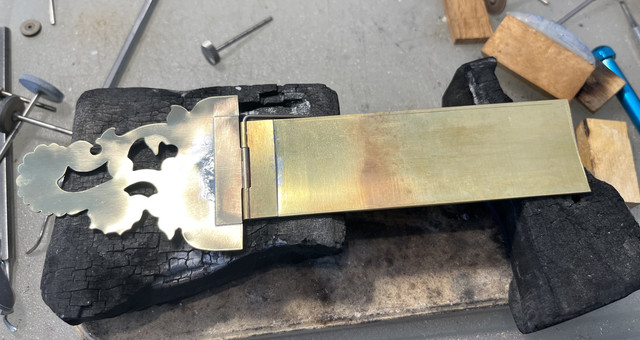
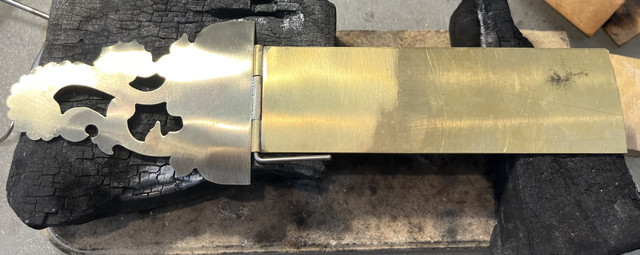
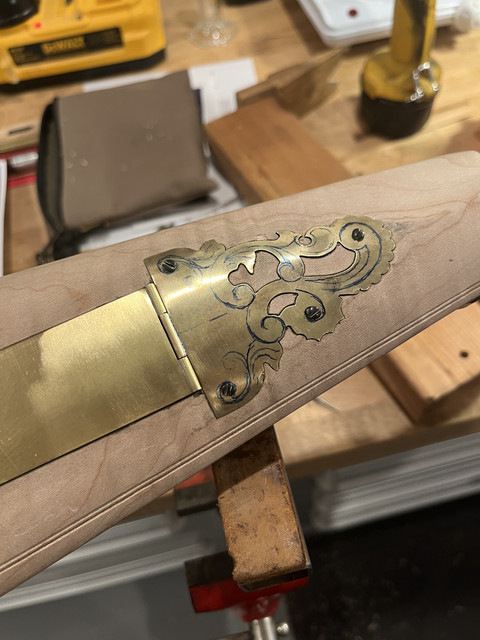
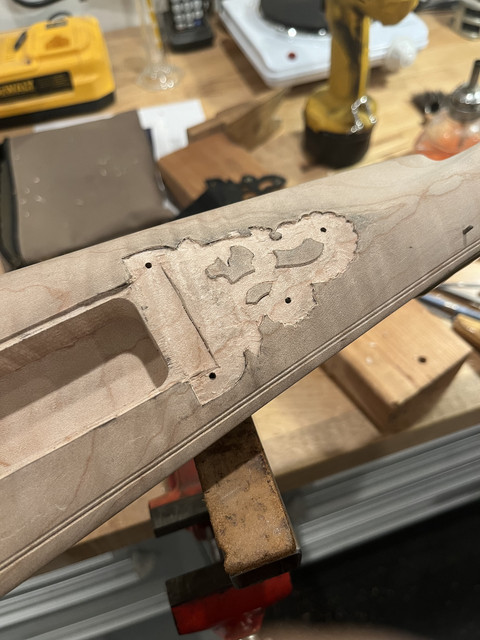
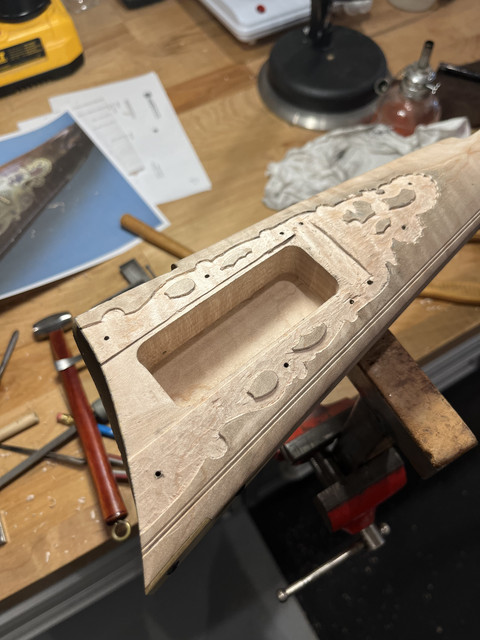
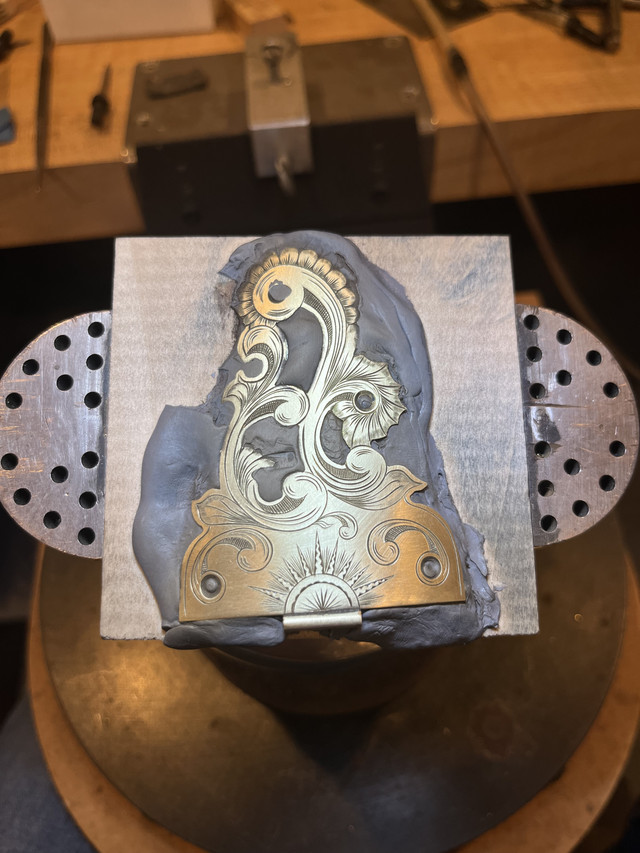
Finished the assembly of the door / hinge / finial of the patch box. Finished shaping the finial after cutting it out. Then burnt off the pattern and annealed the brass. By hand bending and the use of a small rubber hammer, I contoured the finial roughly to the stock shape. Filed the second half of the hinge to fit the curve of the finial plate and then hard soldered the hinge half in place. With all the parts made, I can start the inletting of the box......always fun !


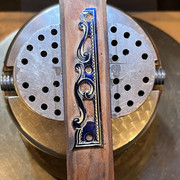
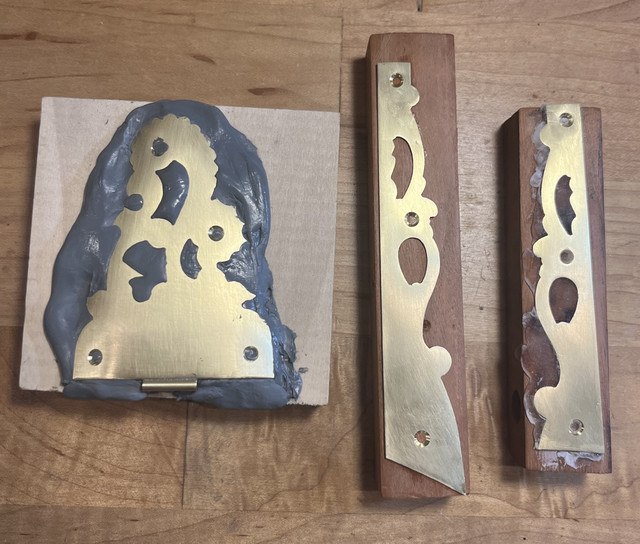
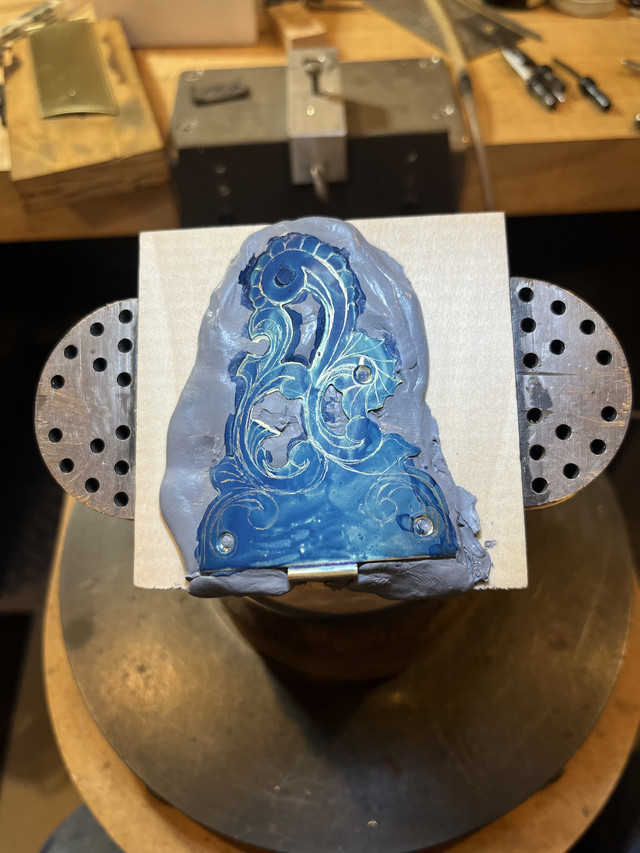
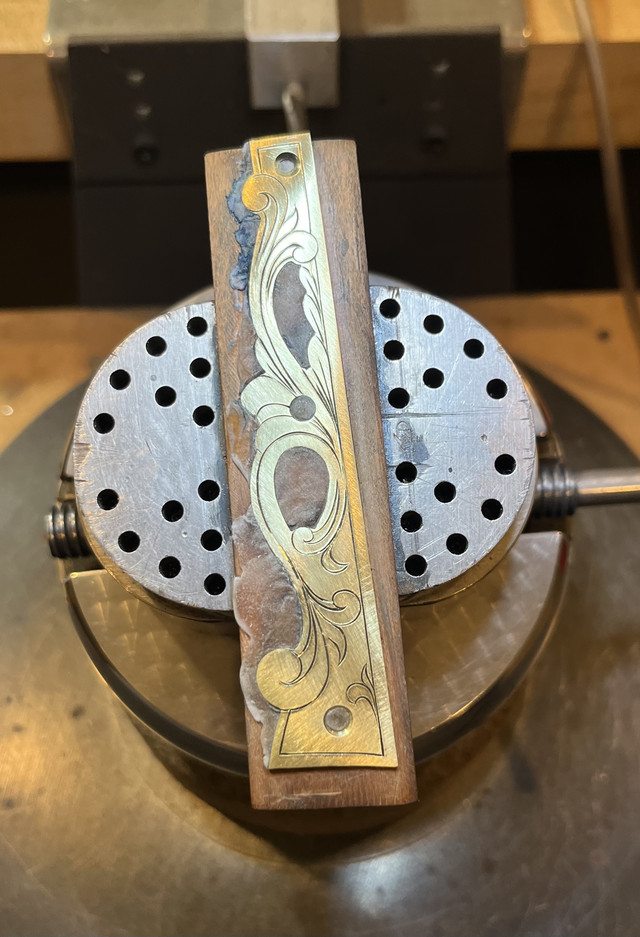
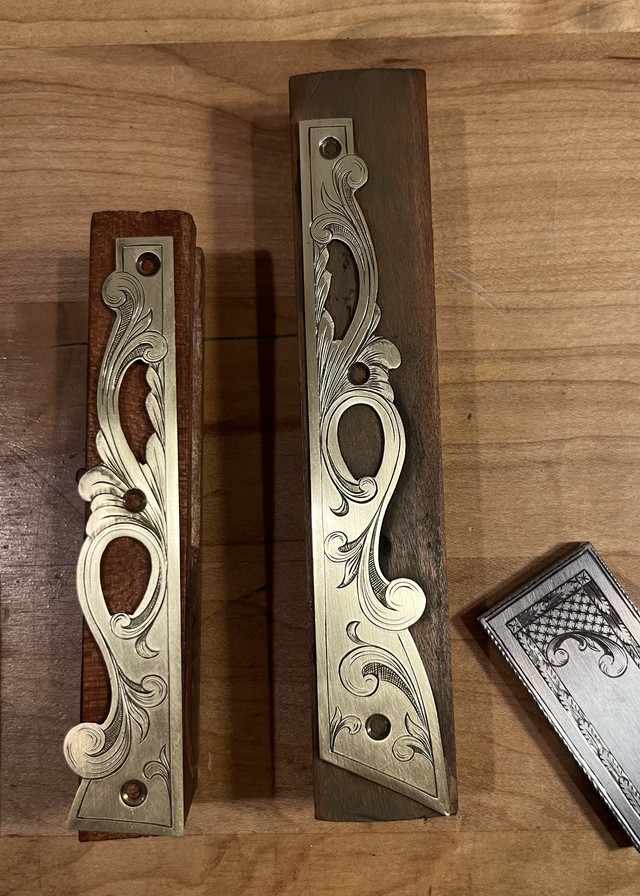
I always engrave the box off the gun.....along with anything else I can. The thin brass parts will need to be well supported to keep from deforming them so I usually attach them to wood blocks with "cold cure" dental acrylic or just super glue them to well fitted hardwood blocks. Either will release quickly with a little heat. These photos are of a patch box for a scaled down longrifle I did for my 5 year old grandson......( https://www.muzzleloadingforum.com/threads/a-tale-of-two-little-rifles.145222/ )


Patch box parts fitted and then removed from the stock for mounting and engraving.....


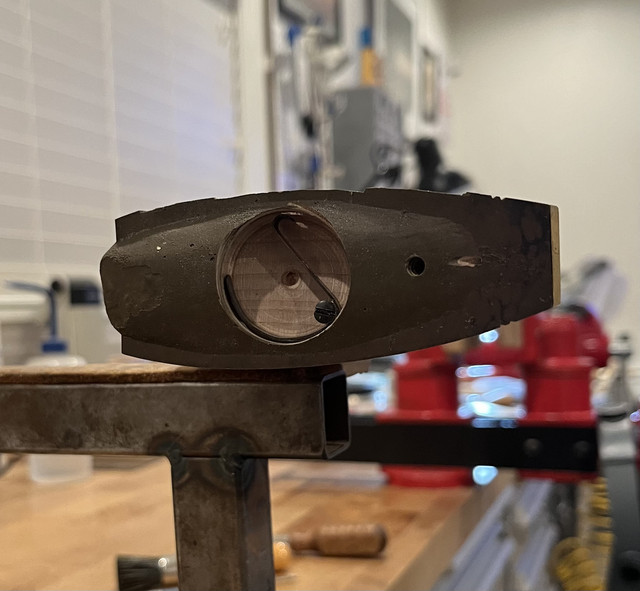
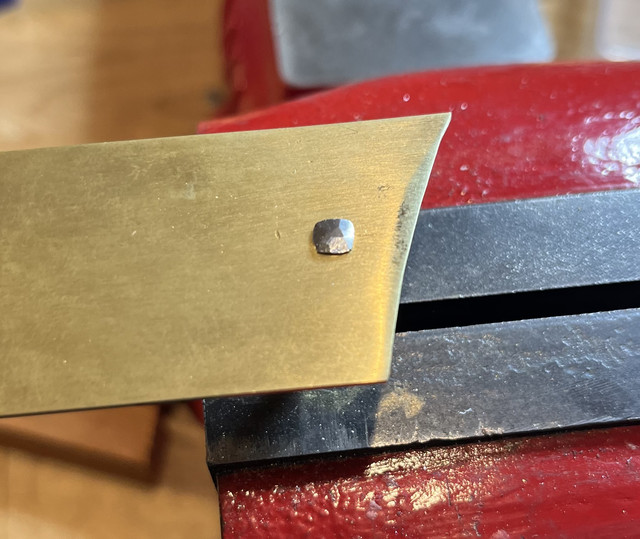
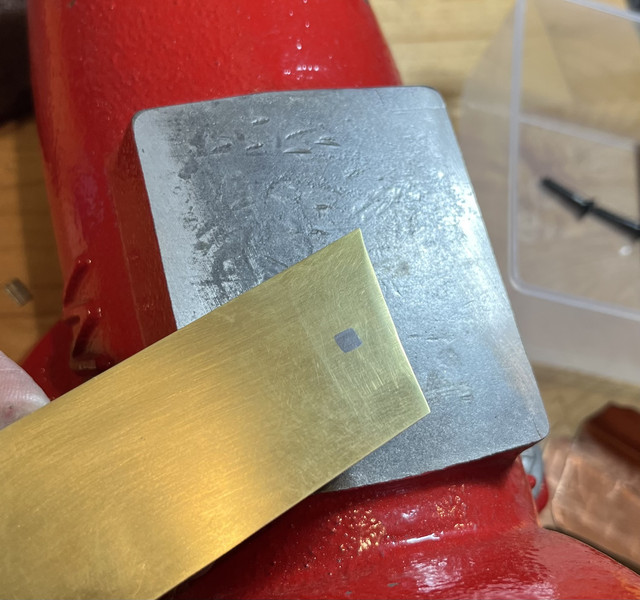
Also installed the patch box closure spring in the stock and mounted the closure stud on the door lid. Cut a square hole in the lid, filed a square shank end on the stud, and then peened the stud into the hole. Also silver soldered the stud on the underside of the door.....


Back to engraving.....did the layout dye thing and then sketched the general outlines (very lightly) with a scribe point.....Started in on the side plates. Not done with all the details yet but have the general outlines and some shading done. Will get the finial and door to the same place and then go back for the finishing touches.


Cut a square hole in the
Can you please go over how? I have an unmentionable project I need to do similar on....
then peened the stud into the hole
Does this negate any need for the square hole to be a perfect size? Essentially fitting the stud to the hole instead of creating a square hole for a specific size stud?
I need a square hole to fit over an existing part, ideally not all the way through, but I can work around this if I have to.
 
Can you please go over how? I have an unmentionable project I need to do similar on....

Does this negate any need for the square hole to be a perfect size? Essentially fitting the stud to the hole instead of creating a square hole for a specific size stud?
I need a square hole to fit over an existing part, ideally not all the way through, but I can work around this if I have to.
Brokennock,

I neglected to take pictures but my usual method is to first file the square shaft end to size. Then I drill a hole in what will be the female side just a bit smaller than the minimum dimension on the square shaft. Then as closely as possible, I file the round hole square with a needle file test fitting all along the process. When the hole size is very close I usually tap the square shaft into place insuring a really good fit. Then after removing the square shaft, I use the same needle file to slightly bevel the outboard edges of the square hole. The shaft is then replaced in the hole, held tightly in a vise, and the protruding end of the square shaft is then peened into place and finished off flush with a file. The tighter the fit the better this all works, so a loose fitting square / hole will usually be unsatisfactory. Peening will not really make up for a poor fit....it can be made to work but will probably wiggle.

It sounds like you need (or would prefer) a blind square hole. Much harder to do. Depending on the size, there are various methods of producing the correct size blind square hole. The easiest and best would probably involve either EDMing the hole entirely or blind drilling a slightly undersized round hole and then making and using a hardened square punch to make the round hole square. (This last method is often used to produce the female hexagonal drive hole in the head of hex bolts.)

Hope this helps.
 
In Japan, they sometimes recognize and bestow upon an exceptionally gifted person, the status of a “National Treasure”.
I would never surprise me in the least- if we had this tradition in the US- if such a regognition was given you.
Pathfinder,

Thank you for the very kind (but undeserved) compliment. I'm learning (slowly) but there are many, many builders / engravers working out there that are much more worthy of the "National Treasure" status. I just like to try as best I can to emulate their work. :)
 
Unbelievable! What a beautiful job! Is this the first time you’re doing this? Lol
I’m kidding. Simply amazing. Great great job.
 
Brokennock,

I neglected to take pictures but my usual method is to first file the square shaft end to size. Then I drill a hole in what will be the female side just a bit smaller than the minimum dimension on the square shaft. Then as closely as possible, I file the round hole square with a needle file test fitting all along the process. When the hole size is very close I usually tap the square shaft into place insuring a really good fit. Then after removing the square shaft, I use the same needle file to slightly bevel the outboard edges of the square hole. The shaft is then replaced in the hole, held tightly in a vise, and the protruding end of the square shaft is then peened into place and finished off flush with a file. The tighter the fit the better this all works, so a loose fitting square / hole will usually be unsatisfactory. Peening will not really make up for a poor fit....it can be made to work but will probably wiggle.

It sounds like you need (or would prefer) a blind square hole. Much harder to do. Depending on the size, there are various methods of producing the correct size blind square hole. The easiest and best would probably involve either EDMing the hole entirely or blind drilling a slightly undersized round hole and then making and using a hardened square punch to make the round hole square. (This last method is often used to produce the female hexagonal drive hole in the head of hex bolts.)

Hope this helps.
Thank you very much.
This is roughly what I expected, the drilling then filing the round hole square. Good to know the sizing process. I'll probably need to practice on some scrap material.
A blind square hole would be perfect, but I don't have the capability and the project isn't worth enough to spend the money to have someone wire EDM it, but I admit I hadn't thought of that.
Thank you again.
 
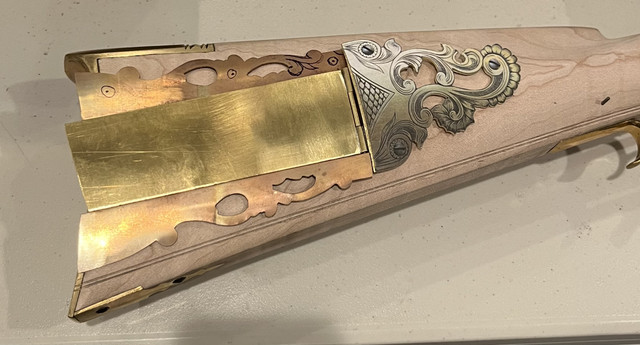
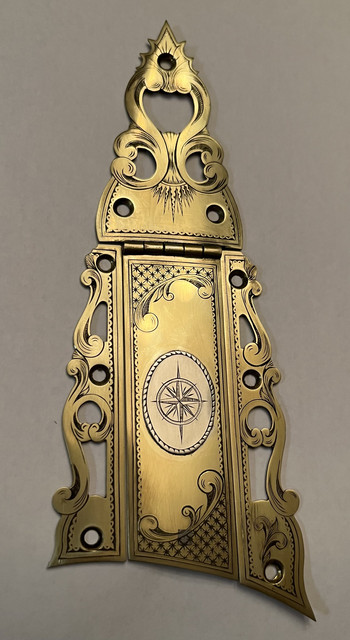
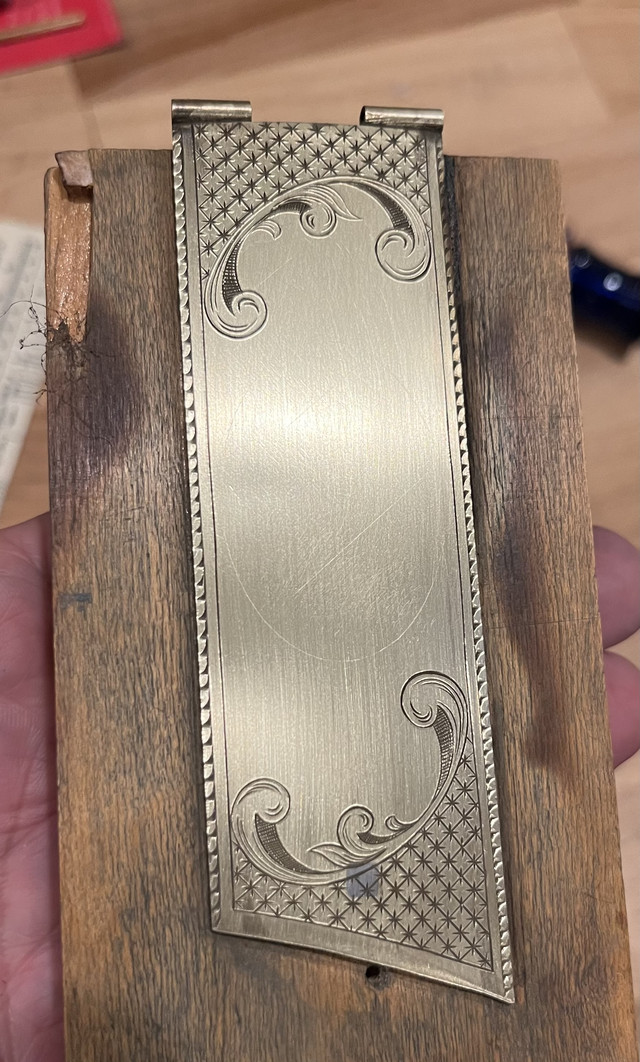
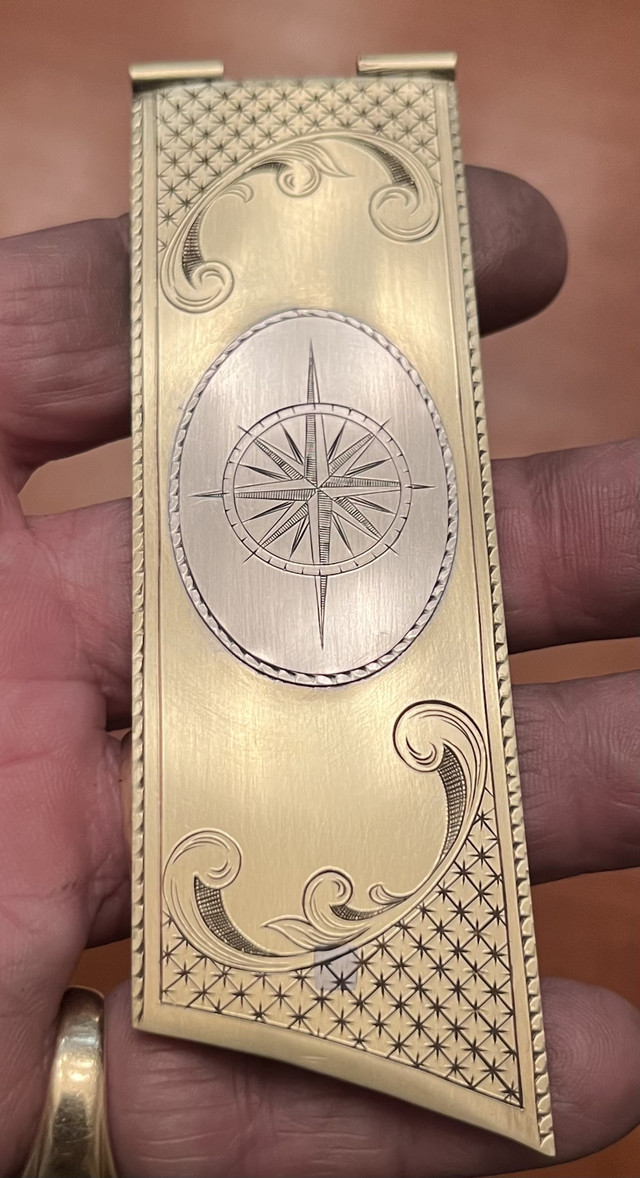
Got the bulk of the patch box engraving completed today including sweating on the sterling silver onlay. Still some details to attend to and the photo below of the whole box is just loosely placed on the stock. The final fitting still needs to be done. Need to plan out the rest of the engraving on the trigger guard, toe plate, ramrod pipes, etc., and get those done.


Latest posts

Back
Top