• Friends, our 2nd Amendment rights are always under attack and the NRA has been a constant for decades in helping fight that fight.

    We have partnered with the NRA to offer you a discount on membership and Muzzleloading Forum gets a small percentage too of each membership, so you are supporting both the NRA and us.

    Use this link to sign up please; https://membership.nra.org/recruiters/join/XR045103

All the other "stuff" to go with the little rifle...

Muzzleloading Forum

Help Support Muzzleloading Forum:

This site may earn a commission from merchant affiliate links, including eBay, Amazon, and others.
Joined
Mar 7, 2007
Messages
700
Reaction score
2,177
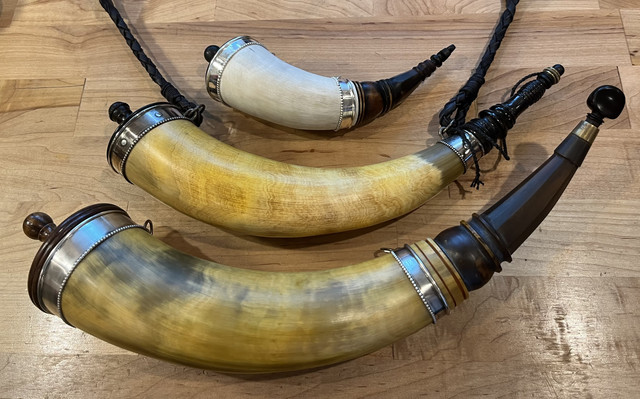
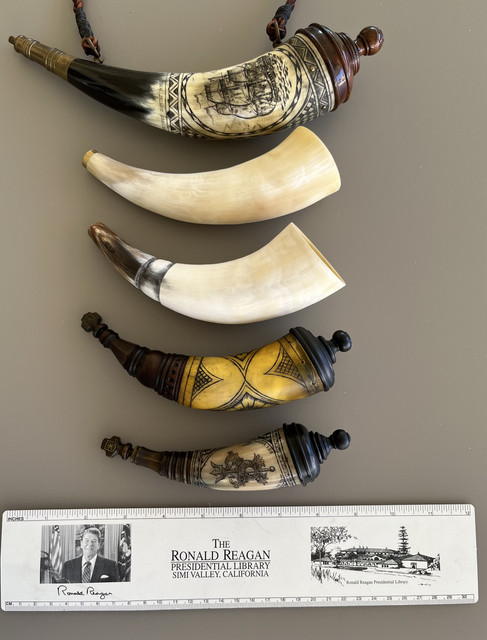
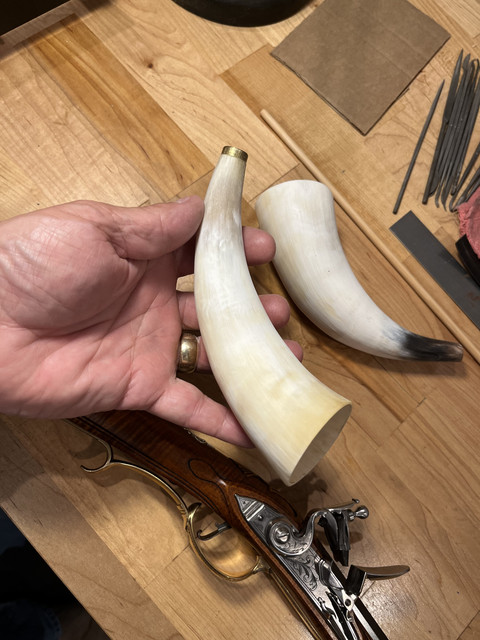
OK....so the little rifle for my grandson is finished.... A Tale of Two Little Rifles .......Now I need to make all the "stuff" that needs to go with it and a wood rifle case. Today I started with trying to decide on a powder horn that is in keeping with the scale of the rifle. I had some horns I had made previously and a couple of raw horns about the right size. Here were my options:


I decided the existing horns were not quite right so I started to look at the two raw horns and perhaps finish one of those for the rifle....
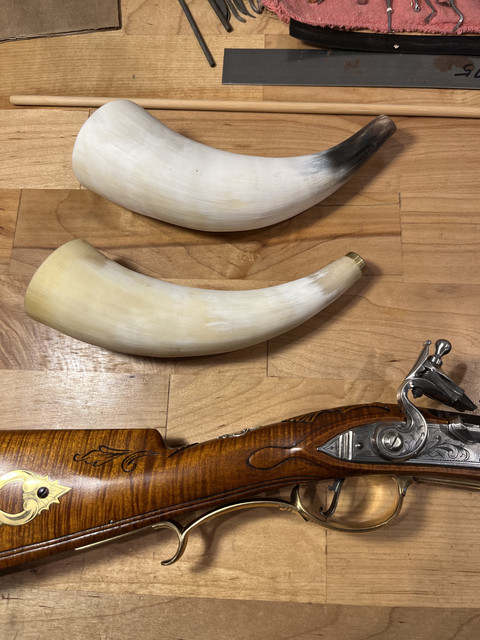


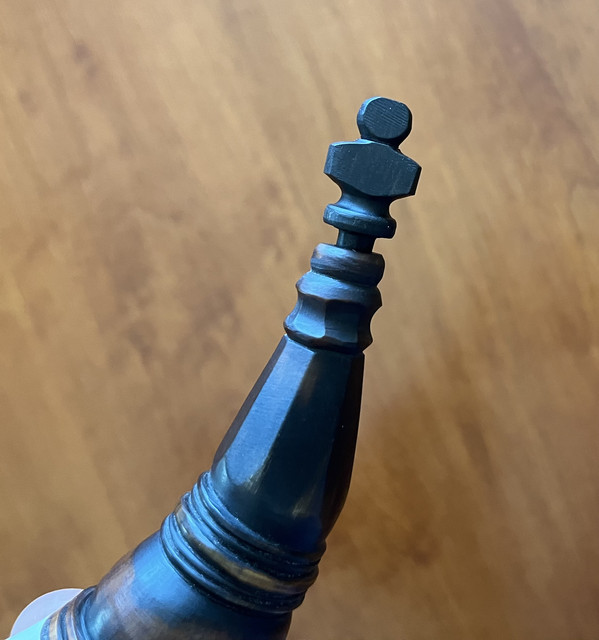
Of the two, I decided I liked the one with a little twist better and I spent an hour or so carving and staining the spout.
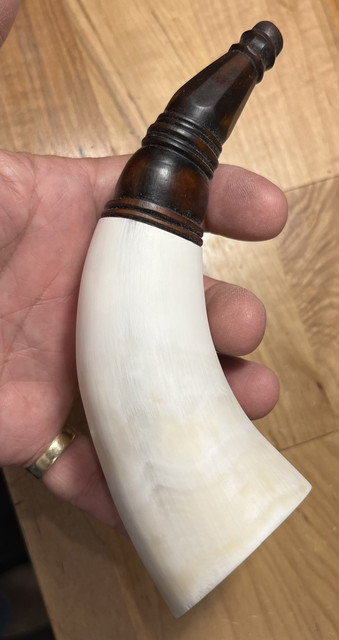
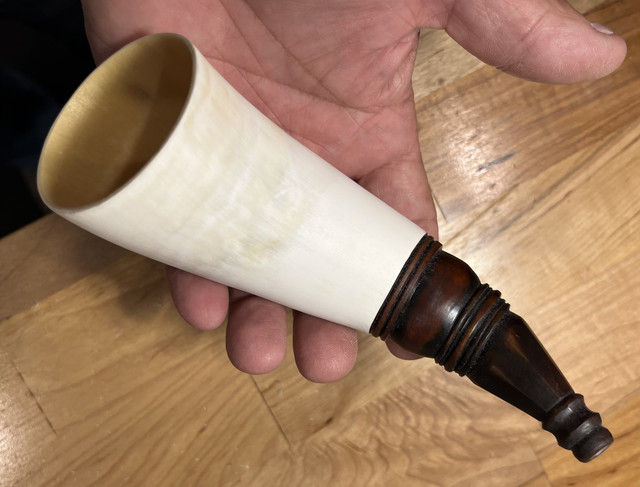


Not sure if this will be the one, but I like it so far......
 
Trying to get all the parts of the powder horn done and then decide whether to mount the horn with silver or not...and then what to engrave on the horn....so many decisions...

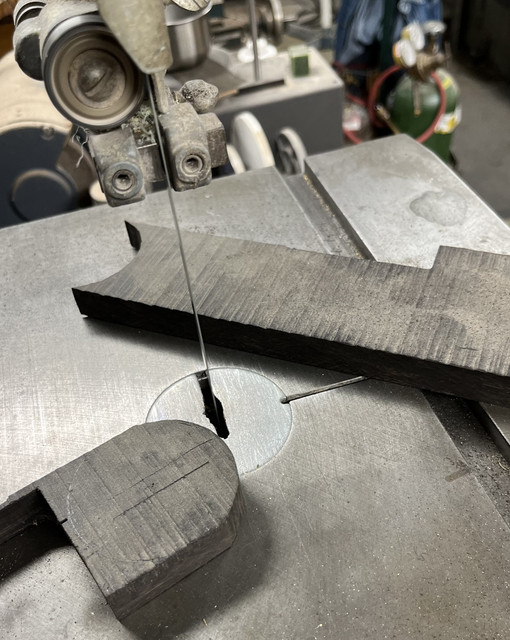
Cutting out a piece of ebony for the base plug.....


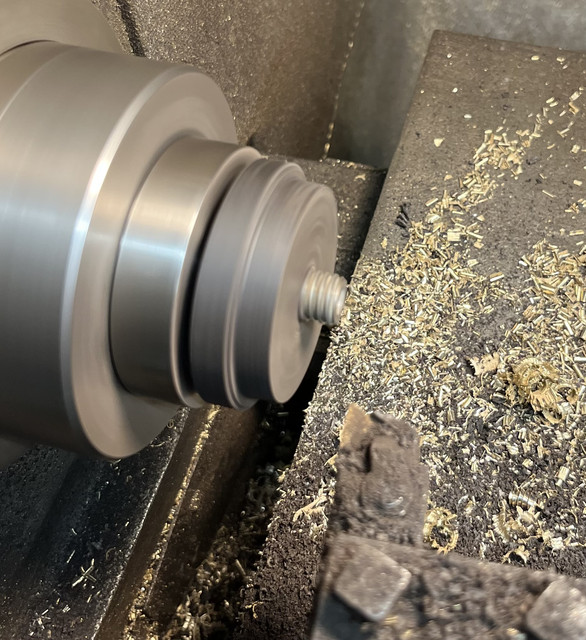
Turning the plug on the lathe. This will have a threaded cascabel in the base plug so I put the female thread in the blank piece of material first and then mounted it on a threaded rod to start the turning. One very nice feature of ebony is that it is so dense that it machines very much like horn or plastic....


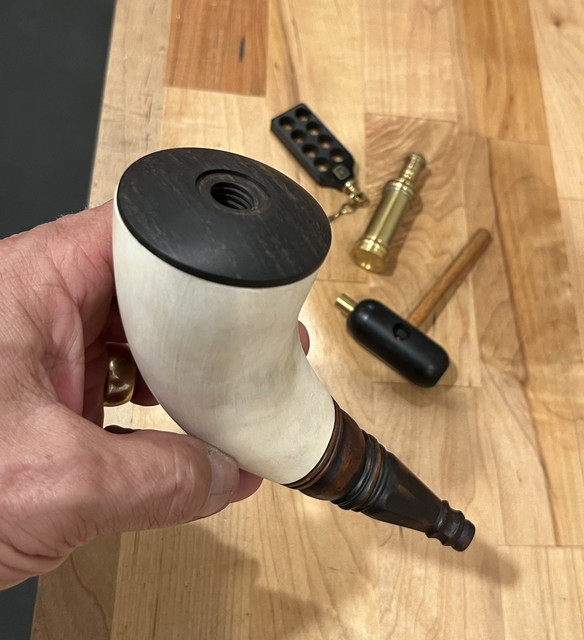
I will add some decorative features as soon as I have time, but the basic shape is completed.....

Very very nice.
 
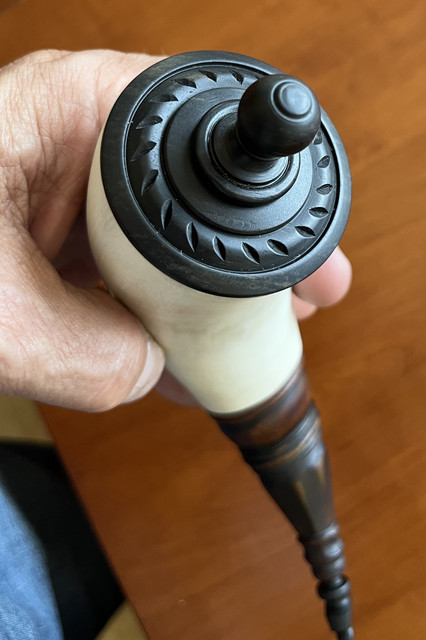
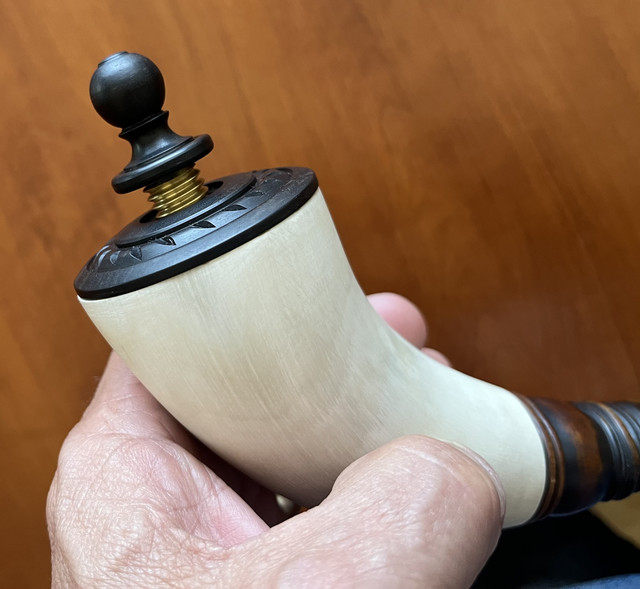
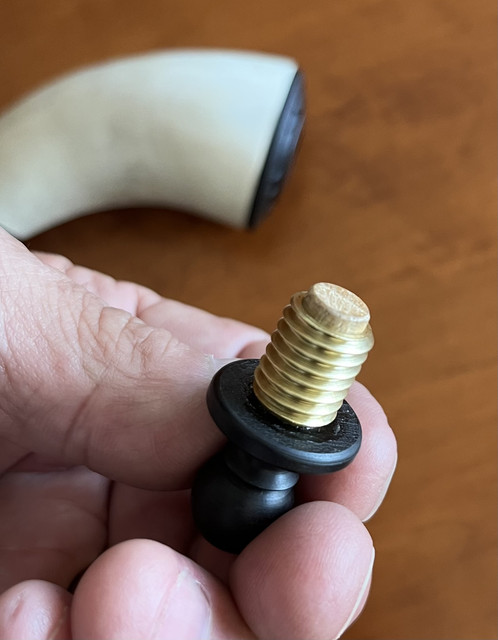
Finished up the spout stopper and the base plug. As usual for me, I threaded the base plug and made the cascabel removable for filling the horn. Although most of these that I make have wooden male threads, this one has a brass threaded sleeve and a hickory core. This was to strengthen the little cascabel. I am trying to decide if I am going to mount this little horn with sterling silver or not. All the main parts are made out of ebony.


Traveling at the moment but had a chance to start a few other items I am considering putting in the wood case along with the little rifle.....

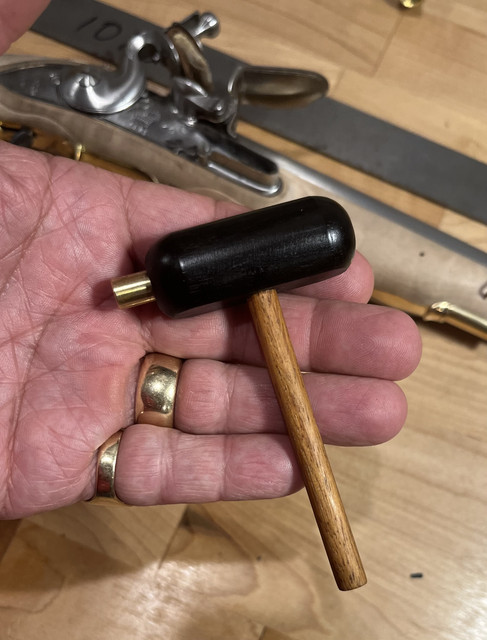
Ebony short starter (the ram rod is only 1/4 inch in diameter so this seemed a prudent accessory).....


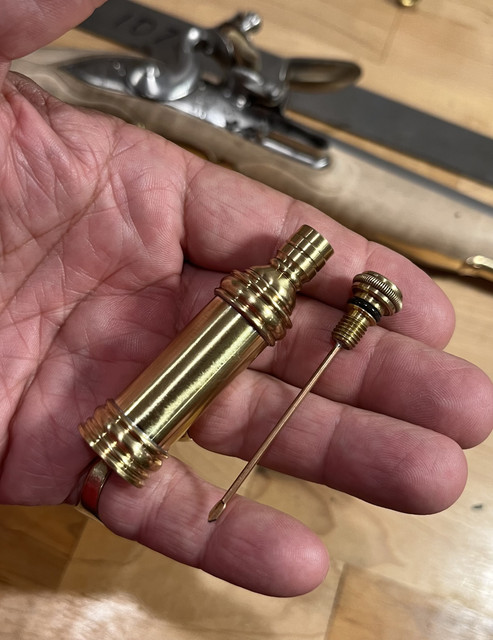
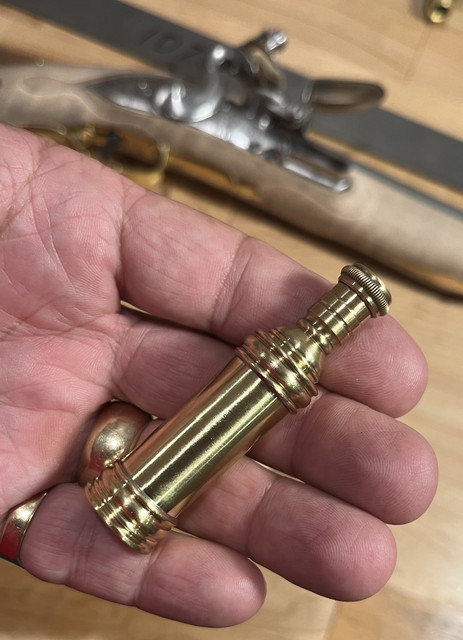
Oil bottle.....


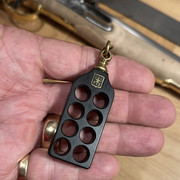
.32 caliber bullet board (also made out of ebony)....

 
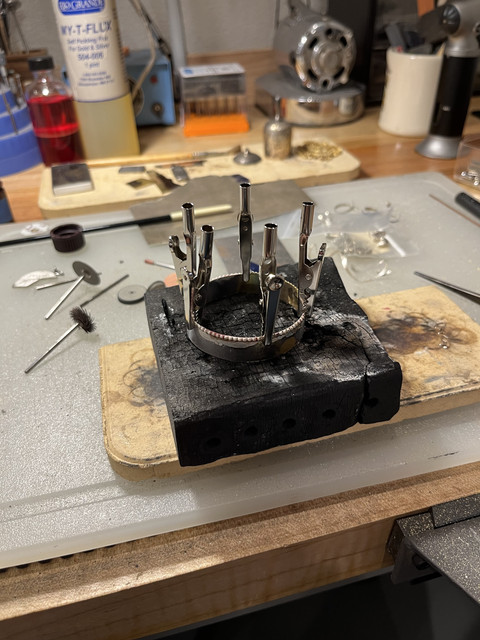
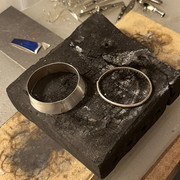
I decided to mount the little horn with sterling silver. Worked on the band for the base today. After forming the band out of sheet (by using a paper, pattern that conforms to the horn), I started with silver soldering on the upper and lower decorative edges.

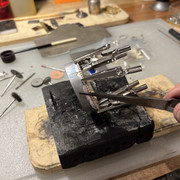
I do the first solder joints in sections between alligator clamps.


Then I go back and fill in any areas that I did not get on the first pass.


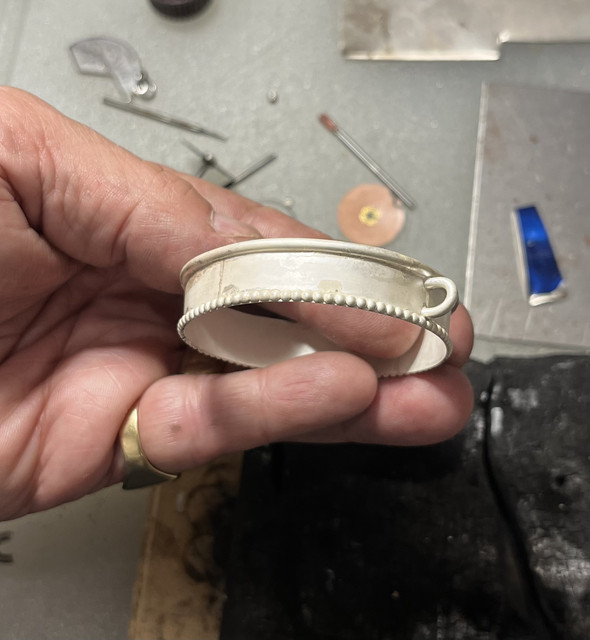
Here is the band after the last pickle in diluted hydrochloric acid......


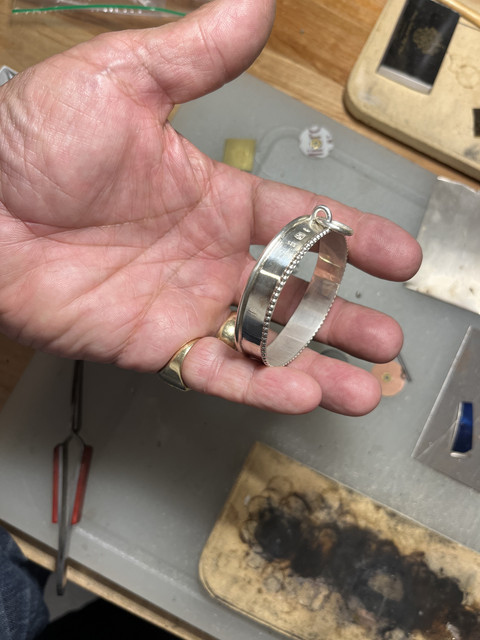
Polished a bit.......


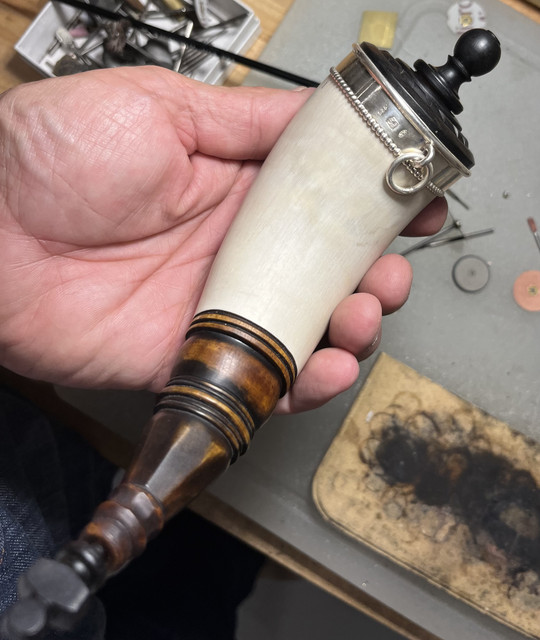
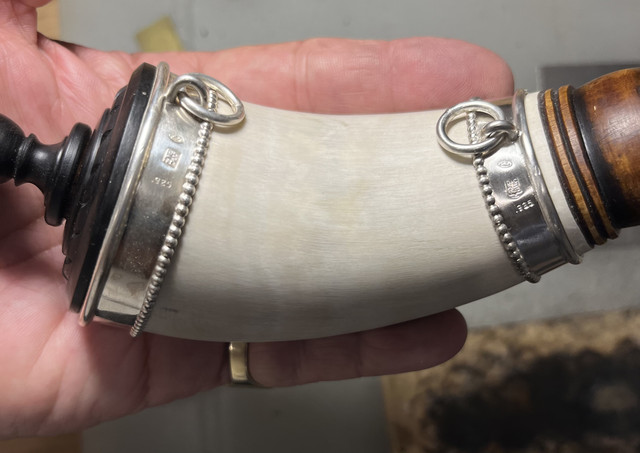
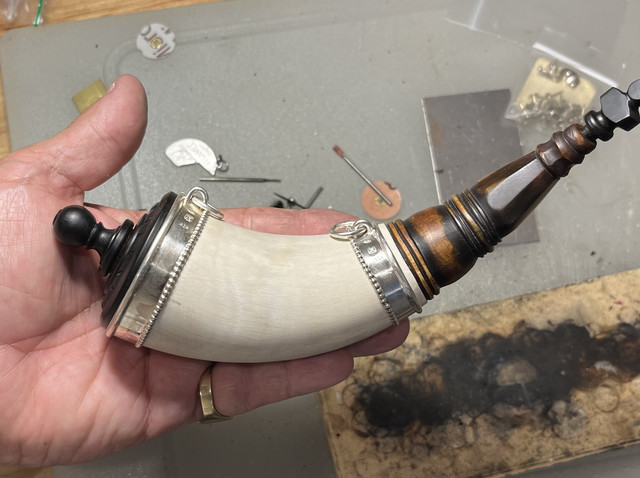
Added an attachment ring. Trial fit on the little horn. Now to make the forward band......

 
Dave, amazing! I’m always amazed at the level of craftsmanship displayed by members of this forum. The skills presented are way beyond what my feeble attempts amount to.
 
Dave, amazing! I’m always amazed at the level of craftsmanship displayed by members of this forum. The skills presented are way beyond what my feeble attempts amount to.
My thoughts, exactly!
They all need some scrimshaw now.....
Please show the work in steps, for those of us that might want to try this. I have a blank horn that is crying for some artwork!
 
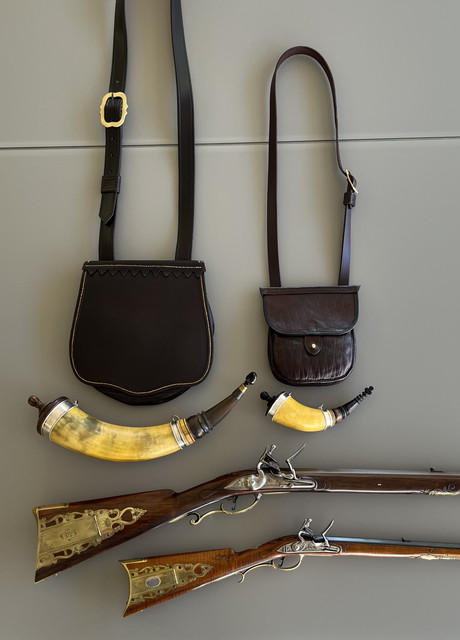
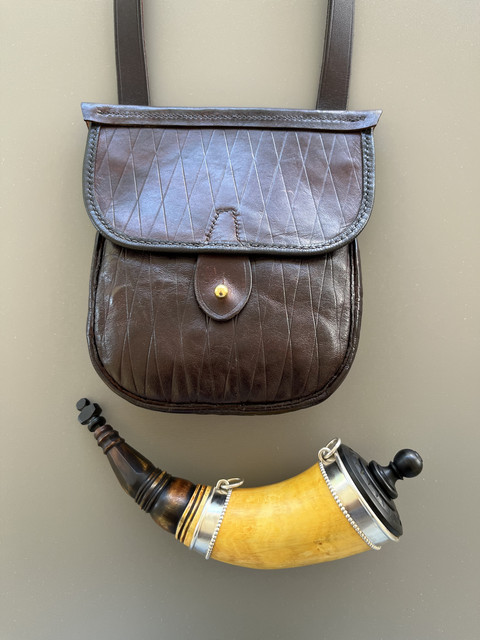
Busy these days.....haven't had much time to work on any of this. However, James Rogers just sent the little kangaroo leather bag he made to go with my grandson's rifle. I can't tell you all how perfect it is !!!! ( As is all of James' work :) ;) ) I need to come up with a strap for the little horn and do the scrimshaw work yet. For scale, here is a picture of a bag James made for me (also of 'roo leather) with one of my horns and one of my rifles. Also shown are the little horn, the new little bag, and the scaled down rifle. The second picture is a closer view of the beautiful little bag and the little horn.

When I opened the box that James sent the bag to me in, my wife immediately asked if I could hire James to make another copy of the little bag for her !!!!

Thank you again, James !!!


OK....so the little rifle for my grandson is finished.... A Tale of Two Little Rifles .......Now I need to make all the "stuff" that needs to go with it and a wood rifle case. Today I started with trying to decide on a powder horn that is in keeping with the scale of the rifle. I had some horns I had made previously and a couple of raw horns about the right size. Here were my options:


I decided the existing horns were not quite right so I started to look at the two raw horns and perhaps finish one of those for the rifle....


Of the two, I decided I liked the one with a little twist better and I spent an hour or so carving and staining the spout.


Not sure if this will be the one, but I like it so far......
Very nice, all! Like the ruler, too! Fine work there!
 
Back
Top