• Friends, our 2nd Amendment rights are always under attack and the NRA has been a constant for decades in helping fight that fight.

    We have partnered with the NRA to offer you a discount on membership and Muzzleloading Forum gets a small percentage too of each membership, so you are supporting both the NRA and us.

    Use this link to sign up please; https://membership.nra.org/recruiters/join/XR045103

Another project

Muzzleloading Forum

Help Support Muzzleloading Forum:

This site may earn a commission from merchant affiliate links, including eBay, Amazon, and others.
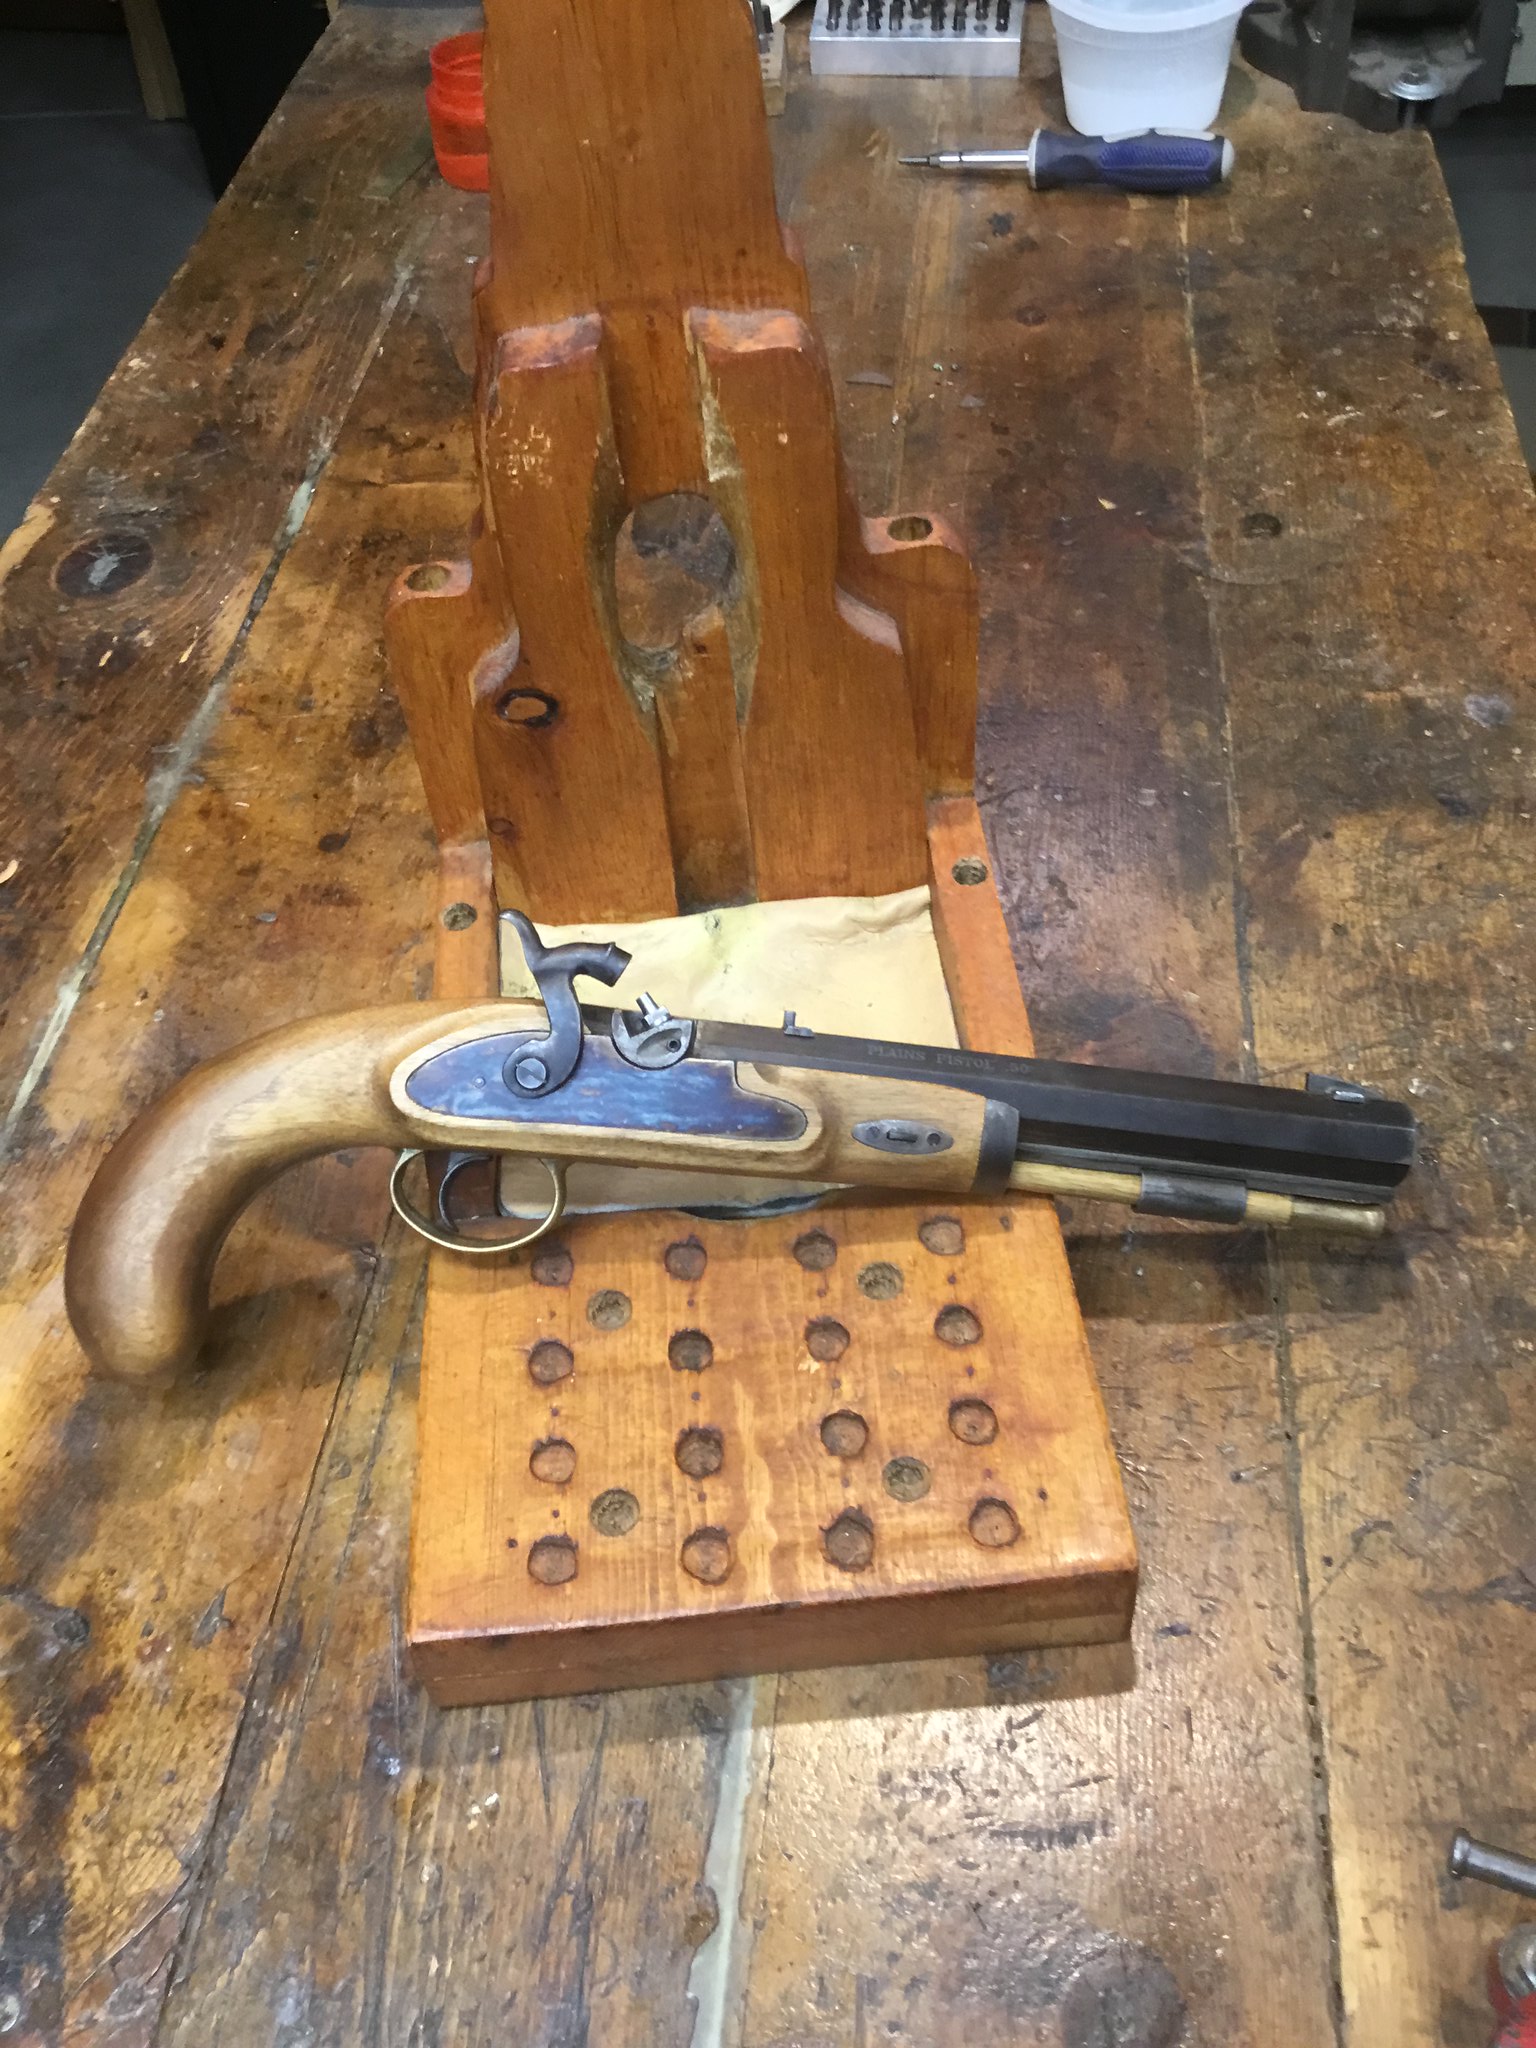
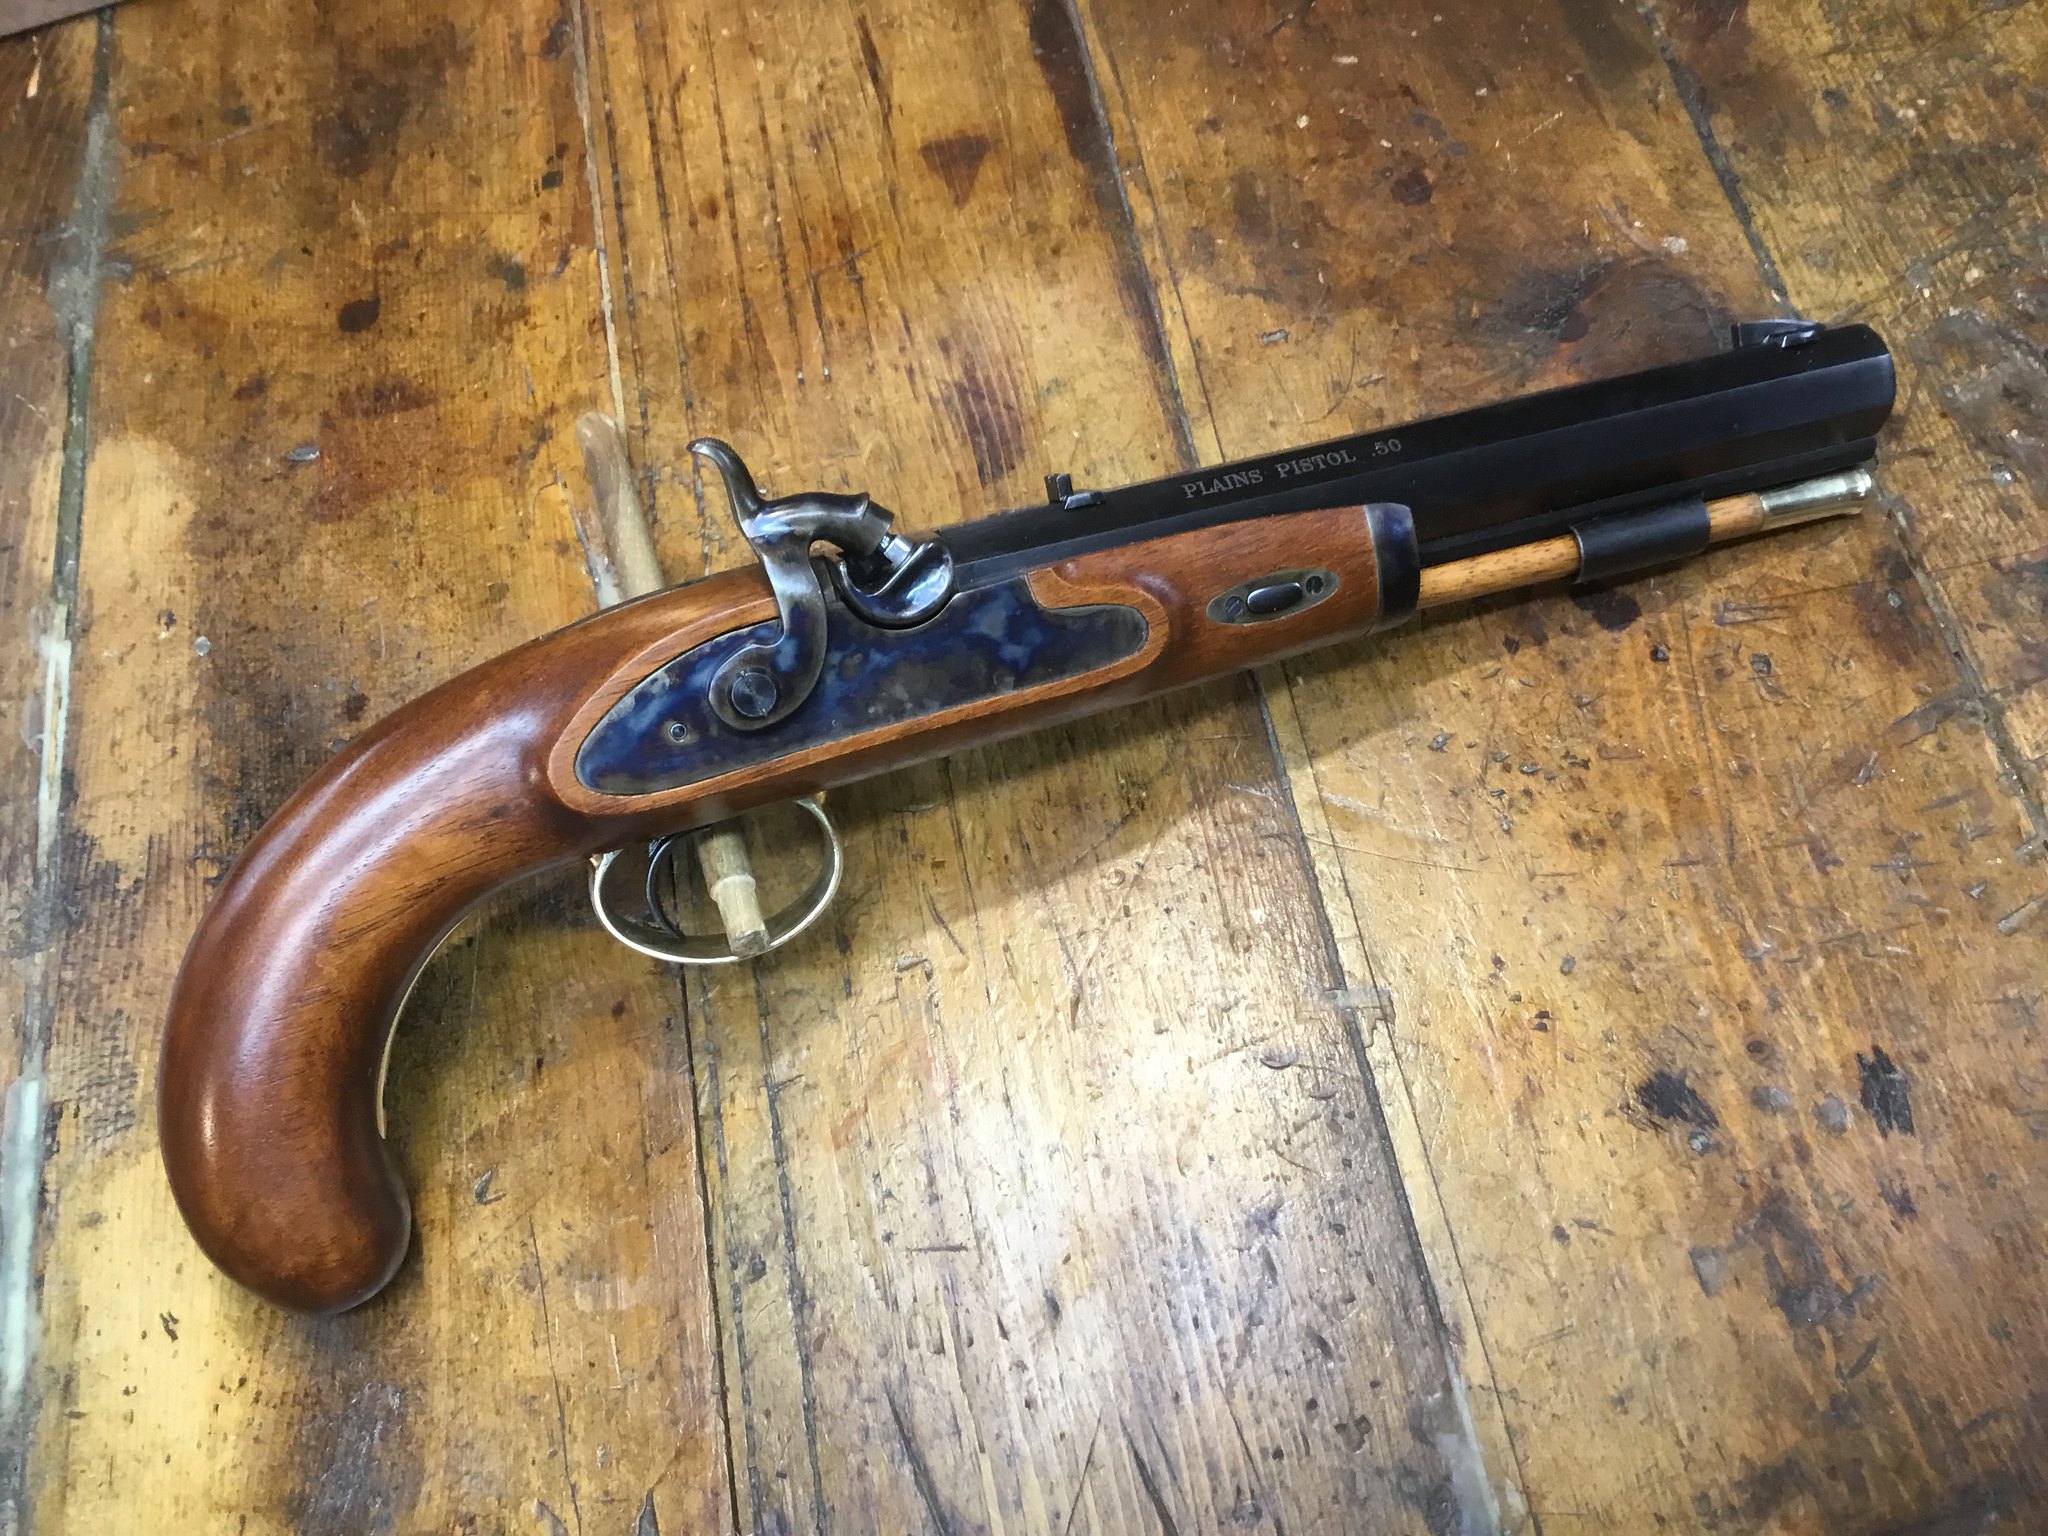
I’ve done a few of these and have found them to be over all pretty good. This one has very good machine work on the wood, better than others I’ve done. With some detailing this can be a dandy pistol.
 
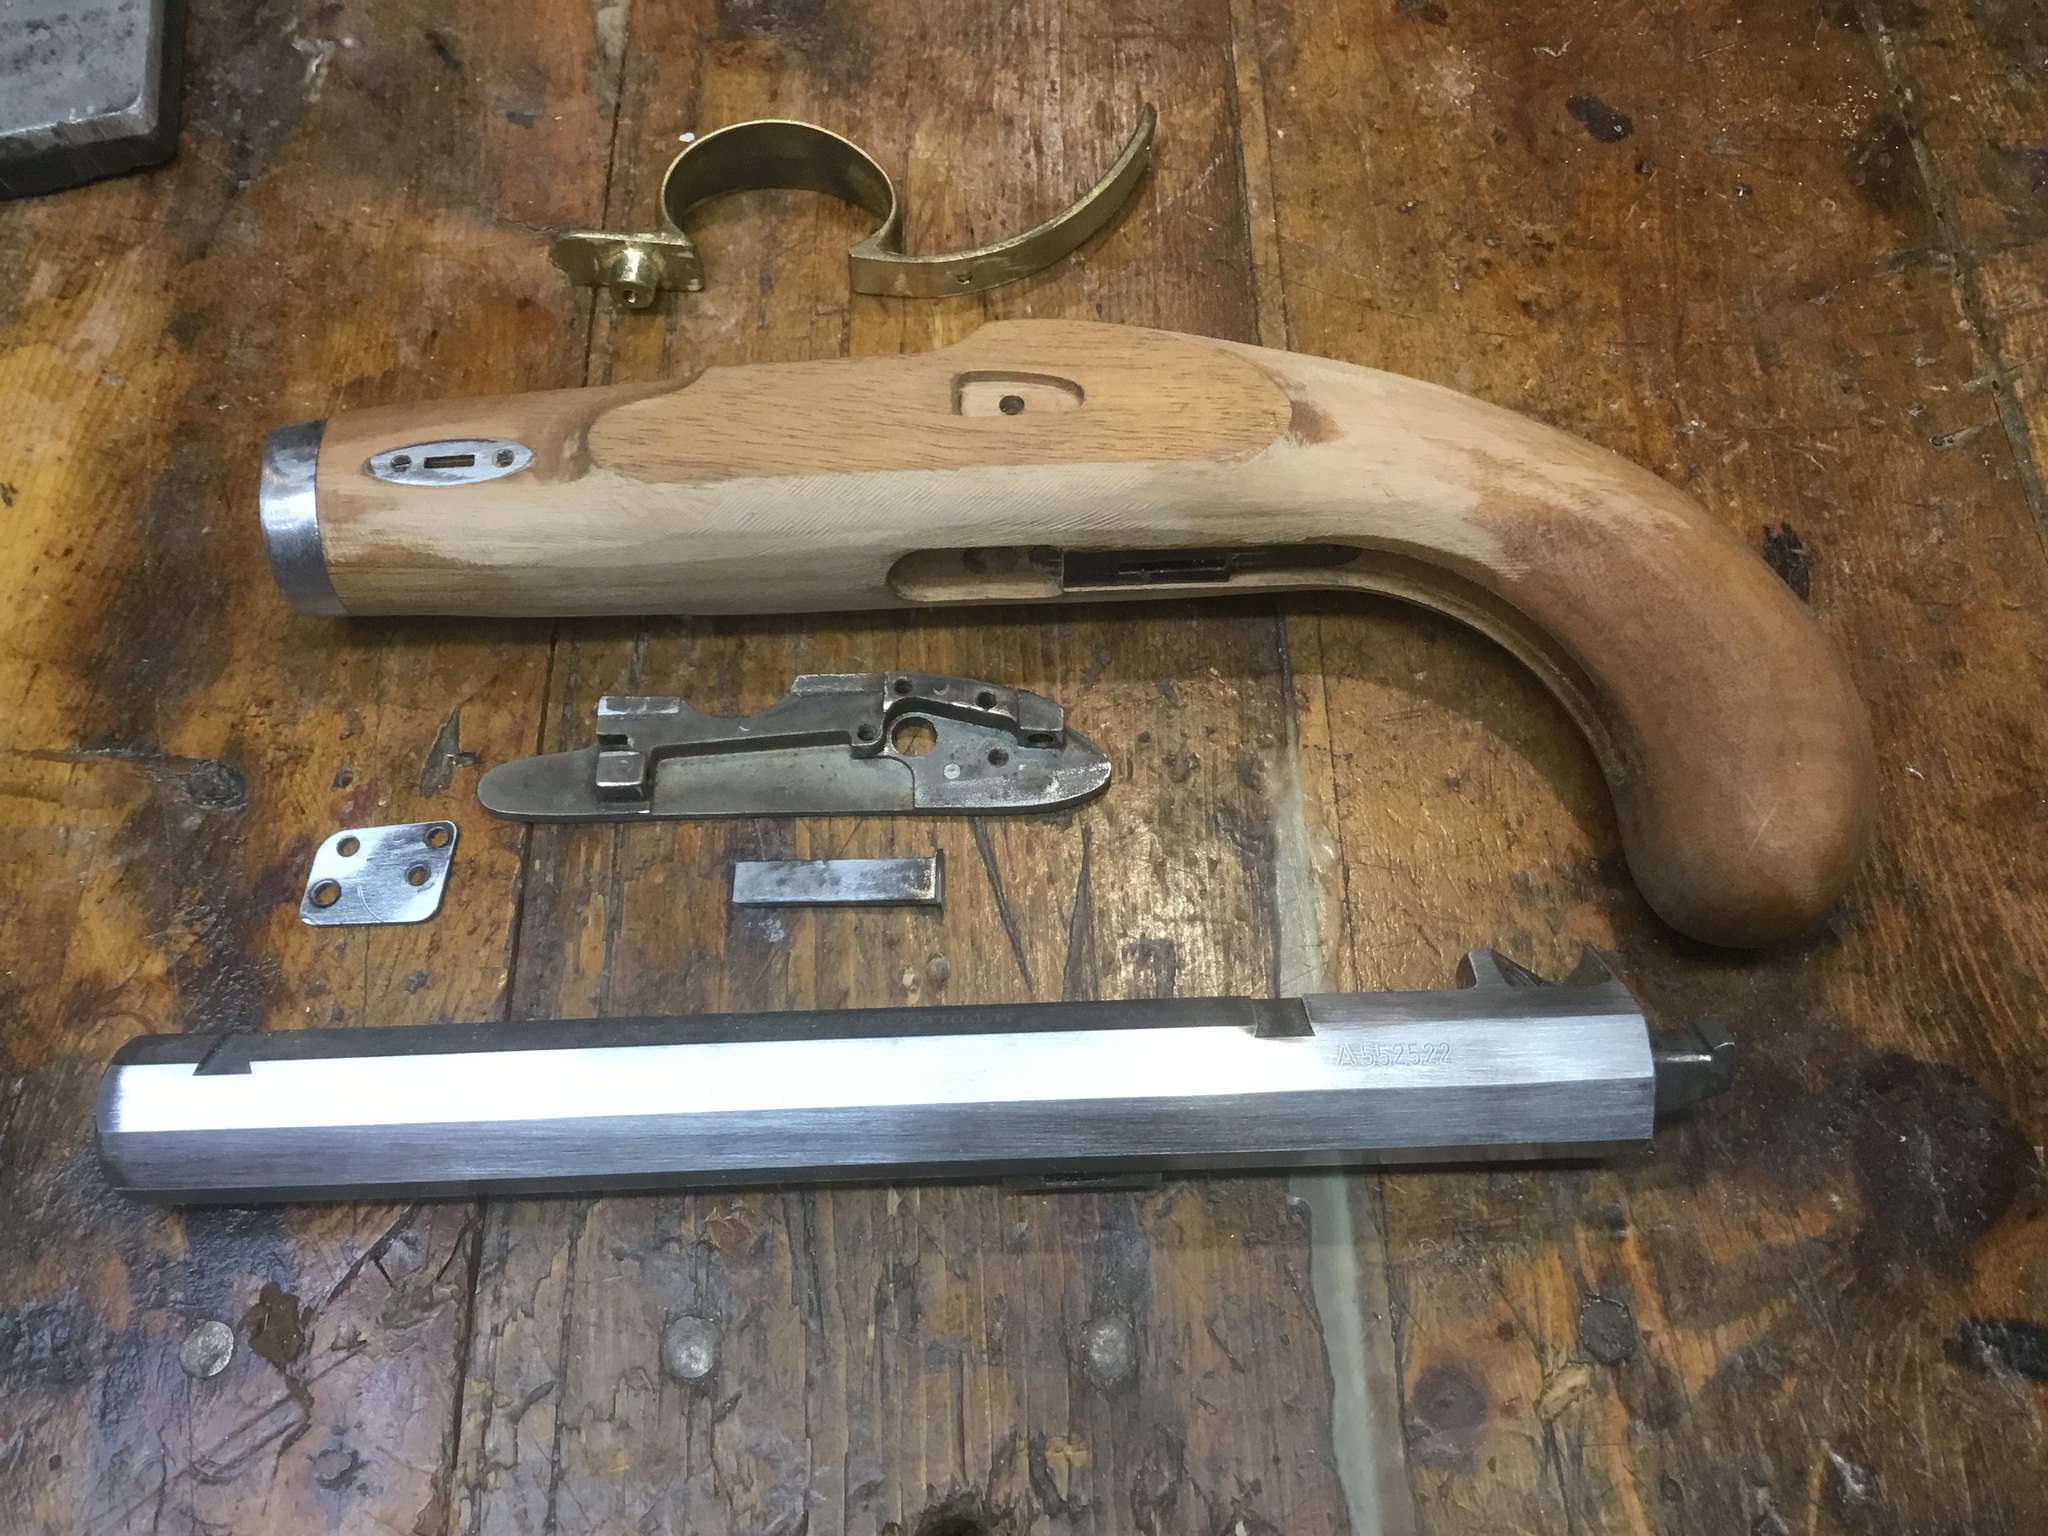
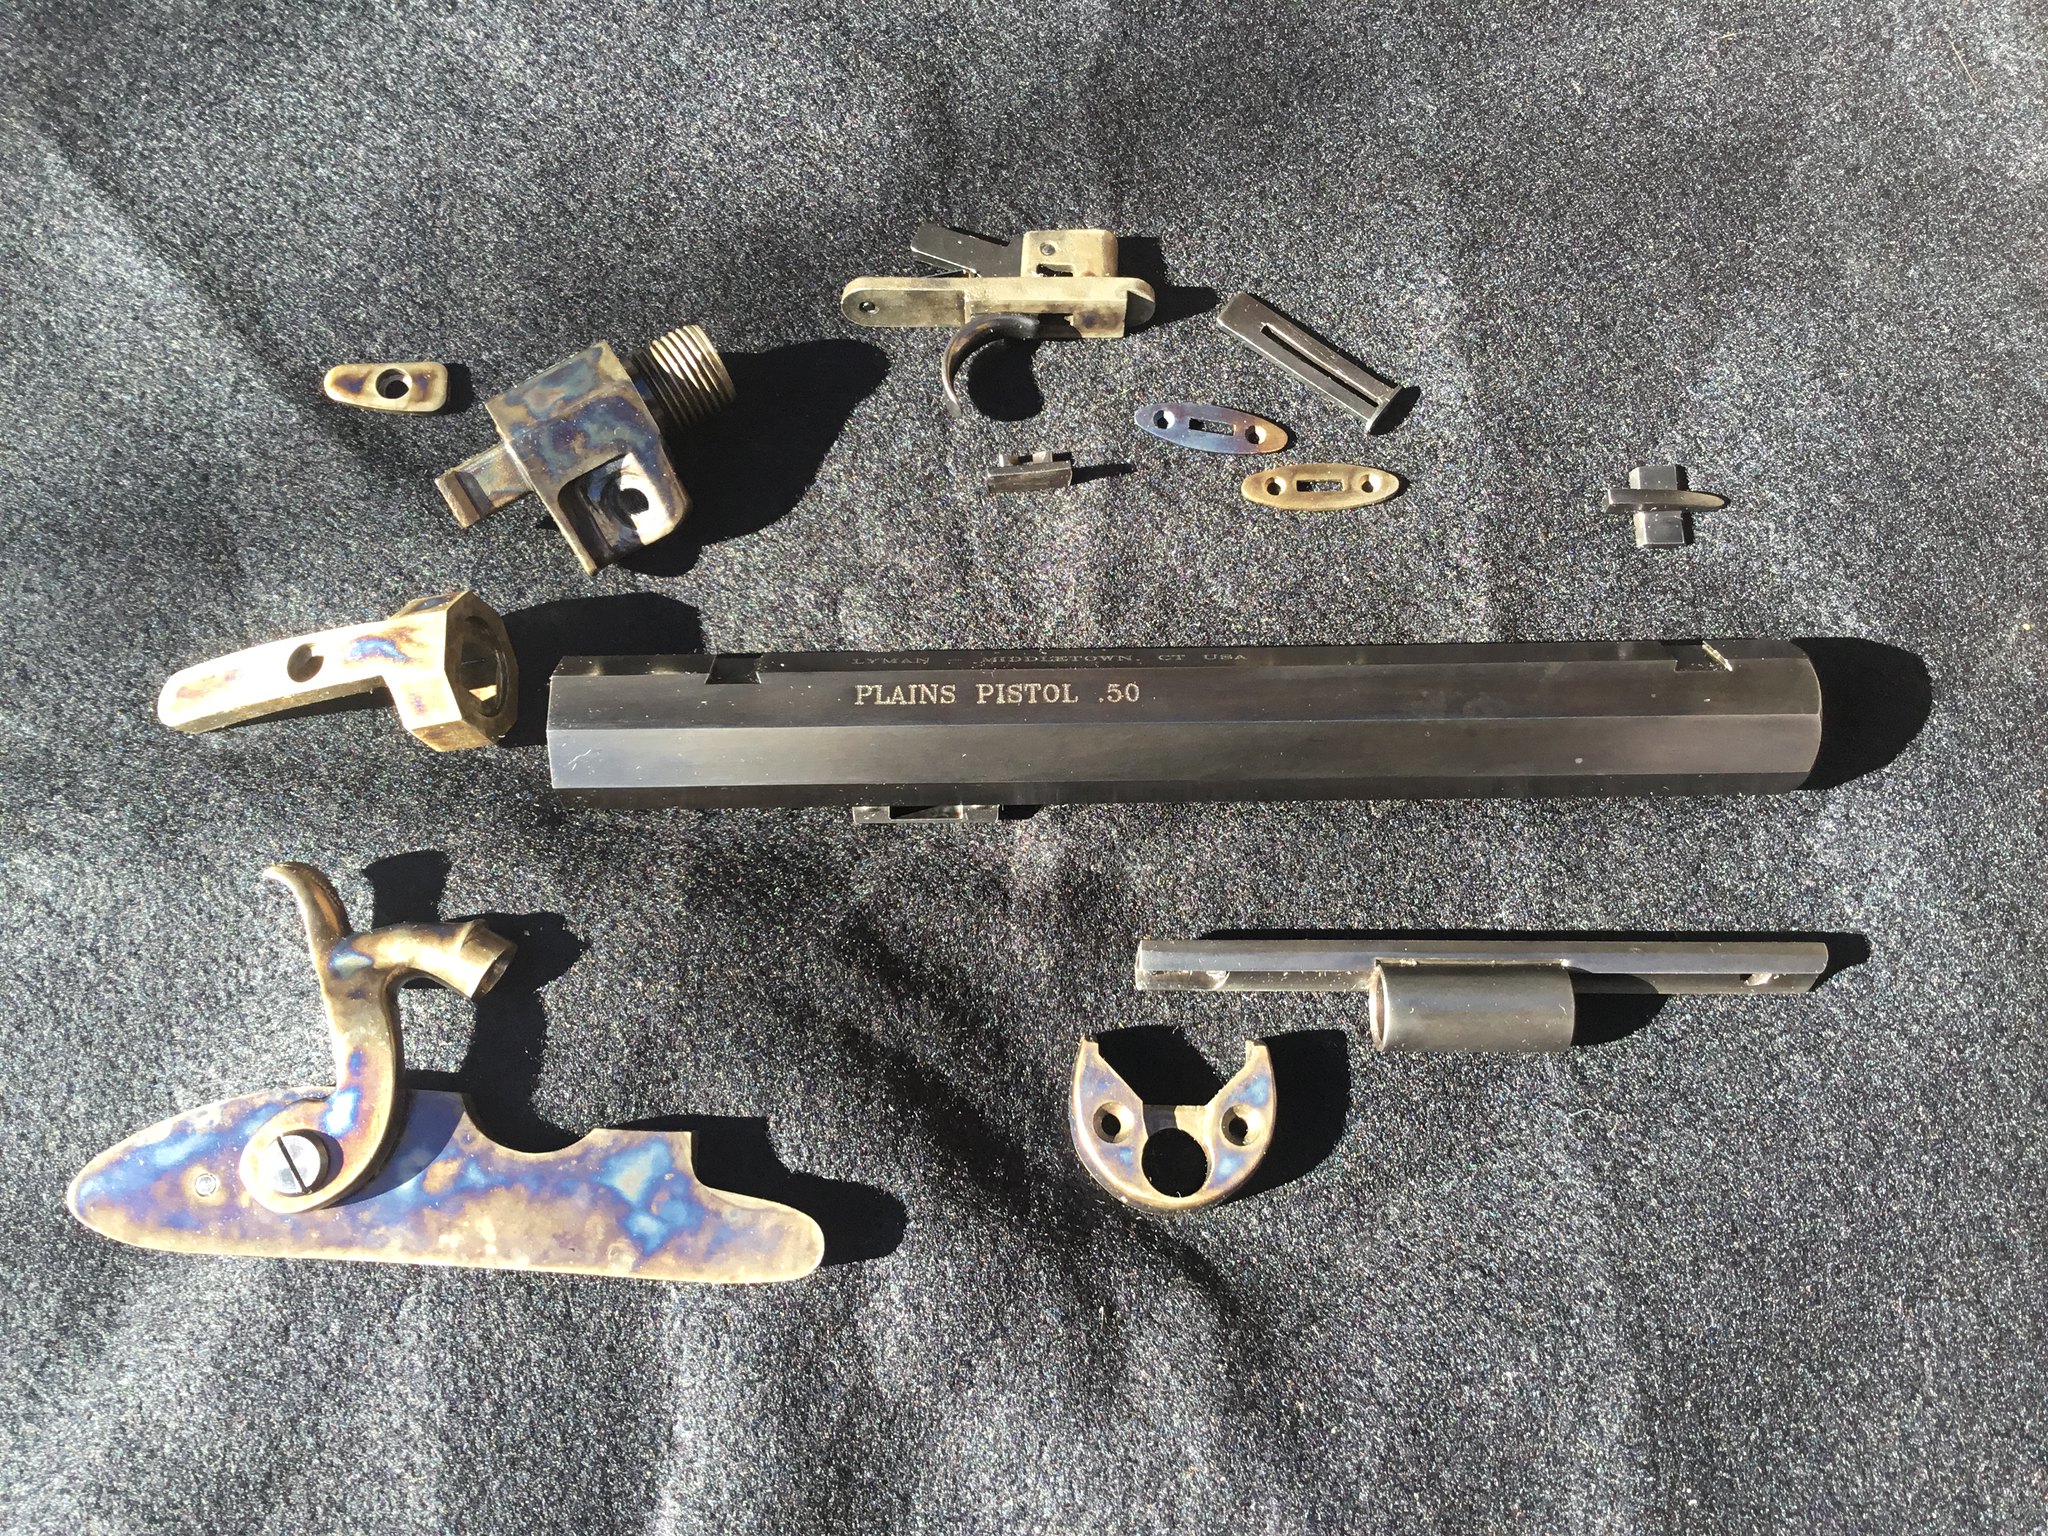
Started doing some cosmetic and functional work. Shaping of the wood, removing casting seams, de-burring lock parts, removed the instructions from the barrel, and eliminated the plug screw in the bolster. Then for appearances re- shaped the bolster with more rounded contours.
IMG_0525 by Oliver Sudden, on Flickr
IMG_0526 by Oliver Sudden, on Flickr
 
Can you checker? That may be a nice touch on the grip. It looks like it will be a nice pistol with the right color and finish.
 
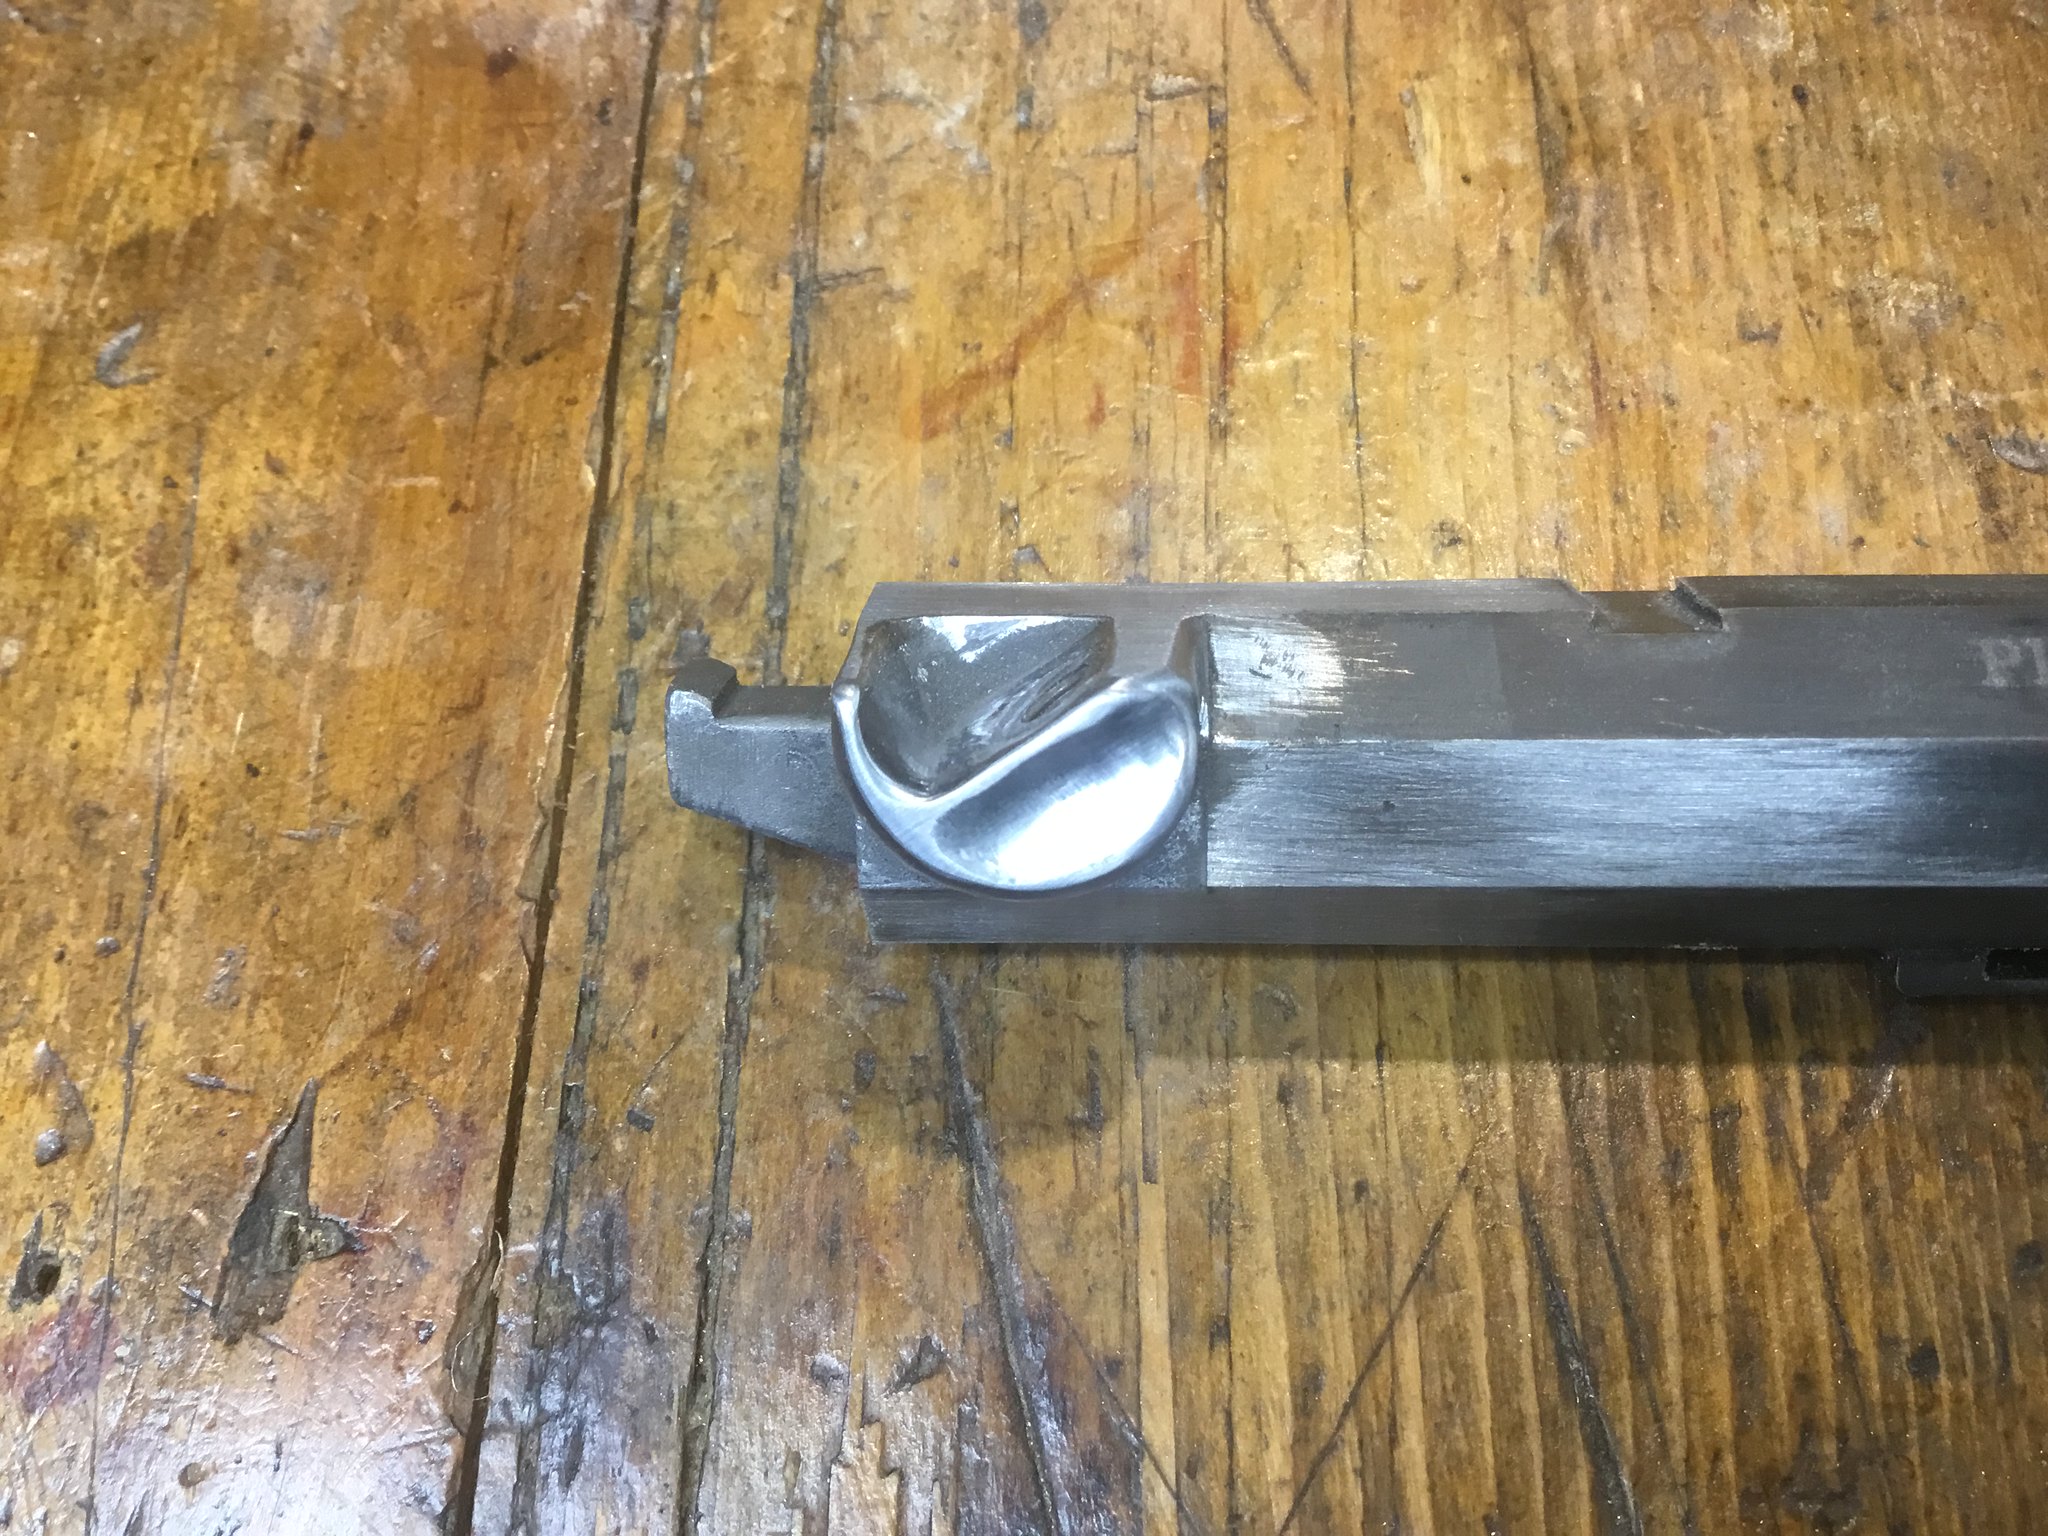
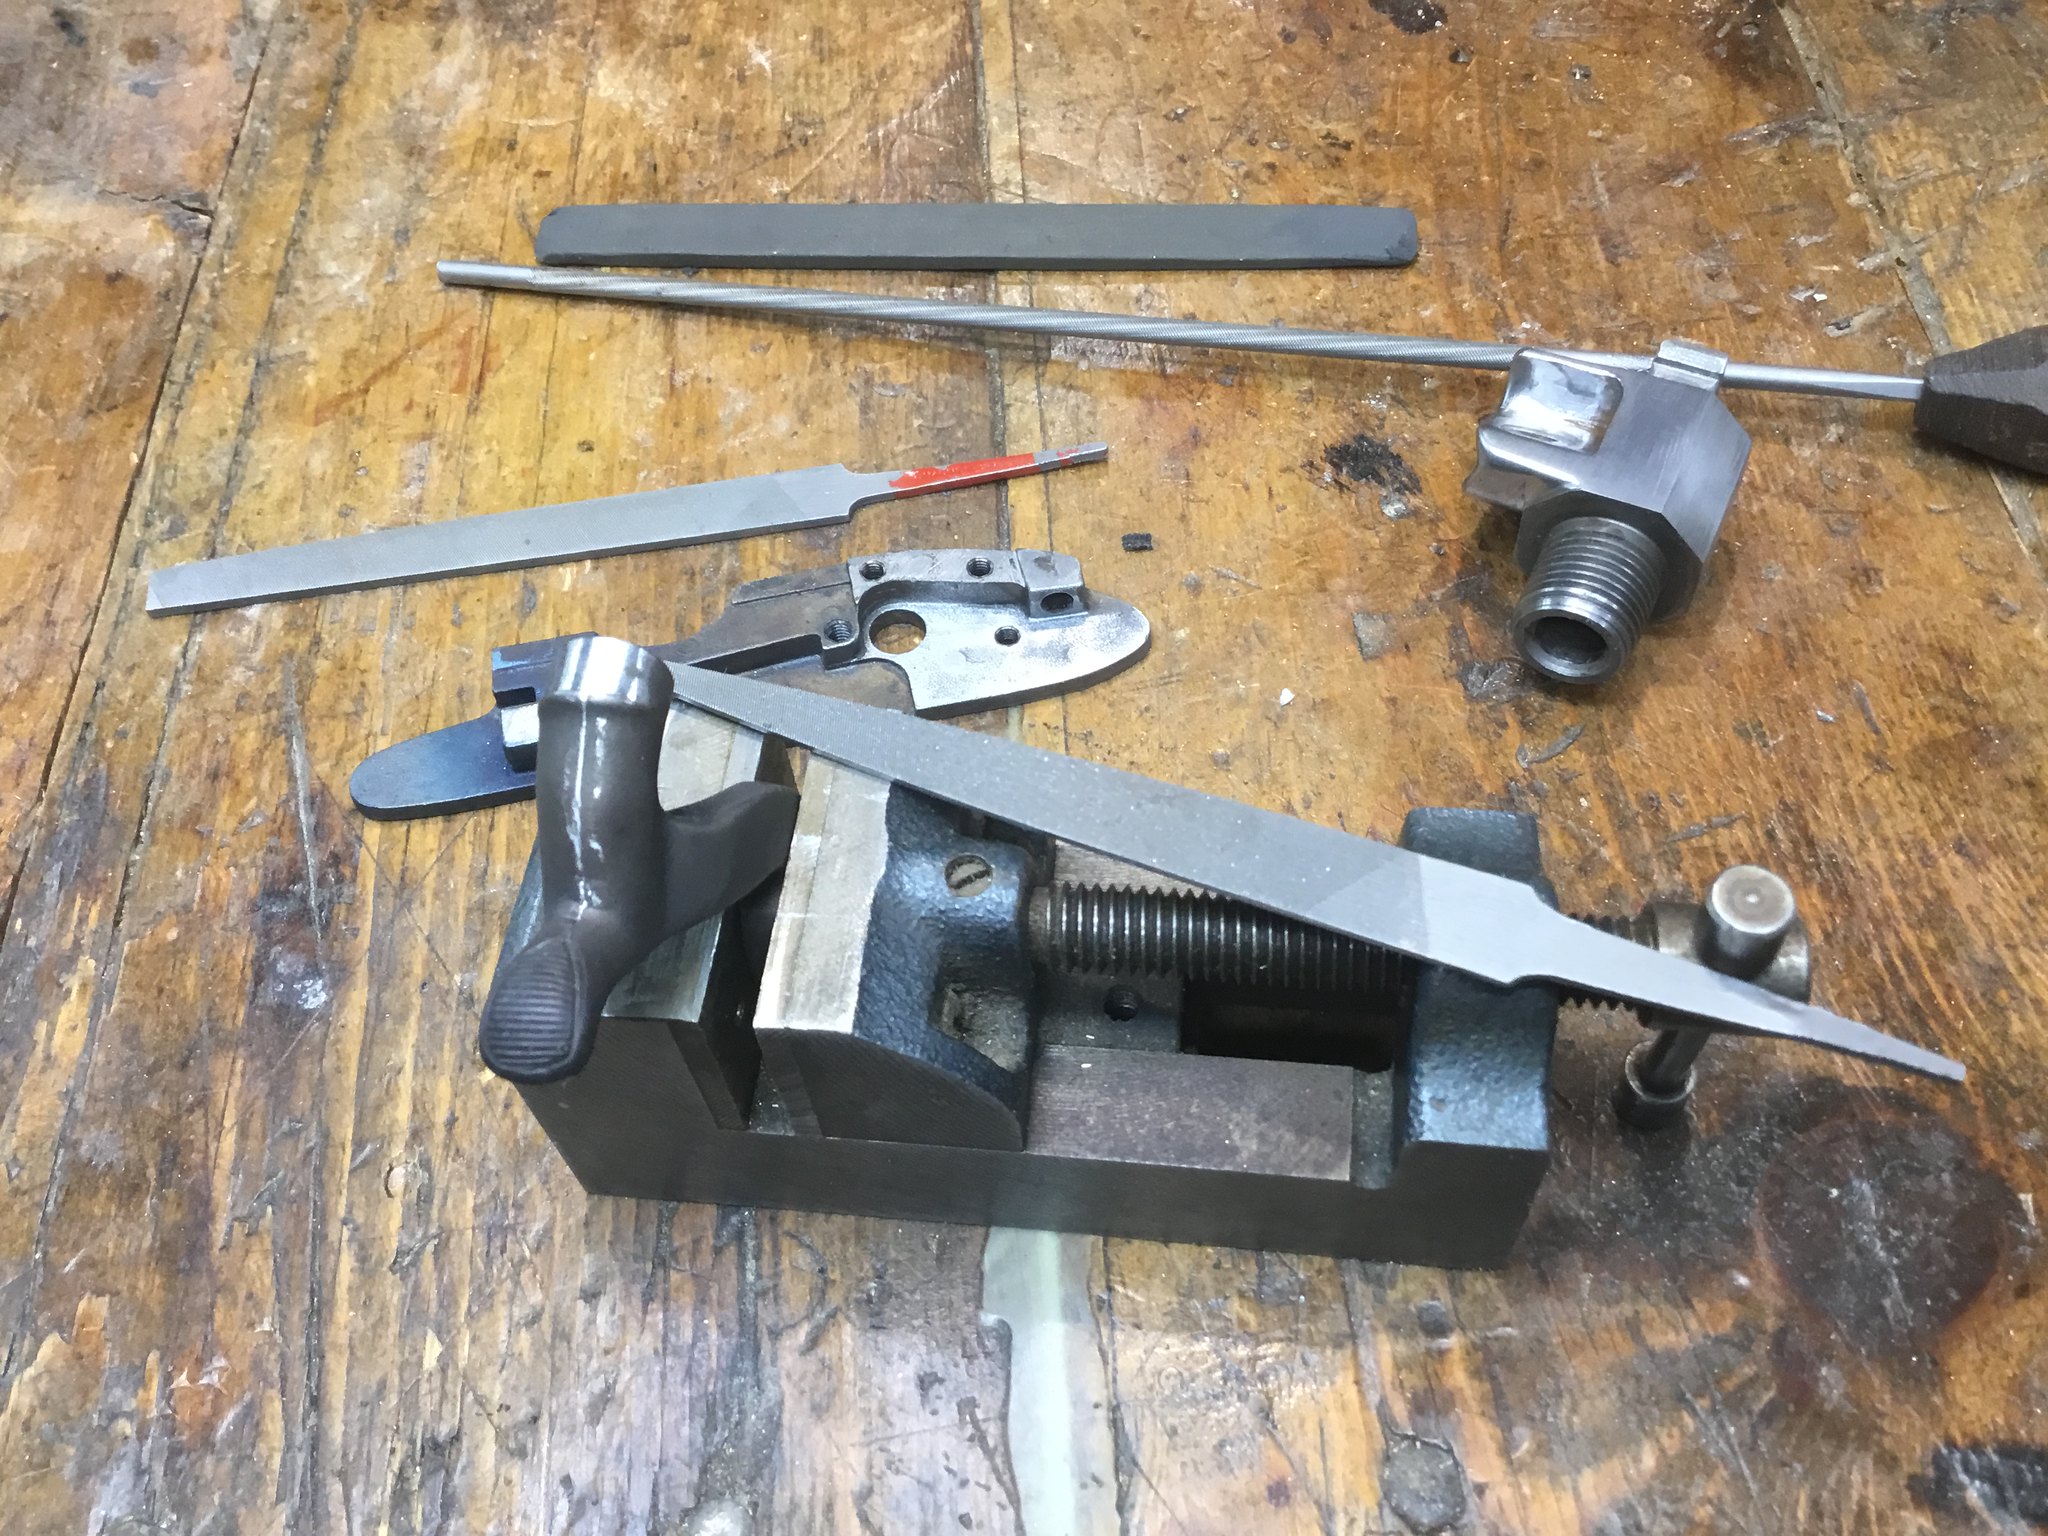
The lock plate and hammer has been annealed so casting seams, ejector pins and flaws can be filed out. Not only will this look better but the lock should work smoother. Also the breech anti chamber will be smoothed and internal corners blended. This chamber holds about 25 grains of powder for those interested.
IMG_0527 by Oliver Sudden, on Flickr
 
The wood is down to the final sanding and to check for scratches, file marks or flat spots water based stain has been applied. Using backing blocks the final grit removes the color exposing things like this spot between the escutcheon and the lock panel. Soon I can start the metal finish.
IMG_0528 by Oliver Sudden, on Flickr
 
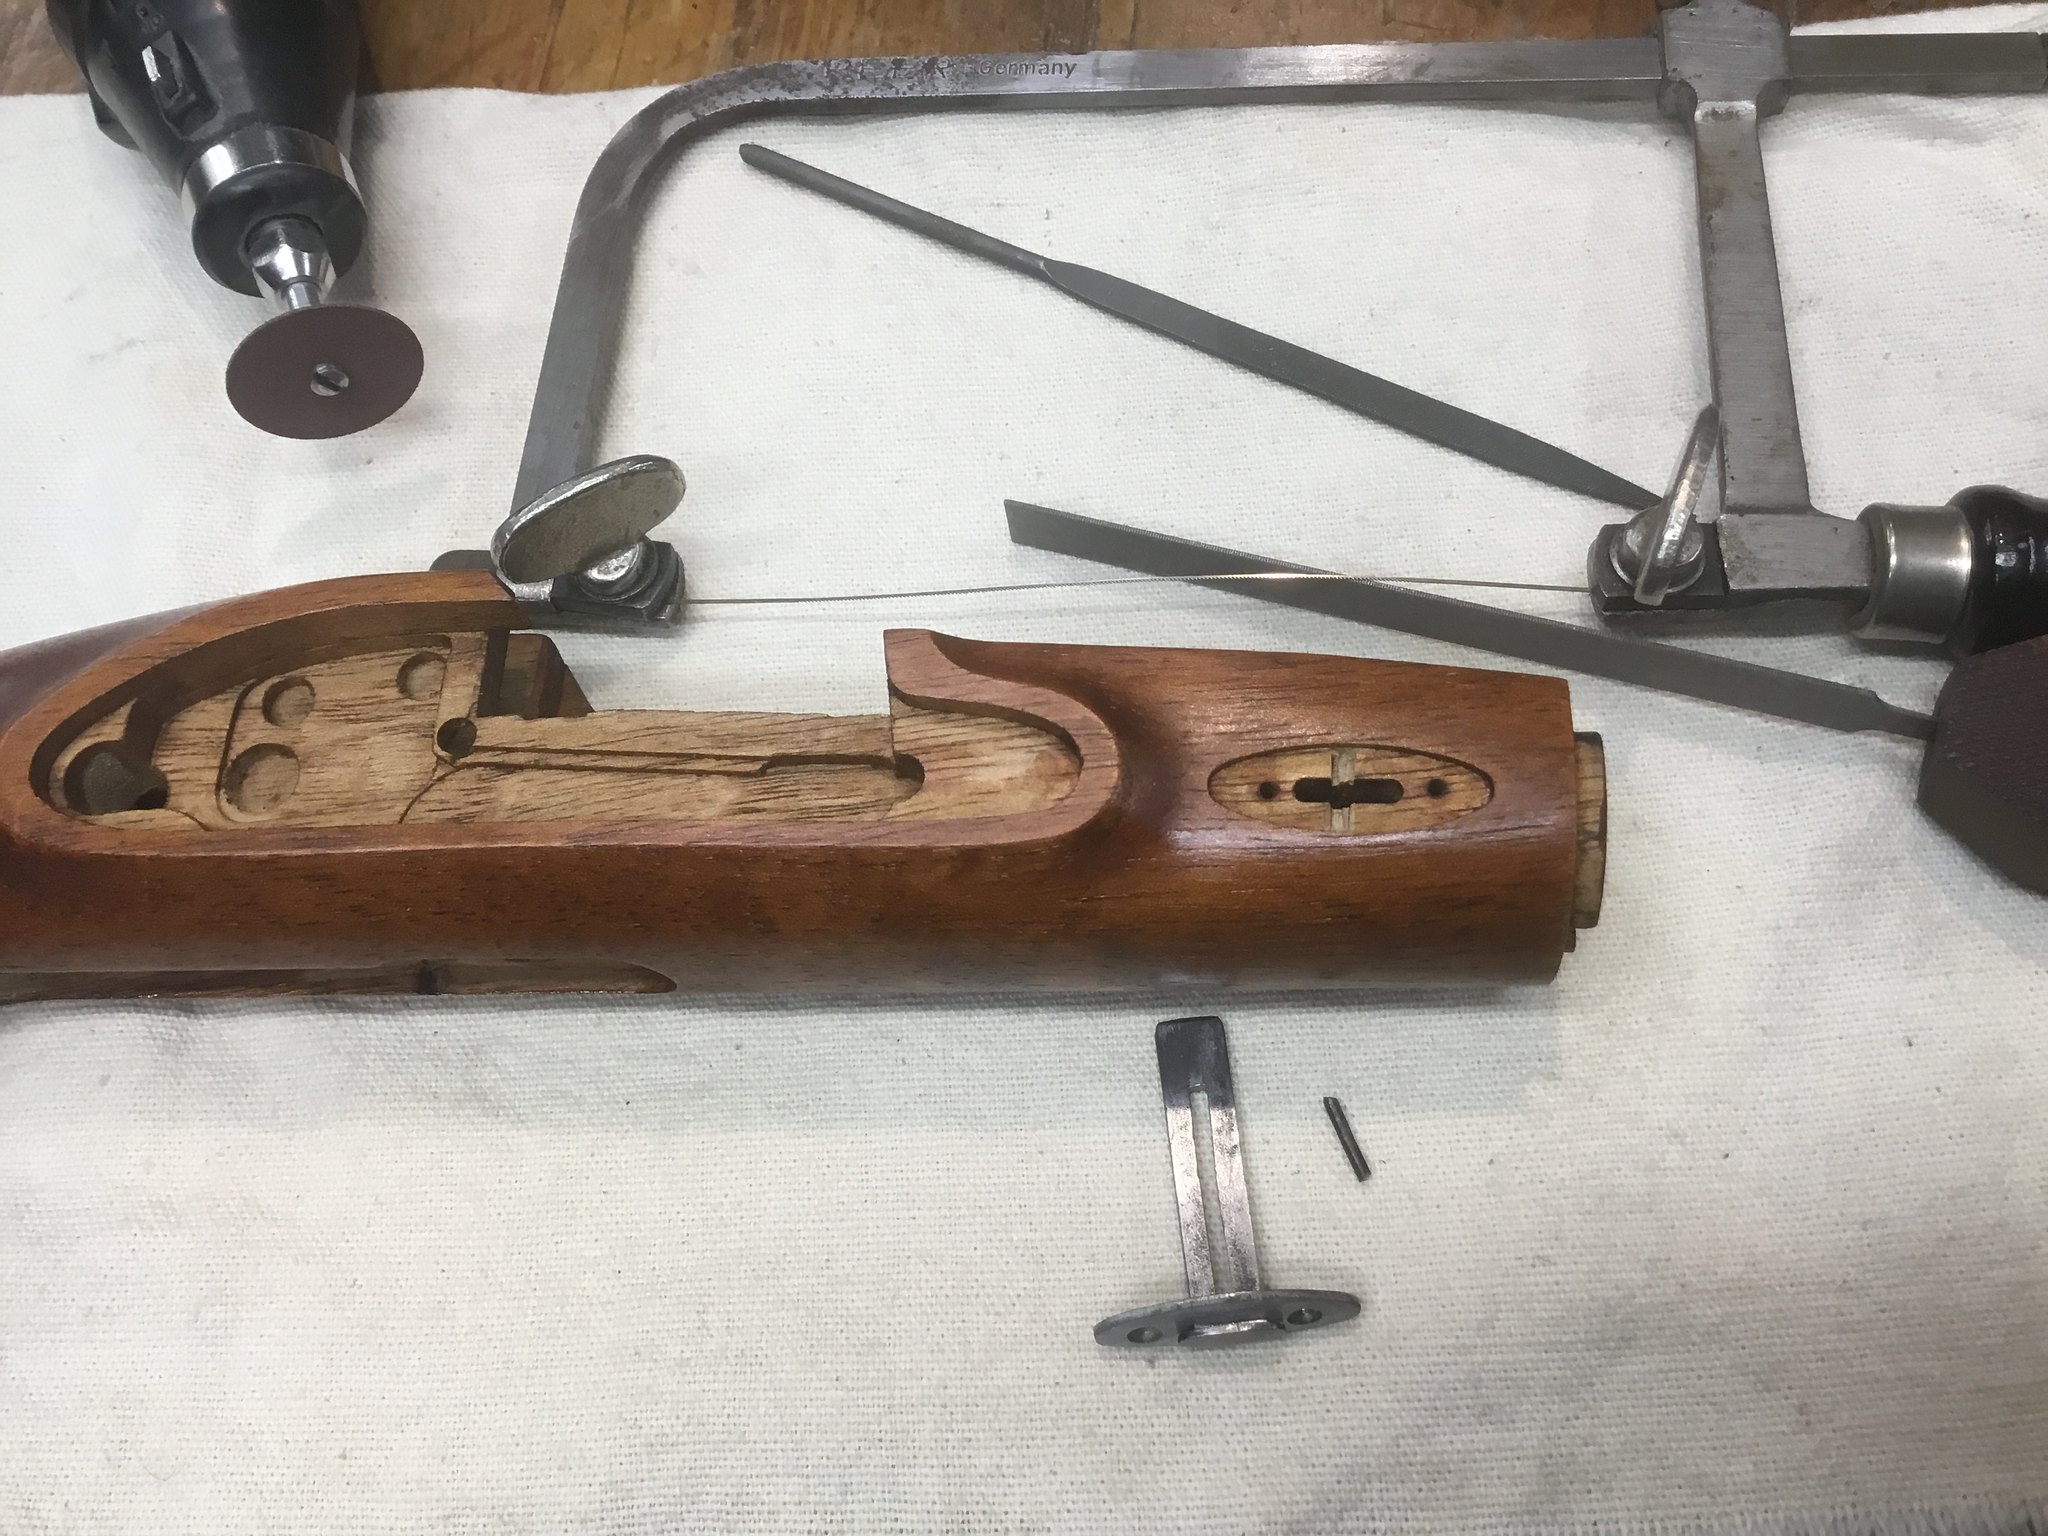
On a gun with removable escutcheons and a key I like to add a pin to keep the key from being lost. Drilling a 1/16” hole at each end a jeweler saw connects them then a slotting wheel widens it till jeweler files fits threw to even up the slot. A notch is carved under the escutcheon to receive the pin. I find this easier than drilling a hole for the pin.
IMG_0529 by Oliver Sudden, on Flickr
 
Started doing some cosmetic and functional work. Shaping of the wood, removing casting seams, de-burring lock parts, removed the instructions from the barrel, and eliminated the plug screw in the bolster. Then for appearances re- shaped the bolster with more rounded contours.
IMG_0525 by Oliver Sudden, on Flickr
IMG_0526 by Oliver Sudden, on Flickr
How did you eliminate the plug screw in the bolster? I'm building mine now finally and would like to do the same thing. I don't like that the screw tightens up against the nipple in the bolster and doesn't snug up against the bolster anywhere. I'm not a fan of hunting down an Allen wrench to loosen the clean out screw every time I want to take the nipple out to clean.
 
How did you eliminate the plug screw in the bolster? I'm building mine now finally and would like to do the same thing. I don't like that the screw tightens up against the nipple in the bolster and doesn't snug up against the bolster anywhere. I'm not a fan of hunting down an Allen wrench to loosen the clean out screw every time I want to take the nipple out to clean.
A screw with threads that don’t go all the way to the head is shortened to fill the threaded hole. It is turned into the bolster till the unthreaded part is binding into the threads then cut off leaving a bit of the screw above the bolster. This stub is peened down to act like a rivet then filed off. That makes it difficult to see the seam. Making sure not to interfere with the nipple threads of course.
 
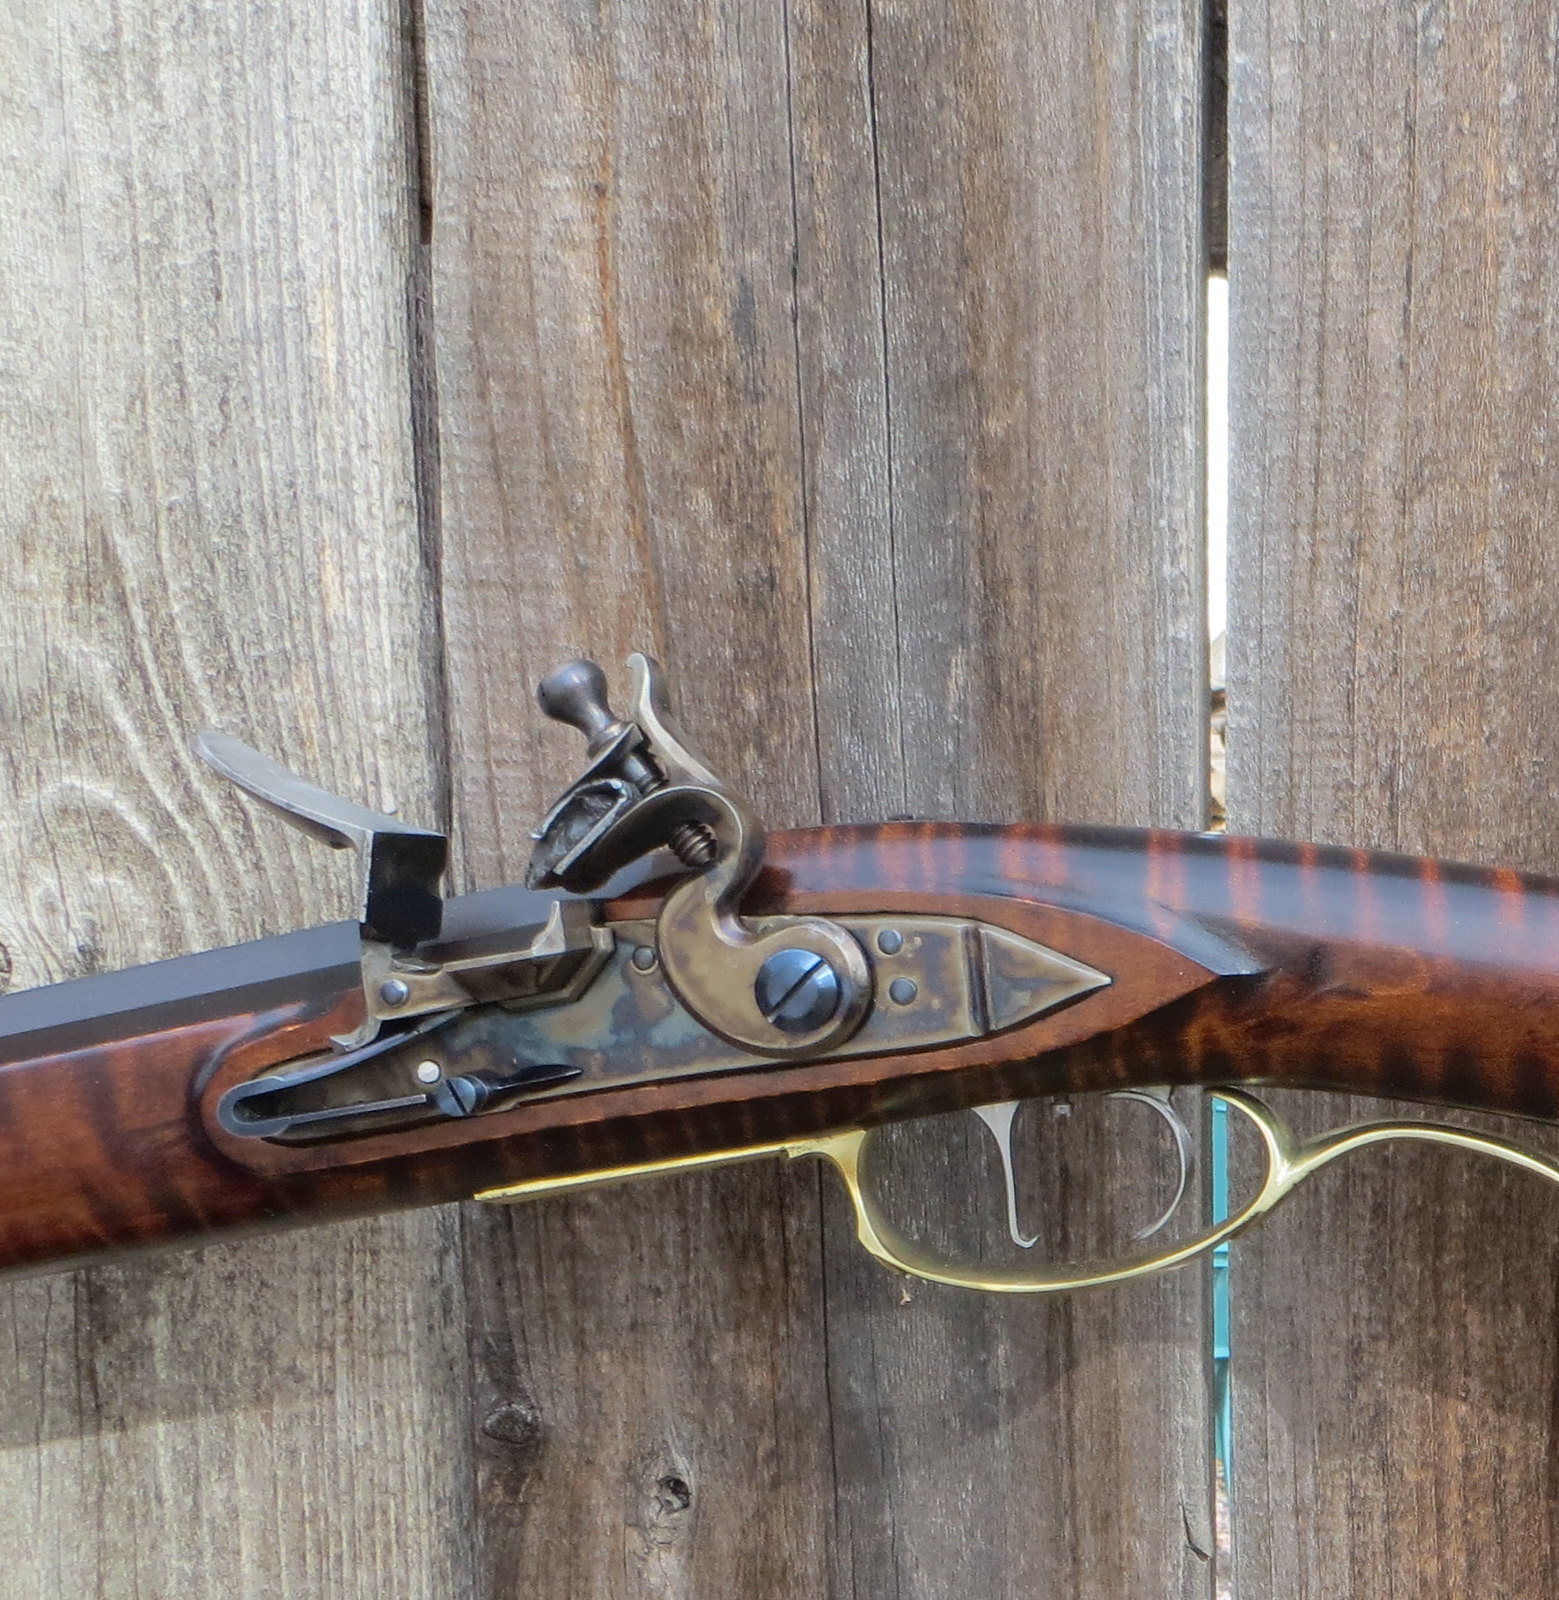
Nice work Phil. What I want to know is how you did the color case hardening color job - it is nicely done. I got a small Siler that I want to do it on so details are needed.:dunno::ghostly:
 
Nice work Phil. What I want to know is how you did the color case hardening color job - it is nicely done. I got a small Siler that I want to do it on so details are needed.:dunno::ghostly:
First buy a furnace that can be controlled at about 1400 degrees and buy bone charcoal with a bunch other stuff. The process isn’t some thing that I would attempt to explain on line, although I’ve done a lot of posts on the subject. It is worth learning but the investment is considerable.
IMG_1287 by Oliver Sudden, on Flickr
 
Last edited:
Back
Top