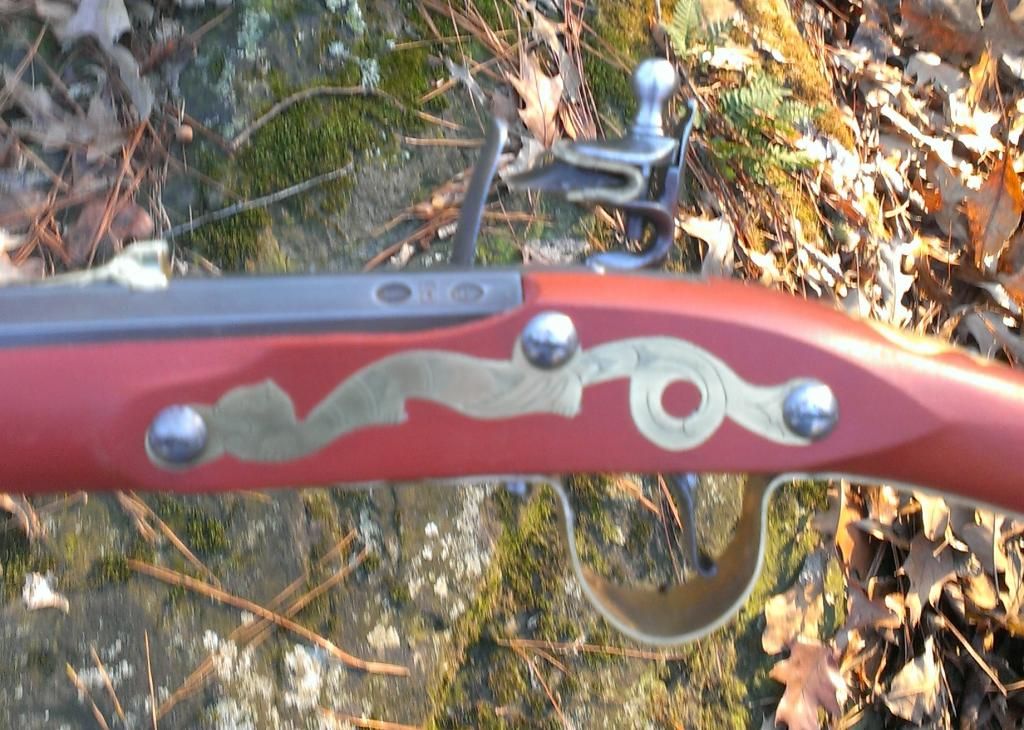
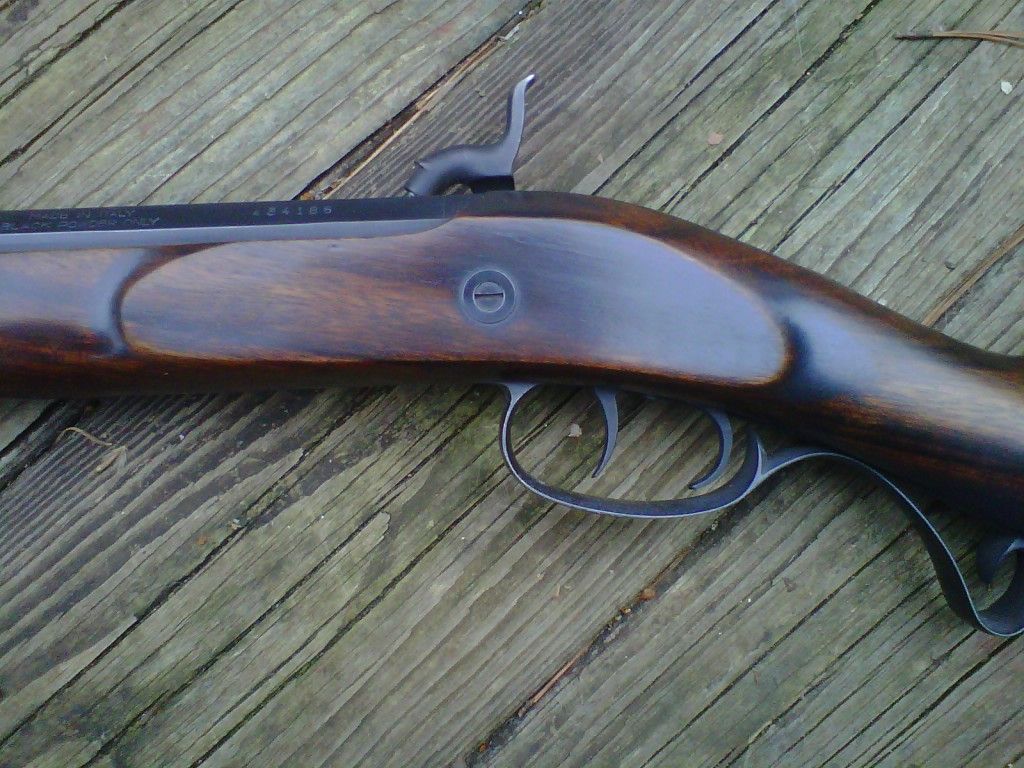
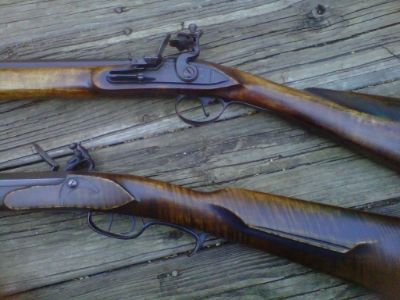
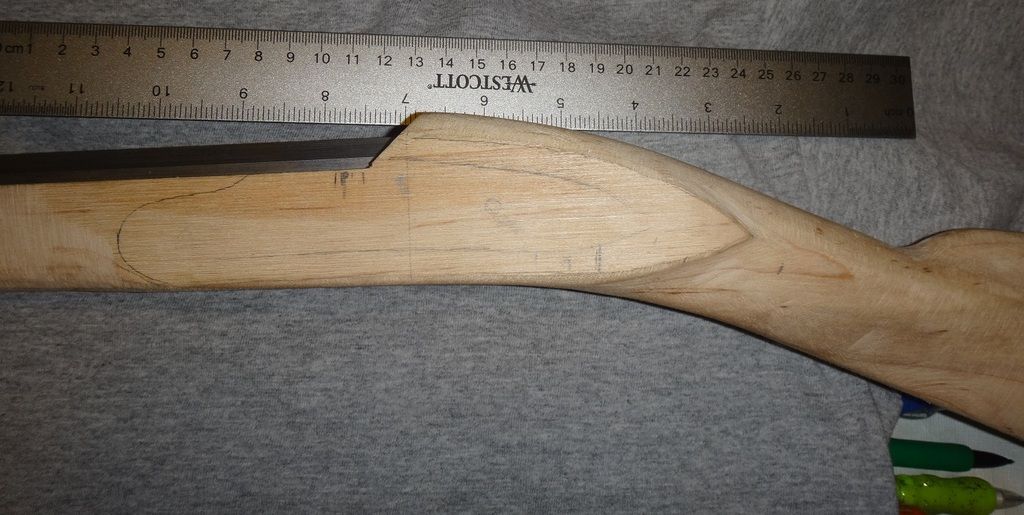
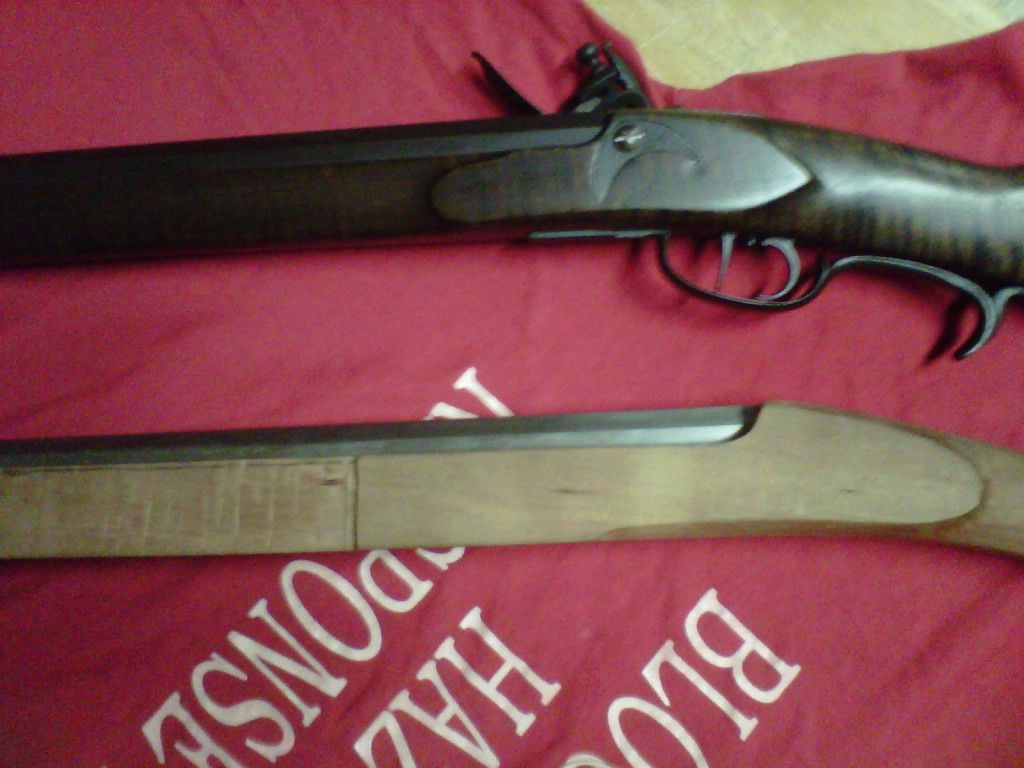
What I am trying to illustrate is the top line of the barrel continues into the wrist in a smooth line. Depending on the style, it will start to curve about where the tang starts past the breechlug.
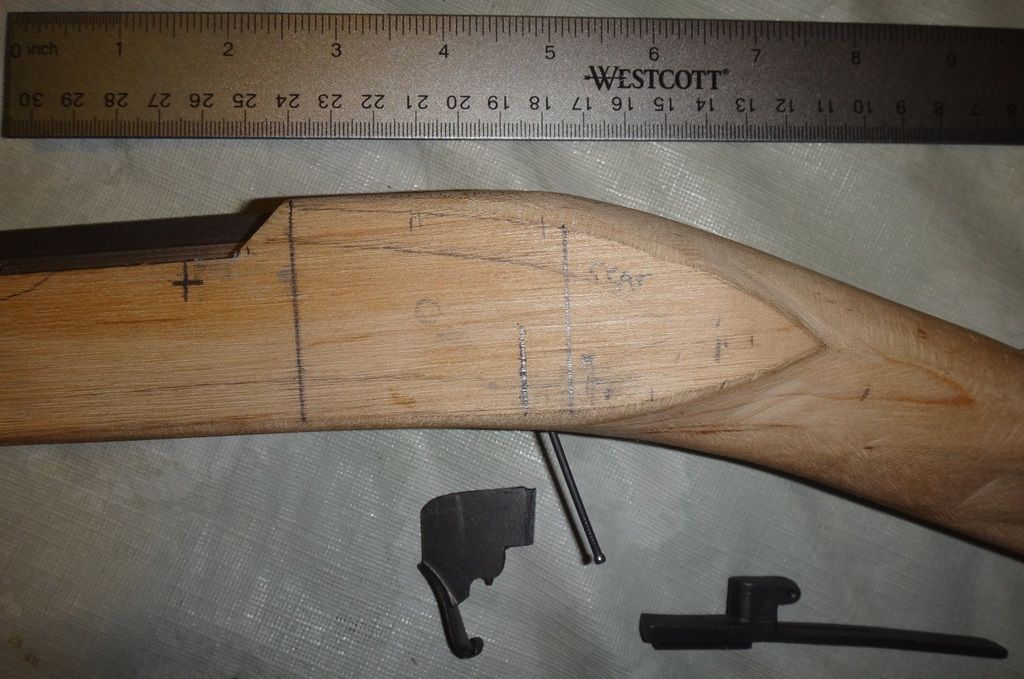
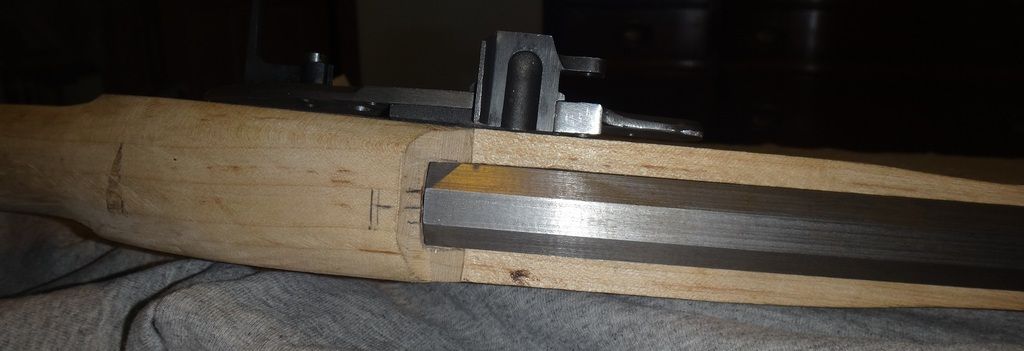
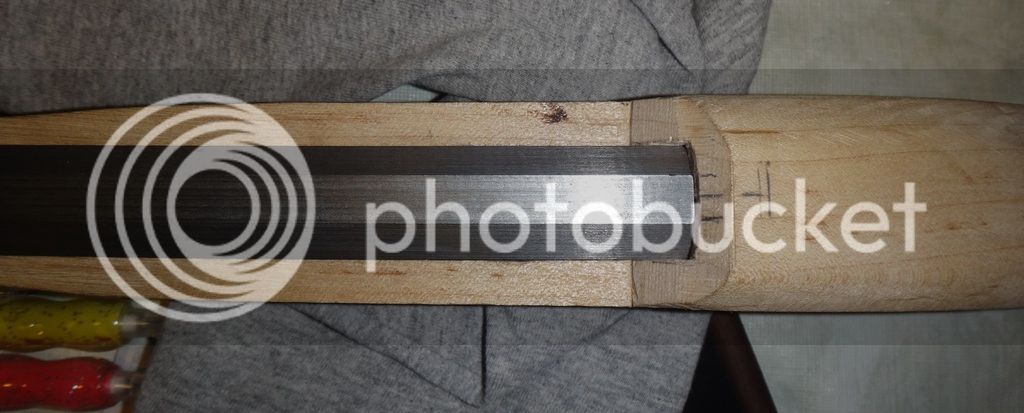
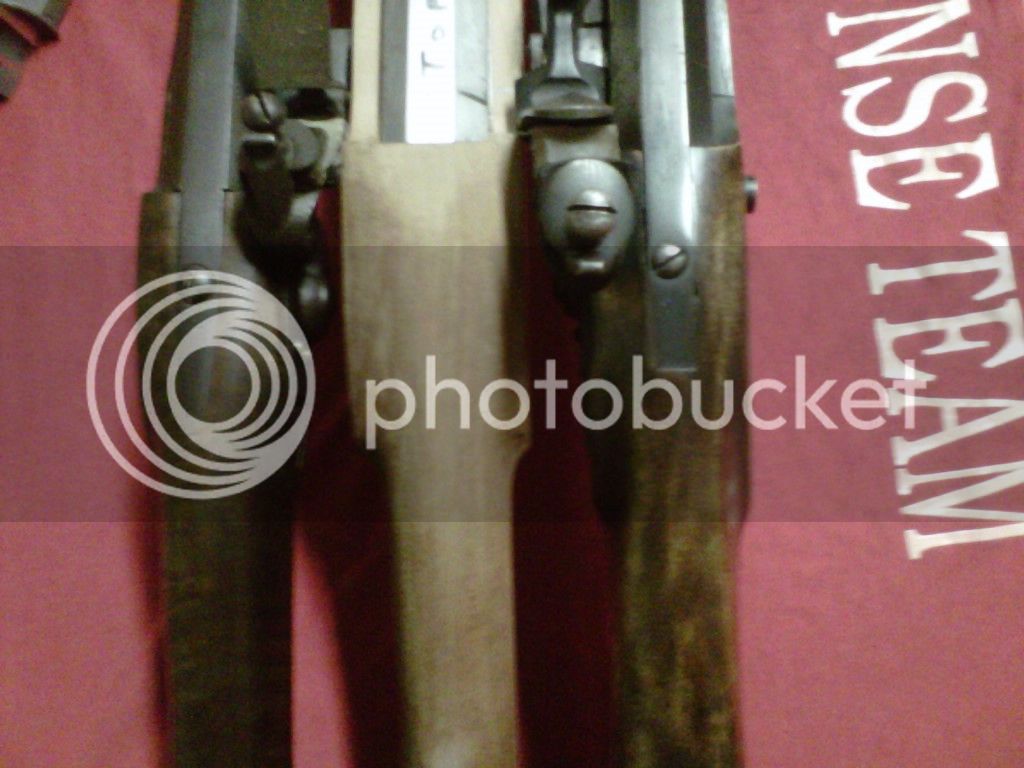
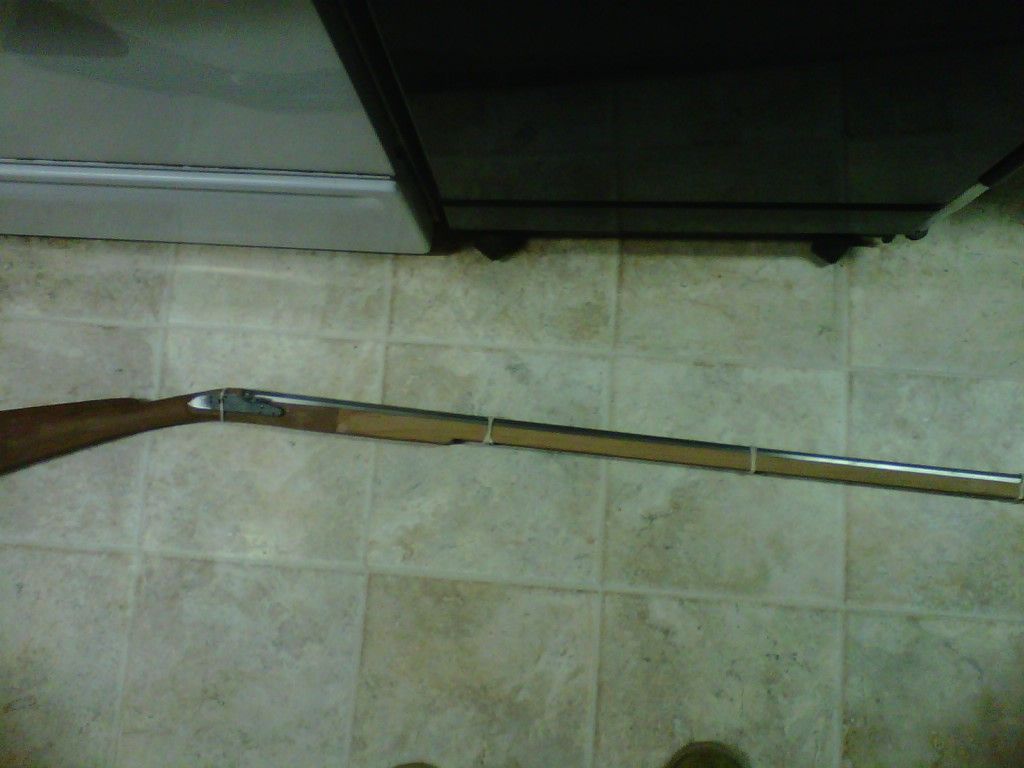
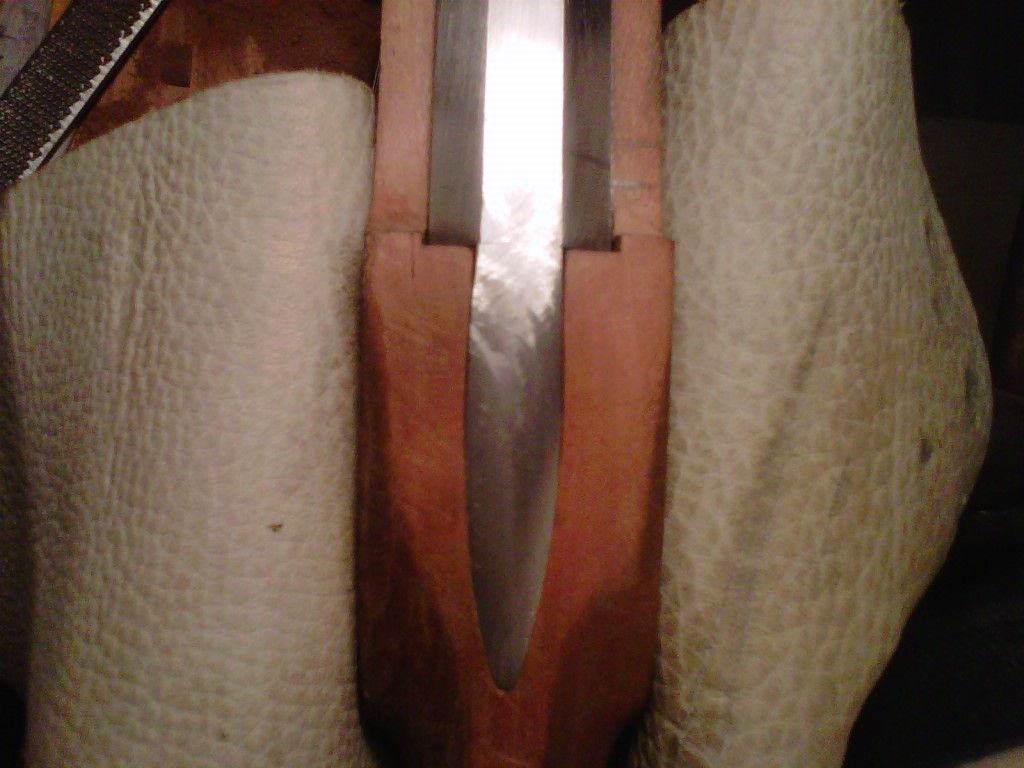
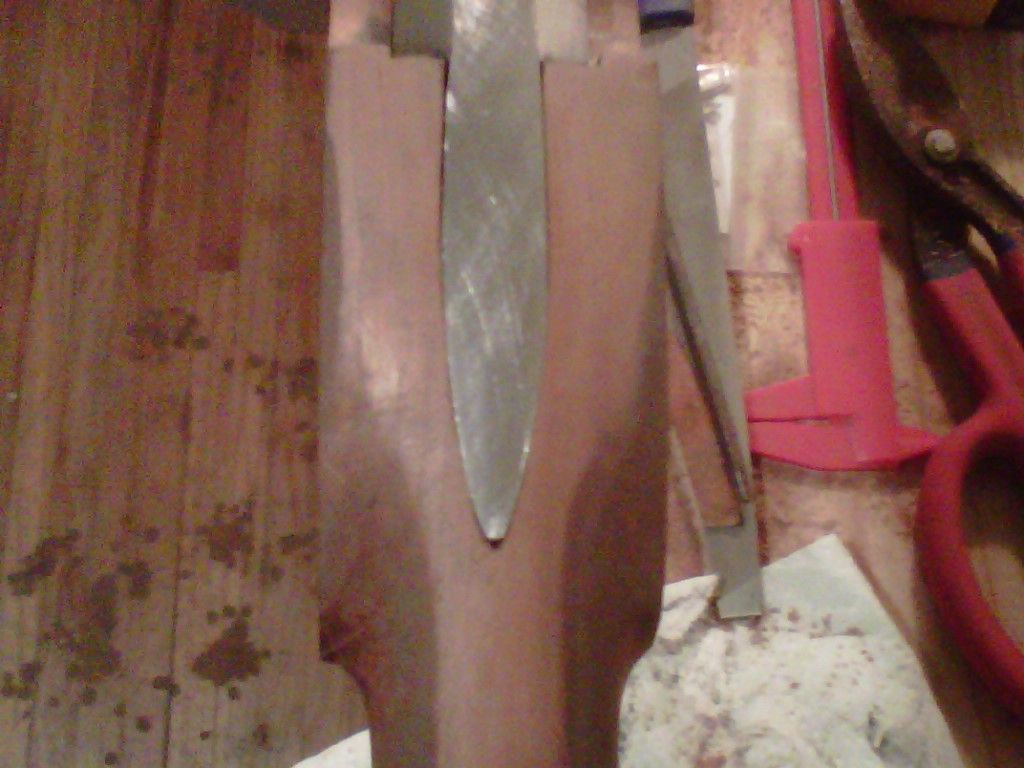
Attached is a picture of what I did today. I gave the top a haircut. I pretty much took the top 1/2" extra off. I am about 1/8" from being level with the top of the barrel. The shorter line is the trigger. I tacked in a nail to see what it would feel like. It's not bad, could go back a 1/4", but I could live with it.
Well, All I can tell you is what I would do. Frankly, you are going to have to have your head in the game on this one as you have some challenges to overcome. More on that in a moment.
If you are happy with the barrel location and it does look like it is set. Now is the time to get that topline even with the barrel.
Triggers are long way away right now.
I have no sense of muzzleloader taste here.
Not to be "smart" but you really need to learn. The only way is study, preferably handling originals, good contemporaries or at least studying photographs. I have some good photos of an original for my private use, PM if you want me to email them to you.
However, It does look like theres too much real estate on top there. My tang is a single 1 flat wide 3" long. I am tempted to shorten it down to 2 and 1/2 maybe a bit less. Still on the fence how to end it, rat tailed or bullet nosed, maybe leave it square.
That's up to you as far as tang shape length. A pointed tang is a PIA. Personally I would keep it simple with a straight tang.
You need to continue the barrel line straight over the breech area wrist and into
infinity...in other words continue that barrel top straight out the back. After that's done you have some options that being cleaning up the wrist line or starting your tang inlet. Personally I would clean up the wrist top line.
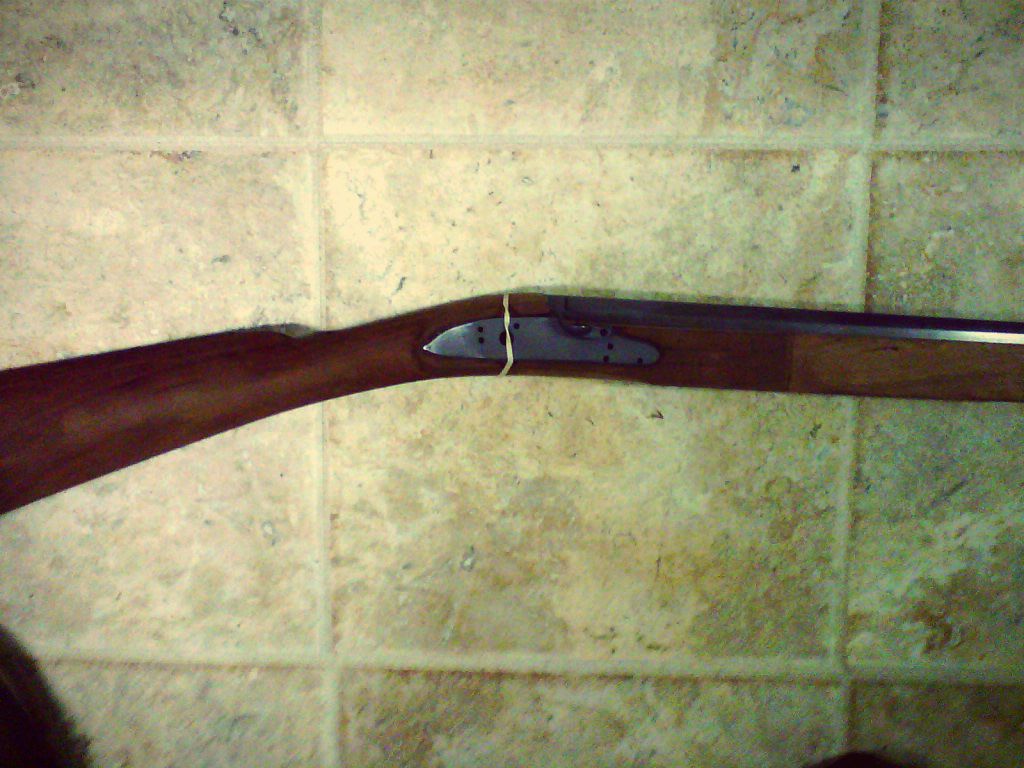
Since you removed the excess wood in the same plane as the barrel now you will have an obvious hump where the flat area meets the curve. You are not worried about nothing but that top line. This is going to be one of your first challenges with this stock. You want the barrel line to transition smoothly into the wrist. Think, go easy. You need a good wrist line because as you inlet the tang you will bend it to match that line.
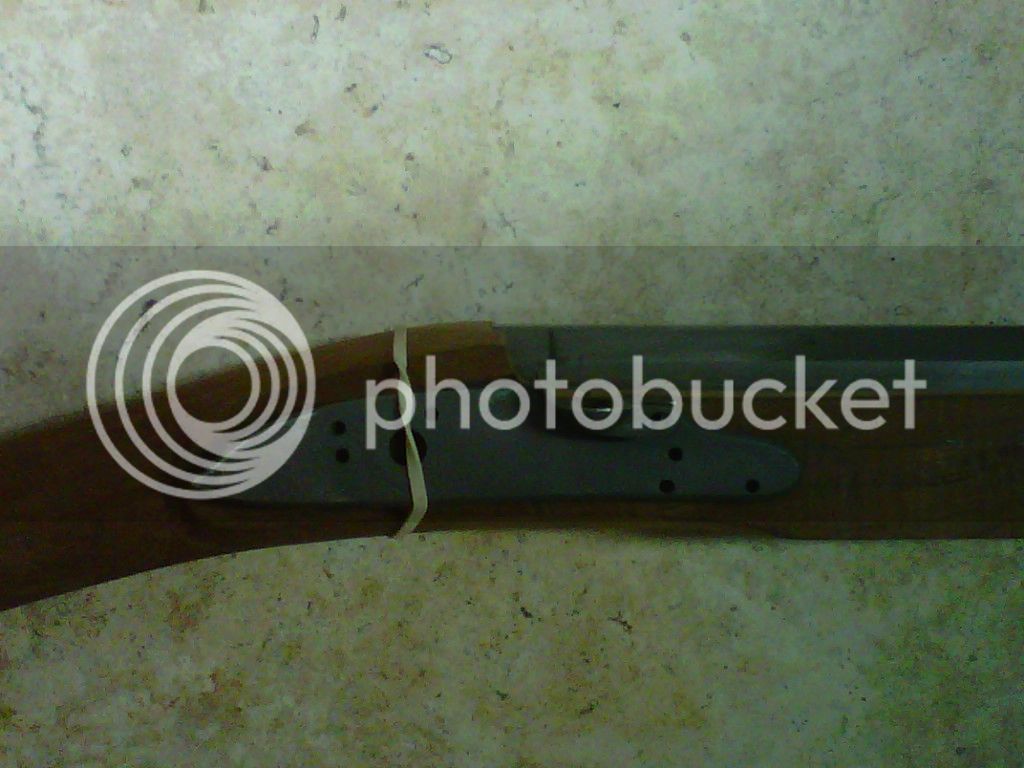
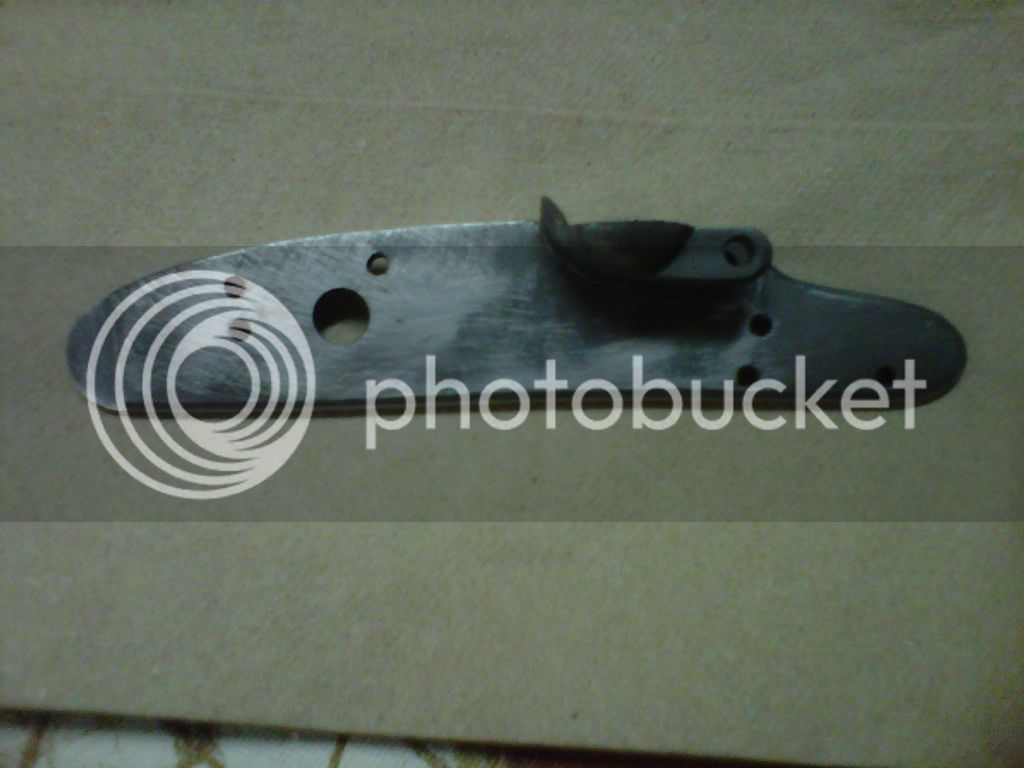
You can work on your tang, you can even taper it some... make it thinner if you want most are pretty thick. make sure it has the drafts on the sides. If the tang is tapered or thinned a little
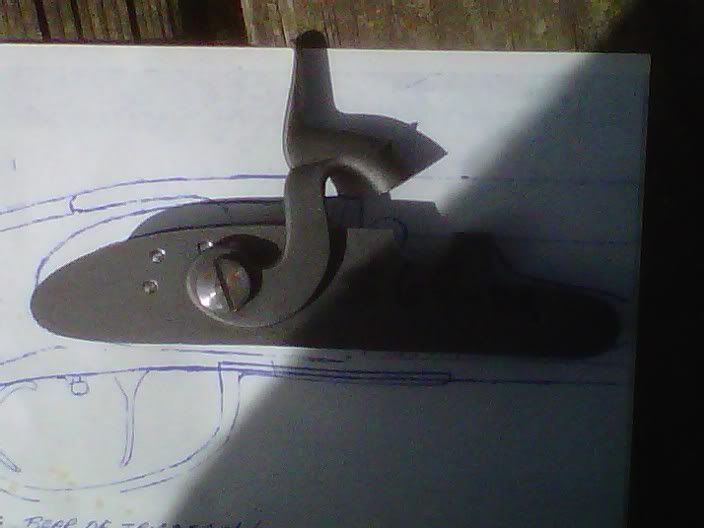
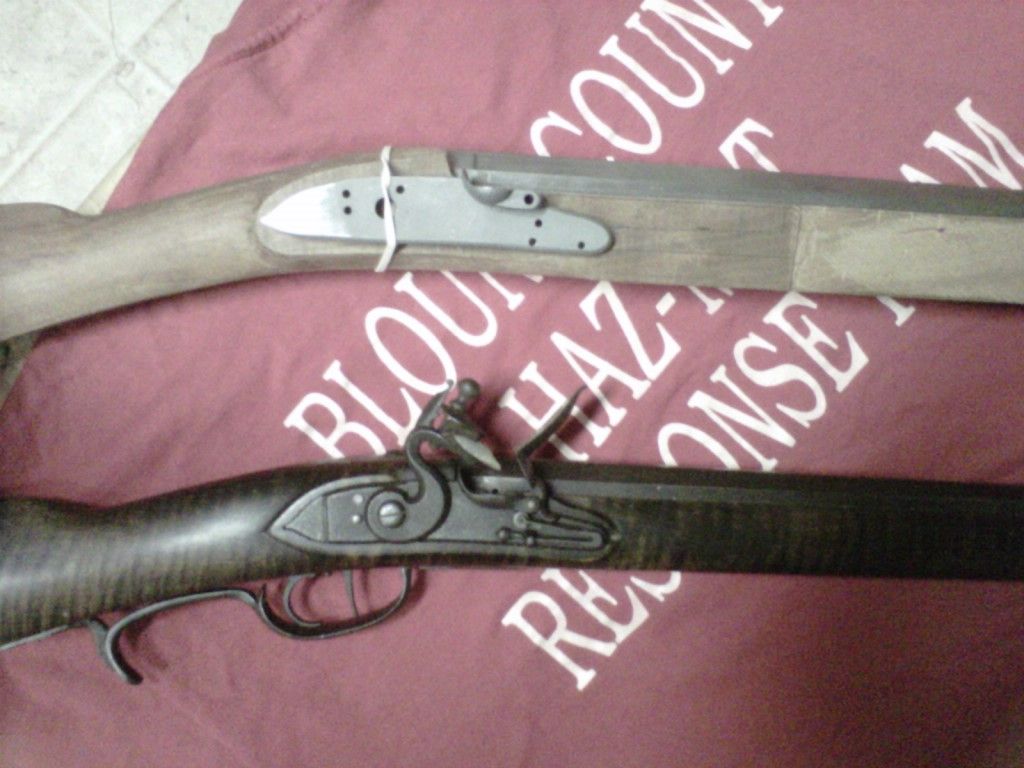
Note the blue drawing with the percussion lock, look how thin that tang is It makes it easier to bend. I bent my tang on the vise matching the curve with a piece of wire that matched the curve.
I would of profiled the wrist a bit more, but didn't have my grenville book with me and didn't have the ideal numbers for the wrist. It's needs smoothening out to get that nice oval.
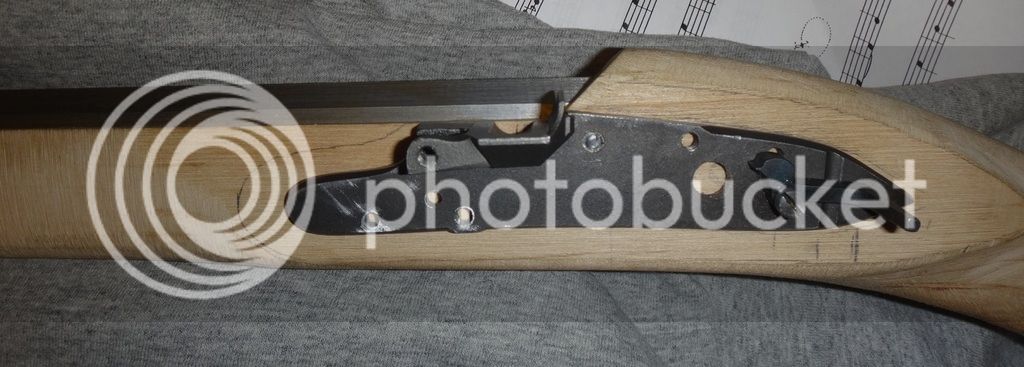
IMHO that's a long way away, not until you get the get the lock inlet. The only thing you should be concerned about is that top line, the barrel flowing into the wrist. Once you get the barrel pinned, tang set, lock inlet then you can go to town with the shaping. As Alexander says you have no real knowns until then...Why...Because it looks like you are using a generic stock for as large as a 1inch barrel. Those lock panels should mean nothing to you right now. Now they look like the Saratoga. Its not until you get the lock in and your proper panels outlined and then you can worry about the wrist.
My top face of the barrel channel need to go down about .1" inches. I am assuming it down to 1/2 flat. I don't own a block plane. Do I need to buy one now, or just use sandpaper, or a large file.
A file will do fine, it maybe slow but that's OK. If you need to take the rails down use a straight edge to mark what you are removing. Do one rail at a time. I used a flat chisel to cut the swoop and cleaned it up rat tail for the transition into the breech. If you use sand paper make sure you back it.

When you do your rails, go ahead and do the swoop where the rails terminate into the breech/wrist of the stock. I revealed a little more than half on this rifle. Revealing more as I got to the breech. It's up to you. I was going to set my lock pretty low. Keep in mind with a 13/16 barrel be careful how low you set your lock , too low and the pan may be lower than the flat...a disaster.
How should the rear of the pan transition to the curve of the wood as it goes up the breech to the top.
Just do both rails the same like in the photo. the lock will go where it goes IE where you put it for ideal vent/breech interface, it's OK if it is down the rails some
many originals were that that way and most contemporaries are due to the longer breech plugs.
I hope I have not confused you. This is one of those thing I could point it out face to face but it's kind of hard to articulate through this medium.
A final word about shaping as you were concerned with numbers out of the Grenville book...that boat may have sailed when you ordered this stock. Grennville is about building from a blank. This is why I said you need to have your head in the game.
TVM makes good stuff. But the web of ramrod channel tends to be thicker making their guns a little slab sided. Since you are going with a small barrel You are going to have to figure out what the best balance will be. The book is reference but there may be some things you'll have to tweak a little the keep the lines flowing.


 And also try to save some other some of the headaches I have had