this was fun to watch:
The Ultimate Functional Workbench
The Ultimate Functional Workbench

lol, right! part 2 is even better!That's awesome! Thanks for sharing.
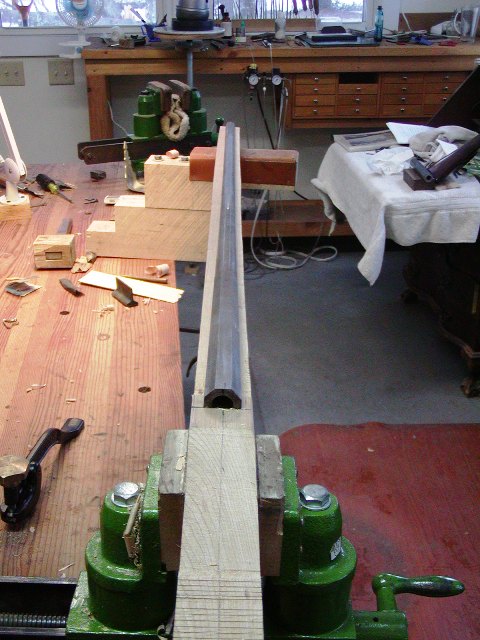
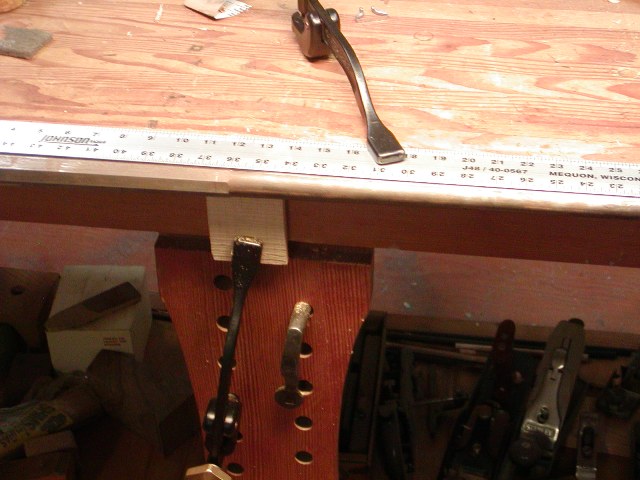


no plans yet I hope !Hi Sam,
Please wait until I croak.
dave
He's one where a guy took the French Roubo style (yours) and combined it with the English Nickleson style.Hi,
That bench would drive me nuts. The framing around the top is too thick to attach any vises that can be clamped in place. While the sides are flush fitted, he made no provisions for leg vises or any way to clamp work to the sides. Here is a work bench made for work not show and tell:


dave
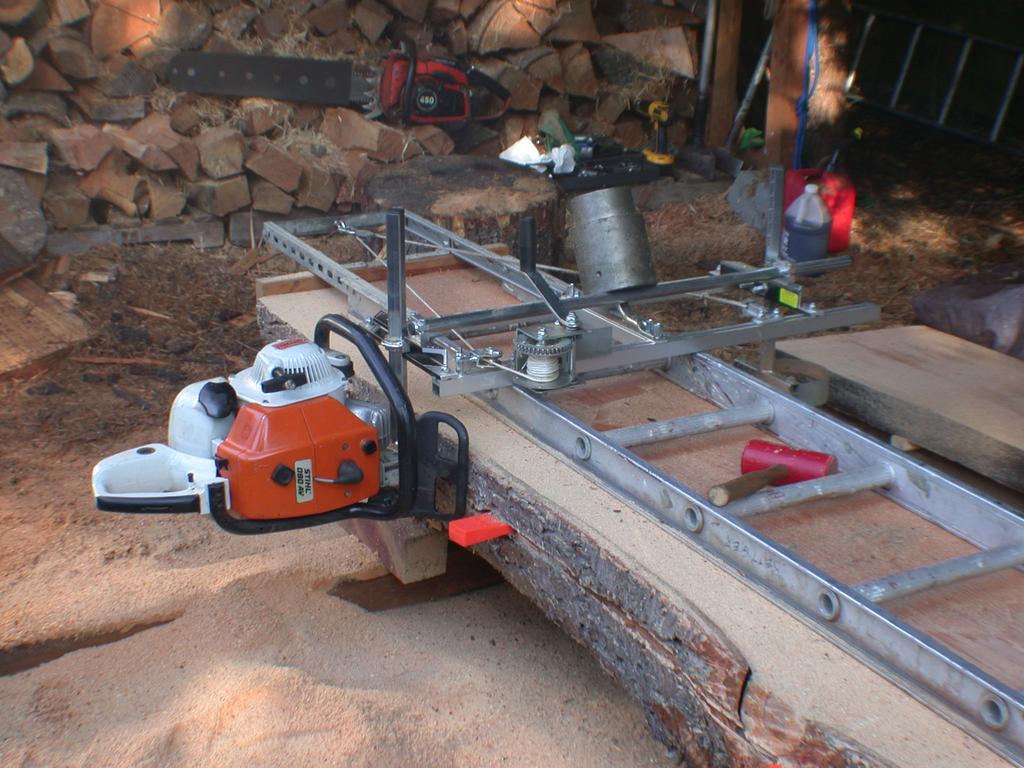
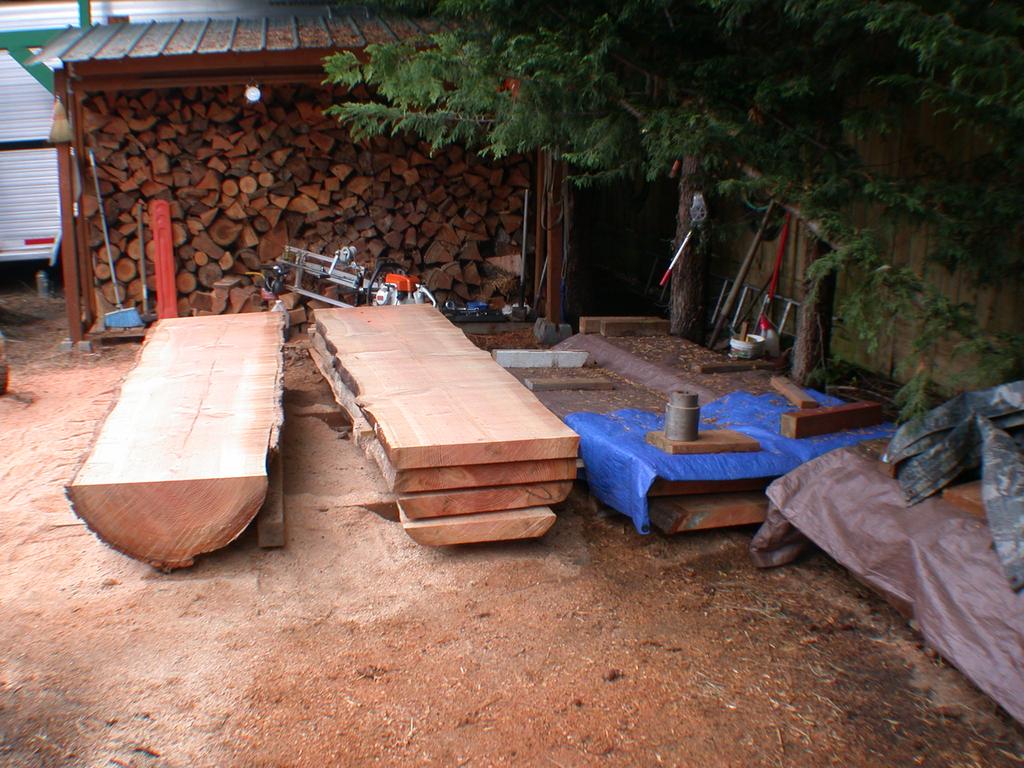
I'm considering an English Joiners bench, Nickleson or a hybrid of the two. I'm definitely going to make the Roman low bench for other applications, might even start out with that. Or not......Hi kje54,
That is a nice bench and the fixed apron on the side opposite the leg vises could be very useful. I don't know how much folks know about the Nicholson benches. They are sometimes called "English" benches and were designed to be very strong and rigid but conserve wood and be fairly light in weight. The thinner tops were supported by a torsion box frame of fairly light wood that was very strong. They were a reaction to the heavy Roubos that required heavy, thick solid wood tops and legs. If you need a good woodworking bench that you also have to move around occasionally, the Nicholson design is a great choice.
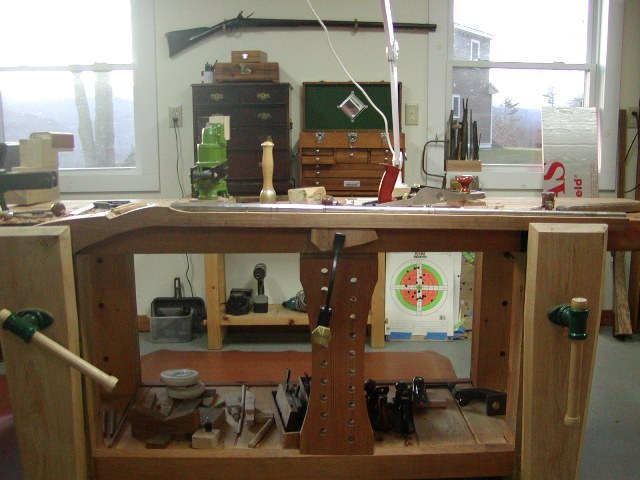
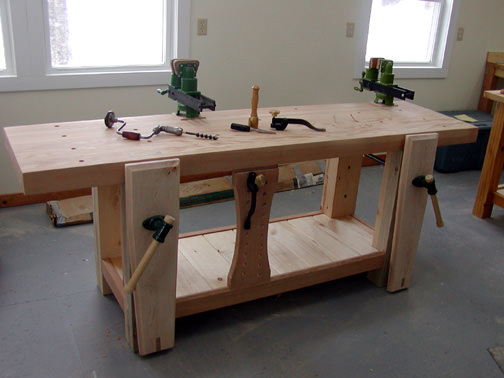
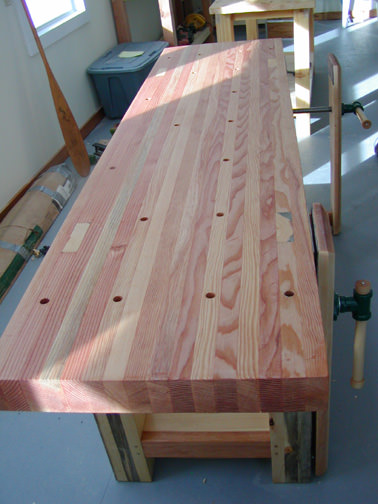
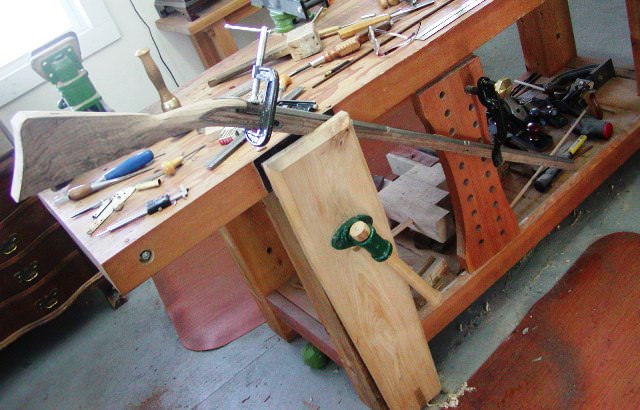
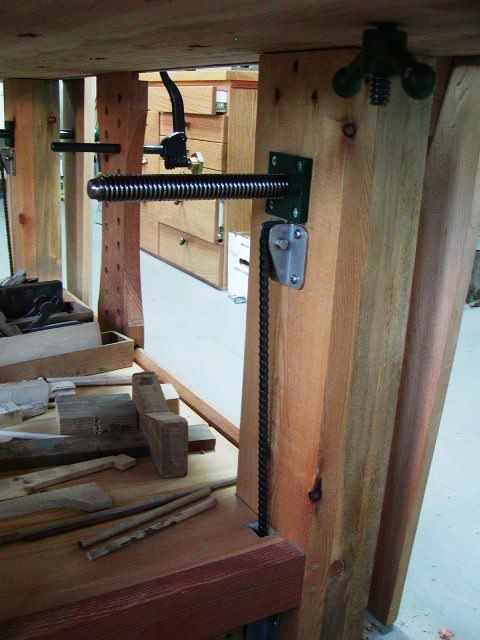
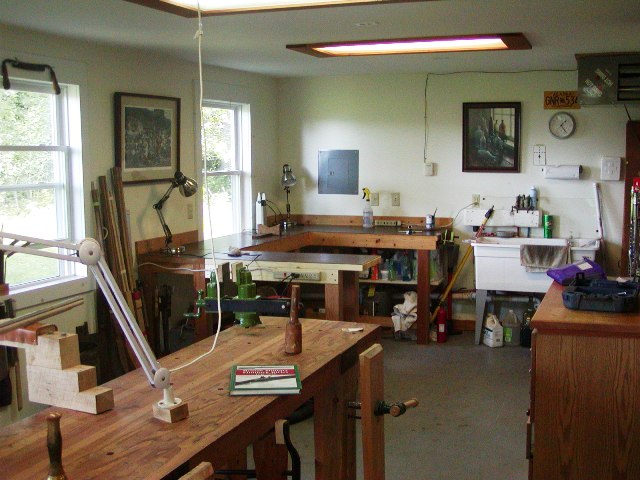
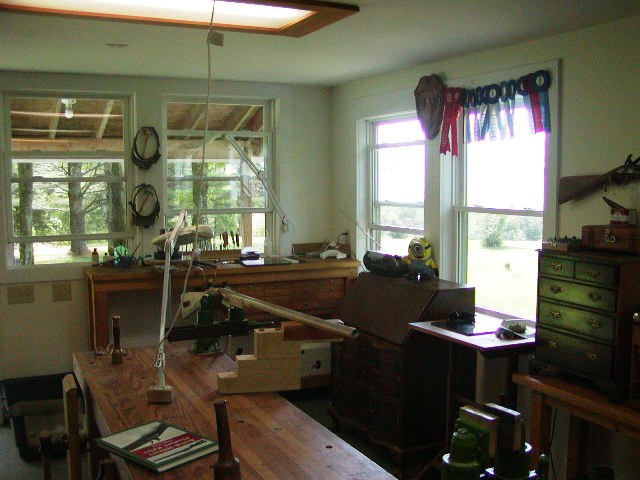
In the photos of my bench the first one shows a rough stock clamped to the side of the bench for barrel inletting. I made the bench height such that when I swing my mallet to strike a gouge during barrel inletting, at the end of my stroke, my arm is still ever so slightly bent at the elbow. That completely eliminated the tendonitis I suffered as I grew older when whacking in a barrel channel, particularly in hard maple. Although I often send stocks and barrel off to Dave Keck to have him machine inlet the barrels, over the years I've had so much work that I would have a couple of projects sent to Dave while doing one from scratch in my shop. So having the bench at the right height saves me a lot of grief. Then when I put work in the pattern makers vises on the other side of the bench, that lifts it up 8" so I don't have to bend over so far. The photo of the gun in a leg vise and supported by the sliding deadman (board with all the holes in it) with the butt end tipped up shows how I position stocks when inletting butt plates. The end of the stock is right in front of my face making the job really easy. Many folks like a walk around bench for gun work. All I have to do to have that advantage is move a pattern makers vice to a hole near the end on the bench so the stock sticks out a ways from the end. Finally, the holes in the top of my bench are useful for stops and bench dogs to clamp and secure work. In addition, I've mounted my task lamp on a base that fits into those holes so I can move my lamp wherever I need it. The photos below show a chain drive my friend Jim Ritter designed and made that keeps the bottom of the wooden chop (leg vise jaw) always parallel with the top of the jaws. That prevents racking by the vice. Those leg vises are the strongest and most gentile vises you can use on wood. The guy in the video created a reinforced desk, which is not necessarily a good design for wood working.


dave

Enter your email address to join: