- Joined
- Nov 26, 2005
- Messages
- 5,223
- Reaction score
- 10,881
Hi,
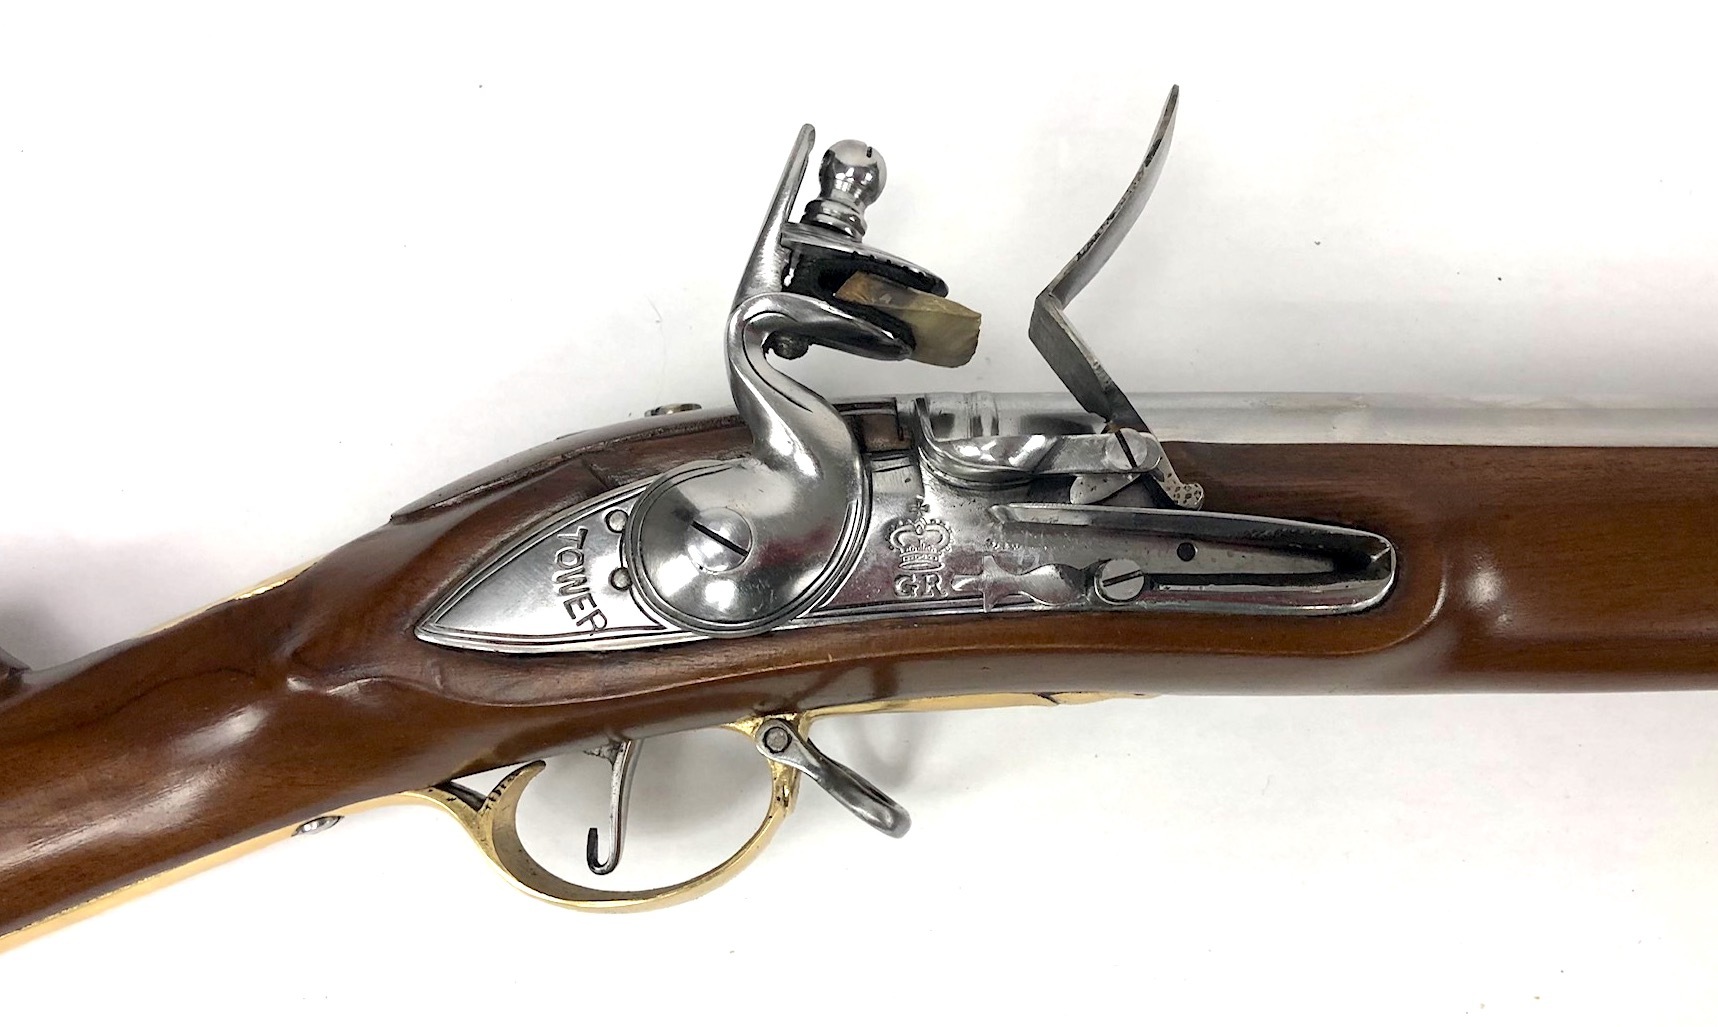
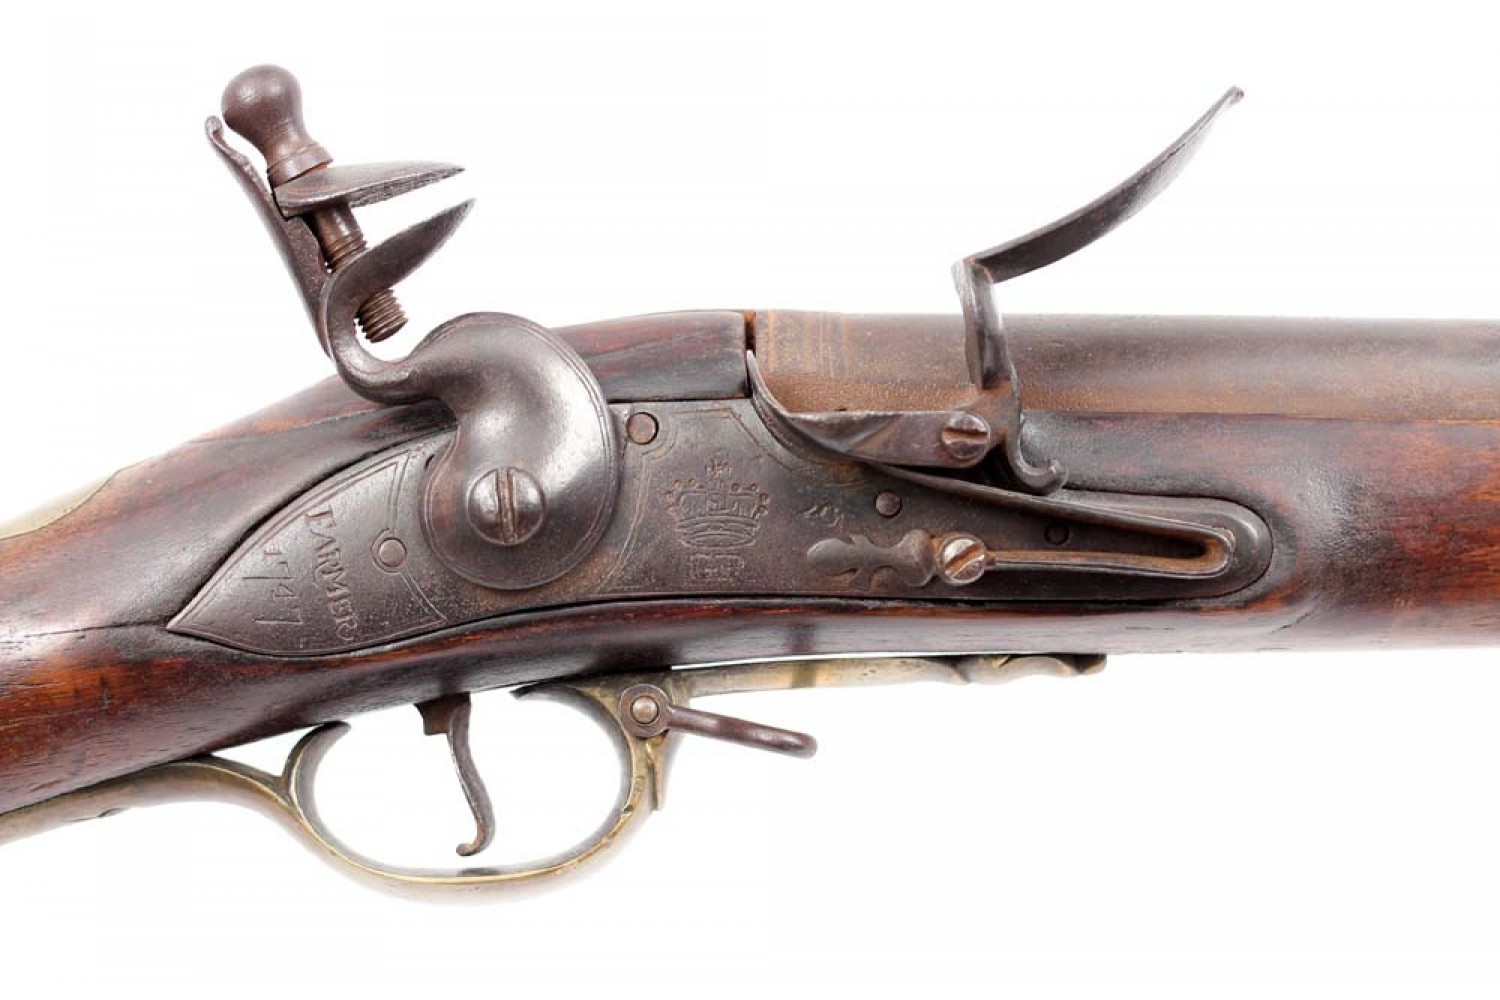
Got a lot done. This will be a big post. First, let me begin with the trigger and trigger guard. We pinned the trigger so the sear of the lock hits the trigger bar about halfway back on the trigger. This gives a pretty good trigger pull with little creep and is correct for our gun given our plans and historical consistency. However, there is a problem. All the modern cast triggerguards are undersized compared with the originals. The Bess guard from Goehring is so small it is useless, the guards from Pedersolis and Mirokus are too small and mishapen, and even those from TOW and TRS are a bit smaller than the originals. That shrinkage makes it hard to move the trigger back to a proper position without the guard interfering. We solved that by giving the trigger a slight forward curve and then thinning the inside of the bow as much as we dare. The Bess guard is not hard to inlet but it must sit down firmly on the trigger plate in front and at the rear. After cleaning up the cast guard, cut the slots for the forward lug and the rear lug so the guard can be set down on the stock. Don't obsess with maiking those slots precise because the lugs are going to move as you inlet the guard. The forward lug should be long so the cross pin is within the lock mortise. Now inlet the front first but don't be worried that it does not sit down on to the trigger plate until the rear extension is partially inlet. Then start inletting the rear extension working back so as the guard sits down in the mortise, it moves a little bit forward. It is important that your trigger plate is inlet well so both the front and tail are strongly supported by the mortise. Fit the front extension first and clamp it in place, then work toward the rear until the rear extension is in. At that point pin the front and rear lugs.
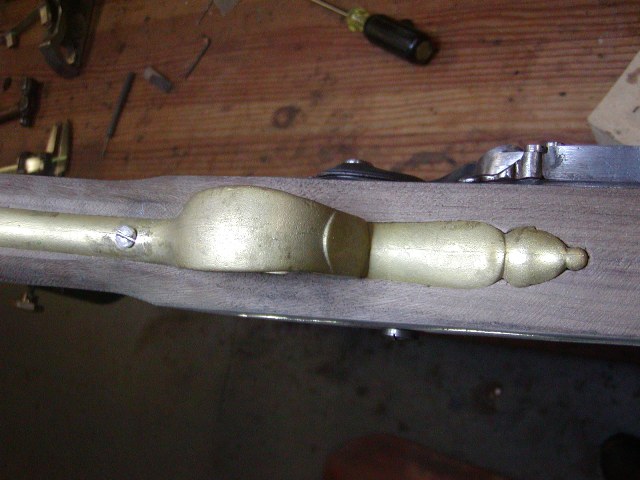
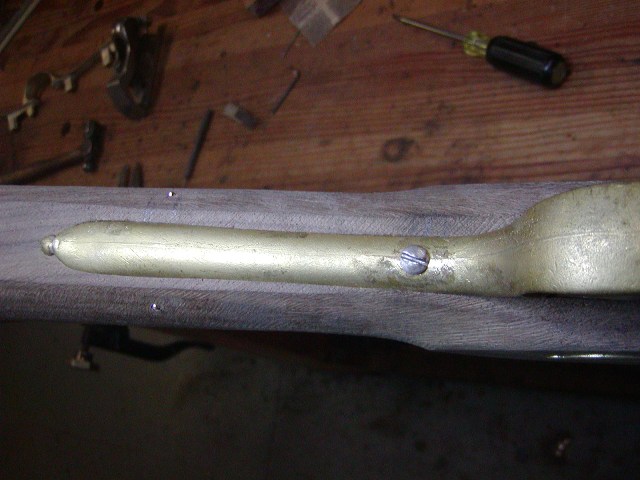
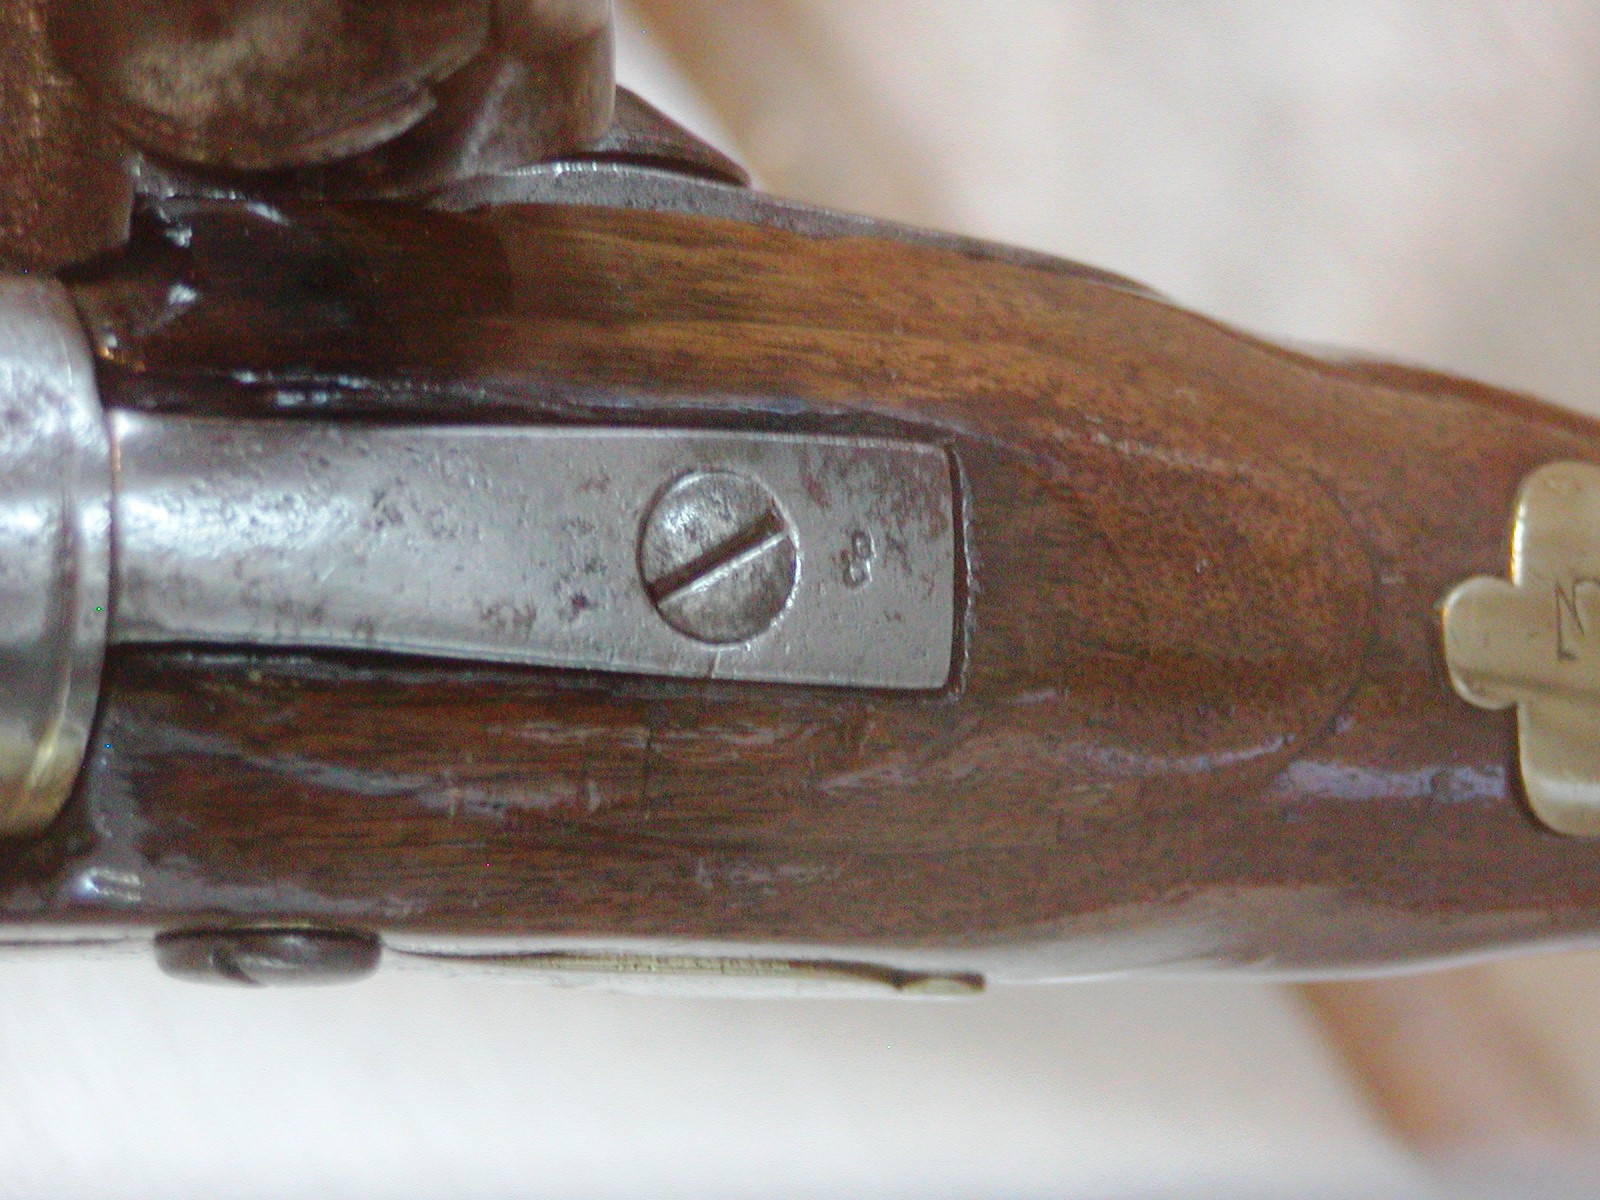
Ignore the screw for the wrist plate in the photos. That gets installed later. Once the guard is in place it should rest on the trigger plate with no gaps front and rear.
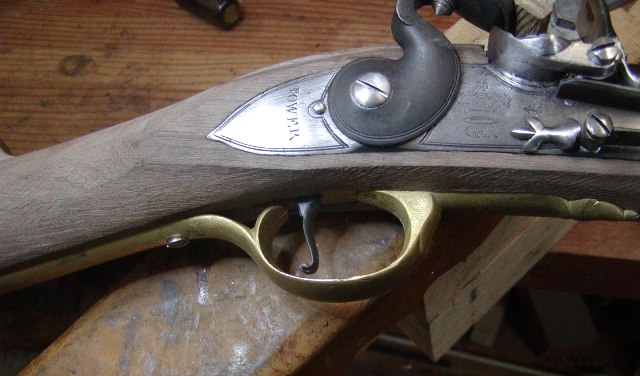
Next up the wrist or thumb plate. The screw anchoring the plate goes through the trigger guard, rear of the trigger plate and the wrist, threading into the boss on the underside of the wrist plate. Our plans allow us to line this stuff up.
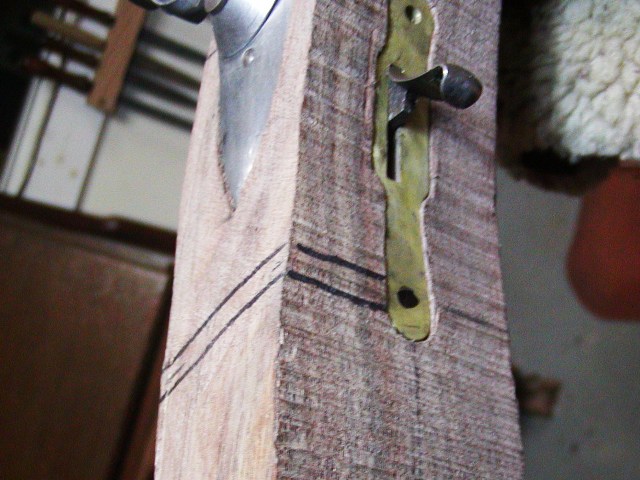
Then inlet the boss on the thumb plate and drill down with an undersized drill about half way. Locate where you want the screw head on the guard and drill an undersized hole using the guidelines to meet the top down hole. Then inlet te thumb plate. I gouge out the middle of the mortise so the plate sits down on the stock, and then outline and inlet it. Take out the plate and drill a hole the size needed for tapping the screw a short way into the center of the boss. Next install the plate and clamp it in place. Drill up from the bottom with the same drill such that the shallow hole in the boss catches the tip of the drill guiding it into the hole in the boss. Drill a hole 3/4s of the way through the thumb plate. Remove the plate and drill the clearance hole through the triggerguard, trigger plate, and stock. Install the plate and using a pulley tap of the right size, start threading the boss with the plate in the stock until you need a bottoming tap. Then remove the plate and finish the threads using a bottoming tap. I am typically using 10-32 screws, and taps. Finally, make a proper oval headed bolt and countersink the trigger guard for the head.
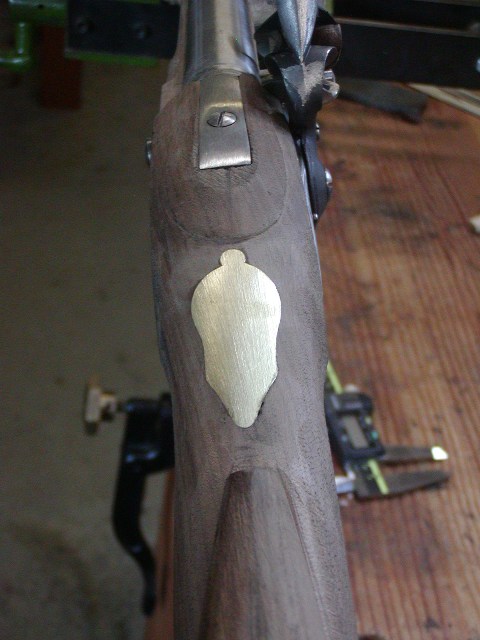
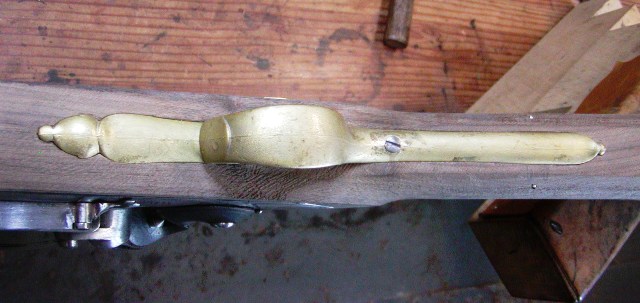
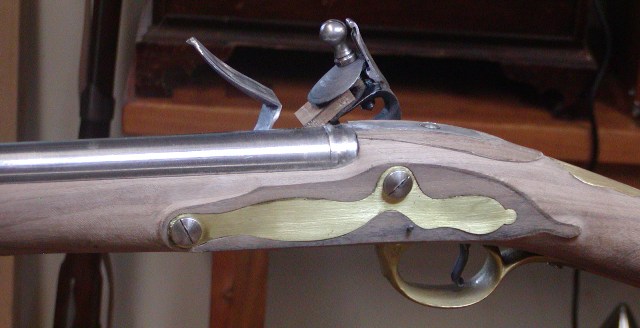
Now if you inlet the guard well, the screw into the wrist plate will pull the guard down into its mortise without pulling it forward. Regardless, if you already pinned the rear lug, it cannot move forward and you will be OK but it is better to have the guard hit the rear of the trigger plate preventing it from sinking in too far. Next up is the side plate. I made this one using the pattern in Bailey's book on British military arm patterns. It is much bigger than those on the repros, which are too skinny and anemic. I made it from 0.08" sheet brass.
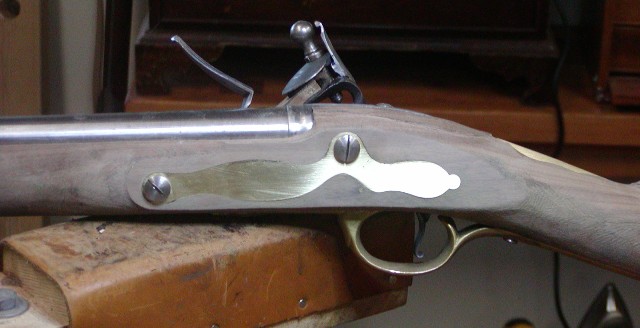
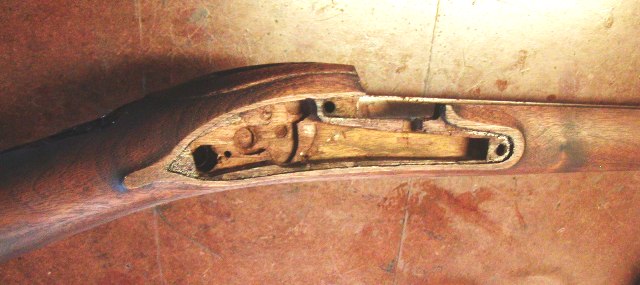
It is inlet flush with the stock and does not have any cups for the lock bolts. With that, the gun is assembled. Now to final shaping. The lock panels are very thin and do not have to match side to side. The tails are usually indifferently shaped if there are any.
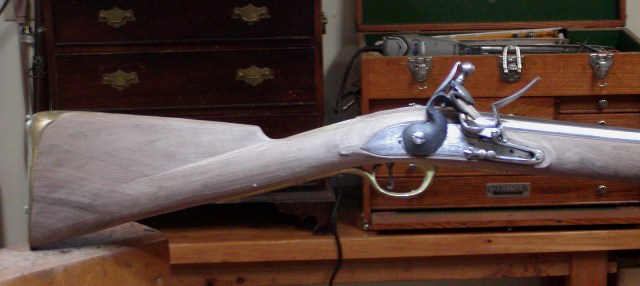
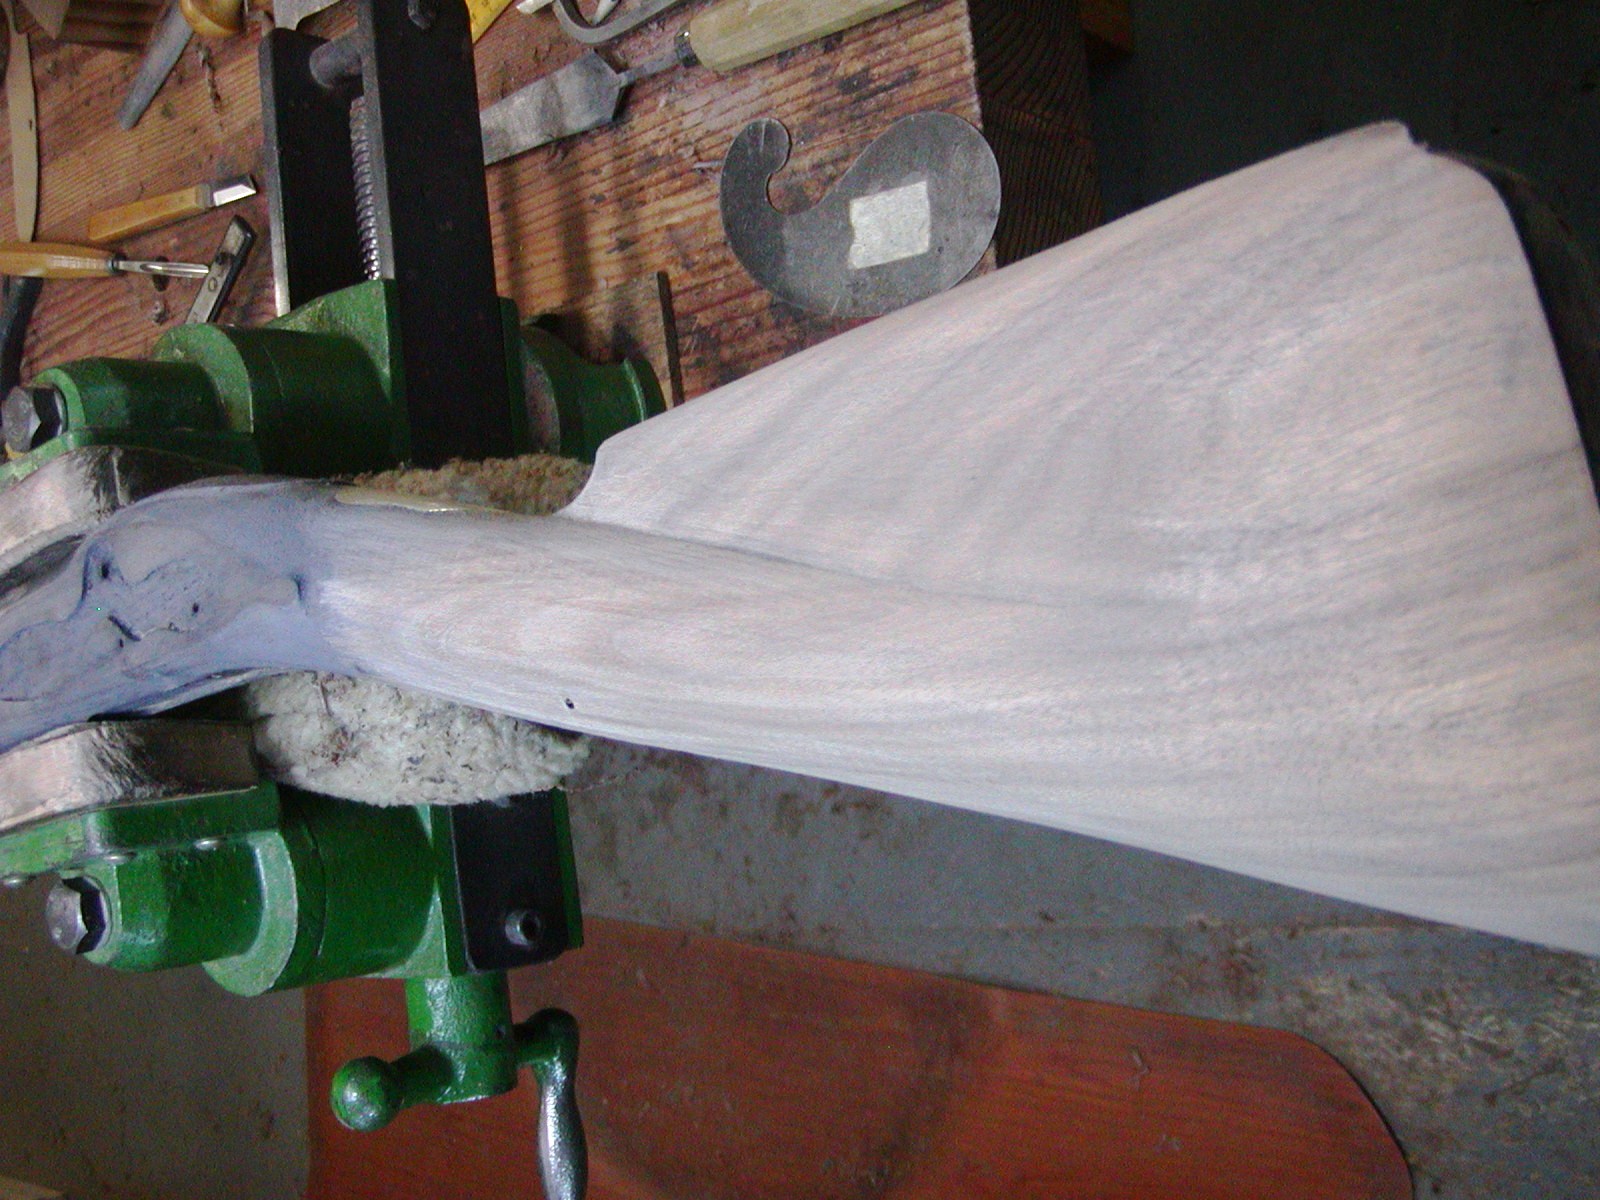
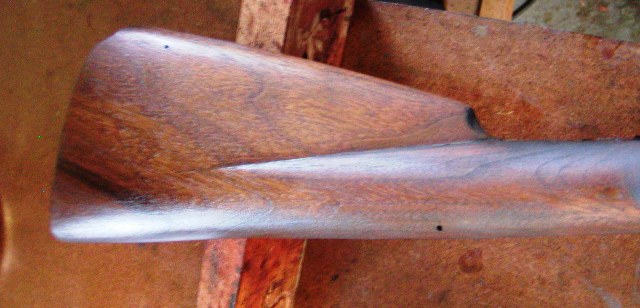
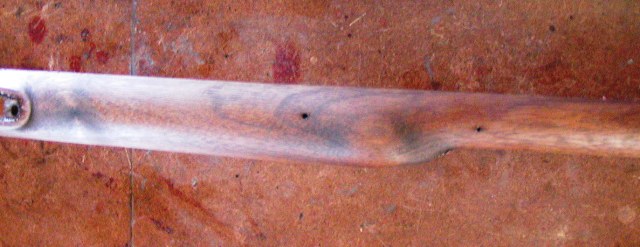
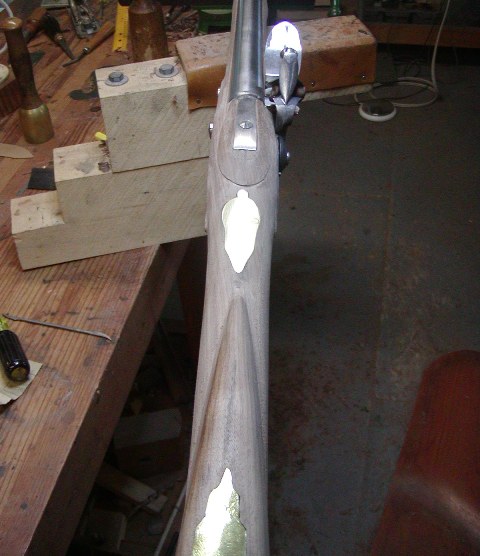
The butt has a well shaped rounded comb and well defined handrail wrist.

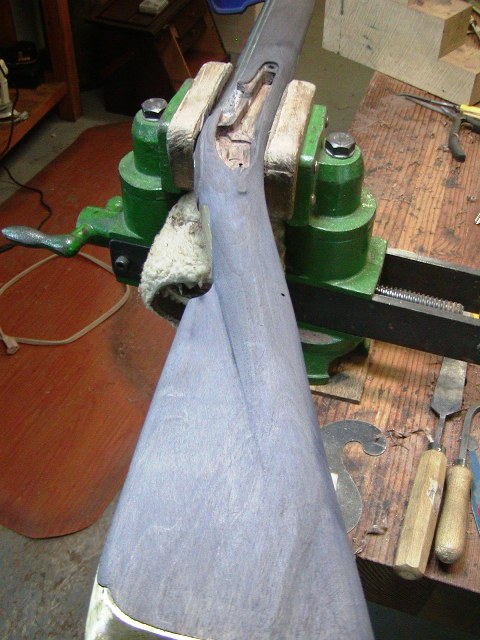
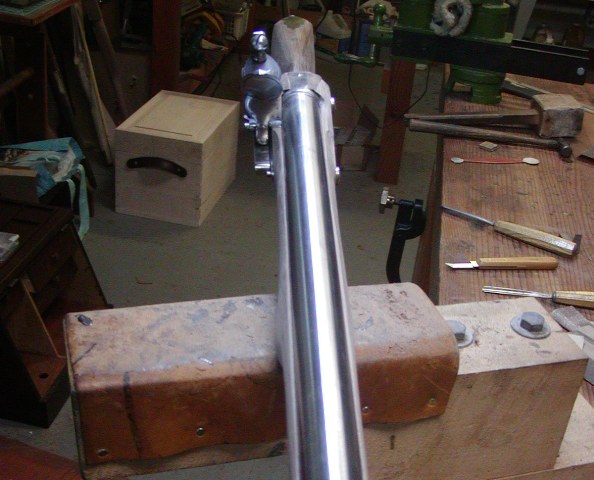
The stock forward of the lock is very slim with little extra wood.
It is an elegant gun.

More details to come.
dave
Got a lot done. This will be a big post. First, let me begin with the trigger and trigger guard. We pinned the trigger so the sear of the lock hits the trigger bar about halfway back on the trigger. This gives a pretty good trigger pull with little creep and is correct for our gun given our plans and historical consistency. However, there is a problem. All the modern cast triggerguards are undersized compared with the originals. The Bess guard from Goehring is so small it is useless, the guards from Pedersolis and Mirokus are too small and mishapen, and even those from TOW and TRS are a bit smaller than the originals. That shrinkage makes it hard to move the trigger back to a proper position without the guard interfering. We solved that by giving the trigger a slight forward curve and then thinning the inside of the bow as much as we dare. The Bess guard is not hard to inlet but it must sit down firmly on the trigger plate in front and at the rear. After cleaning up the cast guard, cut the slots for the forward lug and the rear lug so the guard can be set down on the stock. Don't obsess with maiking those slots precise because the lugs are going to move as you inlet the guard. The forward lug should be long so the cross pin is within the lock mortise. Now inlet the front first but don't be worried that it does not sit down on to the trigger plate until the rear extension is partially inlet. Then start inletting the rear extension working back so as the guard sits down in the mortise, it moves a little bit forward. It is important that your trigger plate is inlet well so both the front and tail are strongly supported by the mortise. Fit the front extension first and clamp it in place, then work toward the rear until the rear extension is in. At that point pin the front and rear lugs.


Ignore the screw for the wrist plate in the photos. That gets installed later. Once the guard is in place it should rest on the trigger plate with no gaps front and rear.

Next up the wrist or thumb plate. The screw anchoring the plate goes through the trigger guard, rear of the trigger plate and the wrist, threading into the boss on the underside of the wrist plate. Our plans allow us to line this stuff up.

Then inlet the boss on the thumb plate and drill down with an undersized drill about half way. Locate where you want the screw head on the guard and drill an undersized hole using the guidelines to meet the top down hole. Then inlet te thumb plate. I gouge out the middle of the mortise so the plate sits down on the stock, and then outline and inlet it. Take out the plate and drill a hole the size needed for tapping the screw a short way into the center of the boss. Next install the plate and clamp it in place. Drill up from the bottom with the same drill such that the shallow hole in the boss catches the tip of the drill guiding it into the hole in the boss. Drill a hole 3/4s of the way through the thumb plate. Remove the plate and drill the clearance hole through the triggerguard, trigger plate, and stock. Install the plate and using a pulley tap of the right size, start threading the boss with the plate in the stock until you need a bottoming tap. Then remove the plate and finish the threads using a bottoming tap. I am typically using 10-32 screws, and taps. Finally, make a proper oval headed bolt and countersink the trigger guard for the head.


Now if you inlet the guard well, the screw into the wrist plate will pull the guard down into its mortise without pulling it forward. Regardless, if you already pinned the rear lug, it cannot move forward and you will be OK but it is better to have the guard hit the rear of the trigger plate preventing it from sinking in too far. Next up is the side plate. I made this one using the pattern in Bailey's book on British military arm patterns. It is much bigger than those on the repros, which are too skinny and anemic. I made it from 0.08" sheet brass.

It is inlet flush with the stock and does not have any cups for the lock bolts. With that, the gun is assembled. Now to final shaping. The lock panels are very thin and do not have to match side to side. The tails are usually indifferently shaped if there are any.


The butt has a well shaped rounded comb and well defined handrail wrist.


The stock forward of the lock is very slim with little extra wood.

It is an elegant gun.

More details to come.
dave


