Primer: There are several different checkering cutters.
First, there are several spacings that are standard like 16, 20, 24 and 32 lines per inch. The tool is more like a v file and the grooves are basically filed into the wood.
Within each of the spacing groups, there are cutters which have just one "file". This is used to start the first line. It is also handy for cleaning up areas where you only want to work on one groove.
A second type of cutter is a "double" which has one "file" blade and one blade without file teeth. This uses an existing groove as a pilot to start the next groove at the proper spacing. These come in right and left which allows you to work in either direction from your guide groove.
A third type is a double with file teeth on both blades. This is used to deepen the grooves while maintaining the proper spacing.
There are also boarder cutters to create little beads, and skip line cutters to allow you to create that style of checkering.
The cutters I bought are DEM-BART brand and work rather well.
The cost of each cutter is about $4 each. If you buy this brand, you also need to buy a handle for each cutter so that adds another $5 so we're talking about $27 for the minimum starter, spacer and finishing tool set.
To create the starter line I use a plastic drafting template but any straightedge you can easily bend to wrap around the curves of the stock will work. You can either draw the line with a pencil or scribe it into the wood.
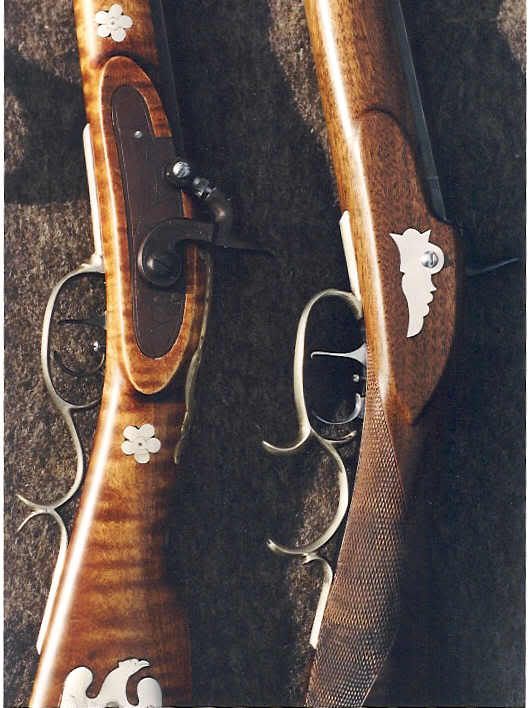
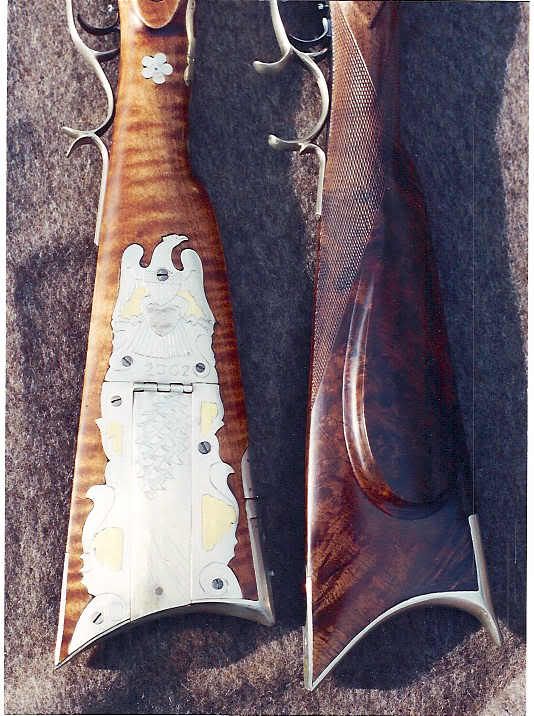
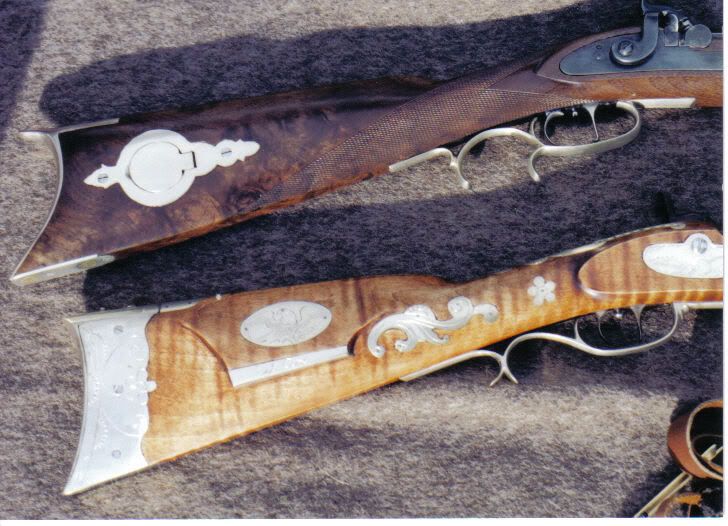
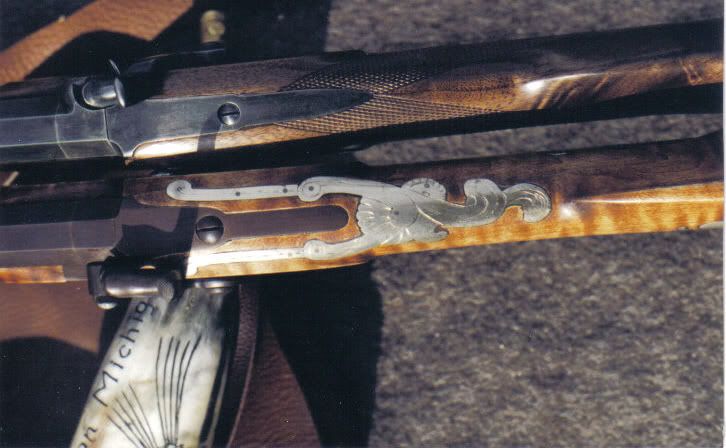
Walnut is pretty good to work on. Curly Maple is a lot more challenging because your cutting thru twisted wood grains and they make the cutter want to "jump" or "walk off line" until you have a good deep groove to follow.
As with a lot of these gunsmithing things, they take practice to get good at, and just when you think your doing well, the wood will teach you something else you didn't know.


