Erzulis boat
45 Cal.
- Joined
- Jul 14, 2005
- Messages
- 566
- Reaction score
- 78

I am not going to use the tabs with pins method of triggerguard attachment, and want to use screws.
After cleaning up the guard and removing the tabs, I could see that the finials were too thin to secure solidly with screws.
So, I broke out the torch, cut 1/16" thick plates, and soldered them on the finials for reinforcement. These plates have positive shoulders that allow a rock solid mount, and the trigger assembly is confined between the two shelves.
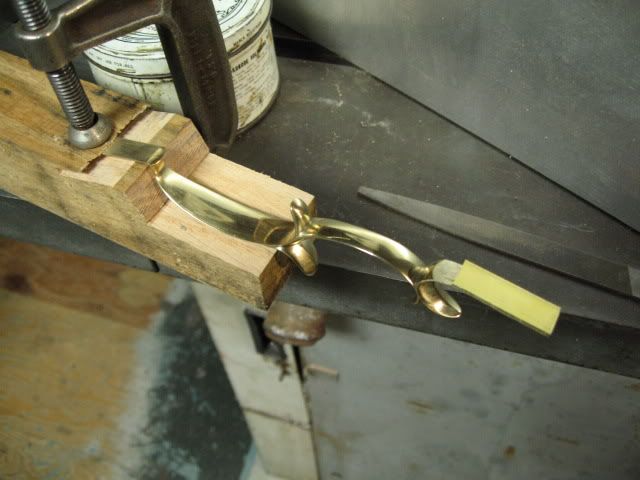
You can see the finial reinforcement placed on the rear finial before soldering.

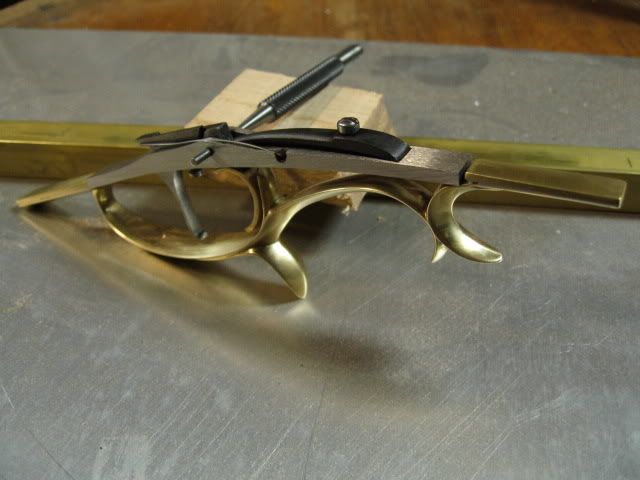
This is the job done, with the trigger assembly installed within the system.
The rear set trigger was modified in shape and composition. As you can see it is made of brass, and placed very close to the rear of the trigger opening. Just the curved portion is brass, and is silver soldered on the setting arm.
This makes the set trigger invisible at the first glance, and makes it look like a single trigger!
I had to modify things so that I had some room forward of the front trigger, so I could shoot it with gloves.
There are two different stories on how this came about-
I planned on using a brass trigger so that I could have it match the guard and could be clean and out of sight.........OR......I tried to bend the Davis steel one to mimic the curvature of the guard to put it very rearward, and snapped that modafrackie like a chimp...........You decide!
:haha:
Sometimes good comes from the bad!


