• Friends, our 2nd Amendment rights are always under attack and the NRA has been a constant for decades in helping fight that fight.

    We have partnered with the NRA to offer you a discount on membership and Muzzleloading Forum gets a small percentage too of each membership, so you are supporting both the NRA and us.

    Use this link to sign up please; https://membership.nra.org/recruiters/join/XR045103

Finish Questions for Kibler SMR stock

Muzzleloading Forum

Help Support Muzzleloading Forum:

This site may earn a commission from merchant affiliate links, including eBay, Amazon, and others.
Joined
Jan 30, 2021
Messages
326
Reaction score
666
My SMR kit should be here in the next week or 2, I went with a .40cal stocked in plain maple. I am an ok woodworker, having built two wooden homebuilt aircraft but I am very much a novice when it comes to wood finishing. In the aircraft woodworking world its all 2 part epoxy varnishes and cover it with fabric, no need to bring out the beauty of the wood!

I would like to get my finishing supplies on order so I can hit the ground running when the kit arrives, I have pretty much decided on going with the traditional iron nitrate stain and being a plain maple stock I will probably play around with some bone black to give it some character. When it comes to finishing oils though I'm pretty clueless, I've refinished a few modern gun stocks using birchwood casey tru oil but that yields a much glossier finish than I want on a flinter. I keep seeing references to "tried and true" oil finish and some research reveals they sell a half dozen different finishes under that name, which one are you guys using? I have also read of Tung oil being used but I haven't been able to find much on what the finished results look like. Kibler's sells permalyn finish and sealer but in at least one of his videos Jim seems to knock it a bit for its quick drying time.

can anyone steer me in the right direction regarding oil finishes? I would also love to see some pictures of plain maple stocked Kibler rifles and a brief description of that finish process was used.

Thanks for the help and input,
Chris
 
I used iron nitrate, 2 coats. Heated and the wood really popped. For a finish, I just used 6 coats of tung oil, from minwax. No gloss and it seems durable. Very happy with the result. I hope to get a Woodsrunner in March or so, and I'll do it the same way.
I bought Jacks Black for the barrel, and it was very poor. Then I did Birchwood casey, paste cold blue. It was also poor, but better than jacks black.
I fire blued steel parts with propane, and that worked out fantastic.
 
Kibler’s recommends the Permalyn, which, as you said, they sell. Jim also recommends Tried & True, there’s an Amazon link on the Kibler site to purchase it. The Permalyn does have a quicker dry time. The Tried & True takes a couple of days depending on temperature. Both are good.
 
Jim Kibler has some videos showing how he uses tannic acid and iron nitrate. He shows him using tried and true oil. Tried and true oil is boiled linseed oil with some pine varnish added, I highly recommend it. I have some permalyn and tried it on a practice piece of maple. It dries very quickly and is real shiny. To me it seems to be mostly a surface coating unlike Tried and True oil that penetrates the wood. I think several thinned coats of T&T oil would make a better finish.
IMG_2931.jpeg
 
Last edited:
I've been using on top of the stain , a couple coats of Permalyn sealer, sanded with maroon scotch bright in between coats. Followed by how ever many coats of Tried & True it takes to get the finish I like. I always thin my Tried & True 50/50 with mineral sprits.
 
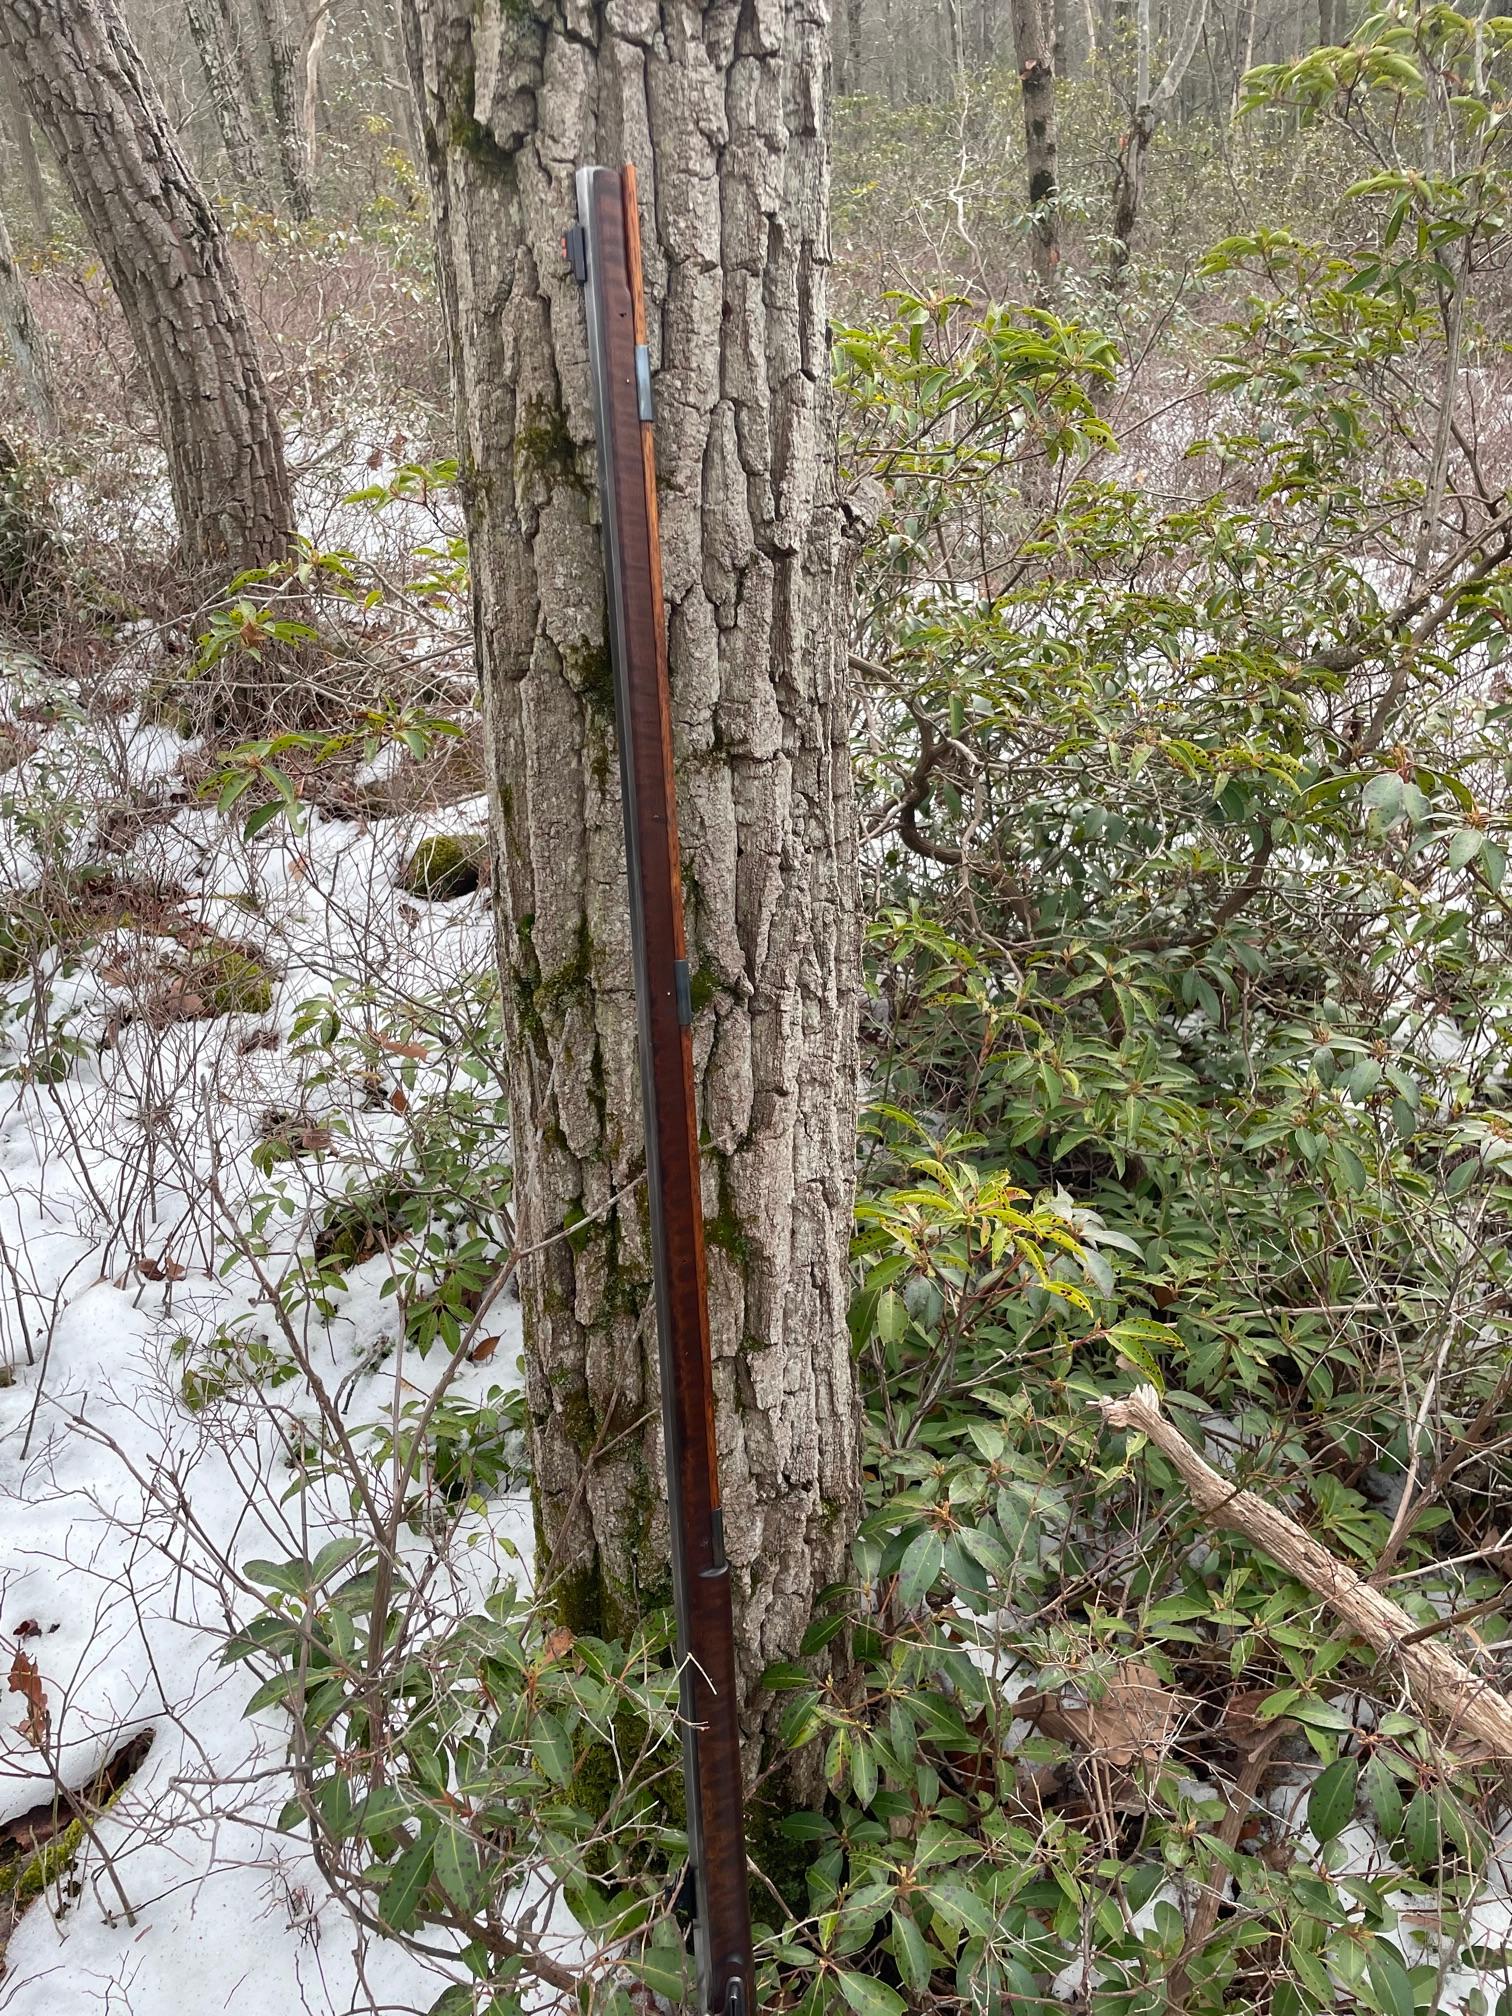
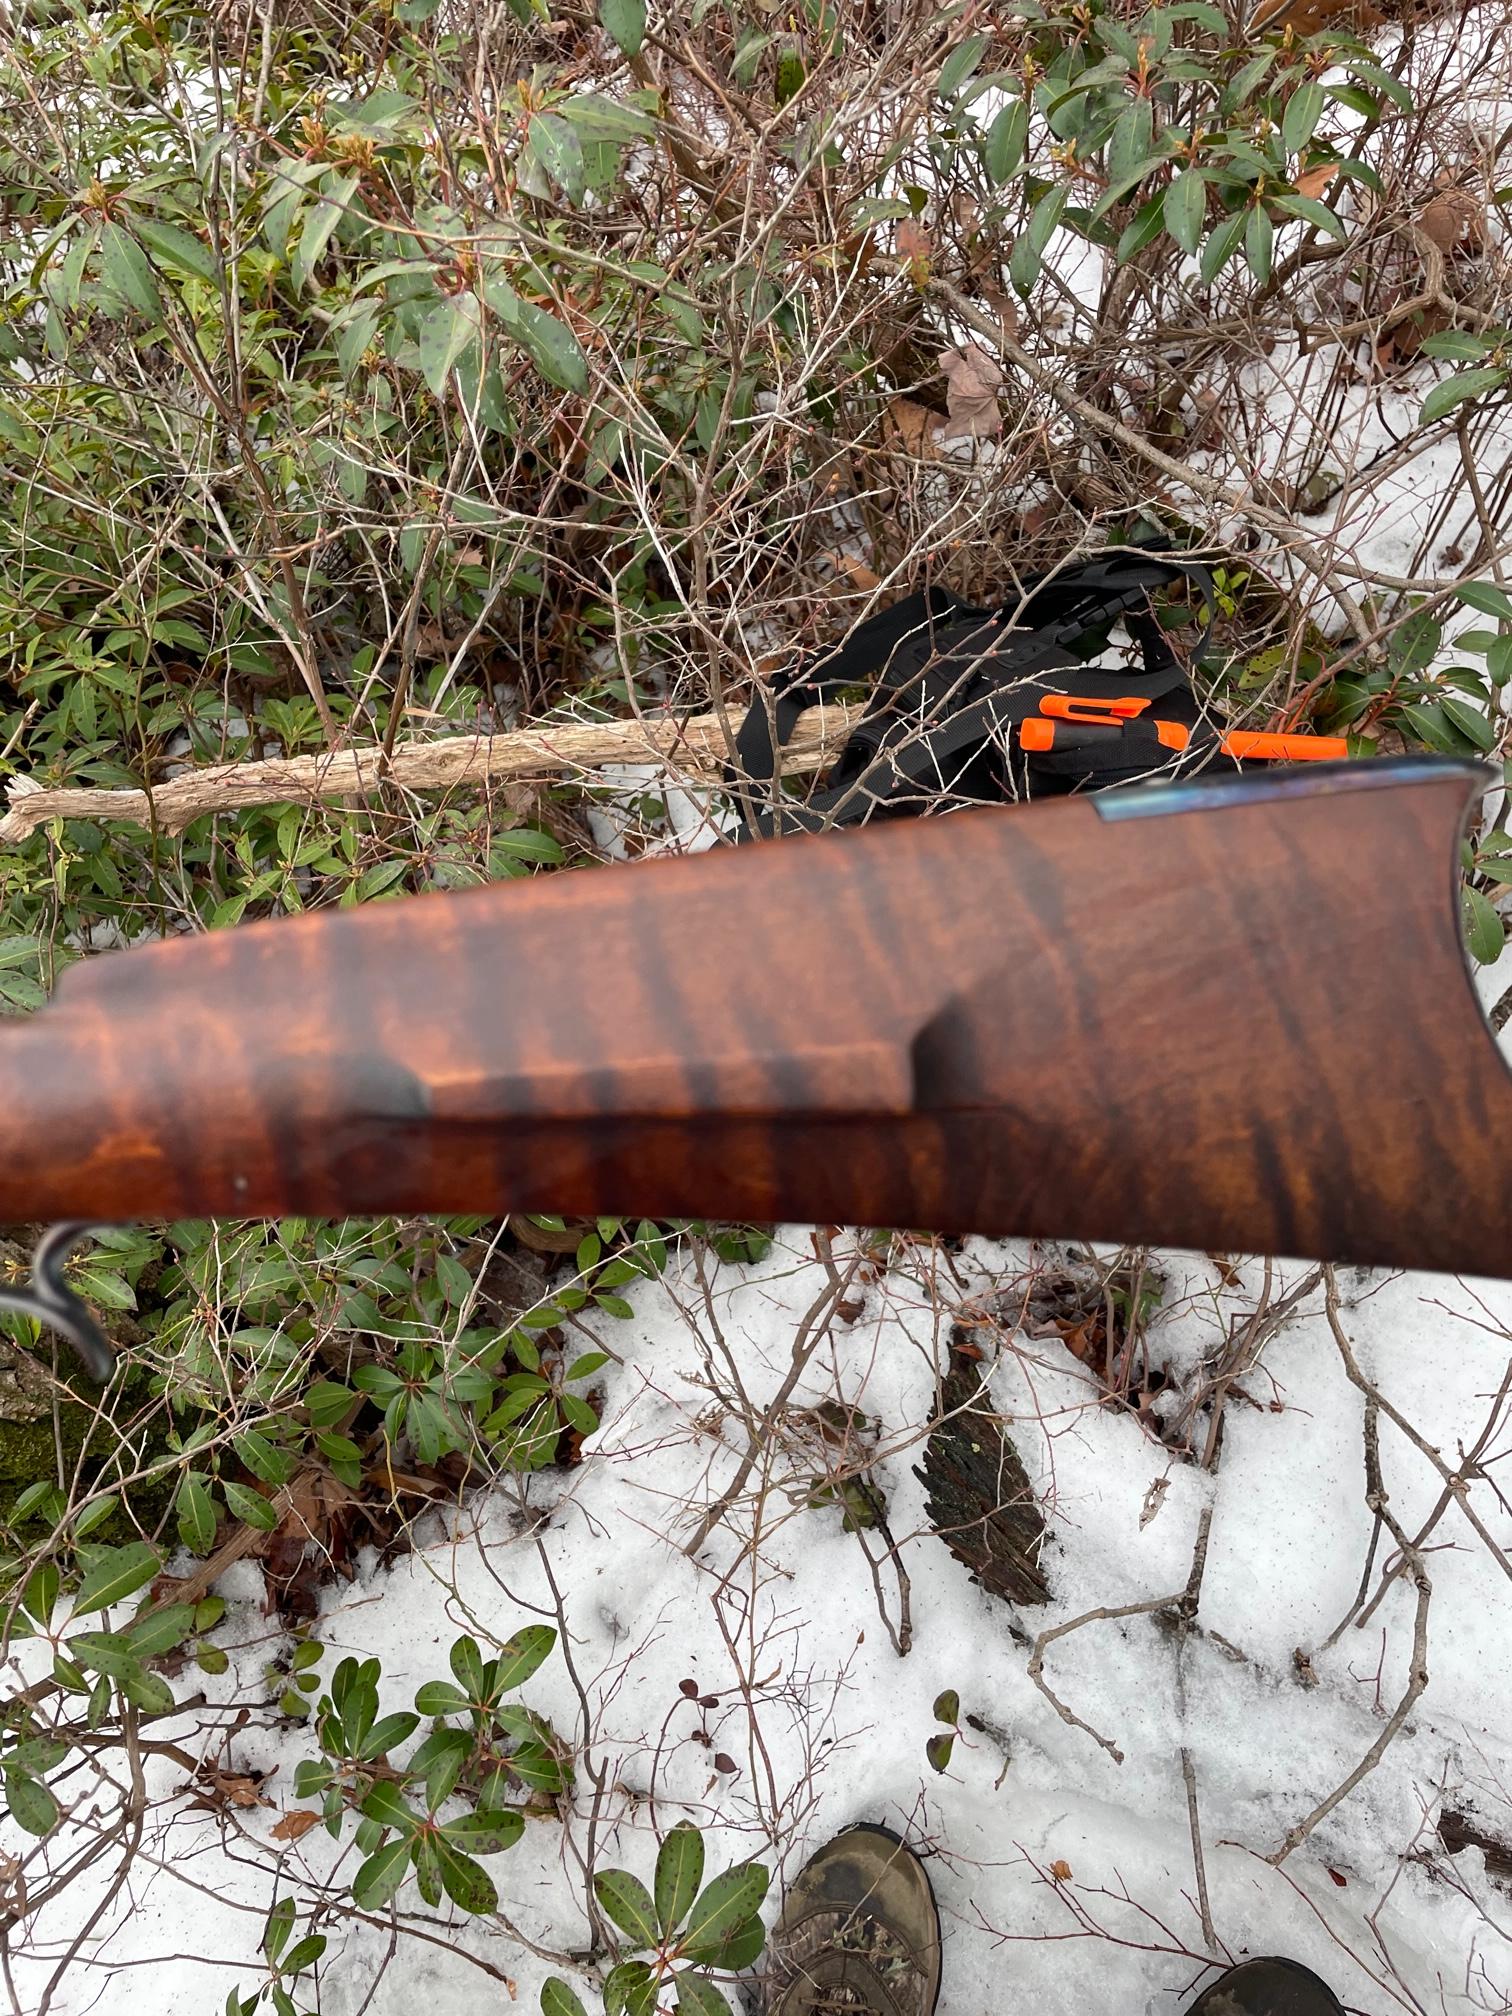
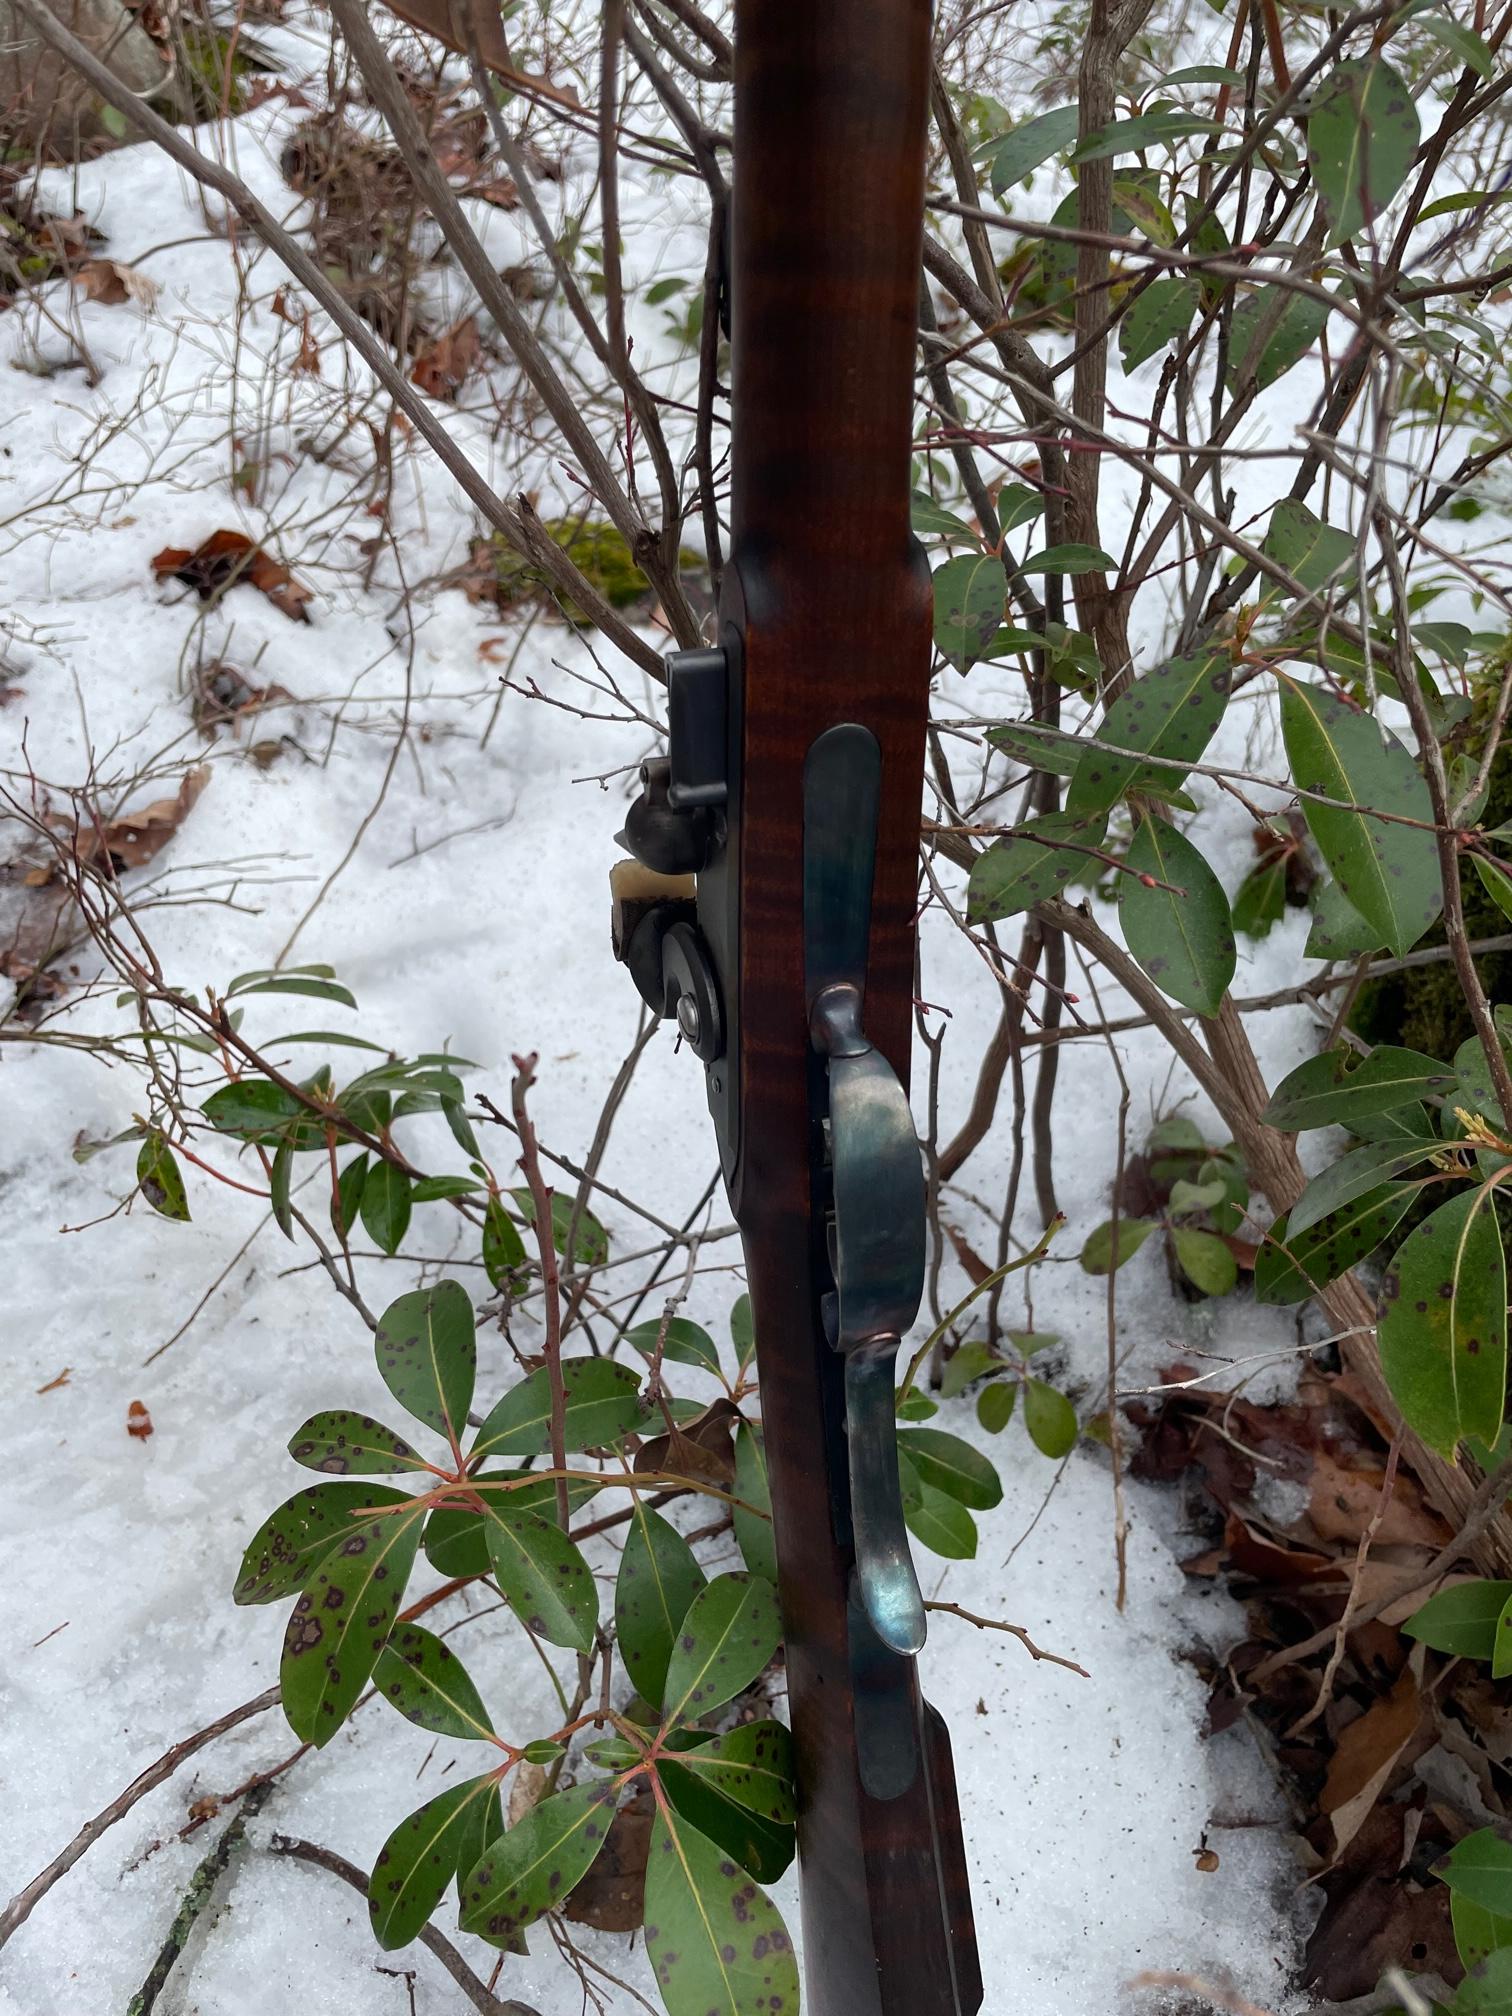
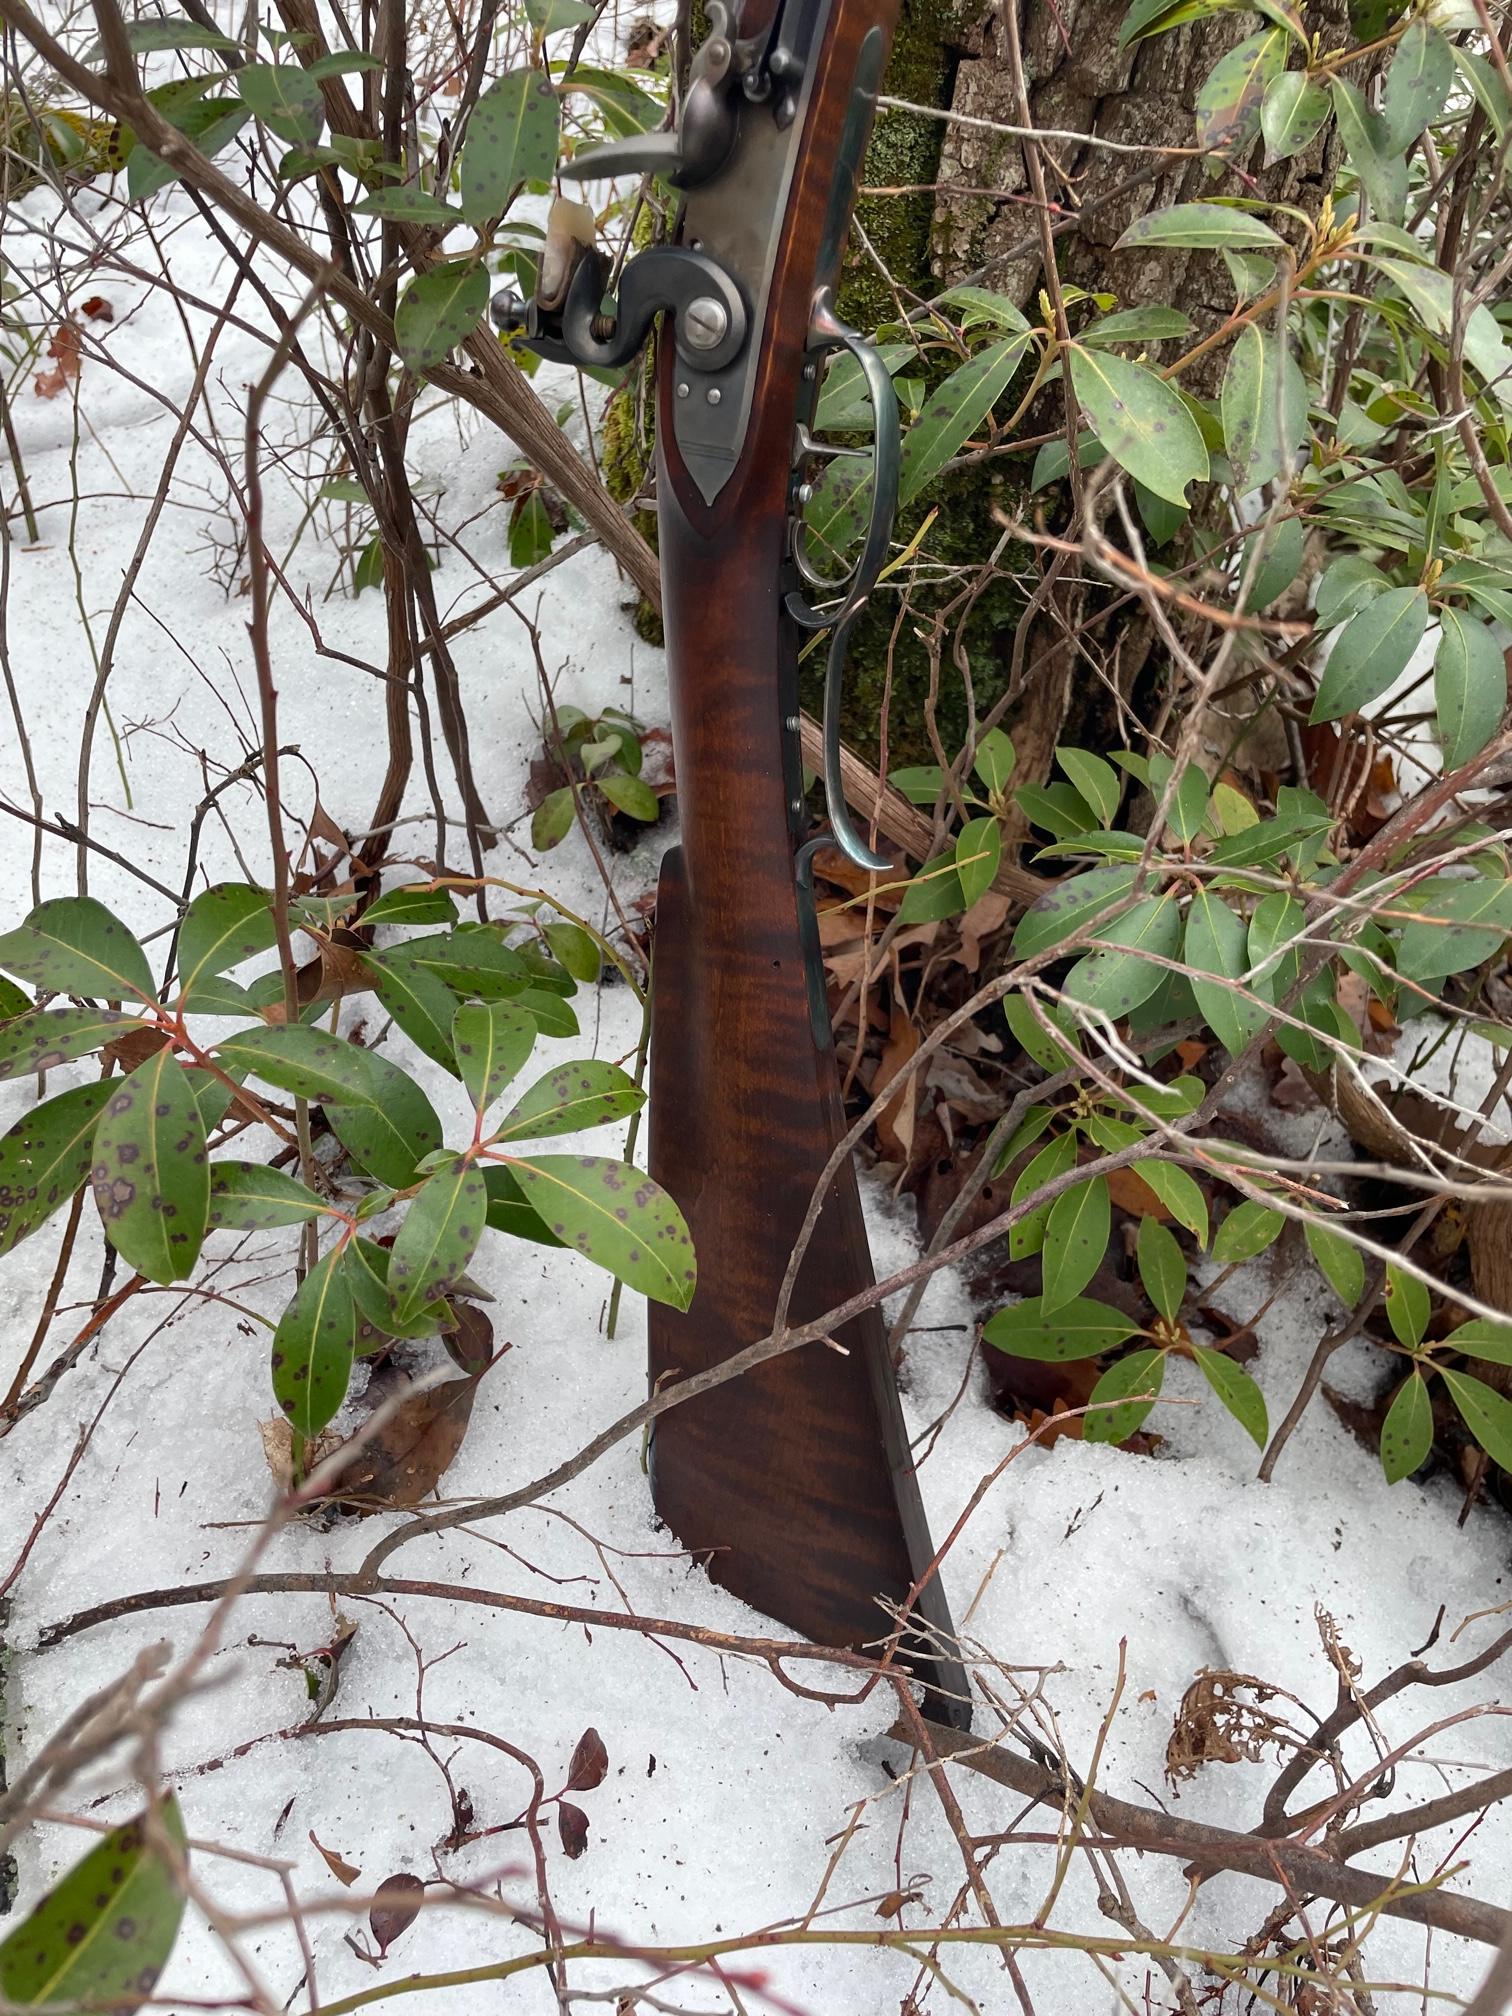
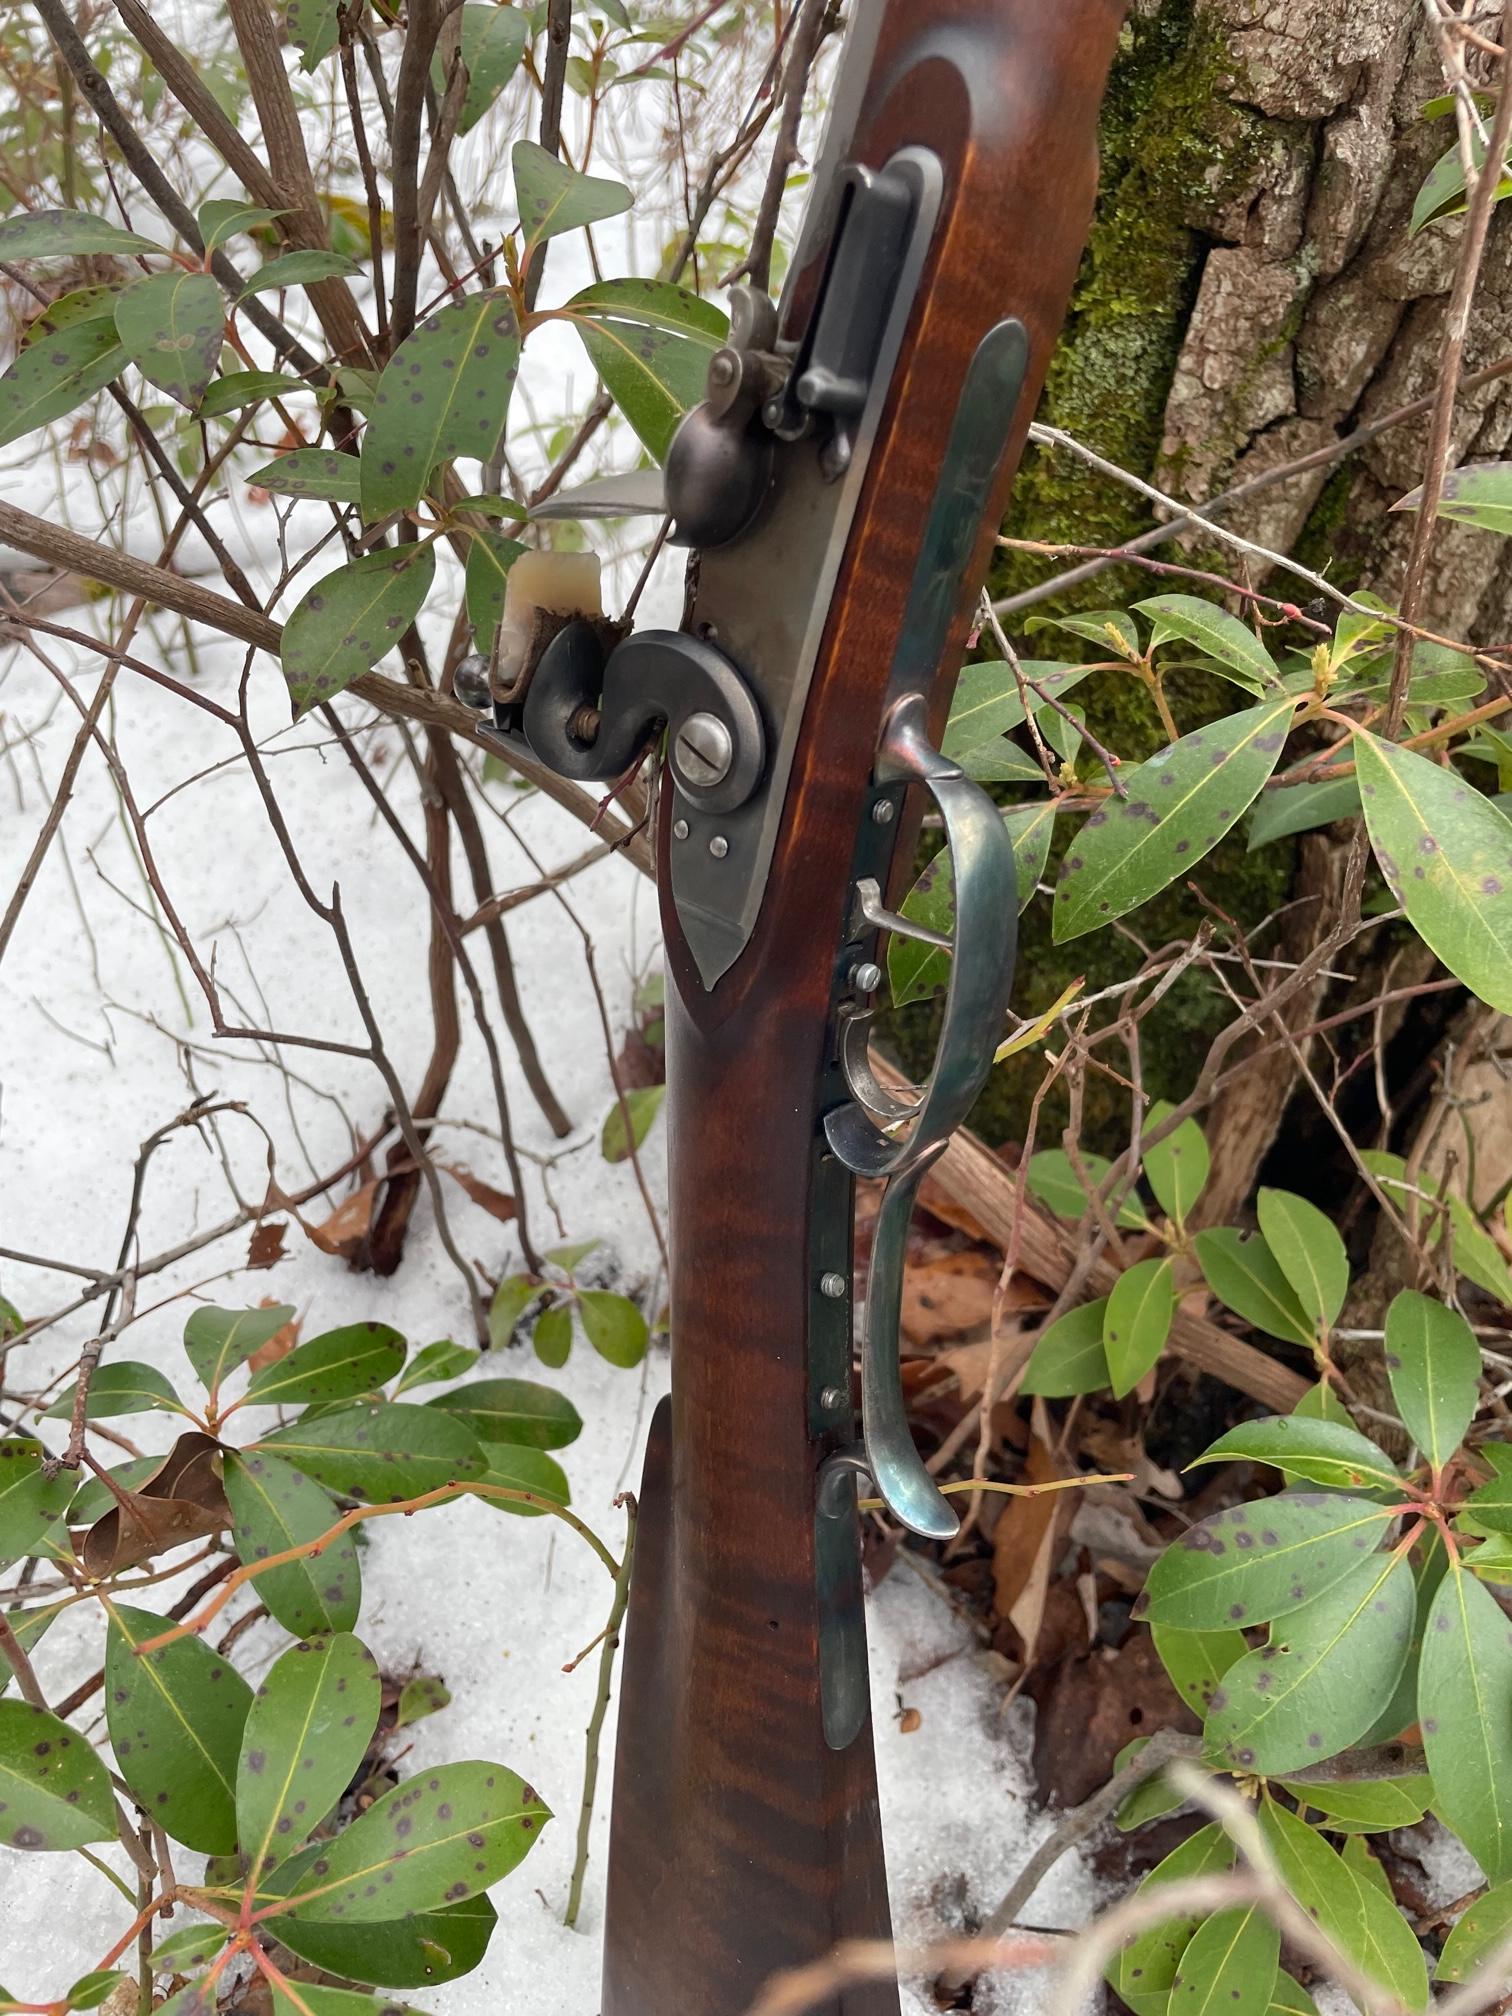
First, sand down to 320. Whisker by wetting stock and sanding to 320 two or three times. Then, apply aqua fortis, allow to dry. Blush with heat gun. Wipe on Tried and True varnish oil, thinned with turpentine to help penetrate. Toss in some drops of LMF cherry stain to redden it if you like. Wiped on first coat heavy and wiped off what the wood didn't absorb. Then, a coat a day...just a few drops and rubbed in with heel of hand vigorously to heat it up. Finish with Johnson paste wax. This example is a CM4 grade stock on a recently completed .54 kit from Sitting Fox. The standard grade maple on my Kibler Colonial came out the same color, just with less tiger stripe. This is my newbie approach to finishing a long rifle, certainly not the only way! Congrats on completing TWO homebuilts! I built an RV8. Google N94BD.

IMG_0070.jpg
 
I've been using on top of the stain , a couple coats of Permalyn sealer, sanded with maroon scotch bright in between coats. Followed by how ever many coats of Tried & True it takes to get the finish I like. I always thin my Tried & True 50/50 with mineral sprits.
This is my route, however I did the reverse. Thinned Tried & True first, then permalyn sealer.

I’m quite literally just finishing up my latest colonial. My stock dried out overnight. I’ll ‘sand’ it down with maroon scotch bright and add one more coat of permalyn
F0A69FB4-9620-4DF6-ABA9-3C27F8C59DE0.jpeg
 
I used iron nitrate, 2 coats. Heated and the wood really popped. For a finish, I just used 6 coats of tung oil, from minwax. No gloss and it seems durable. Very happy with the result. I hope to get a Woodsrunner in March or so, and I'll do it the same way.
I bought Jacks Black for the barrel, and it was very poor. Then I did Birchwood casey, paste cold blue. It was also poor, but better than jacks black.
I fire blued steel parts with propane, and that worked out fantastic.

Do you apply both coats and let dry or do you apply and heat the 1st coat before applying and heating the 2nd coat? newbie question I know....
 
I applied a coat and let it dry overnight. I did a quick feathering with scotchbrite, then a second coat and let dry/soak in. It came out on the medium darker side, and a bit brown/red. It was the color I wanted, so I got lucky. It looks rich to me, and natural.
The color and depth increased with coats of tung oil. Anyway I like it, and it seems durable. I guess I'll give it a coat after hunting is over in a few weeks.
 
I like Akroguy’s approach and have used similar for years. I’m not a great woodworker or artist but have done a lot of finish work. The only difference is I use plain old boiled linseed oil over the stain and sealer. It’s slow and a fair amount of work but I really like the results. Coat initially then later once the wood is not soaking in the oil rub in a small amount ( like a few drops) Until you feel heat from the friction. The old adage comes to mind…. Once a day for a week, once a week for a month, once a month for a year and once year forever. Lol.
 
I used two coats of iron nitrate blushed after each coat. One coat of Permalyn sealer on the stock with two in the inlets and barrel channel.
Then 3, or 4, coats... don't remember...of Tried and True varnish oil. I stopped when the appearance didn't change after another coat.
 
Tannic acid with a wipe after, then a few coats of ferric nitrate from crystals, and a bunch of coats of Tru-oil with sanding between coats, all this on plain beech. I might do the same on a plain maple.PSX_20221214_221641.jpg
 
This gun was done with:
Tannic Acid
Iron Nitrate (2 coats, blushed each)
Tried and True Oil Varnish
Laurel Mountain Forge "Maple" added to the oil
Bone Black for accents

I found Tried and True very slow to cure betweens coats. You need heat and sun else it will take days to dry between applications. It is an oil not a sealer so you will need to seal it to protect it against rain and water when you clean the gun. I use renaissance wax to seal it.
IMG_20210417_105212.jpg


This gun was finished with two coats of Iron Nitrate, one coat of Laurel Mountain Forge Honey Maple, several coats of Jim Chambers gunstock oil. I prefer Chambers oil over T&T for it's fast drying and sealing properties.
PXL_20220514_134644070.jpg
 
This gun was done with:
Tannic Acid
Iron Nitrate (2 coats, blushed each)
Tried and True Oil Varnish
Laurel Mountain Forge "Maple" added to the oil
Bone Black for accents

I found Tried and True very slow to cure betweens coats. You need heat and sun else it will take days to dry between applications. It is an oil not a sealer so you will need to seal it to protect it against rain and water when you clean the gun. I use renaissance wax to seal it.
That’s the recipe I plan to use on my SMR. Doubt if I’ll see much sun the next month or so, but I’m not in any rush so I’ll just let the T&T dry on it’s own.
 
That’s the recipe I plan to use on my SMR. Doubt if I’ll see much sun the next month or so, but I’m not in any rush so I’ll just let the T&T dry on it’s own.
Patience is a virtue!

One tip don't thin T&T with turpentine. I tried it and it actually slowed the drying time.

I turned a west facing window into a heat chamber. I can get T&T to dry in 24 hours if the sun comes out.
IMG_20210414_160227.jpg
 
Fly,

I have the same rifle your getting. I am a chicken manure and was afraid I would screw up as I have no good tools so I traded the extra fancy maple for in the white (and it was built by Jim) . I am now too Chicken manure to disassemble to finish it! It is an insanely well done rifle. I will be watching what you do (I like the same you do) so please keep posting. Once I finish mine I will get me a colonial or woodsrunner kit and do it all! I just hope I got a decent piece of wood, doesn't look as good as other standards I have seen but its raw right now.

Damn they're nice!
 

Latest posts

Back
Top