forged a bag knife- comments welcome

Muzzleloading Forum

Help Support Muzzleloading Forum:

This site may earn a commission from merchant affiliate links, including eBay, Amazon, and others.

armymedic.2

45 Cal.
Joined
Feb 12, 2007
Messages
586
Reaction score
1
forged this knife yesterday and today after work before dark. It's my first knife, so it taught me a lot about bevels and heat treating. twas fun. i'll take ya along on the forge a little here.

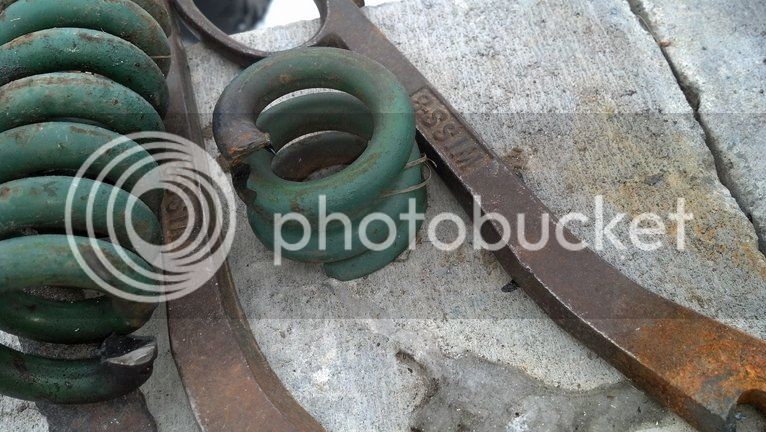
Meet bag knife- farming has lots of worn out parts. this came off the plow
photobucket-36860-1357164666798.jpg


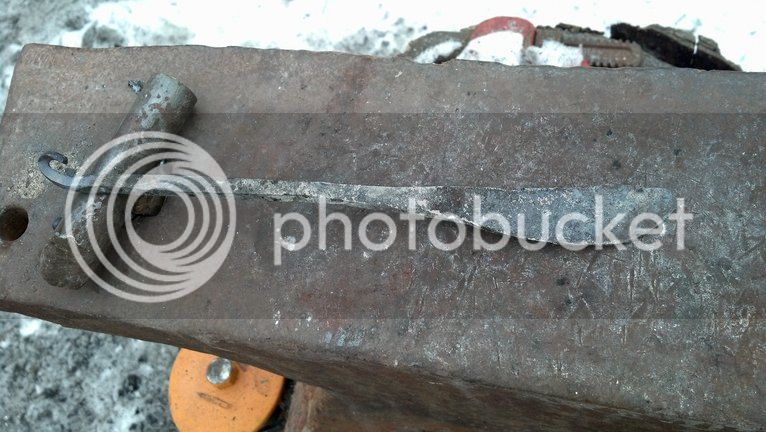
stop point last night

photobucket-1891-1357164693988.jpg


This is after i heated it cherry and let it cool back down twice to let it normalize.
photobucket-44808-1357164715191.jpg


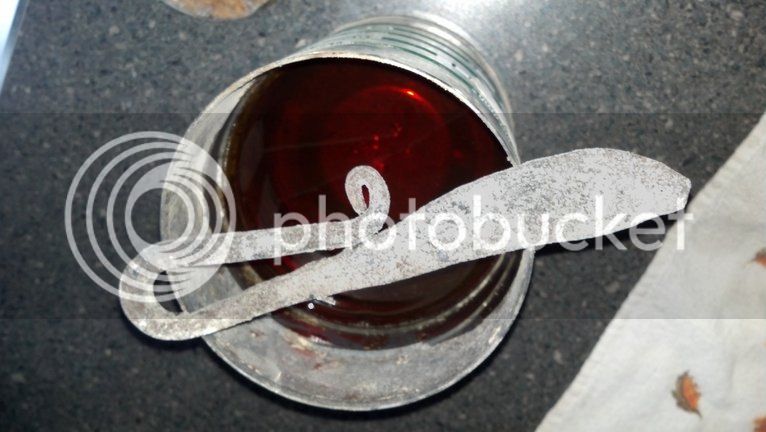
This is after a little metal removal, and heat treat/tempering, hardened in oil and then tempered to dark straw
photobucket-28601-1357164738469.jpg


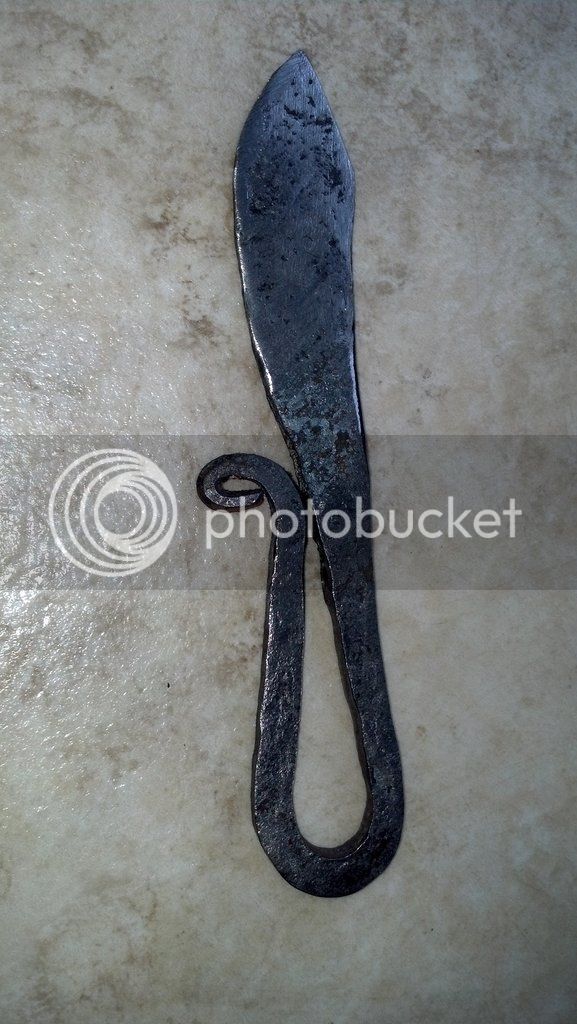
This is after sharpening....notice bald spot
photobucket-76241-1357164763562.jpg


in the hand for reference- meant to be a in the field squirrel skinner
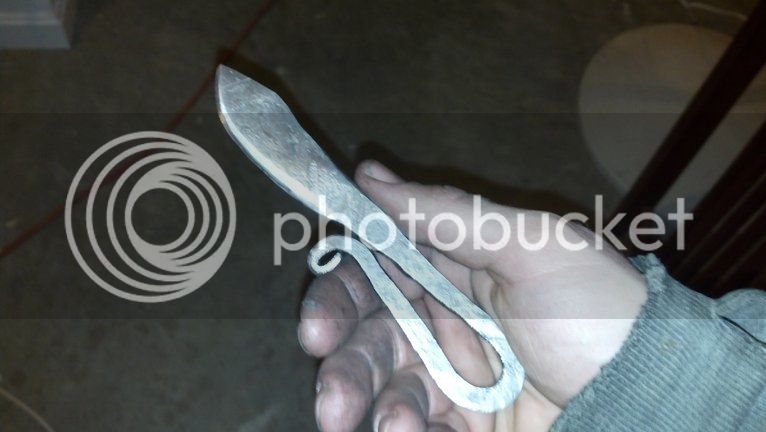
photobucket-25257-1357164780950.jpg


fun project, but i still could not keep the hammer marks out, though they seemed to be much shallower and less than the last time i tried to do something this delicate

oh yeah, started on valentines day too while i was burning charcoal. came out cute, but not near as smooth as the ones on youtube.
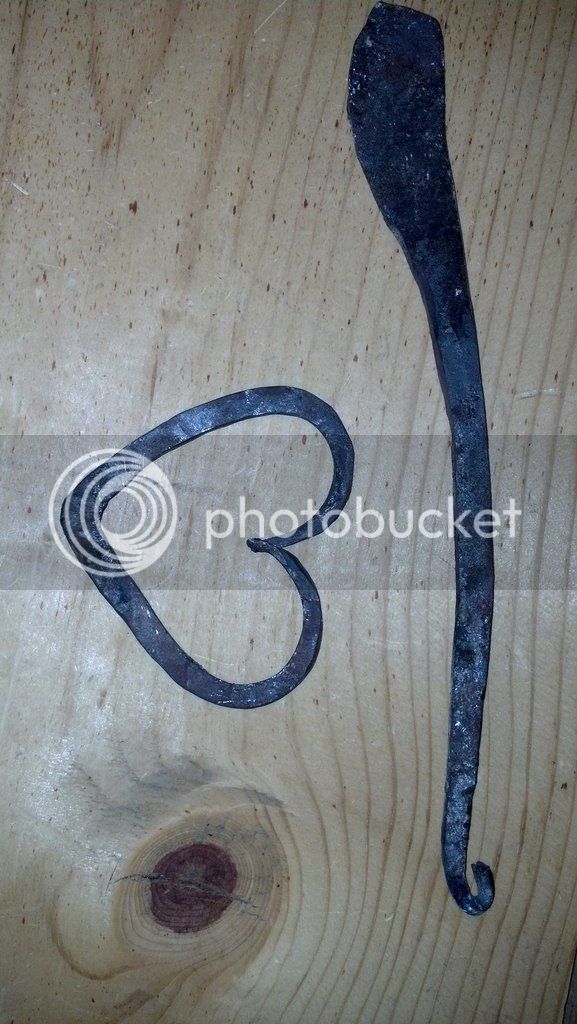
photobucket-9293-1357165434039.jpg


feel free to comment and critique. I promise i have my big boy britches on :rotf:

any tips from smiths would be appreciated.
 
If'n it were mine, which it ain't, i'd narrow the blade a bit [vertically] for a squirrel knife. As it is, should be a great deer skinner. The rounded edge profile lends itself well skinning.
 
i think you're right. a smaller needle like blade would slide up under the small critters skin better.........dern. have to make another!

i didn't use that as the model but it is very close. i saw a young guy make one on you tube and went with his handle design, kinda. not a carbon copy but it was close. he did it in about an hour. mine probably took three. the kid has skills, and apparently apprenticed under brian brazeal.

edit to add, the balance is good, and with my thumb along the top of the blade it will skin very well. may be more a deer knife now that ft. j pointed it out though.
 
Thanks gal!

New- that.......is the problem. Haha. I ended up making a sheathe for it and it sits in my possibles bag. Not happy with that though. I want it on the outside of the bag but i havent figured out how without worrying the knife will cut the stitching and fall out. I need tougher needles to allow sewing in a welt.
 
"I need tougher needles to allow sewing in a welt."

Prepunch the holes with an awl before stitching. The proper shape is a slot shaped like an elongated diamond with the long part aligned with the direction of stitching. You can make an awl from an old small screwdriver and I've even made them from cut nails in a pinch. Of course you can drill the holes too but I feel the stitching doesn't lay quite so nice as with properly shaped holes.

Nice forge work.
 
thanks 1776!

ill give that a whirl with the awl. thanks for the tip. glovers needles alone ain't gettin it done!
 
I had one hammer I used a lot I particularly liked the weight and balance of and spent the time to dress the face smooth and used it for nothing but hot forging.
 
Definitely,, true. Grinder? Belt sander?

Its on loan for as far as i can see....but id have to ask before i did anything crazy to it.
 
I like the knife a lot. Which piece of steel did you use. The spring?
Tell me more about "normalizing" (if you don't mind)....I am not familiar with that and it sounds important.
Pete
 
Yes it was made with the spring. Straighten it and start forming. Normalizing is getting a good cherry heat then letting it cool slowly at air temp. It relieves stress in the steel from hammering or its abuse as a spring.Annealing is same but coverig in ashes to cool. Much slower cool down. This softens the steel.


Glad you.like it thanks!
 
Back
Top