


logandiana
32 Cal.
- Joined
- Oct 8, 2014
- Messages
- 27
- Reaction score
- 0
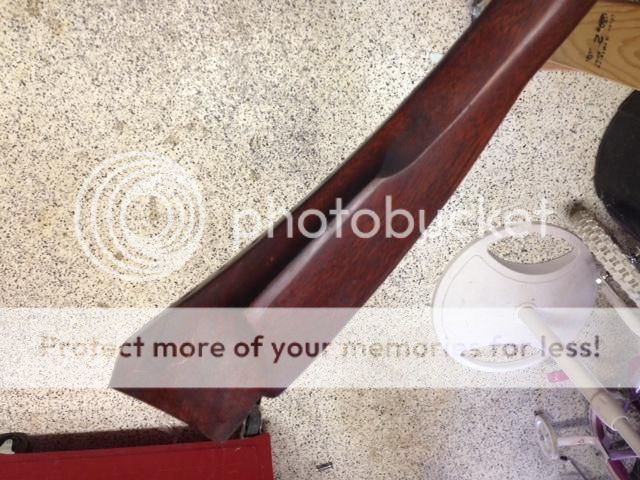
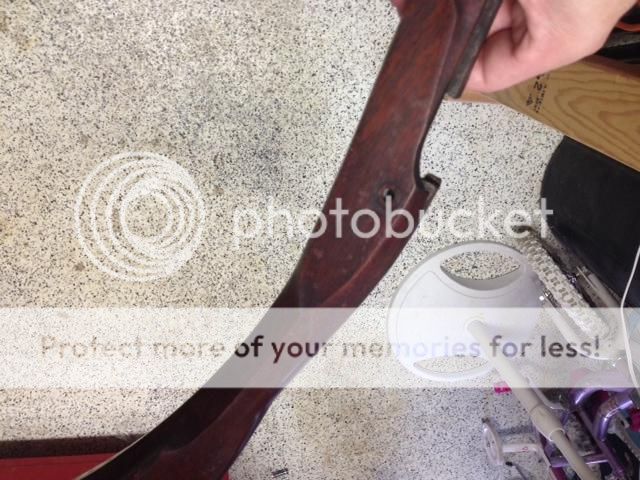
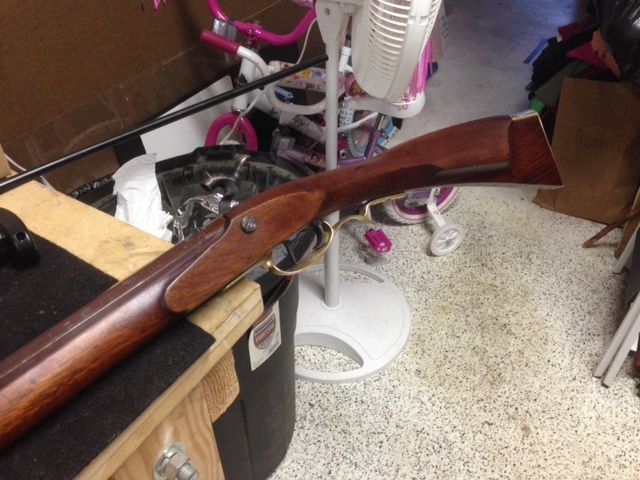
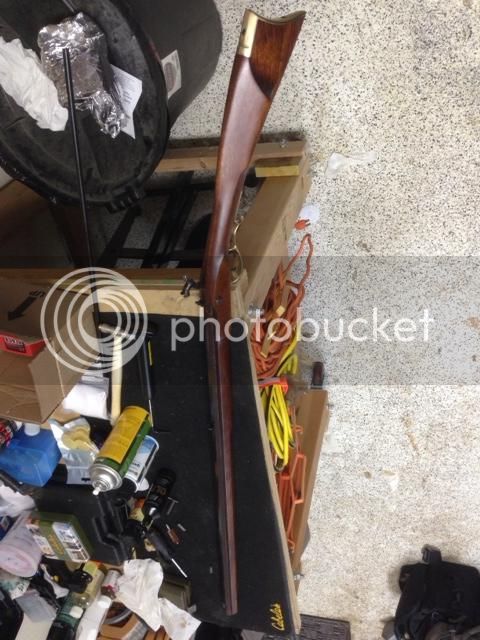
I really didn't care for the reddish varnish on the frontier I picked up a couple weeks ago on gunbroker.
The finish in my opinion was to dark, too red, and had to many spots and scratches. I wanted better finish where the grain of the wood would really show.
Here's before:
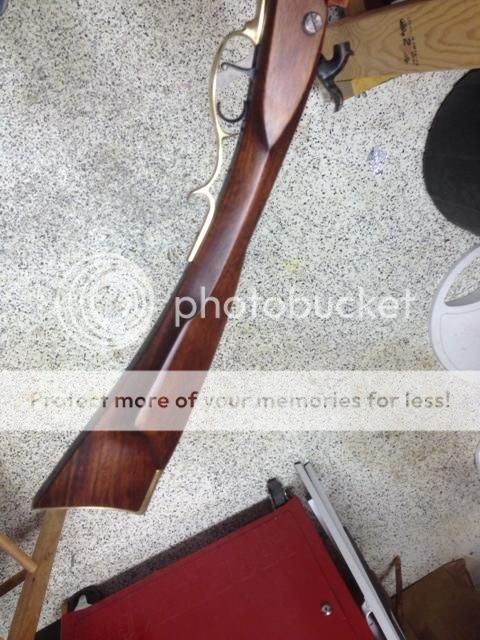
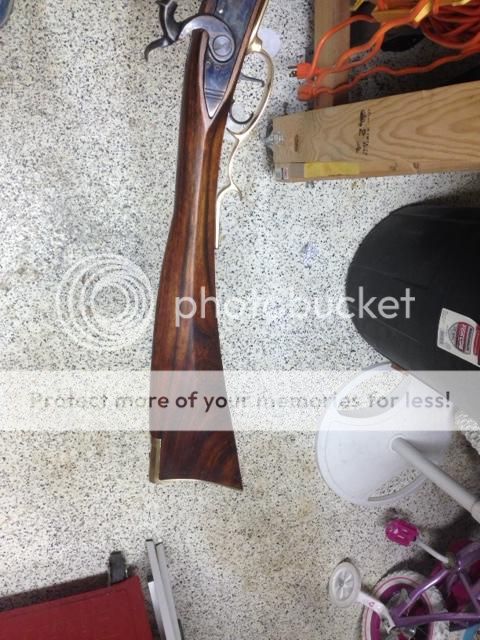
And here's after:
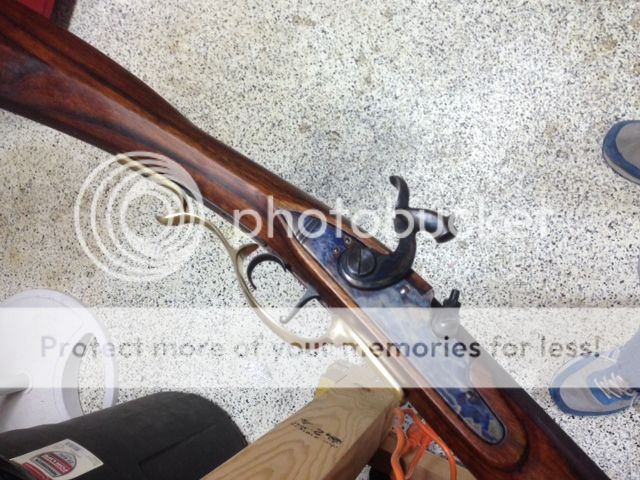
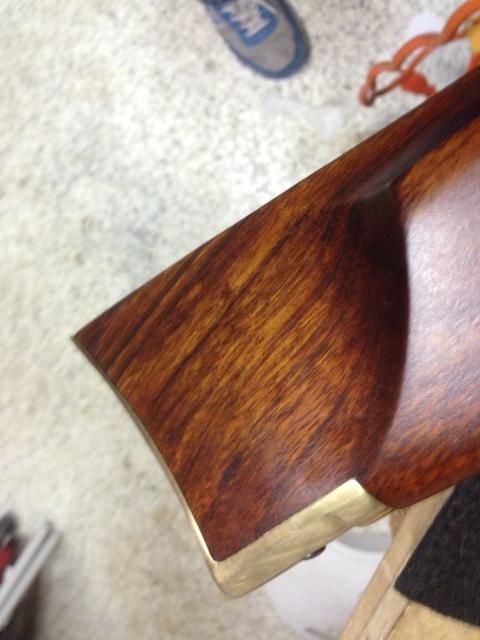
I am happy with the way it turned out, but I need help with something. The owner before me added these tacks.
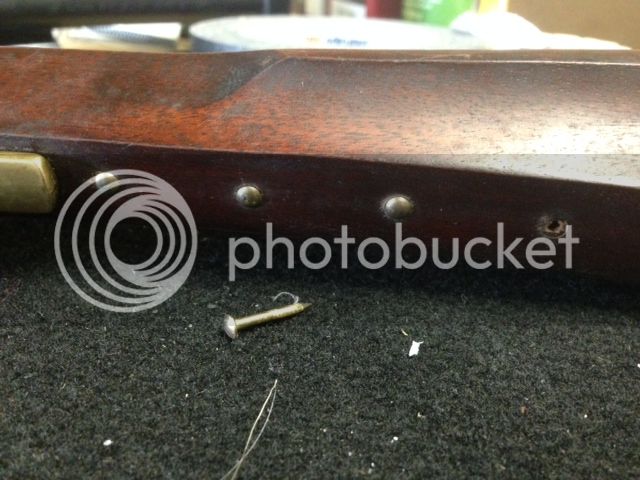
I really didn't care for them and planned to repair them when refinishing the stock, but they weren't covering up very well and looked worse than with the tacks in my opinion so I decided I would just replace them with newer nicer tacks. Upon removing the tacks I found out that the really look more like little brass nails, especially compared with the new tacks that I just got in from track of the wolf.
New on the left, old on the right.
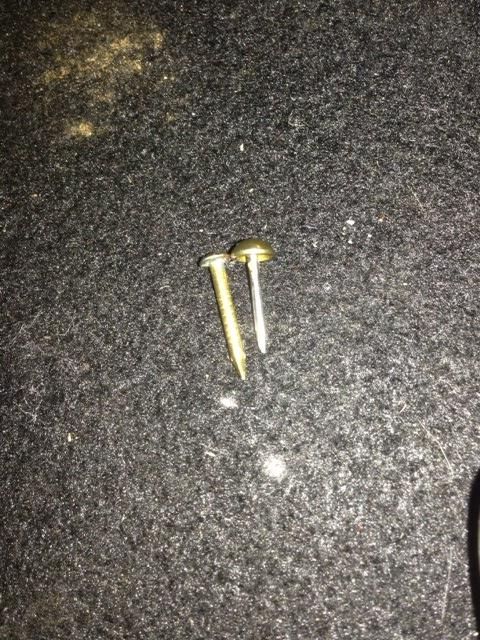
As you can see the shaft of the new tack is much smaller than the nail that came out in length and width. I don't mind the tack pattern that's on the gun, and had just planned to replace tack for tack, but as you can image the old holes won't hold the new tacks. I imagine I am going to need to fill them with something, but what would you suggest? I though about putting some glue on a toothpick and snapping them off in each hole but wanted to get some advice first.
Thanks


