Help with bag project

Muzzleloading Forum

Help Support Muzzleloading Forum:

This site may earn a commission from merchant affiliate links, including eBay, Amazon, and others.

Ole Frog

40 Cal.
Joined
Mar 25, 2013
Messages
156
Reaction score
10
I need some help to figure out where I am going with a bag I want to make
I have made simple bags and I use 3-4 oz leather

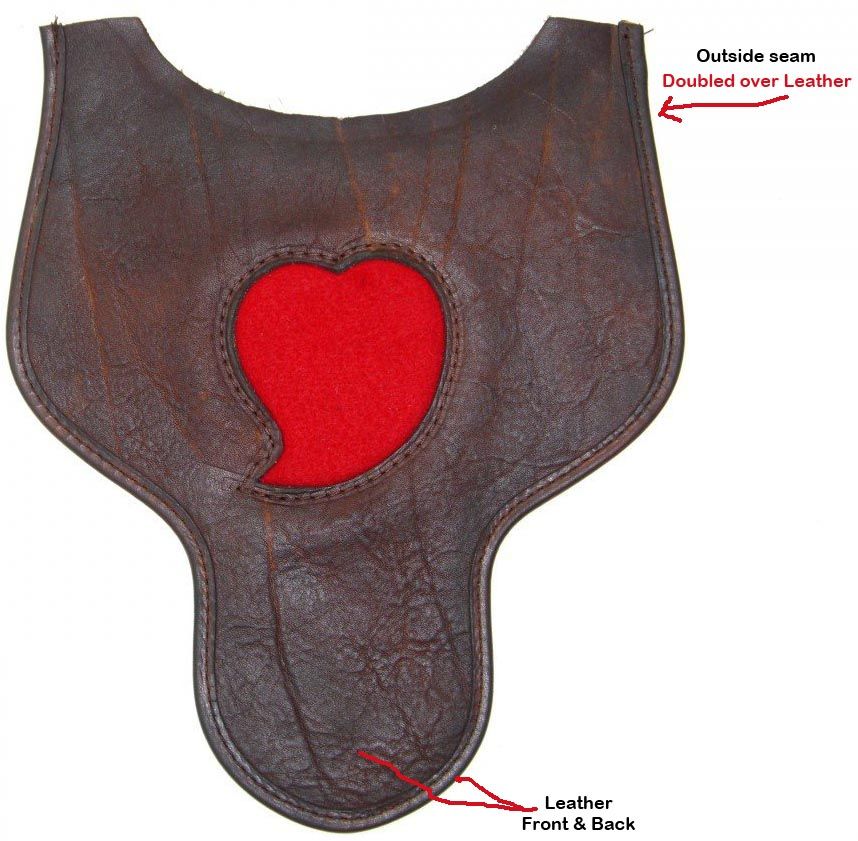
I would like to make a bag with the red heart in the front of it. The book "Recreating the 18th Century Hunting Pouch" uses leather front & back

1.) If I use leather front and back of the heart, that will be 6-8 oz of leather
Wont that be too thick?

2.) What do you guys use when you add an outside seam around the flap?
isn't 3-4 oz too thick to double over?

How do you guys do it?
John
heart%202_zps2iegvlvw.jpg
 
Bullfrog said:
1.) If I use leather front and back of the heart, that will be 6-8 oz of leather
Wont that be too thick?

2.) What do you guys use when you add an outside seam around the flap?
isn't 3-4 oz too thick to double over?

I guess it depends on what you're looking for. I've learned to like a stiffer flap that doesn't flop around when I raise it. Just makes for easier pawing and digging in the bag.

I experimented with using a lighter leather for that strip to wrap the edge. Kinda blew up in my face, because it didn't take dye the same way as the rest of the leather. Ended up looking kinda Annie Oakley to me with that lighter strip around the edge. Ever since, I've gone with leather from the same hide when adding the strip.

Here's something I'll toss in, just to irk the purists in the crowd. I've come to love this stuff when adding that strip. Lay it down on the butt ends of your two plies of front flap, press the strip down onto it, then maybe baste a few times around the perimeter of the flap. Can't see it when you're done, and it sure helps keep that strip from shifting around while you're sewing that long seam.
 
BrownBear said:
I experimented with using a lighter leather for that strip to wrap the edge. Kinda blew up in my face, because it didn't take dye the same way as the rest of the leather. Ended up looking kinda Annie Oakley to me with that lighter strip around the edge. Ever since, I've gone with leather from the same hide when adding the strip.

Do you do anything to thin that strip? or make it easier to bend?
 
I have a couple of skivers, but found it lots better to dampen the strip, fold in half lengthwise, then let it dry. For me anyway, getting consistent thickness over 30" or so is darned near impossible with a hand skiver. If I had one of those nifty splitting machines, I'd have licked the issue a long time ago.
 
Thank you
Its good to know that I am not alone in trying to figure this out
 
Lot of us out here!

You ask good questions and give good feedback, so there'll be lots of help waiting in the wings as you go along.
 
I know I am a bit unusual in that I normally don't buy 3-4 Oz. leather for a shot pouch because (to me) overall that light of leather can be a bit too floppy/flexible and make it difficult to get things out of the pouch. Yes, I know if you add a liner it will stiffen them up a bit, but since liners are virtually unknown in 18th century shot pouches, I don't use them.

What I prefer to do is select from a pile of 4-5 oz. leather and I buy the ones that are on the lowest side of the weight/thickness. This makes the leather stiff enough, but not too stiff.

Since hides are not exactly the same thickness all through the hide, one thing you can do with your 3-4 oz. leather is ensure you cut out the front flap leather from the thinner leather in the hide. Use another piece from that thinner section as a "backer" behind the front flap and cloth heart material. So you will be stitching two pieces of the thinnest leather together for your front flap.

That way you will still have a flexible front flap, but like Brown Bear notes, it will be stiff enough you can get things in and out of the pouch easier. Save the thicker portions of your hide for the other pieces of the pouch.

Another thing I have seen people do is buy THICK cloth material and cut it to same size as most of the front flap. They stitch through the leather and material around the heart or other flap cut outs so the material stays tight there and looks good. Then they add a band of leather around the flap to stitch the material to the front flap. The fold the top of the cloth and stitch it directly across the top of the front flap leather. This also adds some stiffness to the front flap, but not quite as much as a second piece of leather.

Just a couple of ideas to think about.

Gus
 
BrownBear - thanks for the suggestion about the double sided tape ... I have been using temporary stitching (every tenth hole or so, then you cut it loose when your saddle stitch reaches that point) ... can't help but think your double sided tape method would hold things better ...

:thumbsup: :hatsoff:
 
MSW said:
BrownBear - thanks for the suggestion about the double sided tape ... I have been using temporary stitching (every tenth hole or so, then you cut it loose when your saddle stitch reaches that point) ... can't help but think your double sided tape method would hold things better ...

The tape isn't foolproof. Too much tug or side pressure, and it will come free, even if you can press it back. I like to use both the temporary stitch (basete) and the tape, but just a whole lot fewer of the bastes- one every 30 stitches or so.

Another point worth laying out about it- You don't want the stuff exposed. It gets in the way of the stain when you stain leather, leaving light spots. Cheap enough to be handy to have on hand, but with a little thought.

Note there are two versions at that site. I prefer the stuff not intended to be peeled and replaced.
 
Thanks Gus
I had wondered about using pillow ticking instead of the back piece of leather

I may try it both ways

The one thing I have learned about making bags is that each one is different and the more you make the better they get
 
I hope I am not being a smart alec when I stress if you do put cloth on the entire back of the front flap, that you fold the material in on itself before you stitch it along the top of the flap. (Might or probably be useful to glue the edge with modern fabric seam glue so it won't unfold while you stitch it.) That way you won't be leaving a raw edge to fray. The other outer edges of the material will be covered by the leather banding, so it is not as much of a concern there, though you may want to glue along just the outer edges of only the material to help keep it from fraying.

Gus
 
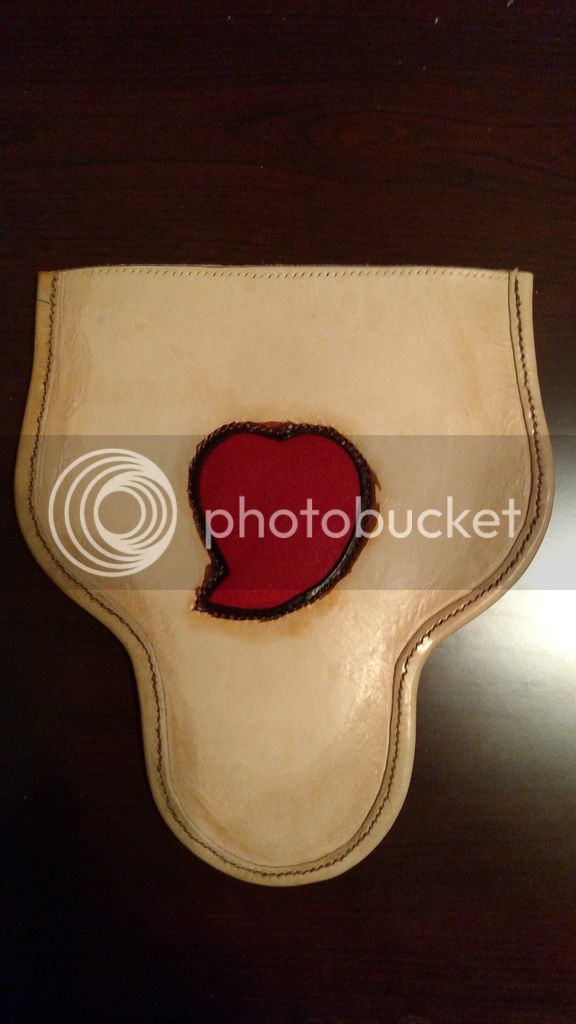
I wanted to thank Brown Bear again for the help he gave me
The front of the bag turned out very nice
and I couldn't have done it with out your help
I am posting a photo of the front of the bag
It still needs to be stained but I am pleased with it
I started with it knowing it would be my biggest challenge
I am ready to start with the rest of the bag now

Again many thanks to Brown Bear and this board!
John

IMG_20160501_090501411_zps9z0czcgy.jpg
 
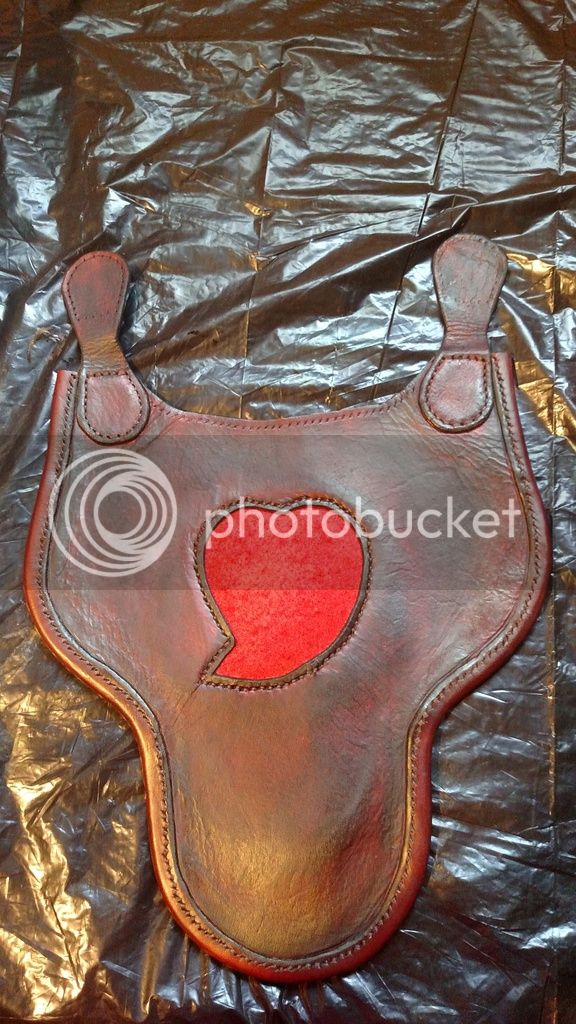
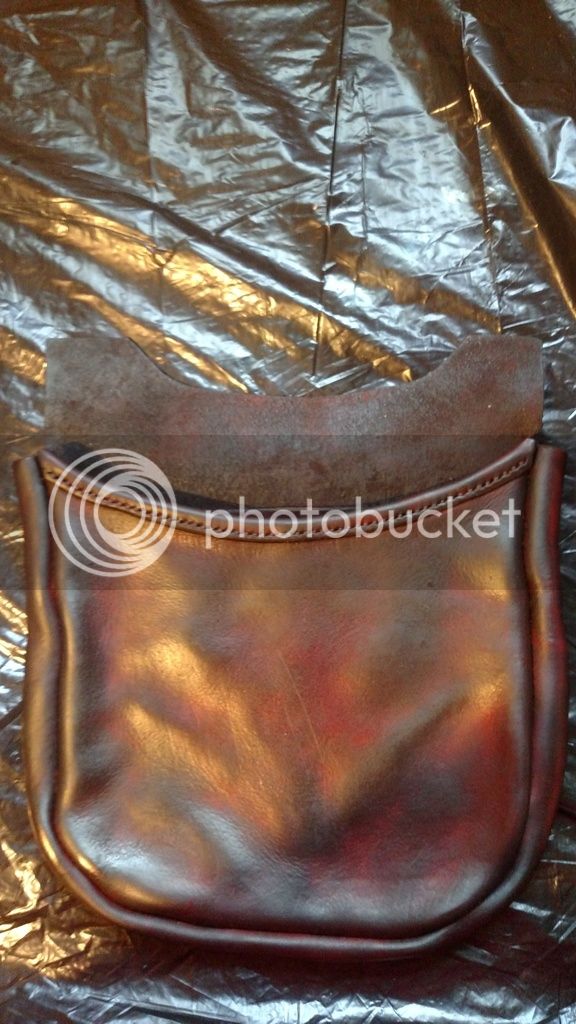
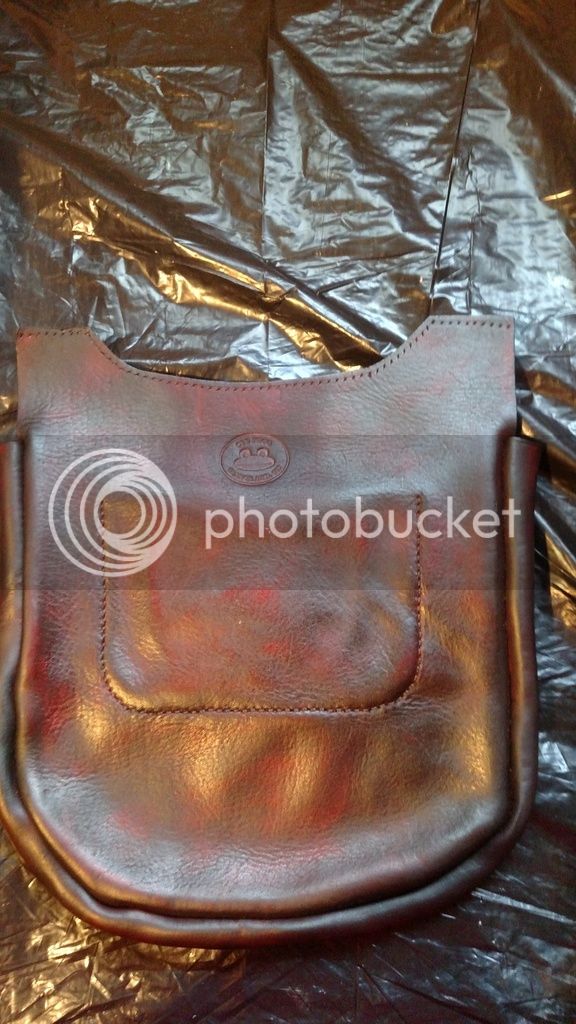
I Thought you might like to see the next step with my bag
The pouch part is done and I stained it today
I will start on the strap tomorrow
all it needs is the D-rings and I can sew flap to bag.
The Flap:
IMG_20160511_165712717_zpszg85dhzp.jpg


The pouch:
IMG_20160511_172534117_zpszu1a19xm.jpg


Back of the bag:
IMG_20160511_172542485_zpsniwdsfg9.jpg


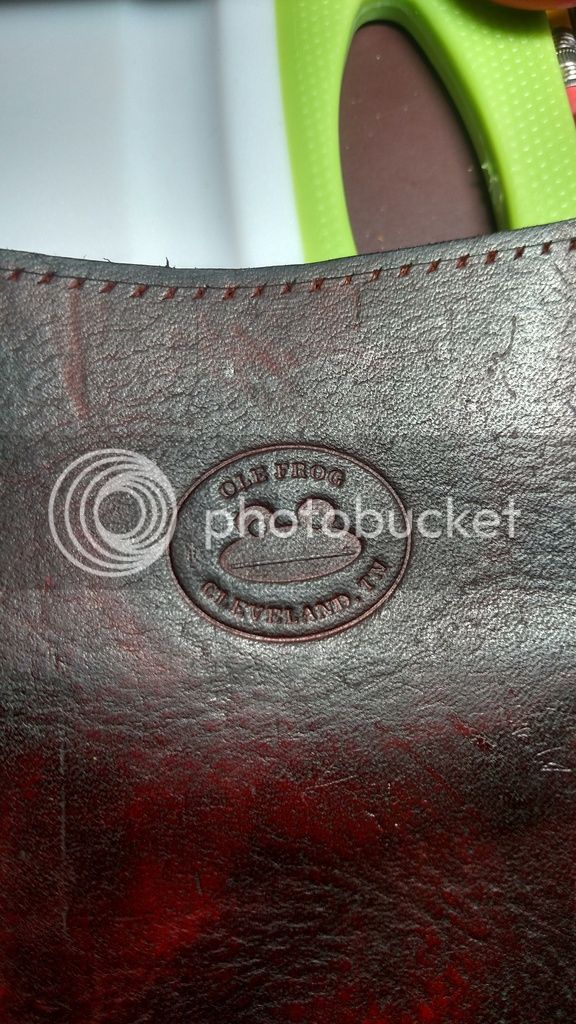
My new Makers Mark:
IMG_20160511_182208666_HDR_zpsv49junc6.jpg

John
 
very nice stitching and the coloring is exceptional. The only critic I could offer is the bag would have benefited from a welt in the body's seams.

Otherwise a very nice bag. How did you get that dye job so nice?
 
Spotted Bull said:
very nice stitching and the coloring is exceptional. The only critic I could offer is the bag would have benefited from a welt in the body's seams.

Otherwise a very nice bag. How did you get that dye job so nice?

Thank you for the kind remarks
I will look into a welt in the bag seams

as for the dye job
It is actually the first time I used this method and certainly will be my go to in the future

The Dye is Fiebings Medium brown alcohol-based leather dye

I used two sponges. a small amount of water. a wool dauber, and a clean dry cloth.

I wet the leather slightly with a sponge & water
I used the other damp sponge to spread a light coat of the dye. I applied dye directly to the sponge from the bottle
I used the wool dauber to spread dye against the seams and edges where the sponge wouldn't get but then I immediately rubbed it with the wet dye sponge to spread it.

I keep a clean cloth to buff the leather after the dye coat is applied but while the leather is still damp.

This method uses much less dye then just spreading it with the dauber and the color is not as dark due to no saturation of the leather

The drawback is it takes a lot more time due to multiple coats.

Wear gloves! my hands are permanently stained from handling the sponge lol

John
 
A worthy tutorial! Well done.

Bullfrog said:
This method uses much less dye then just spreading it with the dauber and the color is not as dark due to no saturation of the leather

This is a worthy point too. Leather will soak up a whoooooole lot of expensive dye, getting darker and darker all the time as you struggle for an even coat. It's worth all the extra effort to get your results. And yeah.... Gloves! :thumbsup:
 

Latest posts

Back
Top