• Friends, our 2nd Amendment rights are always under attack and the NRA has been a constant for decades in helping fight that fight.

    We have partnered with the NRA to offer you a discount on membership and Muzzleloading Forum gets a small percentage too of each membership, so you are supporting both the NRA and us.

    Use this link to sign up please; https://membership.nra.org/recruiters/join/XR045103

Hey, time to show your first build!!

Muzzleloading Forum

Help Support Muzzleloading Forum:

This site may earn a commission from merchant affiliate links, including eBay, Amazon, and others.
Joined
Aug 27, 2004
Messages
3,235
Reaction score
7,165
IMG_4087.jpeg
IMG_4088.jpeg
IMG_4096.jpeg
IMG_4094.jpeg
IMG_4101.jpeg
IMG_4102.jpeg
IMG_4103.jpeg
IMG_4104.jpeg


If you have built any muzzleloader, kit or blank, this post is asking for photos of your first. Details of the build are encouraged.
My first (early 70s) was this Roman Nose style semi copy of a DGW (Italian made) long rifle, along with my thoughts. I purchased a stock blank from a Nebraska rifle smith, Bill Ihm for $17.00, Numrich 45 cal, 13/16” X 42” barrel with threads, but no breech plug. ( I think about $50) DGW was my major supplier for these components: Dixie lock, triggers, trigger guard, butt plate, nose cap, sheet brass, RR blank, RR ends, screws, aquas fortis. I made the ferrules, blind tennons, sights, RR drill bit, patch box, PB spring, latch, breech plug, tang, toe plate, lock side plate. My memory of the cheek star is a blank (LOL) It came out crude in some areas, but it is a slim, nicely balance rifle with the 13/16” barrel. It shoots well, but now after shooting it, a Roman nose style is not for me. The comb really bites the cheek bone. If ya rare up, then you are OK for the hurt, but then you are off the sights 😂
In 1971, I turned out as a journeyman union carpenter. My on the job training and daily work at that time was primarily wood forms for concrete construction.
OK boys, your turn.
Larry
 
I really love the way this is finished!!!!!!!!!

I've got my Kibler Colonial assembled and have been agonizing on how to finish it. I have the standard maple also. Would you mind sharing what you used on yours?
Aquafortis/tanic acid rubbed back with scotchbrite and then finished with standard Tried & True. I believe I did 3 or 4 coats of Tried & True per the instructions on their website. Every once in a while I will wipe it down with a very light coat of a Pledge, Liquid Gold, etc, I'm not too picky about it.
 
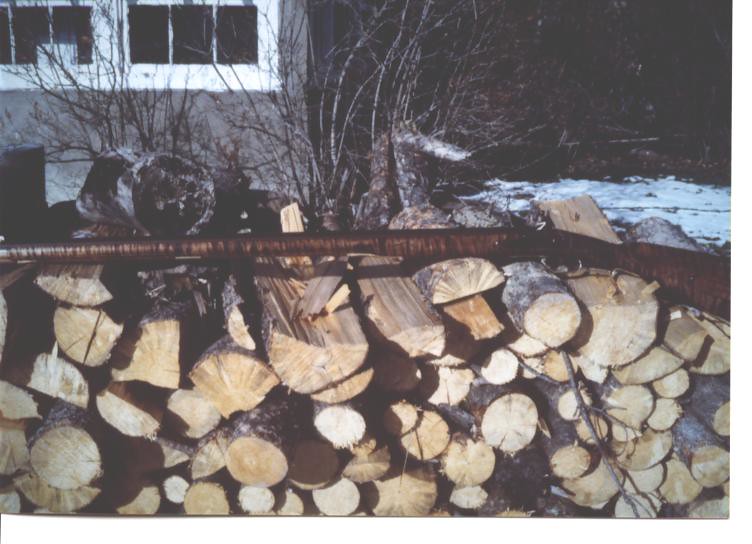
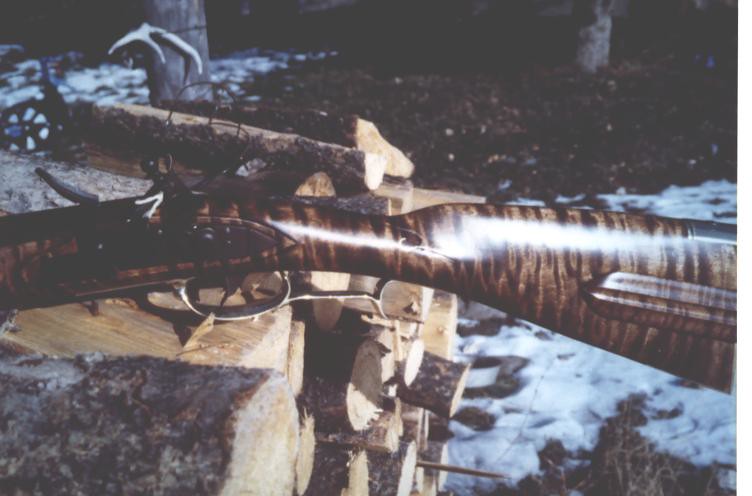
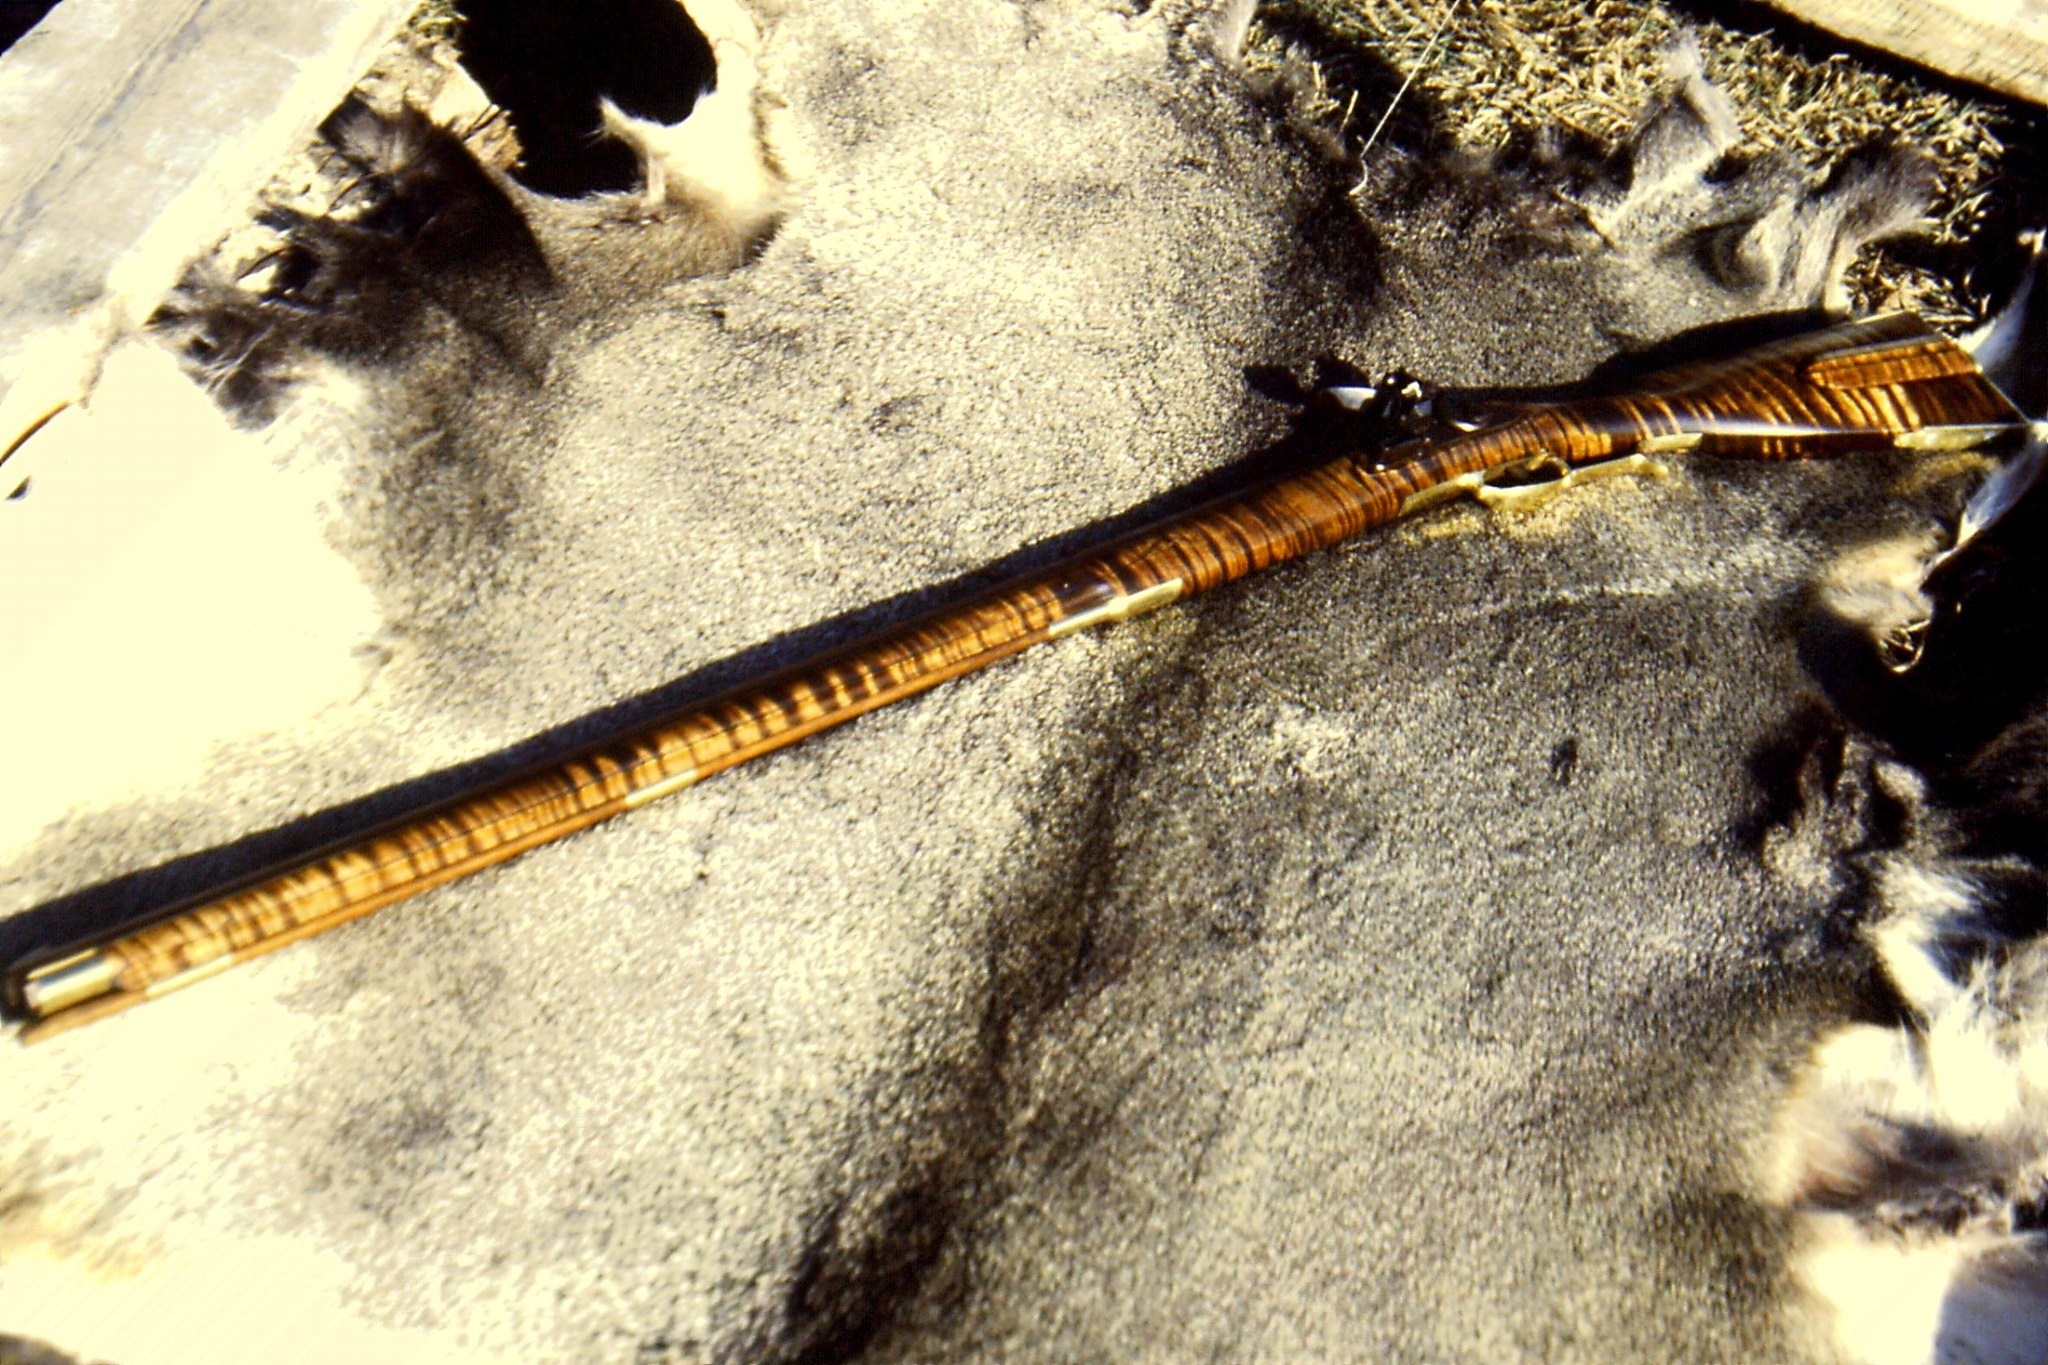
my .32 smr with Douglas barrel, Davis triggers, and siler lock, i think. guy sold it to me as that!
made the back sight out of a broken piece of brass trigger guard. works so well i kept it.
stock was purchased at Friendship 30-40 years ago. the guy that bought it forgot when. hauled it around for years and i found it in his shop. had a real wow in the forearm that took some straightening.
 

Attachments

  • 20211129_121523.jpg
    20211129_121523.jpg
    219.3 KB
  • 20211129_121531.jpg
    20211129_121531.jpg
    238.3 KB
  • 20220118_114645.jpg
    20220118_114645.jpg
    116.7 KB
Walnut half stock Built from a blank. CVA hawken barrel, CVA mountain rifle lock, trigger, patch box, thimbles. 1/4” cast off built in, finished with straight tru-oil, no stain. Learned a lot on this build. This was my first of three half stock blanks I bought to learn on. Total investment for the first one was less than 200.00.
 

Attachments

  • 525D7DE9-D0C1-49F0-A46C-B493CDDA6F15.jpeg
    525D7DE9-D0C1-49F0-A46C-B493CDDA6F15.jpeg
    98.7 KB
  • 2E9B0340-1147-4B02-8829-DFD2F0A69BBC.jpeg
    2E9B0340-1147-4B02-8829-DFD2F0A69BBC.jpeg
    227.8 KB
  • 6D064F63-11E3-4822-8065-0F8451C9825D.jpeg
    6D064F63-11E3-4822-8065-0F8451C9825D.jpeg
    196.3 KB
  • 3BBFBA78-9BC1-4D1C-8157-1A370B819FCB.jpeg
    3BBFBA78-9BC1-4D1C-8157-1A370B819FCB.jpeg
    199.6 KB
  • A7648D4E-220A-4CDF-819E-FC1C96D9DADF.jpeg
    A7648D4E-220A-4CDF-819E-FC1C96D9DADF.jpeg
    186.4 KB
  • 681D47CB-AE7B-45EA-BCC9-EBE615B95C41.jpeg
    681D47CB-AE7B-45EA-BCC9-EBE615B95C41.jpeg
    190.6 KB
Last edited:
1979 Sharon Rifleworks Hawken 54 cal
Kit. The plain maple stock finish gave me fits as it took me 4 redos to get the right stain to take evenly.
Finished it one day before deer season and got my first buck the next afternoon at 120 yds in the mountains of NC.
It is a heavy rifle at 9 lbs but it is a great shooter.
 

Attachments

  • 8744B882-476F-408C-87FA-760647C6A514.jpeg
    8744B882-476F-408C-87FA-760647C6A514.jpeg
    190.4 KB
  • E0B4C5F5-3775-45DF-A941-33DBF87B2BB9.jpeg
    E0B4C5F5-3775-45DF-A941-33DBF87B2BB9.jpeg
    134.3 KB
  • 7BAE5258-C892-4CE2-9D94-39B387FAB04E.jpeg
    7BAE5258-C892-4CE2-9D94-39B387FAB04E.jpeg
    217.6 KB
  • 16166812-FC30-4D57-BA70-48BC967D4248.jpeg
    16166812-FC30-4D57-BA70-48BC967D4248.jpeg
    196.2 KB
I wouldn't ordinarily show this, making it was a 2 year learning process that started about 10 years ago. It is actually my go to rifle for deer hunting. I started out with some Beck plans from TOW, went to fat on everything, made ugly lock panels and overall the rifle screams beginner.

beck lock molding.JPG
beck lock.jpg
beck pipes.JPG
beck trigger guard.jpg
beck on the deck.jpg

Beck parts.jpg


Not all is lost on appearance, this is the rifles 50 yard group, I pulled the first shot to the left then settled in.

peep group 2F.JPG


The rifle has put a pile of deer in my freezer in spite of being ugly.

09 8 point and beck.jpg
 
Chambers Edward Marshall kit in 54 cal was my first, done in 2019 on a total whim. My wife asked me for ideas for me for Christmas, so settled on a flintlock kit and was going to get a CVA or the likes. Did a lot of research on this website and was talked into going with a higher grade kit from Chambers. Down the rabbit hole I went. Considering kit and amount of tools and supplies I bought for it, I shudder to think the total cost of it. As well it was a very steep learning curve throughout and lots of wood that I could have removed and ugly panels, etc. But I do love the rifle...


20190414_095120.jpg
20190414_095450.jpg
20190414_095307.jpg
20190414_0953333.jpg
 
In 1979 I built a left hand flint in 54 calibre for my first try. I kept a list of parts and costs. All the little bits were made from sheet brass and steel.
all 493 by Oliver Sudden, on Flickr

Curly maple stock blank $35
Siler lock kit $36
Green River 1 1/8” to 1” X 36” $70
set trigger $10
ram rod $1
butt plate and trigger guard $8
set of needle files $14.40
deep throat jewelers saw $10.70
1 dozen 2 O blades $1.30
———-
$160.00
Made the breech plug out a bolt with welded on tang. The sliding patch box was hard but with a book and some taper worked good. Pertasiumpermaganate (SP) for staining the stock and Belgin blue to brown the barrel. Four years later I traded it for a 1948 Packard for a daily driver.
all 492 by Oliver Sudden, on Flickr
20111225115437_04 by Oliver Sudden, on Flickr
 
Wow, $160 for that sexy rifle, crazy... Throw on a zero onto that and about I had into my first with tools and supplies. I did buy a lot of tools though.

High grade wood is my strategy, it hides my novitiate better.
 
Haven't seen a one on the thread yet that I wouldn't take in a fast second!
Must disagree with you Hanshi!
they are all terrible and need to be disposed of correctly for the good of the sport!
as i feel i am the only one qualified to dispose of them correctly, my address is North Idaho! :ghostly:
 
I sold my first build but this is my second build. Boys Lancaster rifle. I built it for my Son when he was able to hunt. 13 or 14 years old. I forget. Anyway he killed two deer with it and asked me to never sell it so it goes to him. Built from a plank.13" LOP and and a .50 caliber Green Mountain barrel. I cut three inches off the swamped barrel which saved a full 1lb of weight. 35" barrel. Toe plate, side plate, and patchbox I made from sheet brass.
James
20220122_141500.jpg
20220122_141602.jpg
20220122_141512.jpg
20220122_141531.jpg
20220122_141538.jpg
 
Back
Top