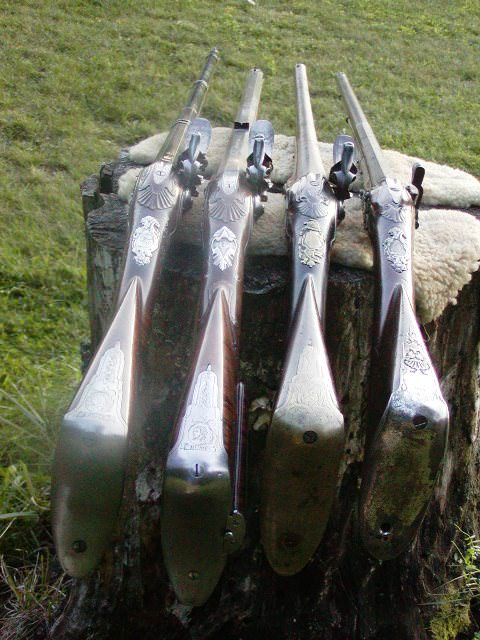
Inletting a fowler buttplate

Muzzleloading Forum

Help Support Muzzleloading Forum:

This site may earn a commission from merchant affiliate links, including eBay, Amazon, and others.

GANGGREEN

45 Cal.
Joined
Dec 16, 2007
Messages
1,320
Reaction score
548
Location
Coudersport, PA
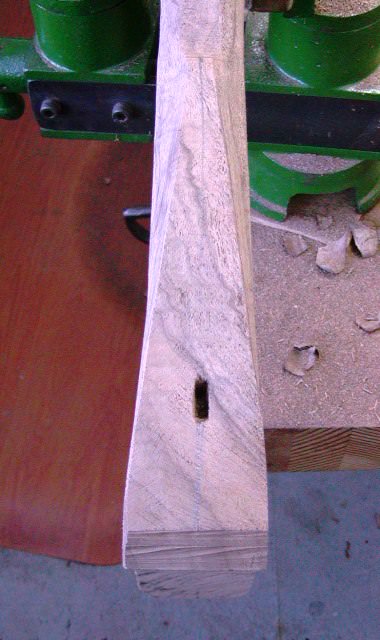
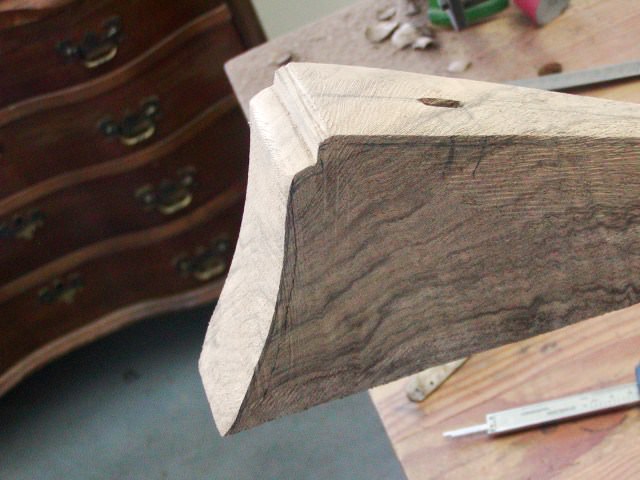
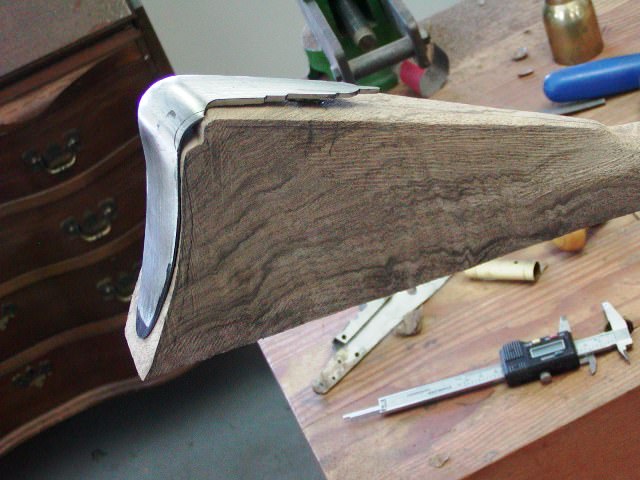
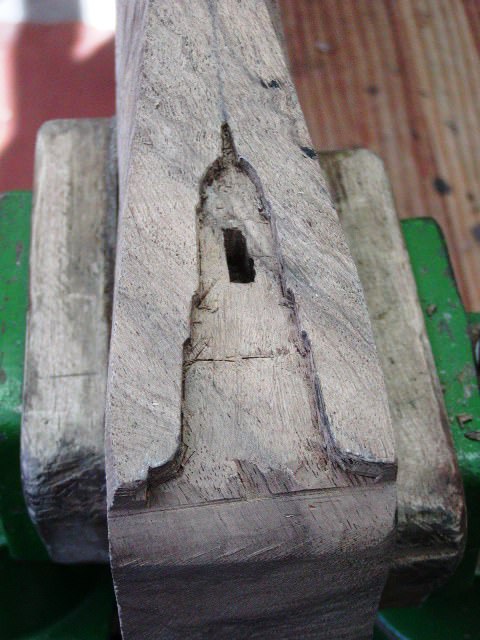
I've done a handful of "standard" buttplates and really didn't mind them and had reasonable results by inletting the tang of the butt down first and then inletting the toe and heel into the butt. Tedious for sure, but it's not hard and the results are good if you use inletting black and go slowly. I also did a standard fowler buttplate a number of years ago and had good results with it as well, but I can't remember the process that I used to inlet it. I struggle with chronic Lyme disease and at times remembering or completing a process is difficult.

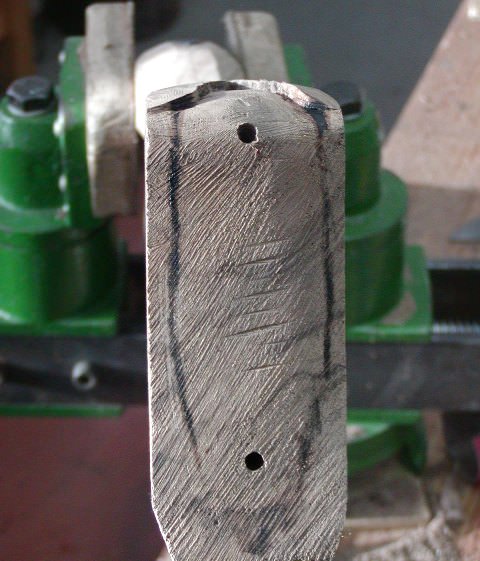
I'm referring to something like this and would be happy if someone had a tip for getting them in nice and easy since it appears that you almost have to inlet down and in at the same time. I already used the search function and couldn't find anything. Thoughts?

fowler buttplate.jpg
 
I did one of those, like you I can't remember the sequence but it took me a very long time to get it right. I started with way too much extra wood and inletted the inside curvature as well which was a waste of time. My buttplate was steel so tapping it to close gaps wasn't an option in most cases. I never could get the toe down just right so I heated it red hot and gave it a smack with a sledge hammer while it was in my vise. That closed the gap.

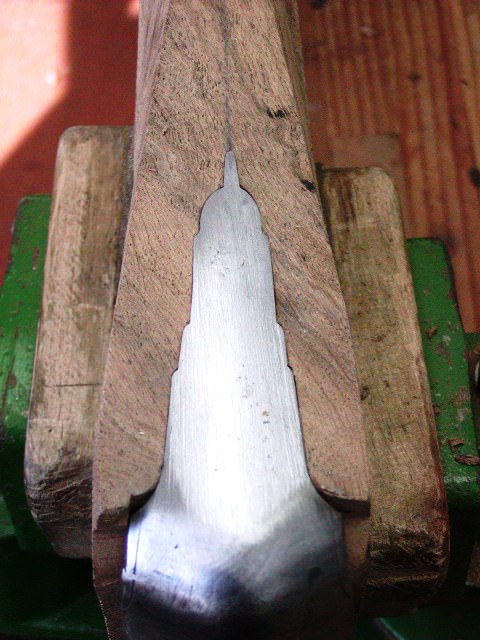
Way too much extra wood to go through plus I inletted the whole thing not just the edges, big mistake, it took me over a month to complete;

Buttplate almost two months.jpg


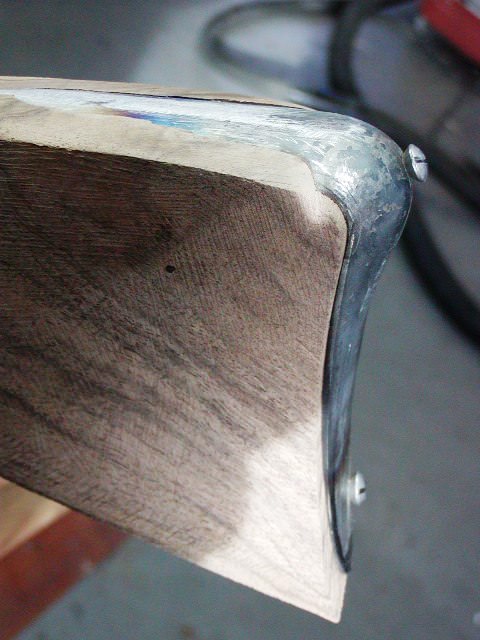
It came out OK;

fowler selfies 004.JPG
 
Typically for those "stepped" tang butt plates they are fairly flat so a good straight cut is the start, then the curve at the transition can be roughed in (too little is better than too much) then slowly inlet down, taking care to stay on your centerline.
 

Attachments

  • IMG_0069.jpg
    IMG_0069.jpg
    87.7 KB
Yeah, it looks awesome Eric. I have the benefit of using a very soft piece of brass, molded by Dave Keck at Knob Mounain, so there's that. Because it's such soft brass, I'd like it to be mostly supported underneath, but I have zero intention of inletting the entire buttplate, rather than just shaping the area under the edges of the plate. In giving it a lot of thought, I think it's going to work better by inletting it in from the back, rather than by inletting down first and then in, as you would on most standard buttplates.

In looking at your finished photo though, it brings up another question. Is the lone screw going in right at the heel enough to hold that in the mortise, or did you also use epoxy or a pinned lug to insure that the front of the tang stays down?
 
Typically for those "stepped" tang butt plates they are fairly flat so a good straight cut is the start, then the curve at the transition can be roughed in (too little is better than too much) then slowly inlet down, taking care to stay on your centerline.

Thanks for the insight and this makes sense. Wish I could find a proper YouTube video of the process, but I think it will work fine. I can rather envision the curve at the transition being inlet into the heel of the buttstock somewhat like an entry thimble enters the upper forestock of the rifle, not really straight down or straight in, but rather tilted in and cut/inlet as you go.

And, I'd have the same question for you as for Eric, WKD.....Is the screw on the lower portion of the buttplate and the screw on the heel enough to keep it down in the mortise or is your buttplate otherwise pinned somehow? My buttplate does have a small lug on the tang that looks as if it's meant to be pulled back towards the heel of the butt over a pin or something. I had planned on simply grinding or filing that off and going with a screw on the butt and a screw on the lower portion of the tang.
 
I did one of those, like you I can't remember the sequence but it took me a very long time to get it right. I started with way too much extra wood and inletted the inside curvature as well which was a waste of time. My buttplate was steel so tapping it to close gaps wasn't an option in most cases. I never could get the toe down just right so I heated it red hot and gave it a smack with a sledge hammer while it was in my vise. That closed the gap.

Way too much extra wood to go through plus I inletted the whole thing not just the edges, big mistake, it took me over a month to complete;

Eric,
Nice job, I envy your skills! I am a carpenter by trade but inletting a fancy butt plate is equal to getting my testicles squeezed in a walnut crusher. Inletting down or in, is relatively routine, but doing both simultaneously is where I really struggle.
Flintlocklar
 
Ganggreen, I just completed the Chambers Fowler. On this kit, the top of the butt plate is precut which, in my opinion, can make it more difficult to "land" in that precut area perfectly. I worked from the back in and then down. Also, I placed a screw lower on the back and one on the top. There was a pin lug which I did inlet but did not pin. For me, I thought the second screw was the better way to go.
img_0272-jpg.1084
 
Last edited:
You should not need that extra top screw, the tang is stiff and if inlet properly the two screws (upper heel and lower) are more than sufficient. Careful wood removal with minimal inletting black and you should get a snug fit. The spur under the tang can be pinned or ground off.
 
IMO WKD is right on with establishing a base line cut, I did the exact thing with a previous endeavor and stepped out the sides as I progressed. Personally I hate fudging small details so it took me more than a few days to complete. IMO I'd follow the above advice and utlize patience and let your candle soot or inlet black speak for you.
 
Placing the top screw in the bend correctly will pull the plate forward and down at the same time as you tighten it. It will be rock solid on the return and have no need for another screw or lug to be pinned on top. This was a very difficult screw hole to drill and countersink correctly, I never got it perfect and ended up filing the screw to match the countersink.
 
Hi,
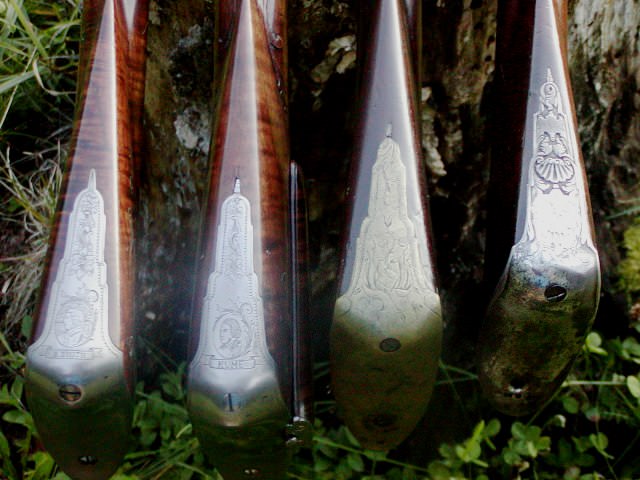
I' ve done many of these butt plates. First, clean it up and make sure the edges that contact the wood are smooth and crisp. Next, lay it next to the stock and trace the outline of the profile on the stock then cut the wood off close to that line. These butt plate historically are held in place by a screw above the toe, a screw at the heel, and a cross pin through a lug in the tang. There was almost never a screw in the tang. If your casting has a lug, inlet that first. Don't be concerned about a tight fit because you will be sliding the lug forward as you inlet the plate. After the lug is inlet, lay the plate on the wood and determine where the shoulders will be and then cut down and approximately form the round shoulder. Then start inletting the tang. As it inlets deeper you will also have to move the butt plate forward and round the shoulders to match the plate. Use inletting black applied lightly with a toothbrush or soot to on the plate to mark the wood that needs to be removed. As the plate goes deeper and forward, your slot for the lug is cut deeper and forward. Once the plate is very close with only tiny gaps, fit the screws and tighten them down. Then smack the plate with a ball peen hammer around the edges to close up any gaps. The link below shows building an historically correct 1750-1760 English fowler:
https://www.muzzleloadingforum.com/threads/building-a-1750s-english-fowler.109641/
dave
DalszVI.jpg

Imn3h62.jpg

CamzR6L.jpg

GAcXQ0t.jpg

AKuVmSt.jpg

HZhmLvL.jpg

iqUQbTs.jpg

MaJjxya.jpg

jkuPVy4.jpg
 
Thanks Dave, that's greatly appreciated. I'll look at the thread about the fowlers as well. I'm getting to the point where I understand most of the steps of a build and I'm completing them much cleaner, but I've only done one fowler and it was a long time ago.
 
Interesting comments about the top screw. I looked a many examples and I can't tell you where I saw the screw in the tang and I chose to go that route. I have a set of English Fowler plans that show the top screw in the bend which seems like the proper way to do it. Thanks, Dave, for all the pictures and explanation.
 
Thanks Dave, that's greatly appreciated. I'll look at the thread about the fowlers as well. I'm getting to the point where I understand most of the steps of a build and I'm completing them much cleaner, but I've only done one fowler and it was a long time ago.
Hi,
Making a good fowler is a challenge. Assuming you are building one from the 18th century, keep in mind some things. First, they are dainty and the thickness of wood along the forestock often is like an egg shell. For example, on one of my original fowlers, the barrel is 13/16" across at the muzzle, the stock is just shy of 15/16" across. The flats around the lock and sideplate are very thin. Often there was a molding but no flat at all around the lock plate. That was particularly true when a large round-faced lock was used. The flats around the lock should be no more than 1/8" wide and better less. The lock plate and sideplate flats do not need to be symmetrical. Often the side plate panel was shaped to fit the side plate and the lock panel shaped for the lock and they often were not identical. The old makers knew that you cannot view both sides at the same time so they did not fuss too much trying to make them the same. Look closely at how I reshaped the trigger guard on the English fowler. French guards usually had bows that were even ovals but the Brits often made the bow egg shaped with the large end forward. That allows more room for your trigger finger yet keeps the bow small. If you look at my thread on the English fowler, you will pick up many important details.

dave
 
Interesting comments about the top screw. I looked a many examples and I can't tell you where I saw the screw in the tang and I chose to go that route. I have a set of English Fowler plans that show the top screw in the bend which seems like the proper way to do it. Thanks, Dave, for all the pictures and explanation.
Hi,
The Brits did use a screw in the tang on their pattern 1557 and 1759 marine and militia muskets and you will occasionally see Amercian-made muskets and fowlers with tang screws but the vast majority used the cross pin.

dave
 
I'll read the thread and take your advice here Dave, it's much appreciated. My first few builds were klunky, but I've gotten to the point where I'm not at all intimidated to take down the lock and sideplate flats or the upper forend.
 
HA! I get to feeling a little bit better about my gunbuilding skills and you go and post a photo of that? Sweet. I've just accepted that I'm a guy who aspires to put together plain guns and to do so adequately. I greatly respect and admire those of you who can do this stuff, but man...…...
 
Jerry has reached a level of gunbuilding that probably has a chorus of angels singing in the background when he finishes a build.

I have reached a level of gun building where I can lower my gun out of a treestand onto an unseen rock while deer hunting and not worry about the new ding too much.
 
Back
Top