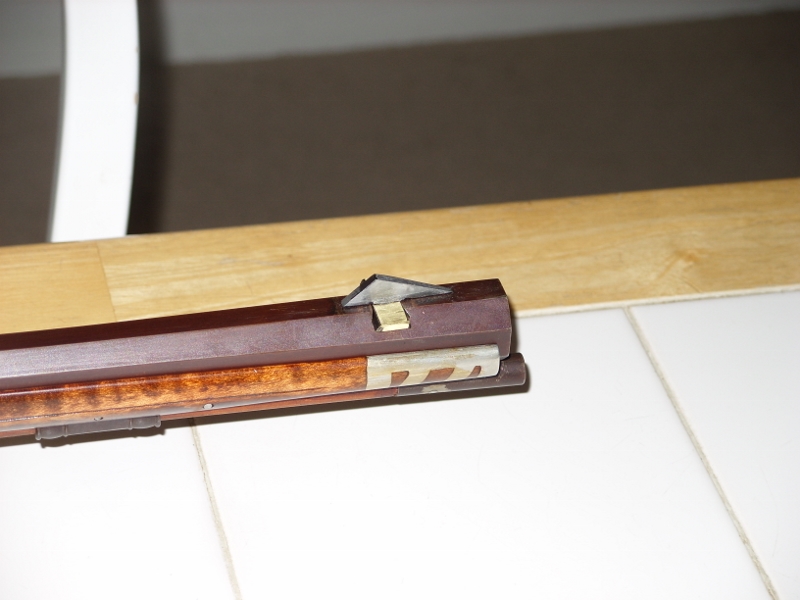
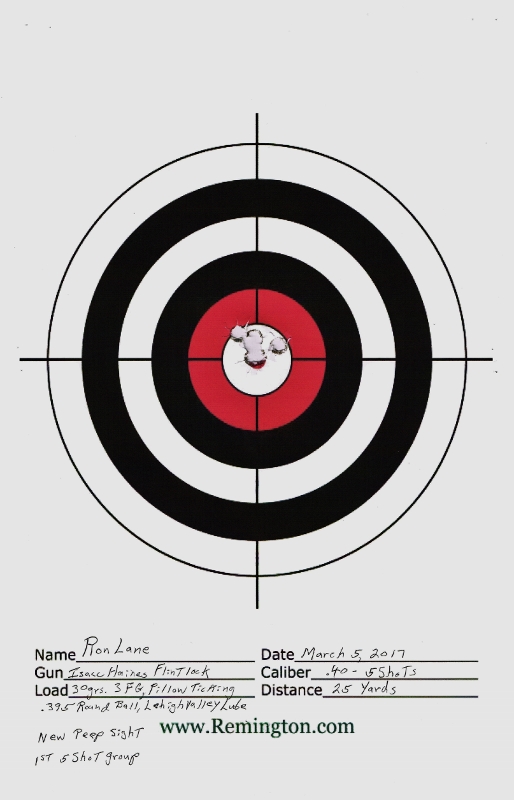
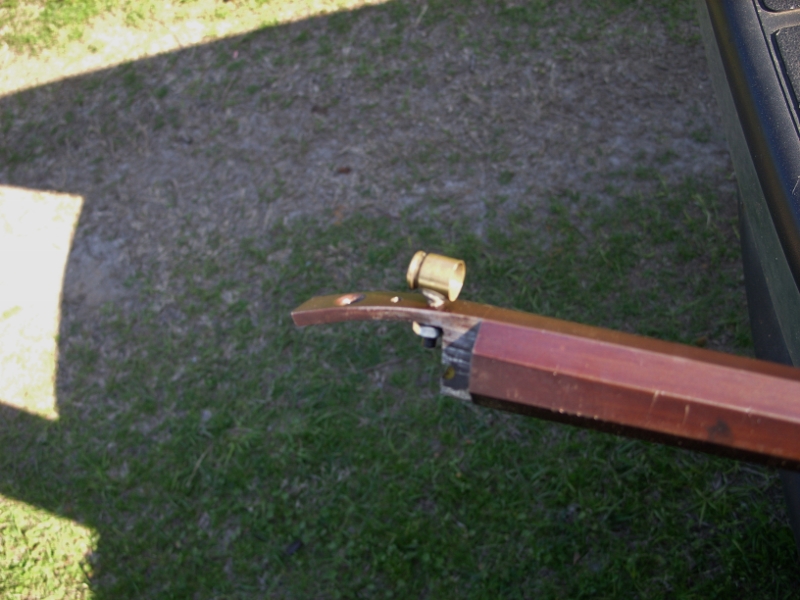
This is how I built my peeps, best that I can remember anyway.
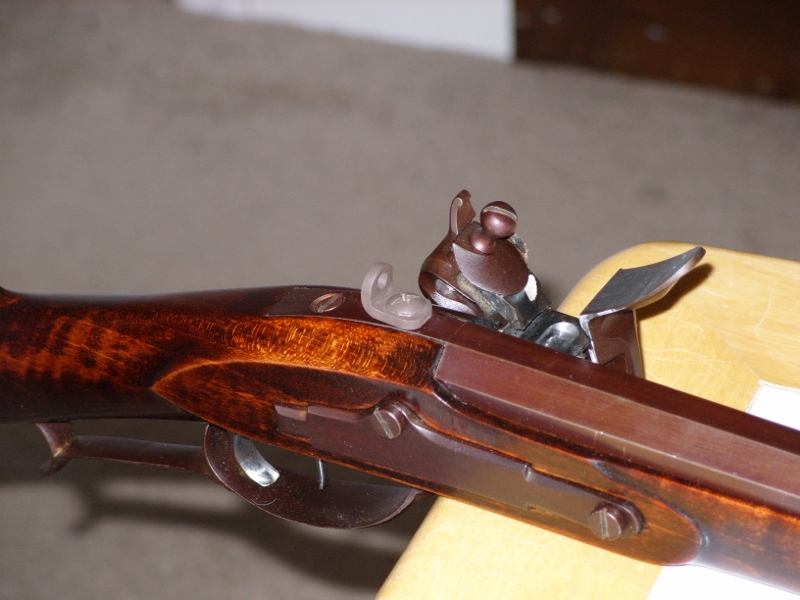
I drilled and tapped a 8/32 hole through the tang just behind the plug. Great care was taken when drilling as to be square with the bore the drill had to enter the material at a angle. Plus it had to be in the centerline of the bore as the only windage adjustment was with the front sight. I made the first prototype out of a .40 S&W empty case and worked most things out with that. One reason the position of the hole was chosen was to give room for a 8/32 lock washer and nut beneath the tang.
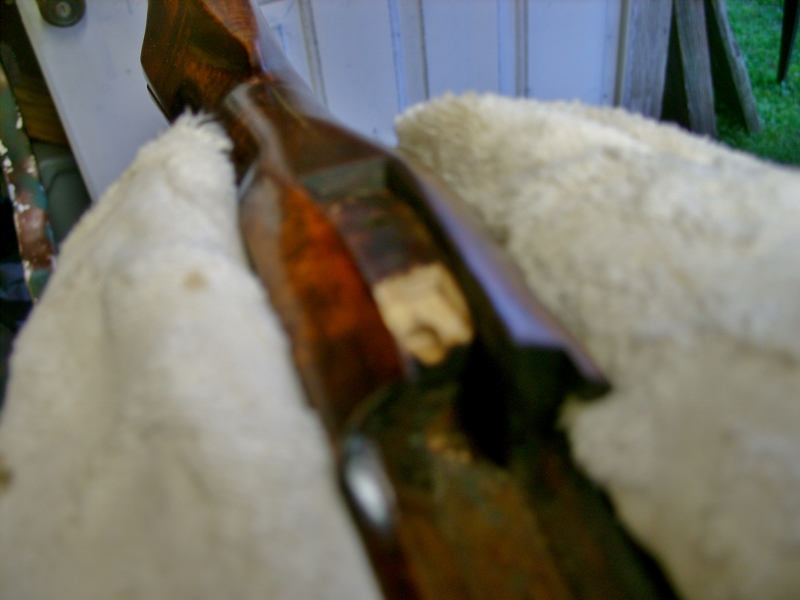
This position beneath the tang was worked flat so the nut would seat without touching the rear of the plug. I wanted both an adjustable sight and one that could be positively locked in position. Where the adjustment screw touched the stock mortice, I drilled it a little deeper for clearance and also chiseled that location for clearance for the lock washer and nut. Then sealed all new wood with Jim Chambers oil finish.
For the final version I cut off a section of 8/32 tangbolt and screwed it into the sight base using J&B weld in the theads to lock it in place. If you don't do this the sight will rotate on the screw when you try to tighten it or could get bumped off center easily in the woods. By turning the screw up one complete turn you move the sight .031" The photo's of the first 2 prototypes should give an idea of how things work.
If making a peep for a straight barrel just measure the height of your current sights and that will get you real close. On the other hand a swamped barrel is more difficult to get the sights right. Best way I’ve found is to just make the front sight higher so you just file off the top of the blade until the rifle is sighted in.
I used 1/8” X 1/2” weldable steel for the peep. But a small piece of 1/8" thick angle iron might be easier. Either one will need to be shaped to suit yourself.
I made the one on my .54 a little different, I left the 10-32 screw intact but still locked in place with JB Weld as I feel it's a little stronger than it is with the screw top removed.
I painted the peep with flat black spray paint to help reduce glare and give a good sharp sight picture.
I make my front sights using a brass base and a .100" thick weldable steel post. The base has a rectangular hole with relief cut into the brass. The bottom of the steel sight has a peg that fits the hole cut into the bottom of the blade. The blade is turned upside down and held in a vise and the brass base is fit over the peg. Using small punches the steel is bradded out to fill the rectangular hole. Done right this locks the front sight blade into the base. If you feel it's needed it can also be braised on the top of the base.
I suggest making the blade taller than neccessary. Then raising the sight 2 full turns and lock in Place. Now sight in elevation by filing down the blade. This will allow 2 full turns down adjustment to the rear peep.


Last edited:


