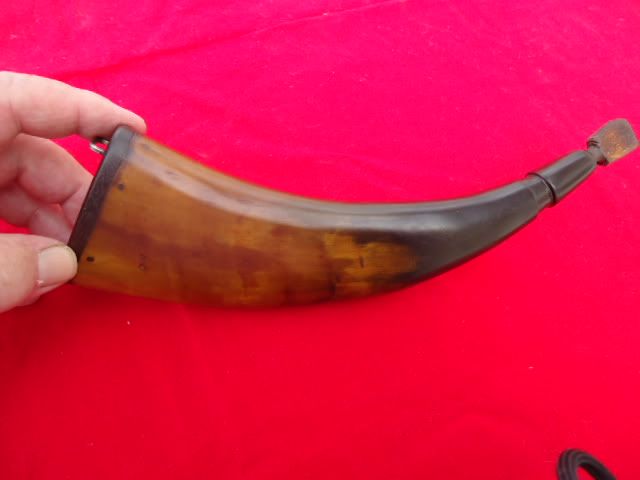
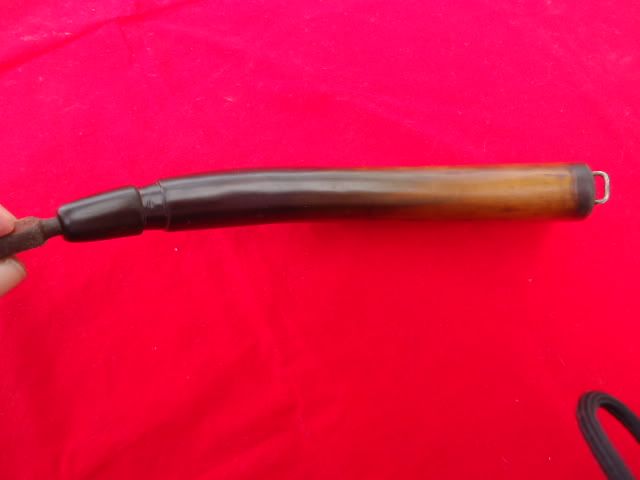
quick pics for flattening a horn.

Muzzleloading Forum

Help Support Muzzleloading Forum:

This site may earn a commission from merchant affiliate links, including eBay, Amazon, and others.

armymedic.2

45 Cal.
Joined
Feb 12, 2007
Messages
586
Reaction score
1
lots of ways- this is one. my first time doing it, couldn't be easier.

barely rough cleaned
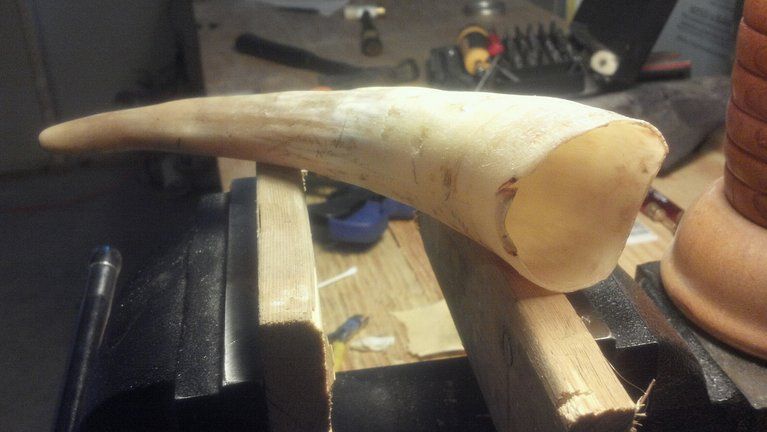
photobucket-22688-1342223199413.jpg


heated with heat gun until easily pliable, then tightened up-almost zero resistasnce.
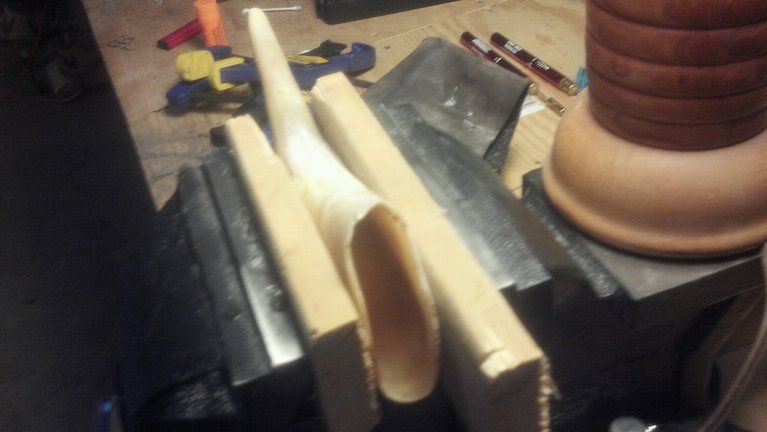
photobucket-10861-1342223227978.jpg


made the plug a hair oversized, trimmed the butt of horn and heated for a tapped in pressure fit (i also used some beeswax to lubricate and seal the bond deep)
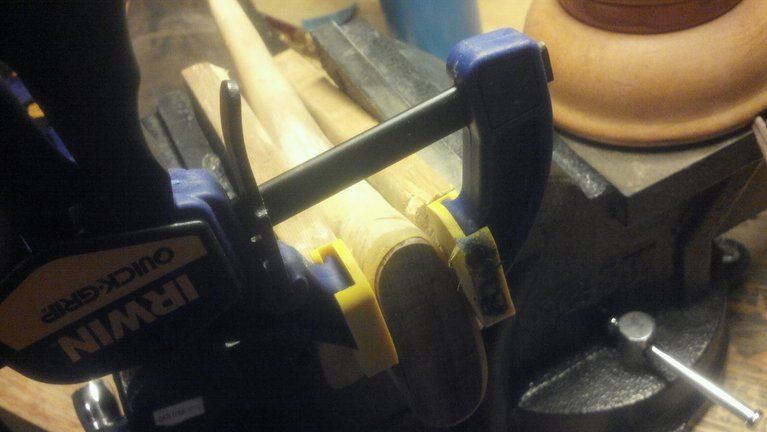
photobucket-3840-1342223256351.jpg


bit of sanding and four small cut nails get er close. lots to still be done at this point but the major operation is over.
photobucket-1993-1342223284529.jpg


hope that hellped someone or ya enjoyed it.
 
I might just try one of these now!..Very easy!

I have been waiting till I find a road killed cow complete with run-over horns....but it's been year, and I'm tired of searching..........
 
kaintuck said:
I might just try one of these now!..Very easy!

I have been waiting till I find a road killed cow complete with run-over horns....but it's been year, and I'm tired of searching..........

Now that's funny I don't care who you are!

Seriously, great flattened horn! Now what you gonna do with it. Flattened horn seem to beg for scrimshaw IMO!
 
Kaintuk- ha!very funny

The horn will gey a plunge top and go in my 62 bag for deer hunting. Less straps and three or four shots for when i need them
 
Been percolating on doing one of these, but was not sure how hot to get the horn. The one that I have in mind for the project is thicker and I was concerned about burning it.

CS
 
gents i promise you that was the very first one i ever attempted. if you only count from the raw horn......it is my second horn ever.


nothing to fear!

it was actually so easy........i'm considering doing some funky curves on one.......

so far as burning goes, if you have a heat gun it should be easy to avoid. if you begin to see any actual browning or liquid appear on the surface just stop, but you will get er moving well before that so far as i can tell with my vast experience........ha!
 
You did real good :thumbsup:
I usually make a small form of pine, the thickness that I want my horn to end up, shaped to match the curve of the horn. Then I make wedges to push the form out as I press This helps to keep the horn from curving in to far as you press it.

Ron
 
Mine is a black horn, so I will watch for the bubbles or changes in darkness.

I had already cut a wood form to shape it into the desired flatness and planned to use the leather padded wood vice.

Time to do it. Uh, right after the other horns already in production...

:haha:
 
I was told to boil the horn to get it soft. I tried that ***************once**************
I was lucky to get back in the kitchen to eat. The aroma was pretty stout.
 
Jeffrey L said:
I was told to boil the horn to get it soft. I tried that ***************once**************
I was lucky to get back in the kitchen to eat. The aroma was pretty stout.

Boiling water works for very thin horn walls, like the one on this thread, but you can't get boiling water above 212 degrees, so you have to use hot oil at around 325 degrees for thicker walled horns and you heat the entire horn. Not just half of it! __ You can only hold the horn in the hot oil for only a few seconds at a time or you'll scorch and fry it! (Don't ask me how I know that!)

Rick
 
Walls on this horn were almost 1/4" thick when I flattened it!...Like Hawkthrower said. You should use an interior wooden form or sides will contour and bow inward!

Bag Horn!
DSC00219.jpg


Above horn__ Flattened to 1/2" thick and bend left in per request!
DSC00220.jpg
 
Back
Top