Securing inlays

Muzzleloading Forum

Help Support Muzzleloading Forum:

This site may earn a commission from merchant affiliate links, including eBay, Amazon, and others.

jtmattison

70 Cal.
Joined
Mar 17, 2004
Messages
4,686
Reaction score
9
Might be a dumb question but how do you secure the inlay to the stock? Getting it in without gaps is the hard part, how do you keep it in?

HD
 
I nail them.

IMG_2124.jpg


add a bit of epoxy to be safe.
 
Huntin Dawg,

Don't rely on epoxy alone. It may hold for a few years, but metal and wood expand at different rates and the inlays will eventually pop out. I have one rifle built in the 60's and about 6 inlays were missing. It is much easier to do it right the first time than try to cut an inlay to fit a pre-existing inlet.

Besides pinning them with nails, you can also solder small screws to the underside of the inlay to give the glue something to grab ahold of. I drilled a pilot hole through the inlays, slightly countersunk the hole, then used small brads to secure the inlays. After filing down the inlay, you can't hardly see the nails. I also used epoxy at first, but then skipped it when I saw how well the brads were working.
 
I am assuming you used iron brads in the brass inlays, is this correct? If so, how does the color difference look? How do you keep the brads from looking like tarnished iron against the brass inlays?

I'm wondering because I've been thinking of doing this on my GPR. :v
 
I secure inlays w/ both nails and epoxy and use steel, brass or silver nails. After the inlay is inletted, a slitting file is used to file a groove {.010 deep} into the edges of the inlay. The holes for the nails are drilled and epoxy is applied into the inlet, including down into the holes. The nails have barbs raised w/ a sharp knife and are lightly pounded down and the entire inlay is lightly tapped home and the nails are again tapped. The epoxy squirts out and is left as is until hardened. The inlay {.002-.004 above the wood} and nails are filed flush w/ the wood. This is probably overkill w/ the grooves and barbed nails, but an inlay so installed, doesn't depend on the adhesion of the epoxy which I agree could eventually pop loose......Fred
 
For brass inlays, you can use brass nails. DGW sells a Nail Head Swaging Block for $4. It is an inverted cone milled into a small plate. You put a brass round-head nail in and tap with a hammer: it makes the nail head into a cone shape. After you tack (and glue) the inlay in place, you can safely file the excess nailhead away. The cone shape keeps the inlay in place. :v
 
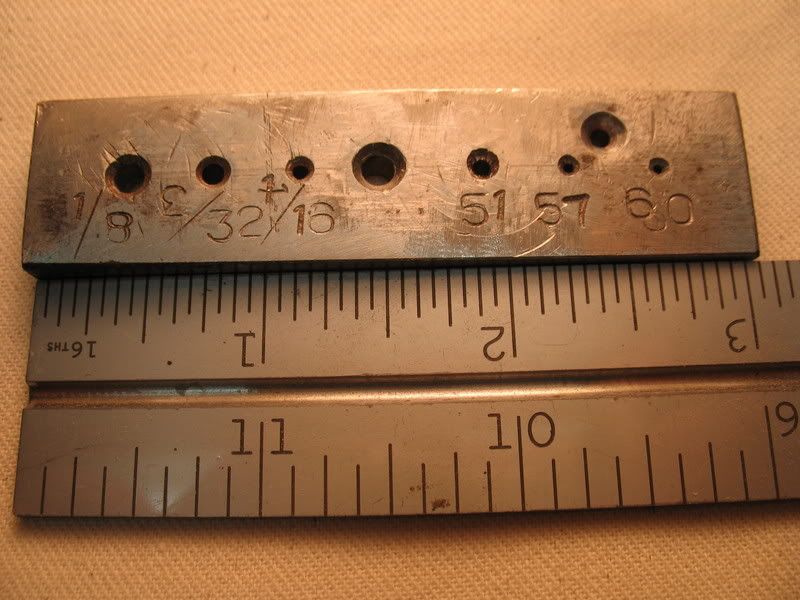
I secure all my inlays with pins to match the inlay.I made a small heading tool that is pictured below.I lock the pin in the vice and peen the head into the countersink in the header.I use the same countersink for the inlay.Once I have the pin made I cut some barbs on the side with a knife or a graver and install.Once installed and filed flush the pins will just about dissapear.
IMG_0668.jpg


Find the pins in the silver inlay!!

IMG_0435_1.jpg


Mitch
 
Tall Bear...I like what you made. The Dixie one is one size only, and made specifically for the brass nails that they sell. :v
 
I used epoxy plus brads (and a wood screw) to secure the inlay on my GPR. I originally was just going to rely on the brads and screw to hold the inlay in, but wasn't too confident on the work I had done. The epoxy was added security. I used brass brads and wood screw from Home Depot and the inlay was German Silver. I wanted some contrast but I didn't feel that I had enough, so I carefully applied some super blue on the brass to darken it.

finish_cheek.jpg


If you are not worried about contrasting elements, brass brads on a brass inlay would work fine. Once you peened the brass and filed/sanded the whole inlay you won't see them.
Scott
 

Latest posts

Back
Top