• Friends, our 2nd Amendment rights are always under attack and the NRA has been a constant for decades in helping fight that fight.

    We have partnered with the NRA to offer you a discount on membership and Muzzleloading Forum gets a small percentage too of each membership, so you are supporting both the NRA and us.

    Use this link to sign up please; https://membership.nra.org/recruiters/join/XR045103

Side Plate - Homemade?

Muzzleloading Forum

Help Support Muzzleloading Forum:

This site may earn a commission from merchant affiliate links, including eBay, Amazon, and others.

pondoro

45 Cal.
Joined
Jun 20, 2005
Messages
577
Reaction score
16
My daughter bought a mass production kit percussion pistol. I have that exact gun, bought already finished. It has two ugly round threaded bushings on the left side, where the lock screws come out.

It seems to me that I could saw and file a homemade side plate in an afternoon. Thread it and install it proud of the wood - then only if it works out - I would inlet it.

I'd practice on my gun. I'm reasonably handy. I have drilled and tapped holes before. So I'm sure I could do it.

The question is what thickness of steel should I use? Is the soft stuff I could buy at the hardware store OK?
 
I use 1/8" brass for my side plates, and only inlet them about 1/32", as, only the part above the wood actually shows. The question really is, how much metal do you want to be proud to the wood? If you go with 2 small side plates those are generally finished to be flush to the wood. A larger single side plate may be finished to be proud, or it may be flush. It just depends on what is correct for the build. That may need longer through-bolts than what you have in the kit too.

Side plates generally are not threaded. They are effectively a washer (though some are quite ornate and decorative) and the lock is what's threaded to be held by the bolt(s) through the side plate(s).

Yes, pretty much any mild steel will do. Just remove the "Ace Hardware" sticker from it. It engraves very nicely too. You could harden and temper it when it's all done, but that really isn't all that necessary. What sort of finish are you planning for it? Gray?
 
I say, "Go for it!"

Your design can be totally original or you might want to make something similar to the commercially available side plates sold by Track of the Wolf and similar suppliers.
https://www.trackofthewolf.com/List/Item.aspx/867/1

(Look thru all 5 pages to see a lot of different styles.)

Like Batguano said, you can use mild steel or even brass.
Sideplate screws do not need to be tightened up very tight to work.
In fact, one of the chief problem makers on side lock guns is caused by the owner over-tightening the lock bolts.
 
Last edited by a moderator:
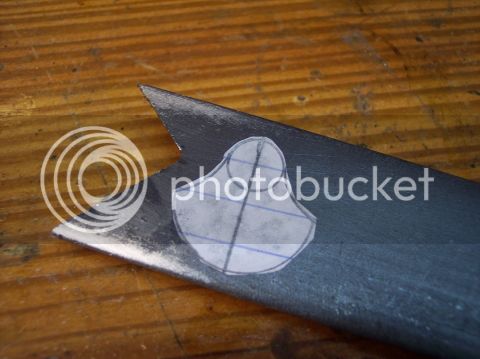
I like to trace the side plate designs off of photos of original guns then use the enlarge/reduce options to adjust the size on the copy machine until they fit the side panel. Spray adhesive will stick the drawing to the sheet metal of choice. The size of jewelers saw blade you use will be determined by metal thickness. ie 1/0 for thicker and 3/0 for thinner. Buy a saw frame with deeper cut allowance. Jump in take a chance you'll do fine.
 
Many go the spray adhesive route, but to be double safe on that, you might consider marking the metal with some machinist's marking fluid too, Then scratch in the outline in to the underlying metal, following the paper pattern. that way, if your stuck-on paper gets mangled by your vice jaws, you'll still have the pattern scratched in the metal to go by.

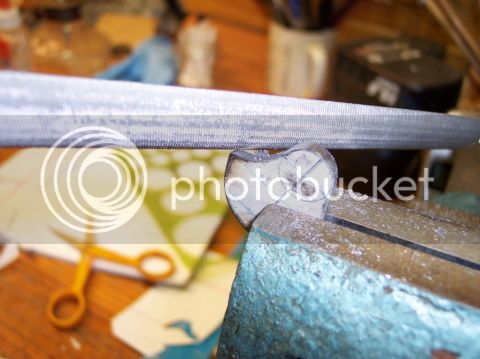
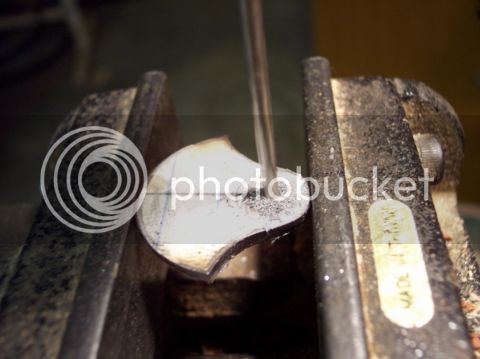
I'm too chicken to cut that close to the line with a saw. I usually cut around 1/16" or maybe a little less off the line, and use the files (or if I'm really brave, the bench grinding wheel to get really close) to bring the pattern to final dimension. The saw makes the edge rough anyway, (I use a floor mounted jig saw) and it'll need cleaning up. For sure the burrs on the back side will need that.
 
Cutting close to the line can be a challenge. The difficulty is more in keeping the saw frame vertical or perpendicular to the work so that the edge remains square rather than following the line. Using a jewelers saw frame to cut a piece clamped in a vise isn't really the most effective use of that tool. The best way to use this saw frame is to support the work on a jewelers type bench pin flat side of the pin up and a V notch cut out of the middle of the pin. Clamp the work with your non-dominant hand Hold the saw with your dominant hand, firm grip and wrist and reciprocate your arm at the elbow don't use your shoulder. Make the movements at the elbow consistent and smooth vertical. I use a saw frame every day and it takes a while to master technique but once you get it you'll be glad you put the time in.
 
Back
Top