I've seen some pretty amazing case colors on locks by T/C, Investarms, Pedersoli, etc. I've heard that they aren't always truly color case hardened, at least not by traditional methods, but are more of a simulated case color. Anyone know how this is done? Can something similar be done at home? Years back, I did a lot of searching for this info and found little. Some folks were using flame for colors, and others were tossing WD-40 on hot metal, etc. Nothing I've tried is even remotely close, though.
You are using an out of date browser. It may not display this or other websites correctly.
You should upgrade or use an alternative browser.
You should upgrade or use an alternative browser.
Simulated case colors?
- Thread starter renovato
- Start date

Help Support Muzzleloading Forum:
This site may earn a commission from merchant affiliate
links, including eBay, Amazon, and others.
I've done some pretty good looking "fake" colors with a small tip on the welding torch. I've also experimented with cold blue, hot brown, and lemon juice. Pick up a scrap piece of steel, sand it bright and practice to obtain the effect you like. You'll see how the color changes with temperature and with a small tip you can "paint" the colors in a very pleasing manner. Apply a coat of bees wax while the metal is still hot enough to flow the wax and the colors will hold up pretty well.
Generally these places do use a color case hardening treatment, traditionally the most common form of casehardening was pack hardening. To explain it simply parts were surrounded by carbon rich material, charcoal (bone, wood, etc.) and than placed in a loosely sealed container and heated to a temp of around 1400 and left in that heat for a set amount of time. This caused the surface of the part to absorb carbon and when the pieces were quenched it often imparted a mottled color hue that we recognize as color case hardening. In my own mind, the colors that were obtained by this process are unmatched in their beauty by any other method. Today, manufacturers tend to find this process more costly and they use another process where the parts are dipped into molten cyanide (yes quite dangerous) and left in the cynaide to absorb carbon, followed by a quench. This method does produce colors, but they are not the same in appearance as the traditional bone and charcoal method, plenty attractive if the steel is polished before hand, but still not the same look. Most of the copies of the Colt revolvers you see today use this process and when compared to a real Colt, who still uses bone and charcoal casehardening processes, they look cheap and somewhat fake.

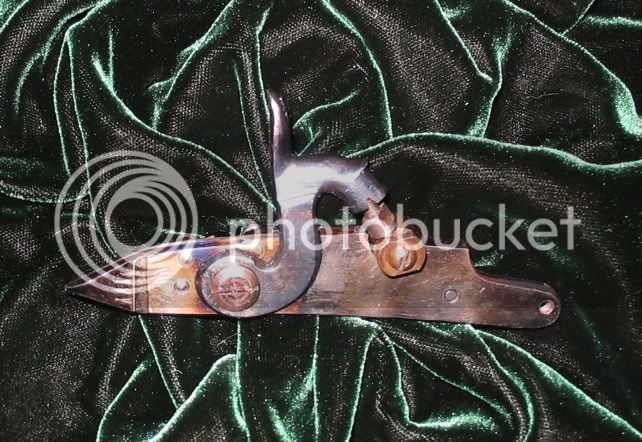
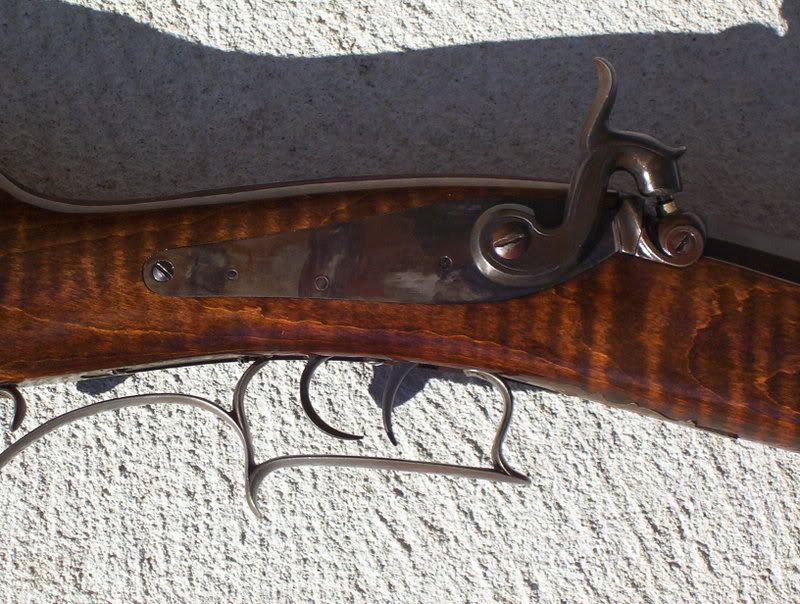
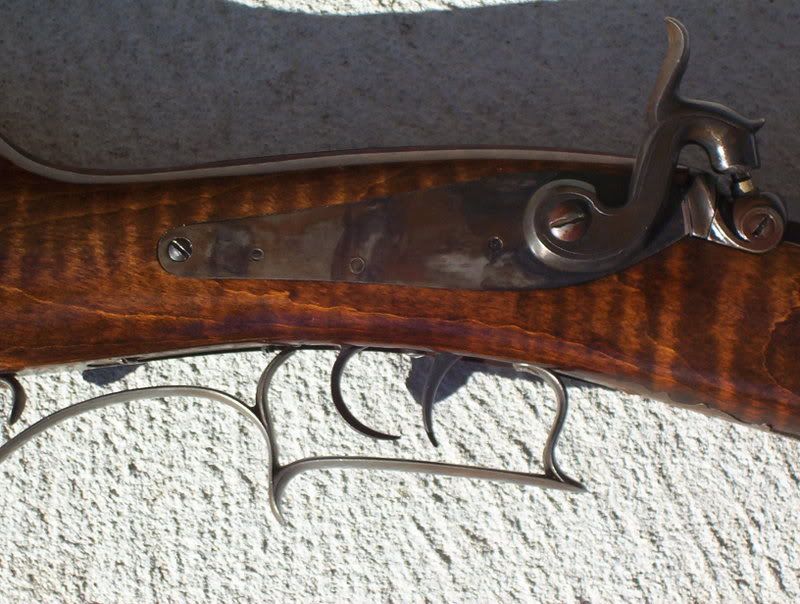
I used a pencil butane torch to heat up localized areas until they started to change color to get the results you see here.
The colors aren't as distinct as the parts which were done using the industrial pack method but from what I've read, that process is not easy and there is a real learning curve to getting a good result.
Using the localized heating method is pretty easy and if you don't like the results you can always sand it off and try again.
Just try to avoid heating parts like the frizzen, tumbler and sear while your doing this.
Colors produced like I did here are not real wear resistant but if you avoid rubbing them with abrasive materials they will last for years.
zonie
Zonie,
I have used a similar technique.
This wasnt on a lock but the steel hardware on a rifle. I have an acetylene torch on low flame. I heated the parts up to where they started to turn red and dunked them in a mixture of motor oil and trans fluid, it gives them the rainbow effect with a dark blue hue.
I want to experiment more with this but havent had a chance.
windwalker_au
50 Cal.
- Joined
- Oct 14, 2006
- Messages
- 1,105
- Reaction score
- 6
i did this lock with cold brown and blueing gream, it was cheaper than geting a new lock, i think it turnd out pritty good.
bernie :grin:


bernie :grin:


Similar threads
- Replies
- 0
- Views
- 164
- Replies
- 9
- Views
- 625
- Locked
- Replies
- 10
- Views
- 1K


