-
Friends, our 2nd Amendment rights are always under attack and the NRA has been a constant for decades in helping fight that fight.
We have partnered with the NRA to offer you a discount on membership and Muzzleloading Forum gets a small percentage too of each membership, so you are supporting both the NRA and us.
Use this link to sign up please; https://membership.nra.org/recruiters/join/XR045103
You are using an out of date browser. It may not display this or other websites correctly.
You should upgrade or use an alternative browser.
You should upgrade or use an alternative browser.
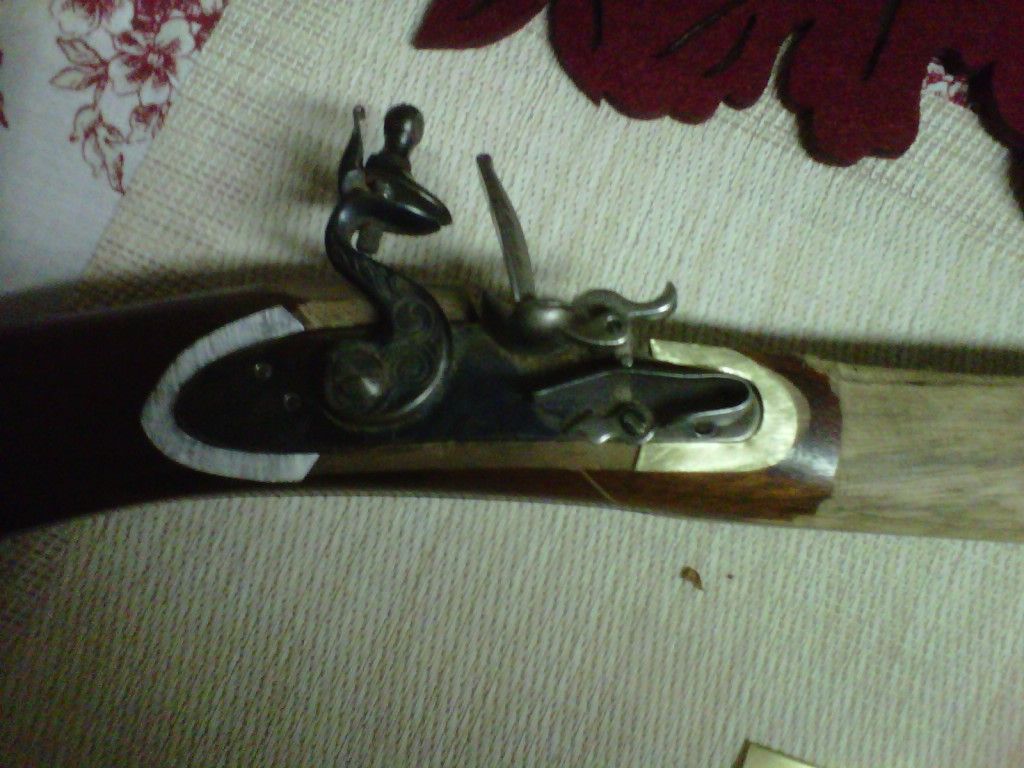
steel cheek inlay
- Thread starter Dillon614
- Start date

Help Support Muzzleloading Forum:
This site may earn a commission from merchant affiliate
links, including eBay, Amazon, and others.
Black Hand
Cannon
- Joined
- Mar 17, 2005
- Messages
- 9,348
- Reaction score
- 896
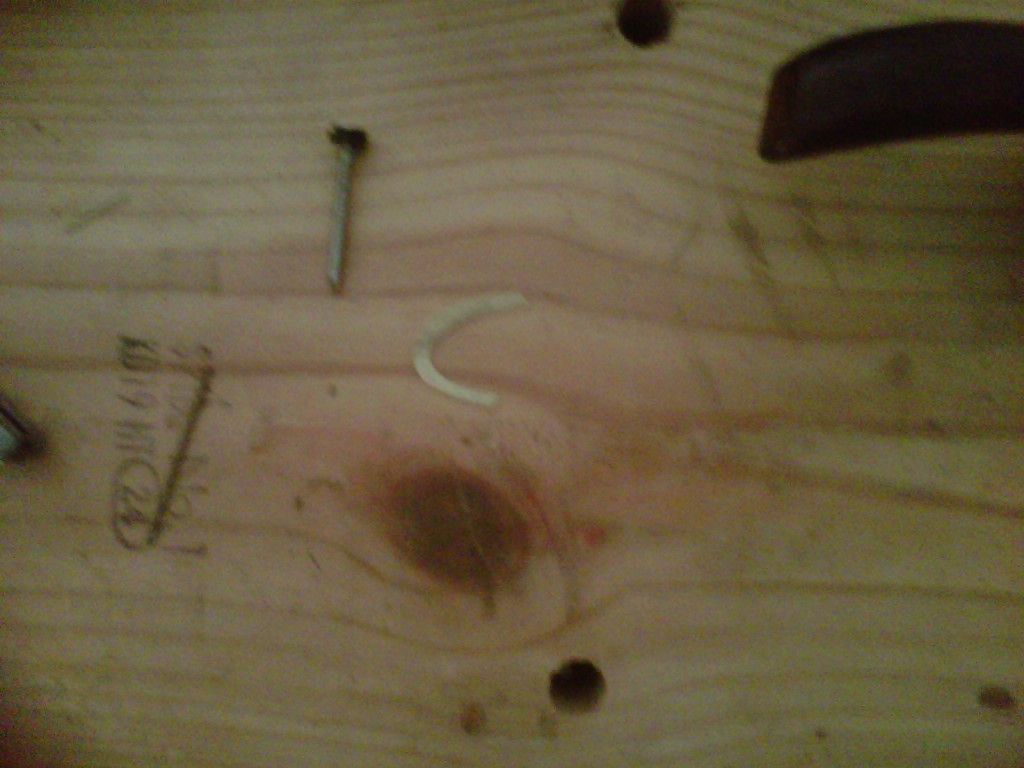
Small nails and/or screws - depending on the type of inlay and type of gun.
Black Hand
Cannon
- Joined
- Mar 17, 2005
- Messages
- 9,348
- Reaction score
- 896
The nails are usually countersunk and filed flush. Screw holes are countersunk and the screw installed flush with the surface.
Please find some pictures of the gun your are building and see how inlays were traditionally installed. Installation will vary between gun types and schools.
There are many builders that post who may be able to give you more specific details.
Please find some pictures of the gun your are building and see how inlays were traditionally installed. Installation will vary between gun types and schools.
There are many builders that post who may be able to give you more specific details.
Although the "star" on this Bucks County is sterling silver, the center screw is ctsk , but is an oval headed screw which doesn't interfere at all. Because of the stiffness of the .060 thick silver, one screw is quite sufficient and seeing a steel star would be even more stiff, the one screw would do the job.....Fred


Billnpatti
Cannon
- Joined
- Aug 11, 2008
- Messages
- 7,340
- Reaction score
- 44
That is one gorgeous rifle. The engraving is absolutely beautiful. But what I am most impressed with is the magnificient carving on the stock. Such artistic ability just boggles my mind. Did you do it?
Onojutta
45 Cal.
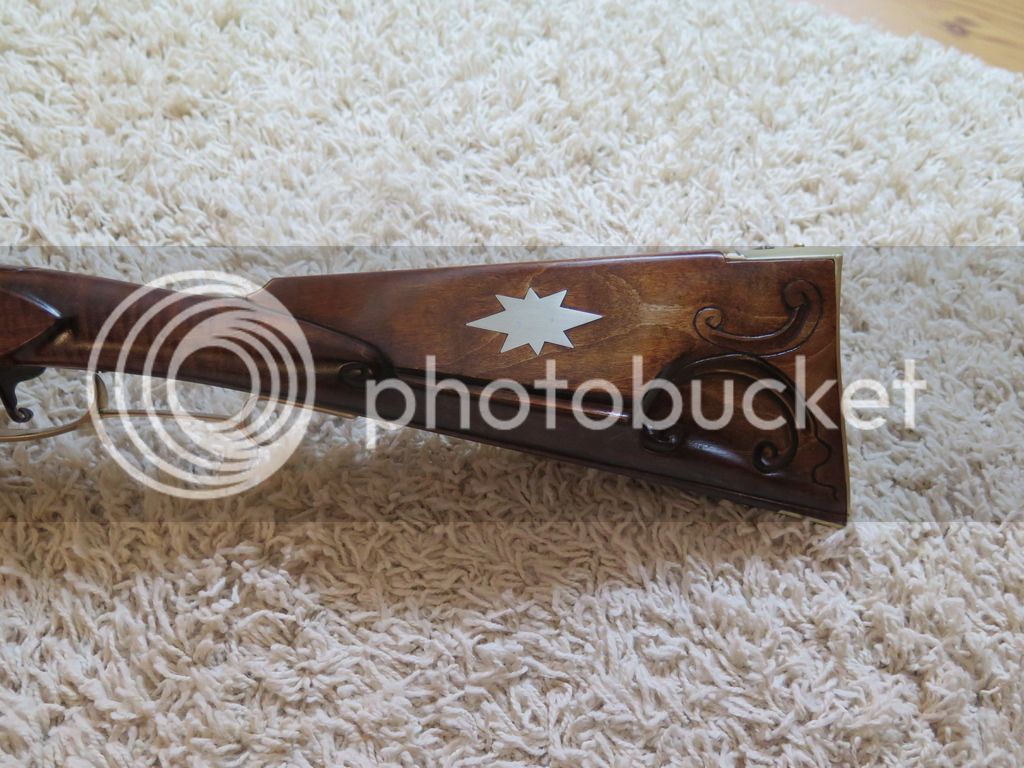
I use little tacks from the local hardware store (I think they are 18 gauge). I pre-drilled the inlay, make a tiny countersink, carefully hammer in the tacks, then file the head of the tack down flush with the inlay. I really don't know how traditional that method is, but it has worked fine and looks the part.
Silver wire might be a bit more PC. The Gunsmith of Grenville County book explains a procedure to form a head on the wire to use that method. Some even glue or epoxy the inlay in addition to mechanical fasteners, but probably not necessary.
Screws are common and traditional too, as shown on flehto's rifle, but I've never shot a rifle with screws in the cheekpiece and was worried they might irritate my cheek.
On the rifle shown below, I did final fitting before finishing up the stock, and installed the tacks as a very last step before staining so I didn't bugger up the inlay while finishing up the surrounding stock. I then filed the inlay perfectly flush with the stock at the same time as filing down the heads. This cause some shading or "staining" of the surrounding wood with the silver shavings that I wasn't able to remove 100% by sanding, but once the stain was applied it all disappeared.
PS - Is anyone else jealously irritated by flehto's modesty??
:grin:
Silver wire might be a bit more PC. The Gunsmith of Grenville County book explains a procedure to form a head on the wire to use that method. Some even glue or epoxy the inlay in addition to mechanical fasteners, but probably not necessary.
Screws are common and traditional too, as shown on flehto's rifle, but I've never shot a rifle with screws in the cheekpiece and was worried they might irritate my cheek.
On the rifle shown below, I did final fitting before finishing up the stock, and installed the tacks as a very last step before staining so I didn't bugger up the inlay while finishing up the surrounding stock. I then filed the inlay perfectly flush with the stock at the same time as filing down the heads. This cause some shading or "staining" of the surrounding wood with the silver shavings that I wasn't able to remove 100% by sanding, but once the stain was applied it all disappeared.

PS - Is anyone else jealously irritated by flehto's modesty??
:grin:
Billnpatti
Cannon
- Joined
- Aug 11, 2008
- Messages
- 7,340
- Reaction score
- 44
Yes, flehto is a very modest man. But when you are that good, your work speaks for itself and needs no verbal embellishment. :thumbsup:
Braggadocio is the crutch for the insecure. :hmm:
Braggadocio is the crutch for the insecure. :hmm:
Pete G
76 Cal.
Little Buffalo said:PS - Is anyone else jealously irritated by flehto's modesty??
:grin:
No. I admire him for it. :hmm:
Similar threads
- Replies
- 5
- Views
- 502
- Replies
- 21
- Views
- 620


