- Joined
- Nov 26, 2005
- Messages
- 5,229
- Reaction score
- 10,908
Hi Folks,
I am starting this thread a little earlier than I planned to help a member who is actively building the same gun. The first thing for me is always context. The gun I am building is a British pattern 1756 long land musket and inspired by an original Tower assembled musket issued to the 63rd regiment of foot during the American Revolutionary War. It may have served at Bunker Hill, Long Island, New York, New Jersey, and Pennsylvania. I will use direct measurements from that gun to guide this project. I ordered the parts set in June and received it at the end of September.
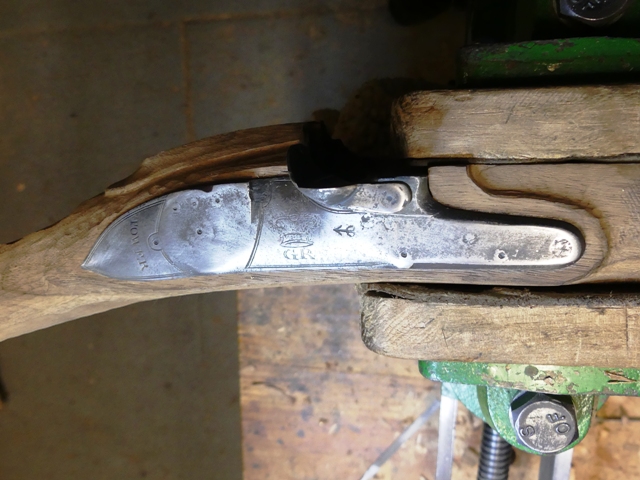
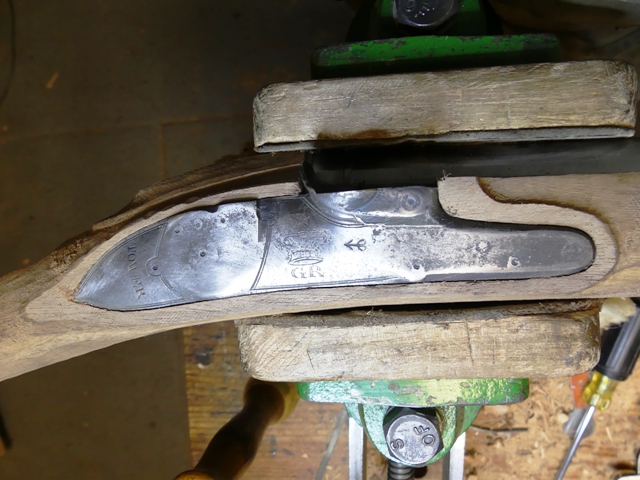
The parts were generally of excellent quality with a few caveats. The lock plate was warped and had to be straightened. That reqy=uired heating the tail and nose to red hot and hammering it straight. A MAPP gas torch is sufficient for that purpose. Then file the inside surface of the plate to see if there are high and low spots. I use a coarse single cut lathe file for that purpose and use it to flatten the inside of the lock. The rest of the lock parts and components seem to be fine.
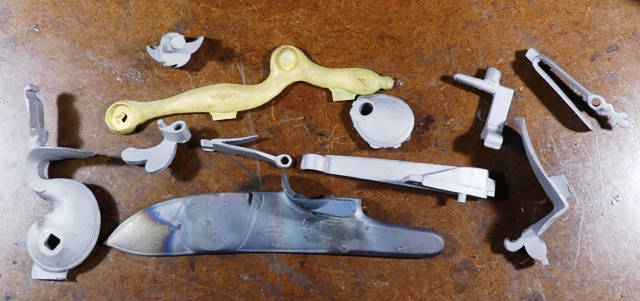
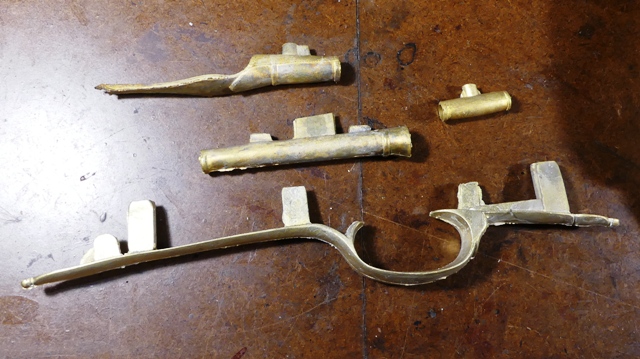
I arranged several cast butt plates to show you why none of the commercial reproductions can ever be considered authentic reproductions of the Brown Bess.
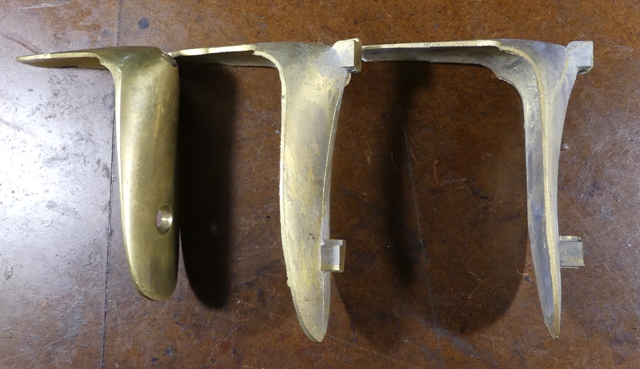
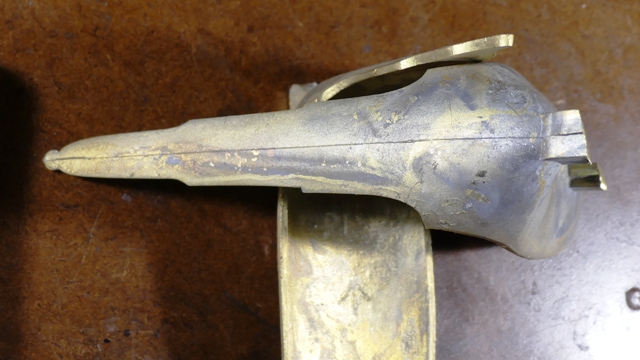
The first butt plate to the left is from a Miroku Bess and is the same size as butt plates on Pedersoli Besses. The second is a casting from an original short land Bess, the gun the commercial repros purport to be, and the last is from a long land musket. The commercial butt plates are way too small and will never produce an accurate copy of the gun.
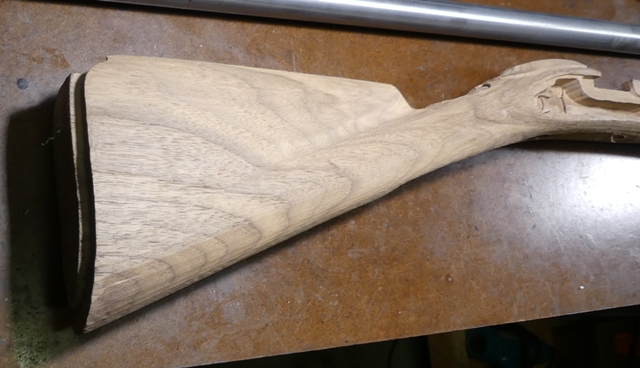
The TRS stock is pretty good. Fortunately, it falls within the dimensions of the originals.
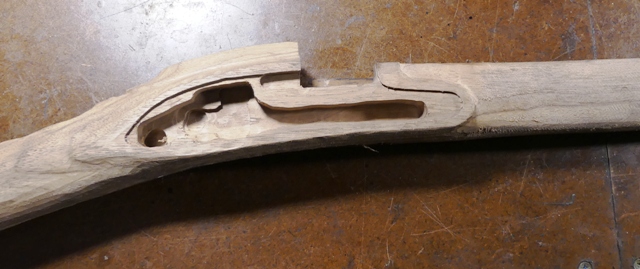

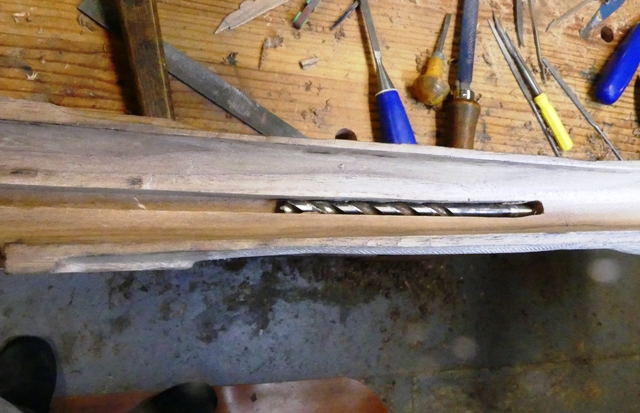
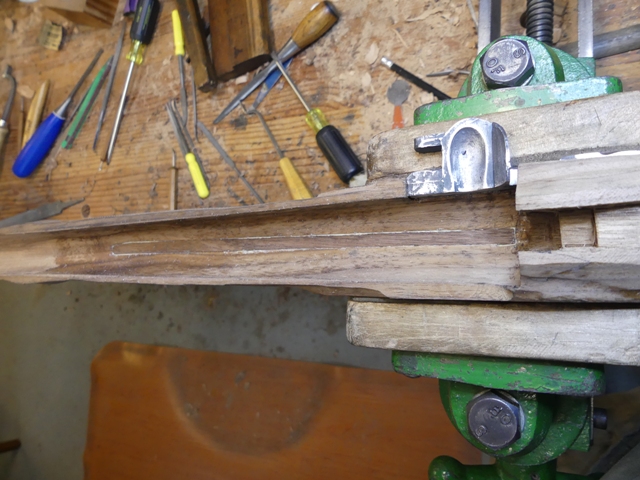
Unfortunately, the routed (not drilled) ramrod channel is off center.
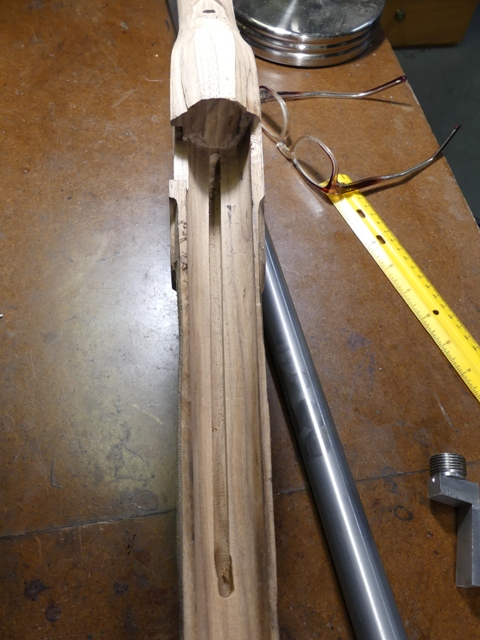
I'll fix it and I will not let that routed mortise show. It will be covered over with a walnut strip and the barrel channel coated with a varnish thin layer of AcraGlas.
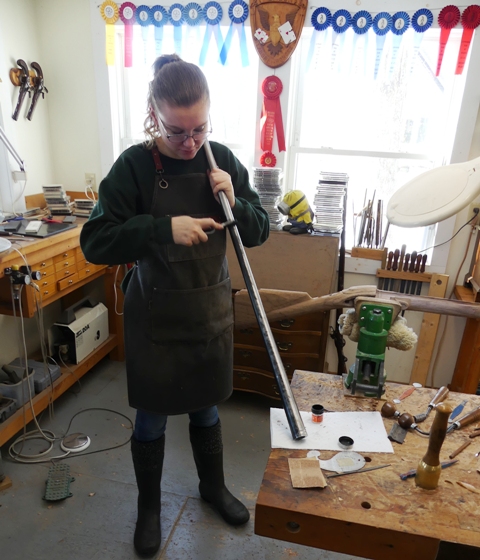
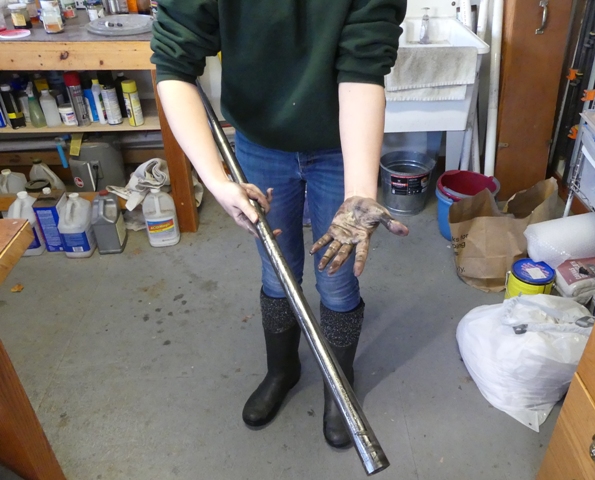
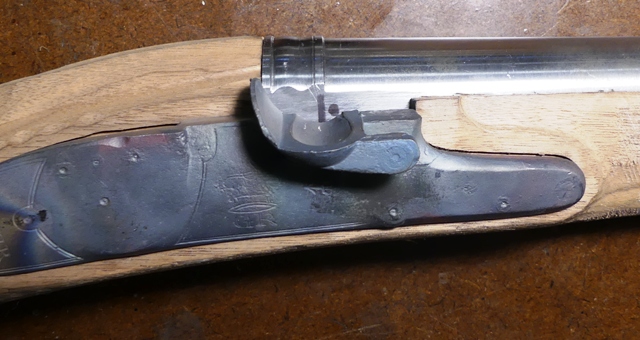
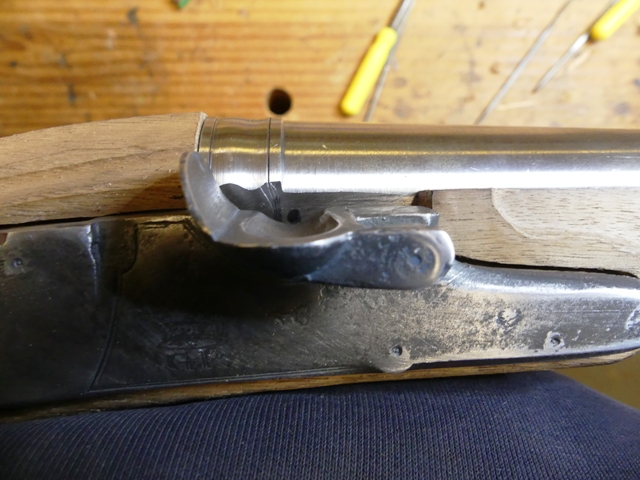
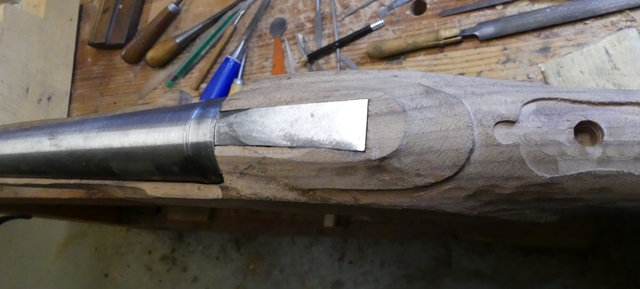
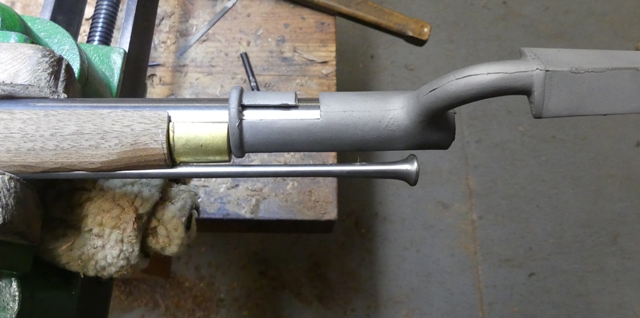
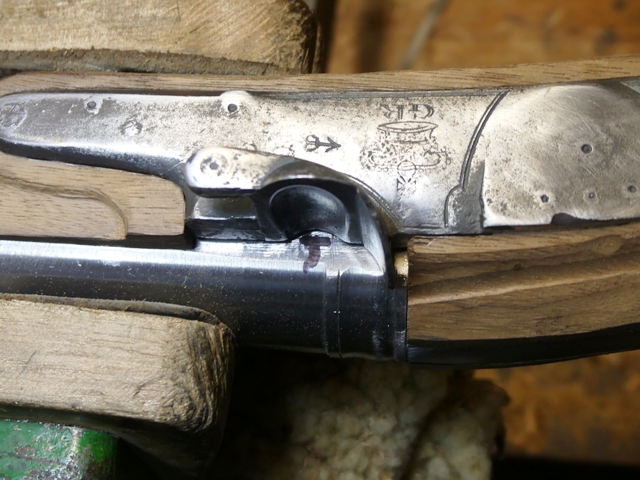
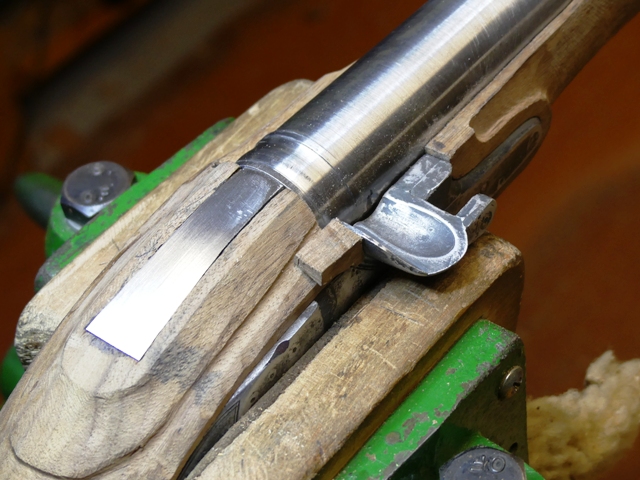
The first job is to fit the barrel in place. First it must have a flat filed on the lock side. To do that you need to make sure the breech plug is well fitted. Remove the plug and put blacking or Prussian blue on the face of the plug and screw it in all the way. Then take it out and hopefully the marking on the face of the plug is wipe off indicating the plug is snugging against the shoulder in the barrel. If it doesn't, file off some of the breech end of the barrel and install the plug until it butts against the shoulder. When it does, measure the depth of the threads in the bore and mark that depth on the outside of the barrel above where you will file your flat. Next file the flat just enough so the full length of the bolster on the lock fits the flat. Don't go overboard. Also file off the decorative rings at the breech on the underside of the barrel.
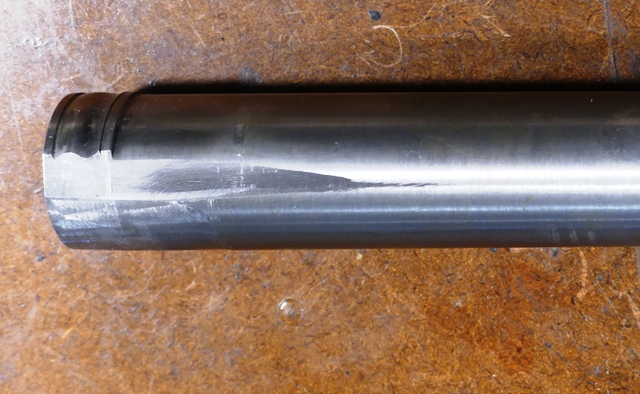
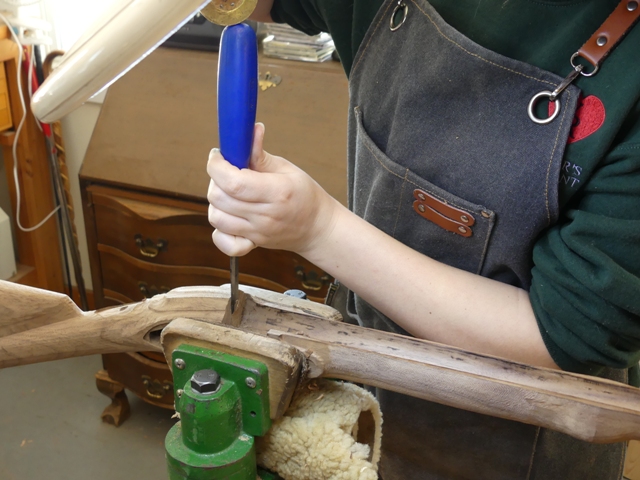
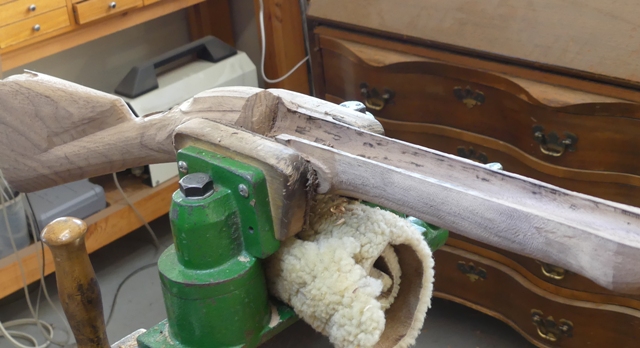
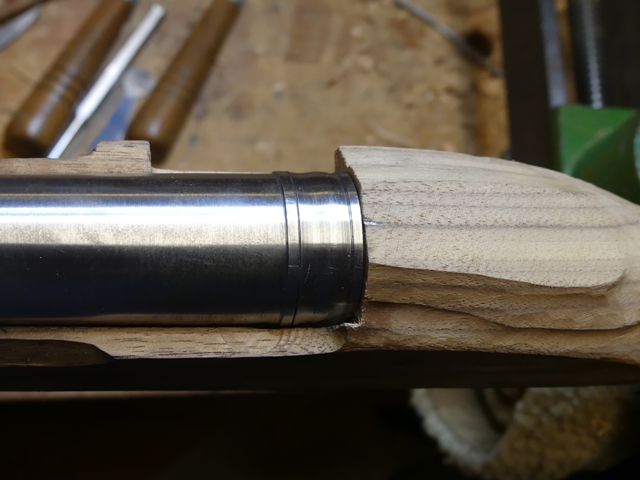
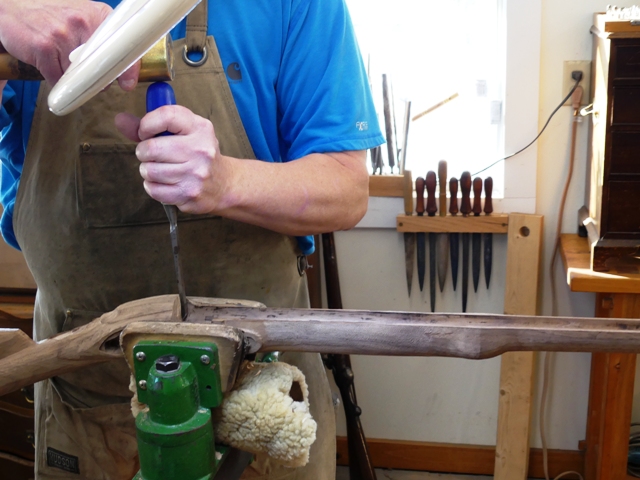
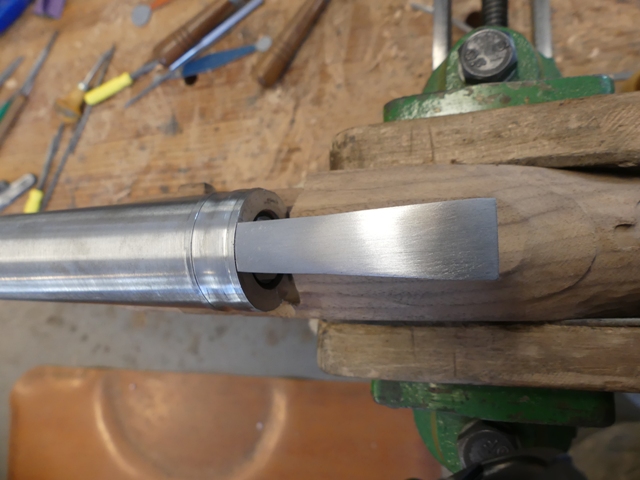
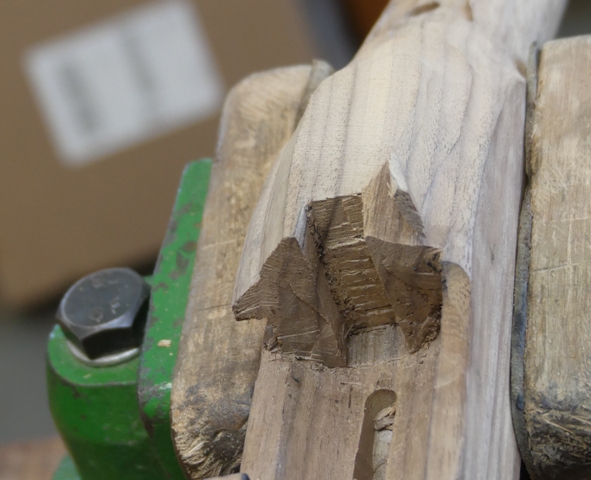
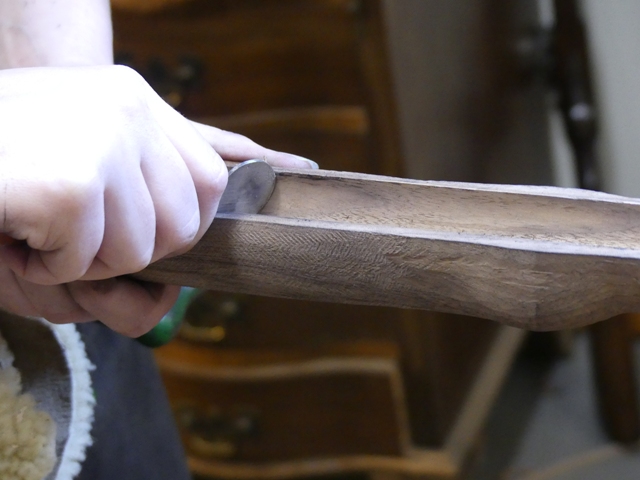
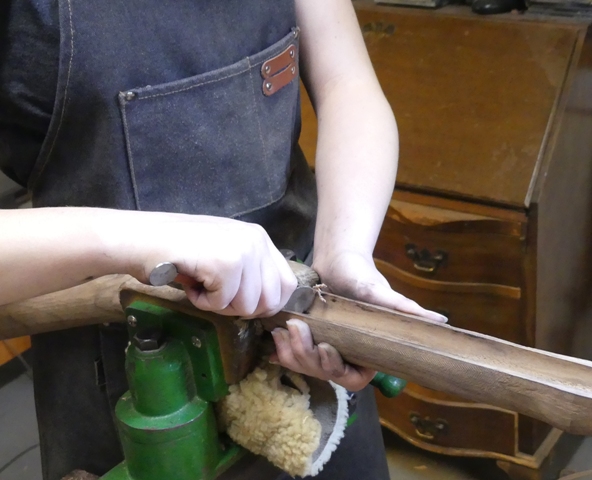
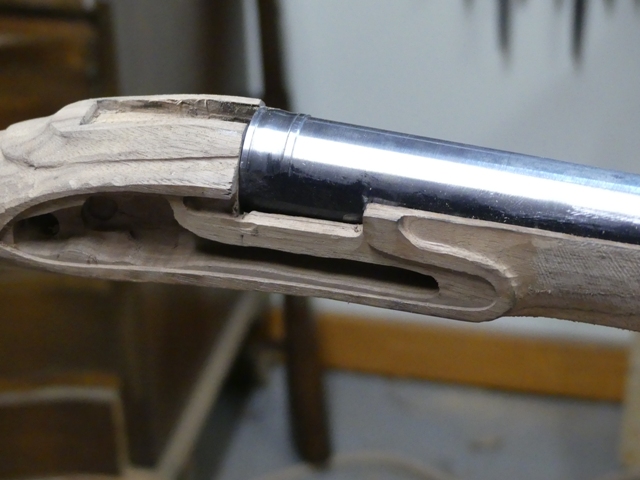
Those rings were hand filed into the top third of the barrel. They were not turned like the modern repros. Now you are ready to initially fit the barrel. File away the closing cap of wood at the muzzle end and using scrapers, barrel floats, and sandpaper, seat the barrel. You will need to clean up all the corners at the breech with flats and gouges.
Once down and in place, you get to see how the lock lines up with the potential vent hole location. I cover that in the next post
dave
I am starting this thread a little earlier than I planned to help a member who is actively building the same gun. The first thing for me is always context. The gun I am building is a British pattern 1756 long land musket and inspired by an original Tower assembled musket issued to the 63rd regiment of foot during the American Revolutionary War. It may have served at Bunker Hill, Long Island, New York, New Jersey, and Pennsylvania. I will use direct measurements from that gun to guide this project. I ordered the parts set in June and received it at the end of September.
The parts were generally of excellent quality with a few caveats. The lock plate was warped and had to be straightened. That reqy=uired heating the tail and nose to red hot and hammering it straight. A MAPP gas torch is sufficient for that purpose. Then file the inside surface of the plate to see if there are high and low spots. I use a coarse single cut lathe file for that purpose and use it to flatten the inside of the lock. The rest of the lock parts and components seem to be fine.


I arranged several cast butt plates to show you why none of the commercial reproductions can ever be considered authentic reproductions of the Brown Bess.


The first butt plate to the left is from a Miroku Bess and is the same size as butt plates on Pedersoli Besses. The second is a casting from an original short land Bess, the gun the commercial repros purport to be, and the last is from a long land musket. The commercial butt plates are way too small and will never produce an accurate copy of the gun.
The TRS stock is pretty good. Fortunately, it falls within the dimensions of the originals.


Unfortunately, the routed (not drilled) ramrod channel is off center.

I'll fix it and I will not let that routed mortise show. It will be covered over with a walnut strip and the barrel channel coated with a varnish thin layer of AcraGlas.
The first job is to fit the barrel in place. First it must have a flat filed on the lock side. To do that you need to make sure the breech plug is well fitted. Remove the plug and put blacking or Prussian blue on the face of the plug and screw it in all the way. Then take it out and hopefully the marking on the face of the plug is wipe off indicating the plug is snugging against the shoulder in the barrel. If it doesn't, file off some of the breech end of the barrel and install the plug until it butts against the shoulder. When it does, measure the depth of the threads in the bore and mark that depth on the outside of the barrel above where you will file your flat. Next file the flat just enough so the full length of the bolster on the lock fits the flat. Don't go overboard. Also file off the decorative rings at the breech on the underside of the barrel.

Those rings were hand filed into the top third of the barrel. They were not turned like the modern repros. Now you are ready to initially fit the barrel. File away the closing cap of wood at the muzzle end and using scrapers, barrel floats, and sandpaper, seat the barrel. You will need to clean up all the corners at the breech with flats and gouges.
Once down and in place, you get to see how the lock lines up with the potential vent hole location. I cover that in the next post
dave


