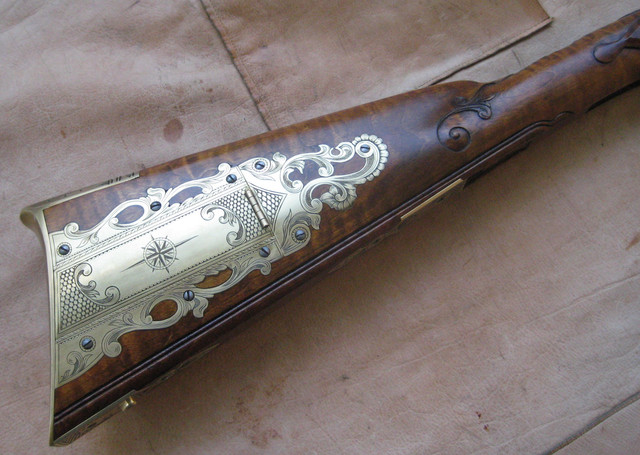
Another .36 cal Rifle from a Plank

Muzzleloading Forum

Help Support Muzzleloading Forum:

This site may earn a commission from merchant affiliate links, including eBay, Amazon, and others.
Joined
Mar 7, 2007
Messages
729
Reaction score
2,341
Nine or so years ago now I made a close copy of a beautiful rifle that Jim Chambers had originally done. It was not the same caliber, etc., but I did copy the engraving and carving on the rifle I made up from parts I had on hand. (Original link https://americanlongrifles.org/forum/index.php?topic=37186.0 )

One of the changes I made was to use a much smaller caliber. I had a .36 cal Rice barrel and a 25 year old piece of stock wood and geared everything else around that. That rifle shoots great and having never built a muzzle loader as small as a .36, I became quite enamored with the caliber. Don't get me wrong, I like all the others from my .45s all the way up to my 2.75" bore cannon....but I really enjoyed the .36.

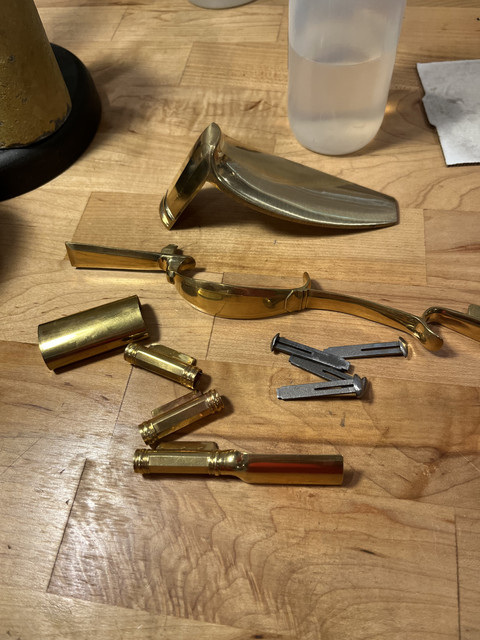
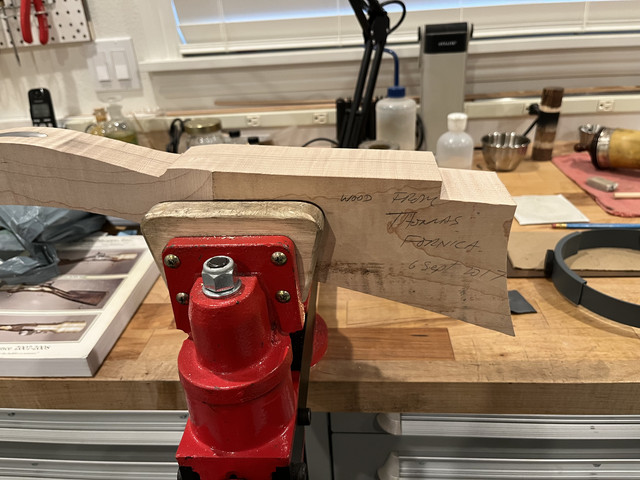
Fast forward nine years and I have a little time between rocket testing contracts to start in on another rifle....just to keep my sanity and step out of the highly technical propulsion world and into the 18th century.....for a little peace and quiet. So I pulled out a lovely piece of maple stock wood I bought from Tom Fornica in 2017 and another .36 caliber Green Mountain swamped barrel I bought from Tip Curtis about the same time frame. I also had on hand a Lancaster trigger guard and butt plate from Jim Chambers along with ram rod pipes, a spare trigger plate, trigger, nose cap, etc., etc.


Quite some time ago now I had sent the rough shaped stock and the barrel to Dave Rase and had him inlet the barrel and drill the ram rod hole for me. (This was before the US Postal Service drove David to madness and he quit doing this kind of work.... :mad: ) Then I got busy again with work and the stock / barrels sat in a corner again. Long story short, a couple of weeks ago I had time to make some actual progress.

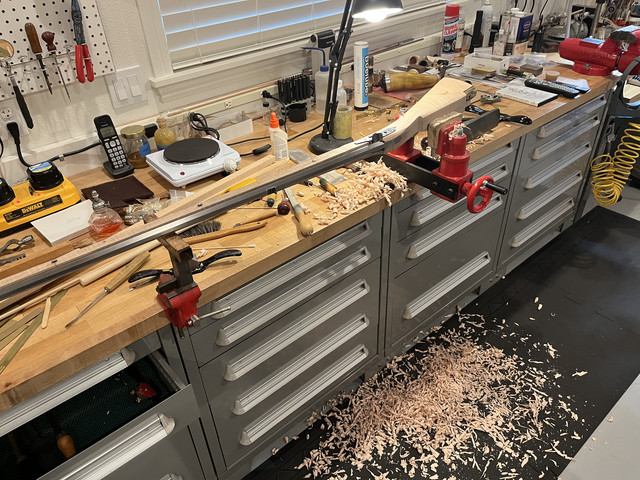
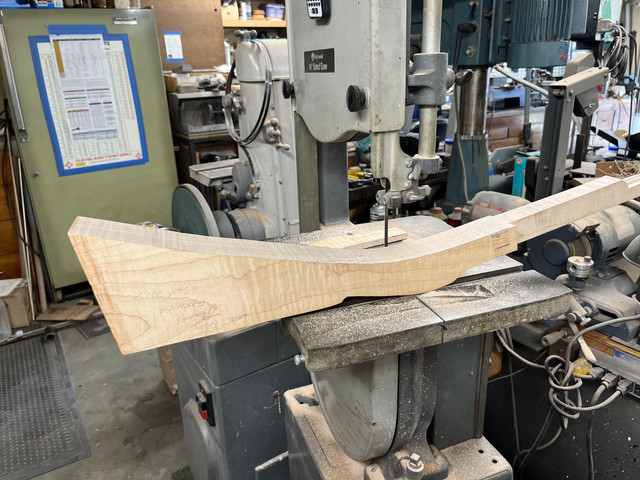
Here the stock shape is being refined on a band saw......


Also using the band saw, the initial prep for the butt plate is made by cutting away a lot of excess wood.....
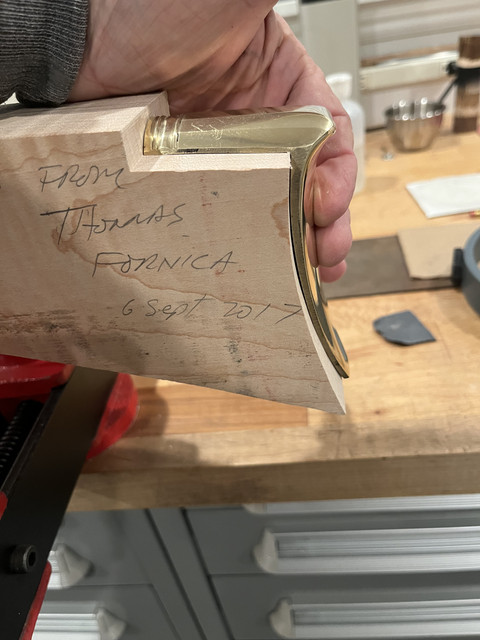


After careful final fitting of the butt plate with chisels, I bedded it with AcraGlas. (Not PC I know, but I always bed the butt plate and the barrel breach to absolutely seal the end grain in those locations with epoxy and to get a perfect fit of the barrel breach.)
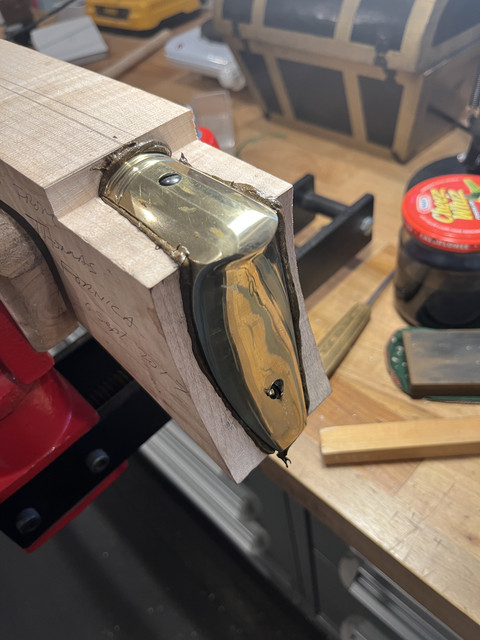


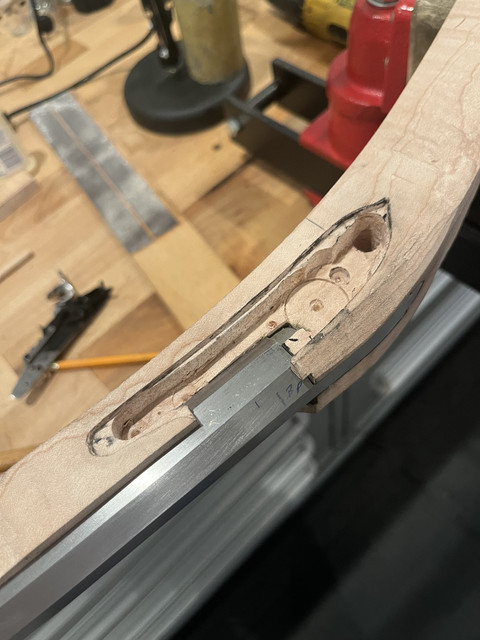
Next up was to get the barrel lugs installed on the barrel. I wanted to use barrel keys on this rifle, so I used loops. The barrel dovetails were milled in place, the loops fitted closely and then soldered permanently in place.....
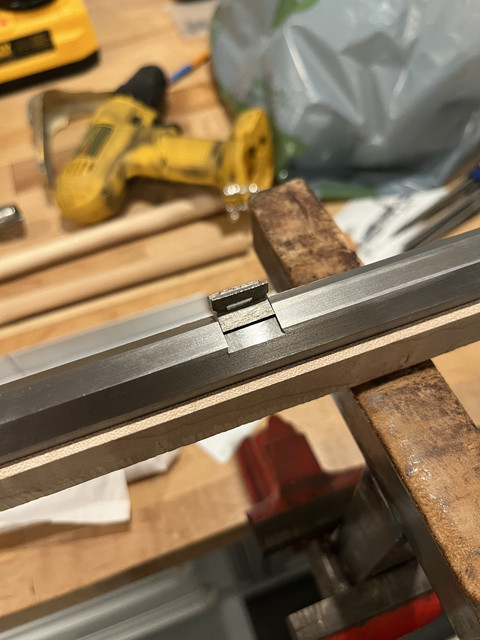
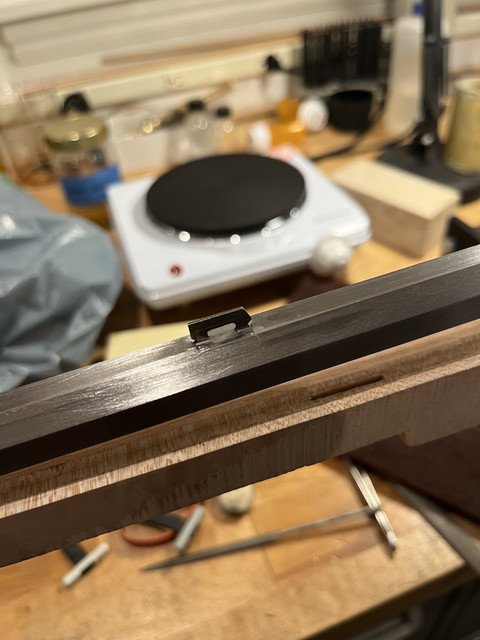


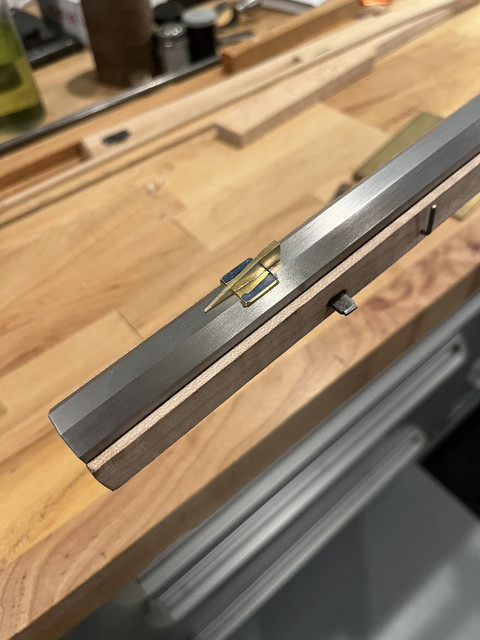
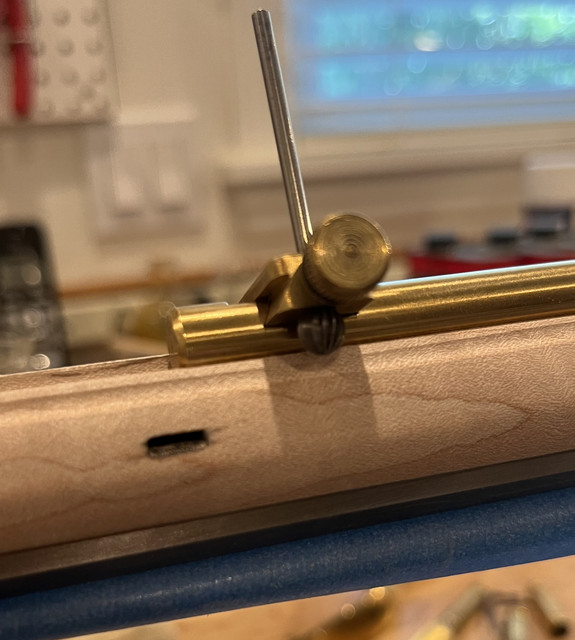
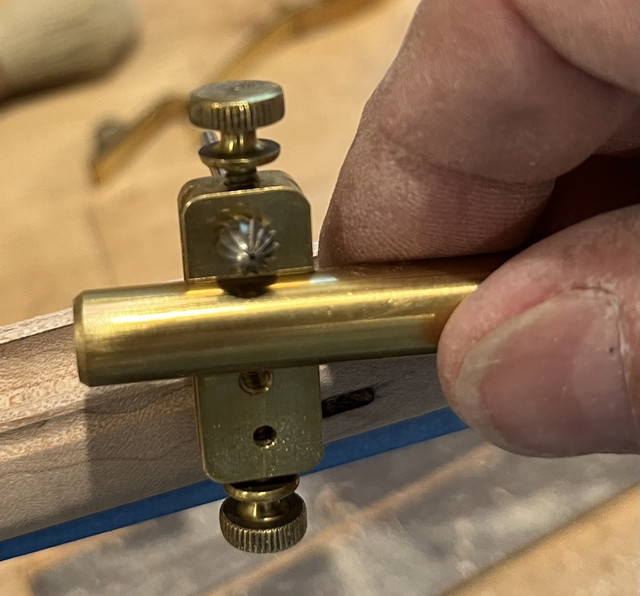
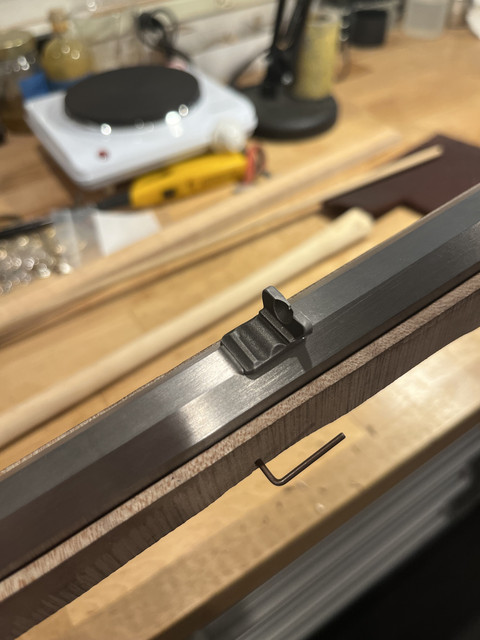
While I was at it with the milling, I cut the dovetails for the front and rear sights.....


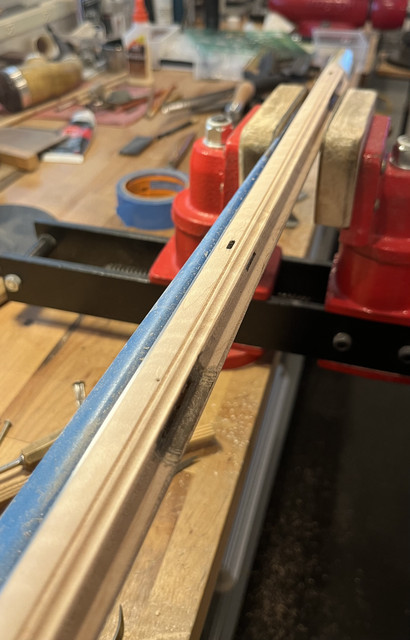
With the barrel loops installed, I used the burning in method of drilling some and then burning in the barrel key slots with a tool I made up......
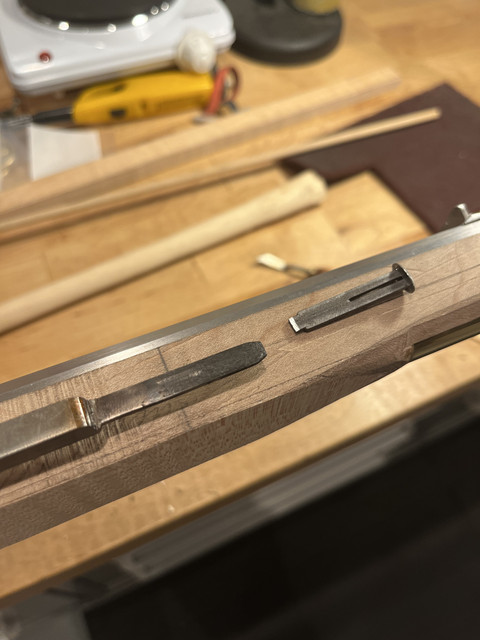
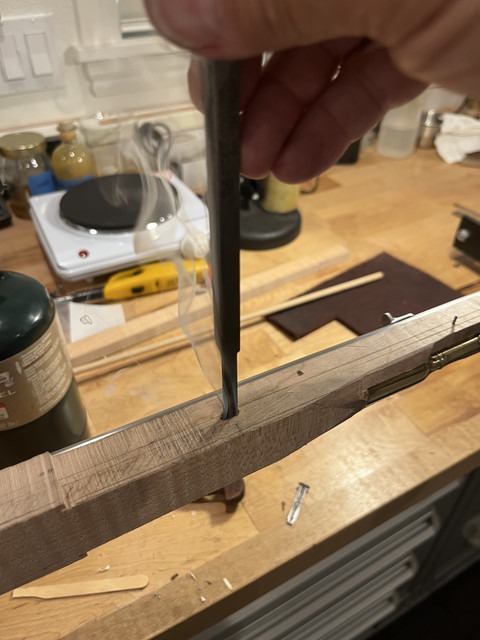
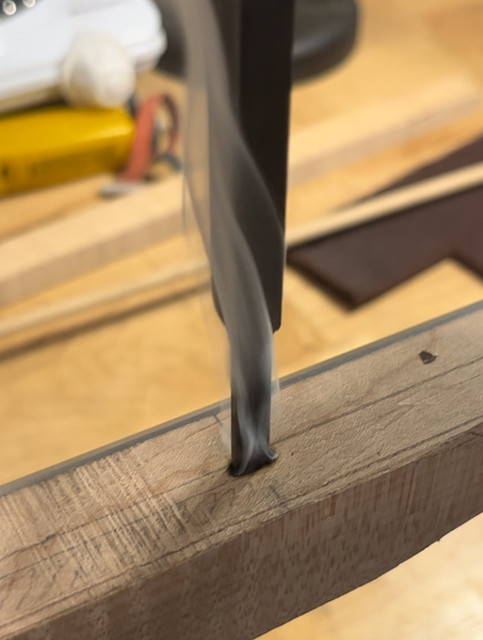


Well....that's it for the running start. I need to decide on a lock for this rifle but I think I have something in mind. I'll save that for the next installment.
 
Last edited:
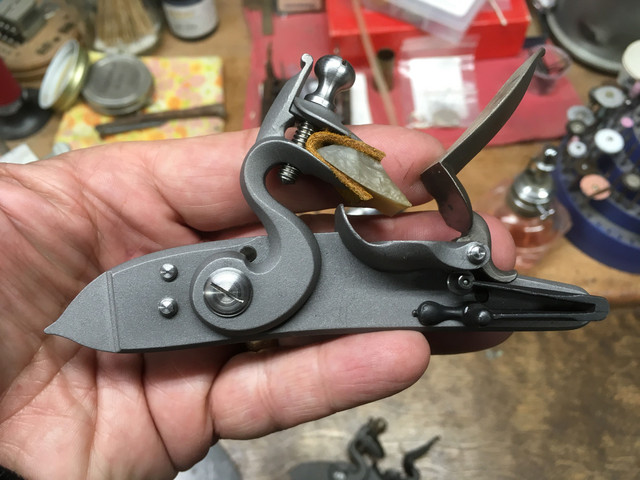
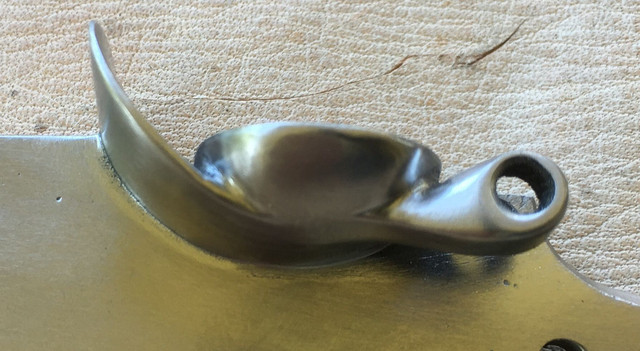
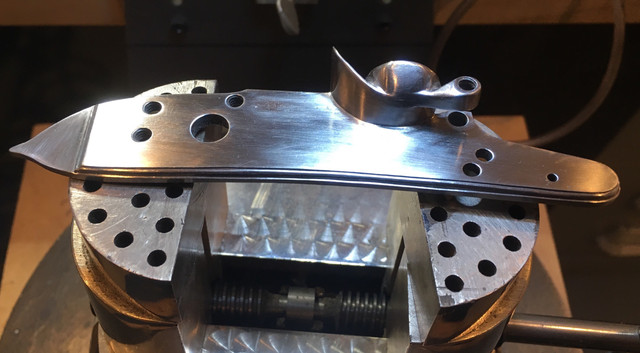
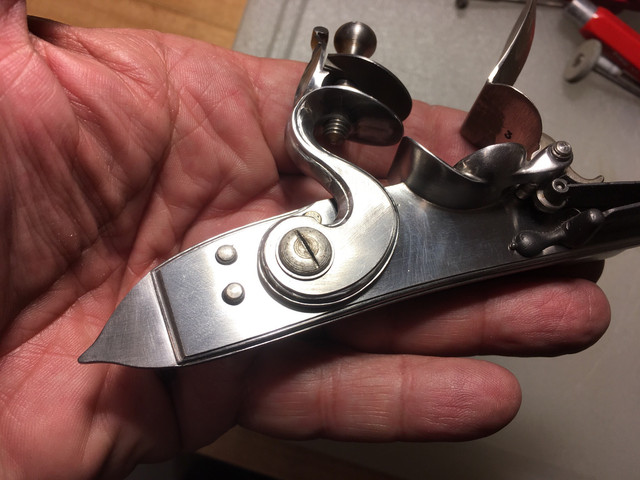
On the subject of the lock.....quite some time ago I modified a Chambers late Ketland lock for a half stock English rifle that is still in work. I had another unmodified Ketland on hand and decided just to go ahead and do the same esthetic modifications to it. Here is the unmodified version......


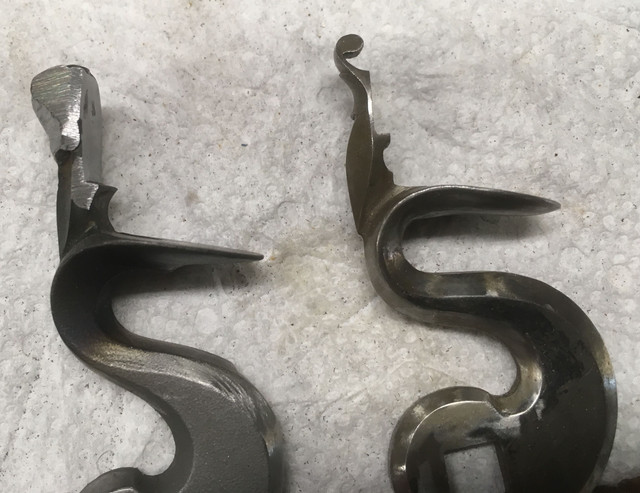
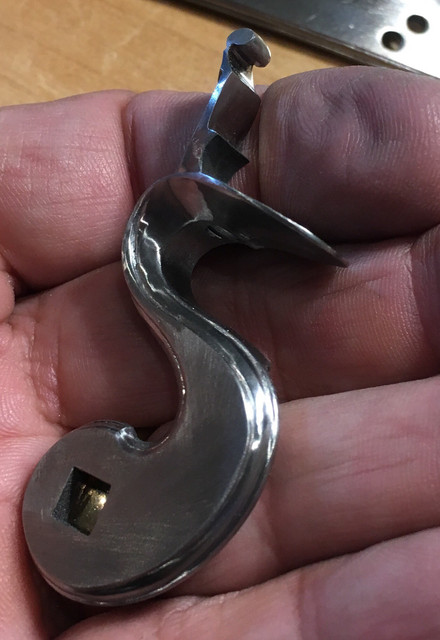
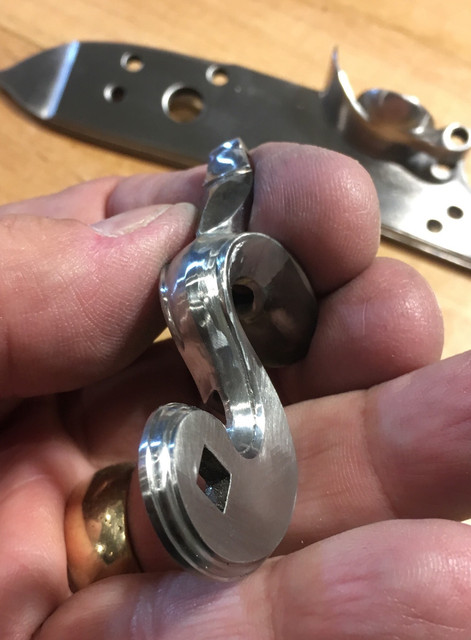
First thing I wanted to do was to change the curl on the top of the cock....no reason....I just like it facing the other way. So I welded on a blob of steel again so that I could make it like the cock on the right from another lock I made many years ago...


Here is the re-contoured top curl......


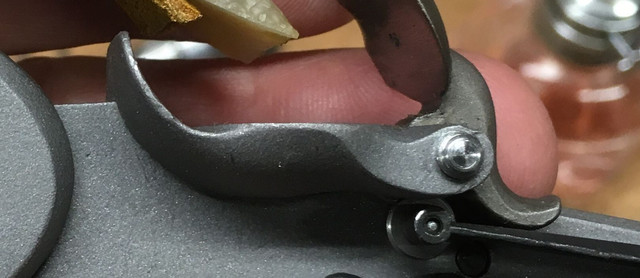
Then I wanted to reshape the pan into a more "waterproof" version so I cut away as much steel as I could that didn't look like a waterproof pan.....started out like this:


Ended up like this....


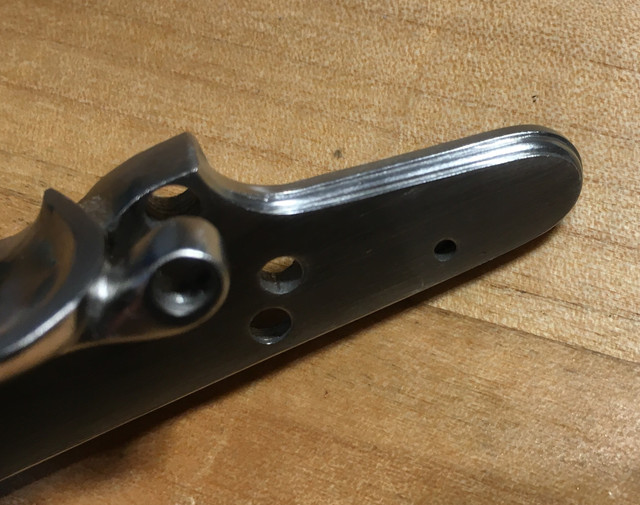
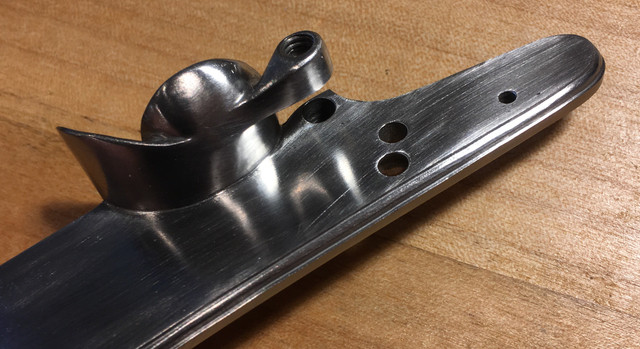
Then I wanted to add moldings to both the lock plate and the cock......cut with gravers and then cleaned up a bit with files and stones.....


Not sure what I want to do as far as engraving goes yet.....need to think about the whole rifle design some....
 
Bouncing back and forth between the cannon re-build and this rifle....so moving a little slower than usual on each. (This quite a transition each day moving from a bore of ~3 inches to a bore of .36 inches).

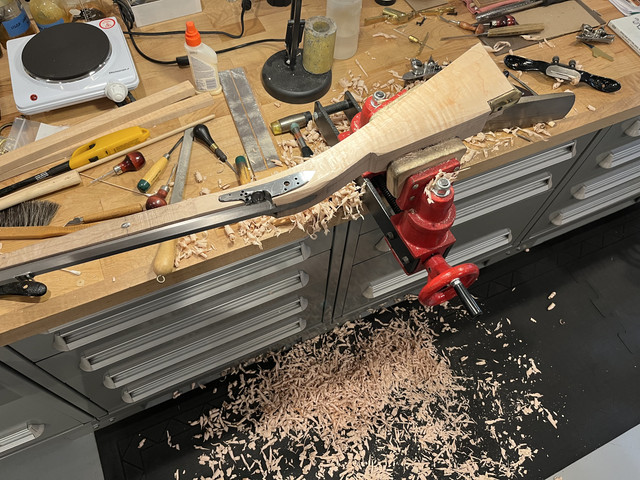
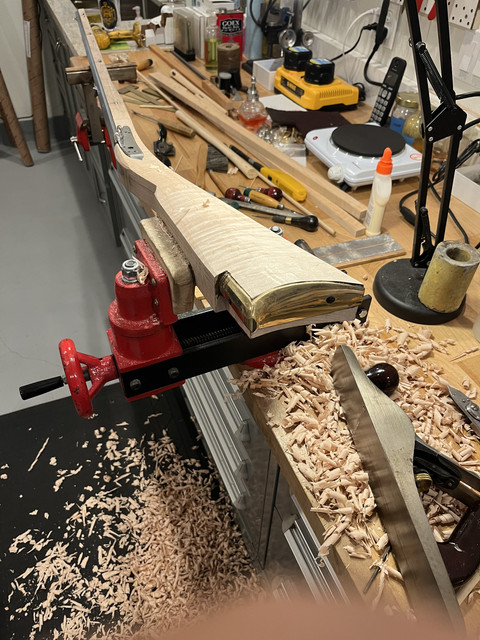
Had a chance last evening to get the muzzle cap placed and then start in on shaping the forearm. There are three tasks on a build that are not my favorite...installing the butt plate, installing the rear ram rod pipe, and fitting the muzzle cap. This is the last of those, so the rest of the project should be more enjoyable... :)

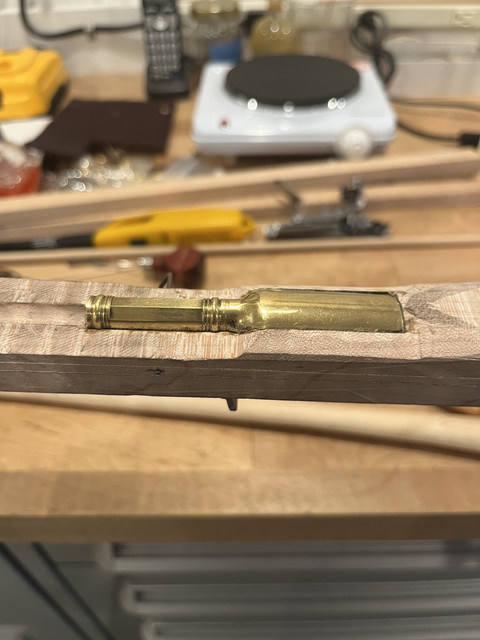
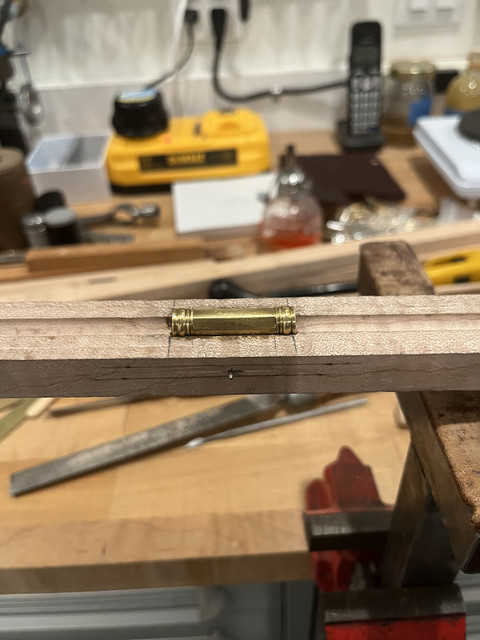
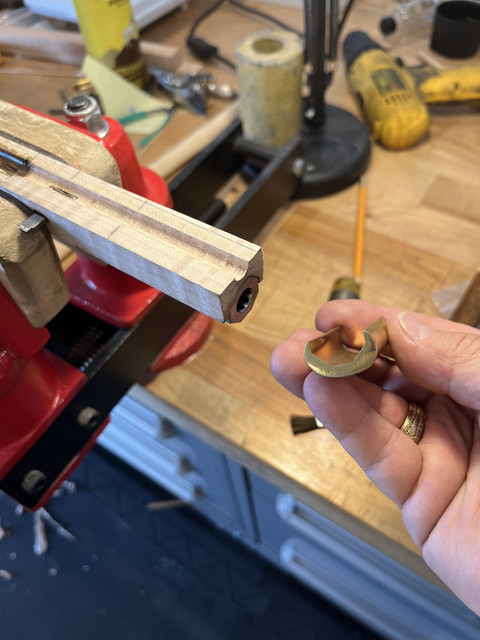
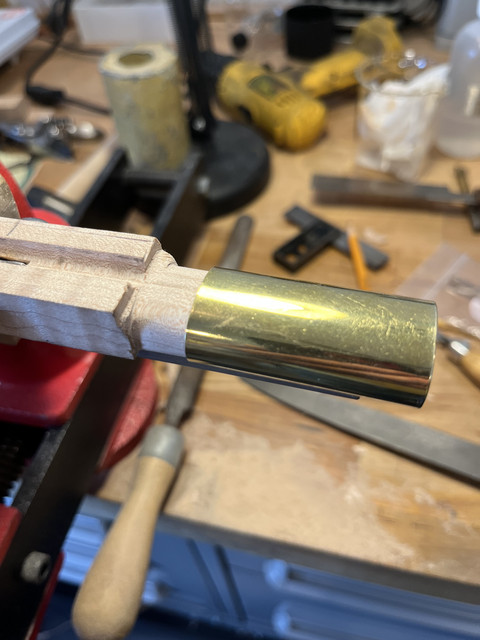
In this first photo you can see how things start out. The cap is a prefabricated piece I purchase quite some time ago from Track of the Wolf and had on hand when I started gathering parts for this rifle. It fit the Green Mountain barrel well so I decided to use it. With a jeweler's saw I made cuts on both sides of the end of the forearm and vertically down to the ram rod groove. Some of the wood that needed to be removed I cut away with chisels. However, because the wood starts to get very thin, and because the very curly grain wants to go where it will, most of the wood removal was done with a fine rasp and then files.


In order to get a precise fit between the rear end of the muzzle cap and the forearm wood I get the bulk of the wood removed and then slowly dress the transition point between wood and metal. In this second photo you can see that I have not started to remove that wood to the rear of the cap. In addition I usually have a problem with the transition from the bottom of the ram rod groove to the cap. I like to keep the web between the bottom of the barrel channel and the bottom of the ram rod groove no more that ~ 0.100 inches to keep the rifle forearm slender and graceful. However, that usually requires some reshaping of the muzzle cap at the open rear end to make sure that there is a smooth transition between wood and metal at the bottom of the ram rod groove.

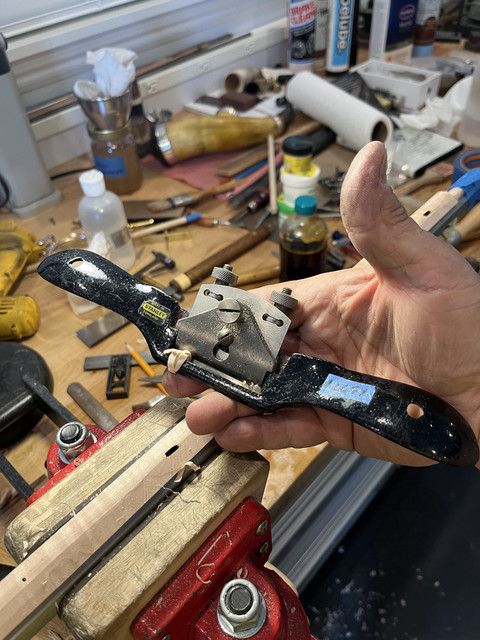
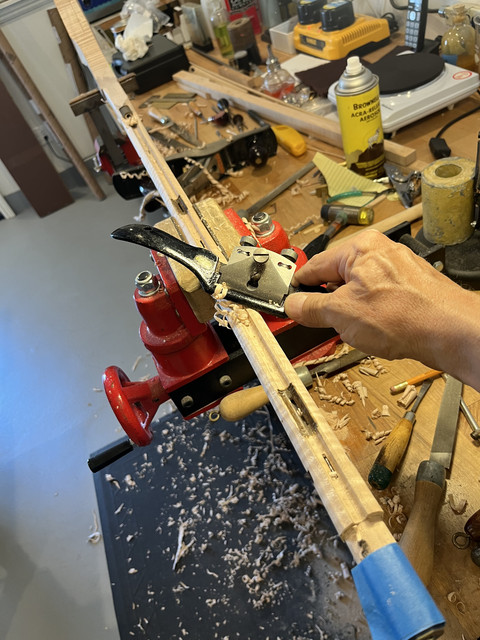
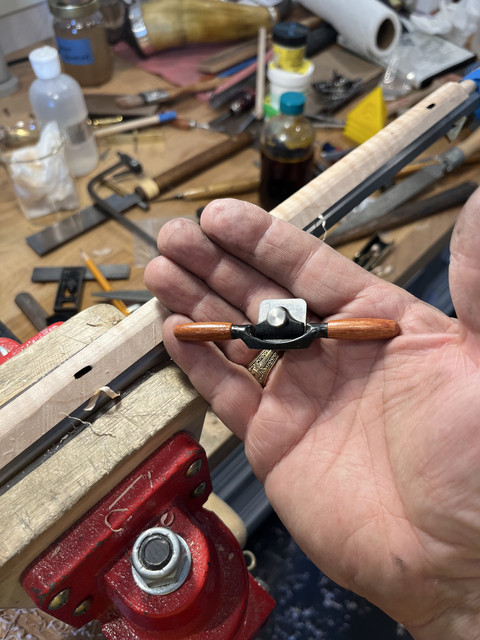
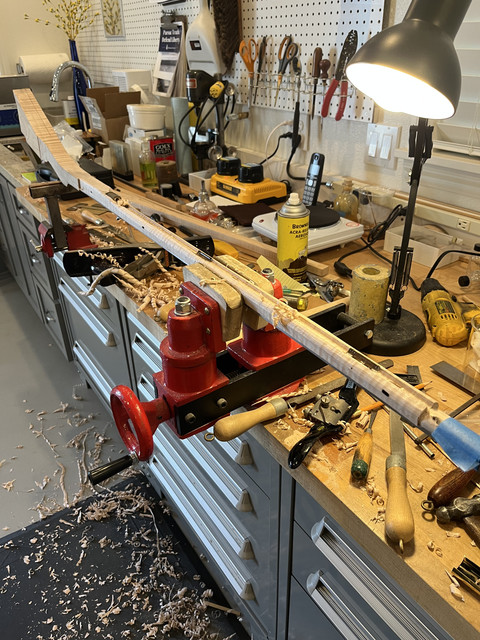
With the cap now defining the shape of the forearm at the muzzle end, I could start removing wood on the forearm. I do the bulk of the stock removal with a large spoke shave. Finer shaping is done with a much smaller spoke shave and then a scraper. To keep the surfaces straight, I run a few pencil lines down the length of the forearm. Then, using a 12" long by 2" wide flat piece of oak with 120 grit paper glued on, I sand the forearm a bit lengthwise. The sanding will take away the pencil lines on the high spots immediately and the remaining lines show the low spots. I sand until all the pencil lines are gone.

Major stock removal......


Fine tuning the shape with a much smaller spoke shave.......


Tomorrow I'll start in on shaping the stock in the area of the rear ram rod pipe. Enough for tonight.
 
@davec2 Sir, your talents and ability to bring forth your artistic vision into tangible reality, especially in metal, never cease to blow my mind. Maybe to someone with similar talents they seem at the high end of ordinary, I don't know, to me they border on magic.
Great work so far, but please stop feeding my long unquenched desire for a long, slender, .36 rifle 😉😄😄
 
While waiting for paint to dry on my cannon wheels I had the time to rout out the patch box on this .36 rifle. Not CNC by any means, but I clamped the stock with screwed wood blocks to a plywood base and then set it up in the mill to remove all the patch box cavity wood. Does a nice neat job....


Lock is inlet so I started to work on the trigger. I have never been much of a fan of pinning the trigger directly through the stock. I know it's very traditional.....but perhaps I just got too used to a cleanly detachable trigger group on an M-1 Garand.... ;)

At any rate, I like to attach the trigger directly to the trigger plate. The first photo is just a look at a very small piece of steel cut from 1/16" sheet. This will be used to form a "U" shaped bracket that will enclose the forward edge of the trigger. The bracket is silver soldered to the trigger plate. A pivot pin will then be run through the bracket and the trigger attaching the two into one unit.

Small piece of thin steel sheet.....


Bracket formed.....


Bracket silver soldered to back side of the trigger plate......


Pivot hole drilled......


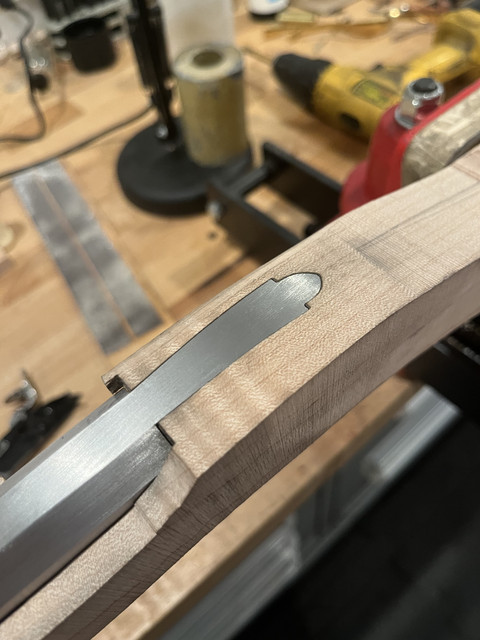
Trigger plate and attached bracket inlet into the stock.......


After some minor adjustment, the lock and trigger / trigger plate installed and functioning properly.....

 
As is my usual MO, it has been a while since I picked up a graver, so I always start on the trigger and trigger plate to get the feel back. If I really mess up, these parts are easily replaced.....and if I only mess up a little (as in this case) I'm ok with it since the engraving is hard to see once the rifle is assembled. (I know....I know....do your best work.....but sometimes "good enough" is.....well.....good enough.... ;) )

Trigger and plate....a little touch of kinda OK engraving....and then I case hardened the trigger bar.....


Got the trigger guard bent to fit the contour of the stock and inlet....


Then went to work removing any wood that didn't look like it belonged on a very slender .36 caliber rifle.....


Next step is to make lock bolts, a tang bolt, ram rod ends, and then modify the barrel keys for their spring retainers. After all that comes the hard part....trying to decide the designs for what to carve and what to engrave.... :-\
 
Dave - its always a pleasure to see your skill and talent in action. In my most humble opinion you are one of the top long rifle builders out there today:thumb:;) -
 
Most of the shaping done. Some sanding done. I decided to cut a decorative molding on the forstock as I usually do. I like a more complicated molding including a concave surface. I used the brass tool I made to run in the ram rod groove and make a nice clean, easy to do, concave cut all along the groove. Then made a second cut with a sharper edged cutter to make a second cut line......


Molding done.....

 
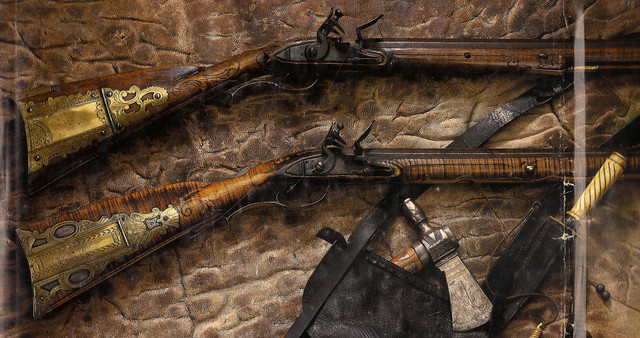
As noted previously, now starts the hard part.....the design of carving, engraving, patch box, etc., etc. Twelve years ago I posted the following picture here on ALR. Two rifles, the top one by John Noll and the bottom one by George Nunnamacher 1797. I asked back then if anyone had a lead to more detailed photos of either (or better yet both) of these rifles.


I didn't have much luck and thought I would ask again as I would like to incorporate some of these design elements in this new rifle. In 2012 I made a rifle for my brother-in-law. On that rifle I partially mimicked the Noll patch box design here.....


But I would like to do something a bit different this time around and would like to see other parts of the Noll and / or Nunnamacher rifles. Does anyone have a lead on more and better pictures of these rifles ??

Thanks
 

Latest posts

Back
Top