A lock project

Muzzleloading Forum

Help Support Muzzleloading Forum:

This site may earn a commission from merchant affiliate links, including eBay, Amazon, and others.

Roy

70 Cal.
Joined
Dec 12, 2005
Messages
4,763
Reaction score
4
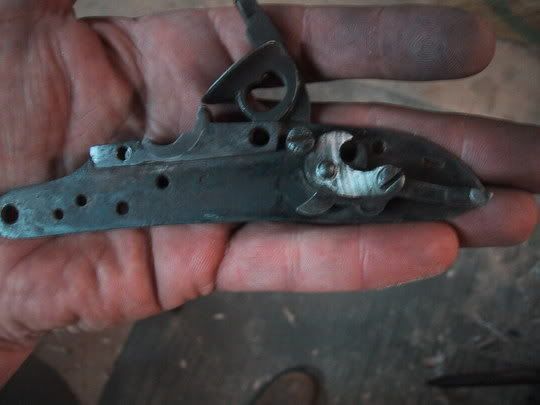
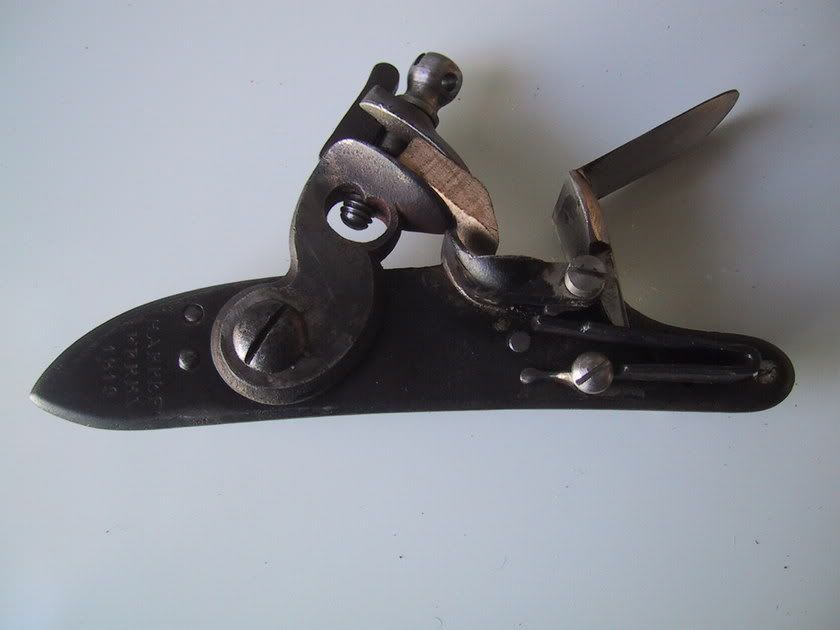
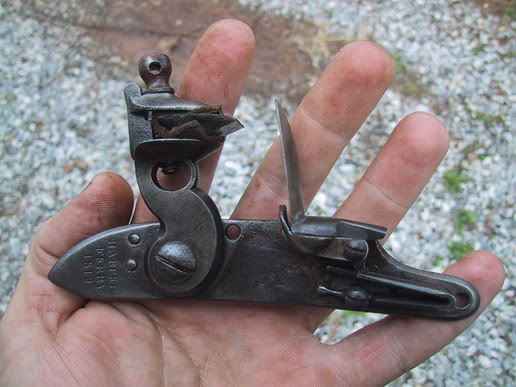
Here's a lock that a customer sent with some extra parts to convert back to a flinter.
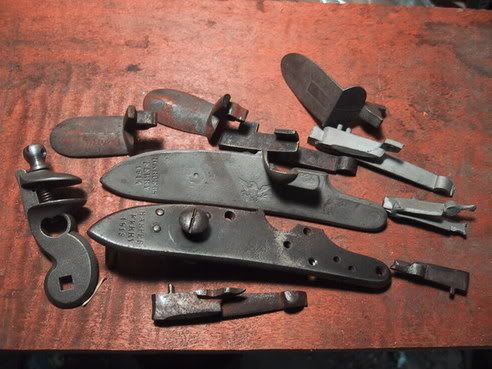
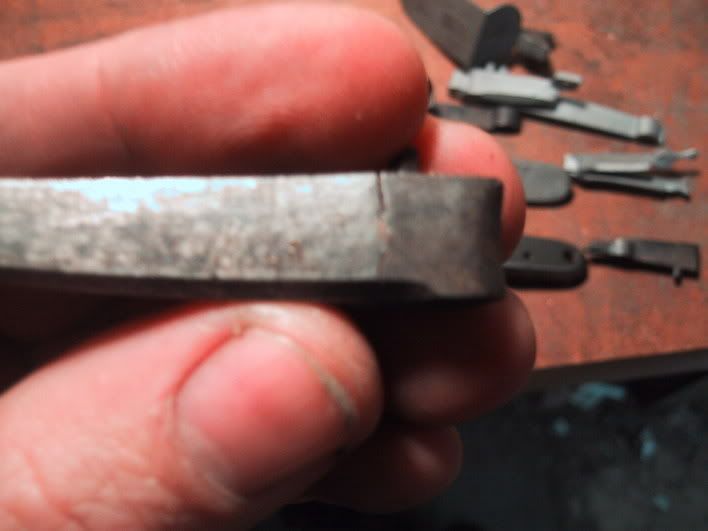
IMG_1753.jpg

a gap from wear that needs to be dealt with
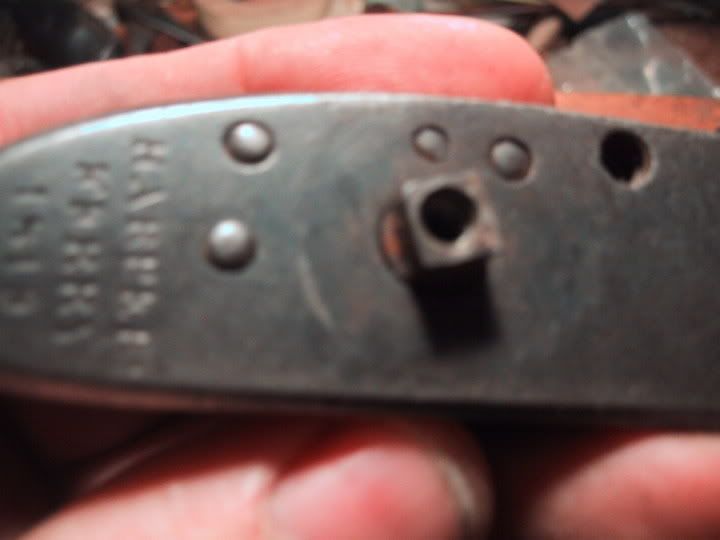
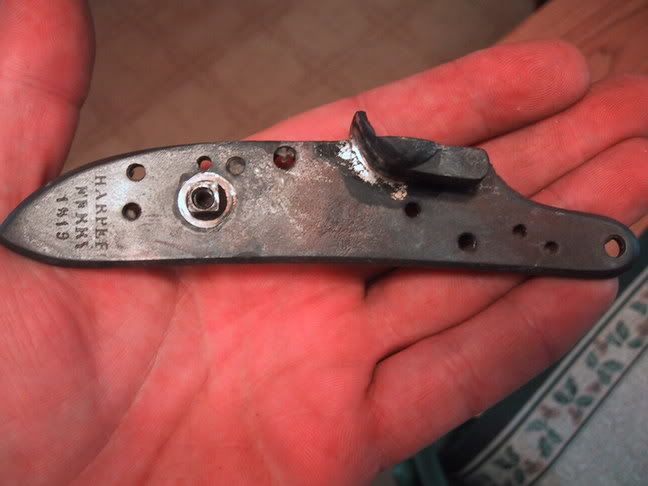
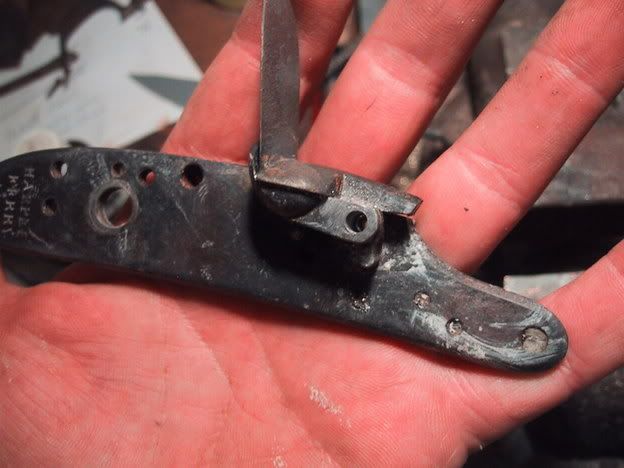
IMG_1755.jpg

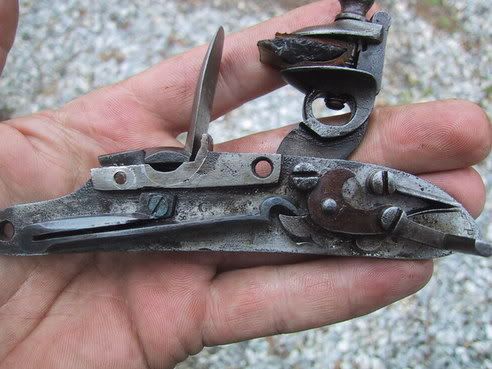
Main spring is broken
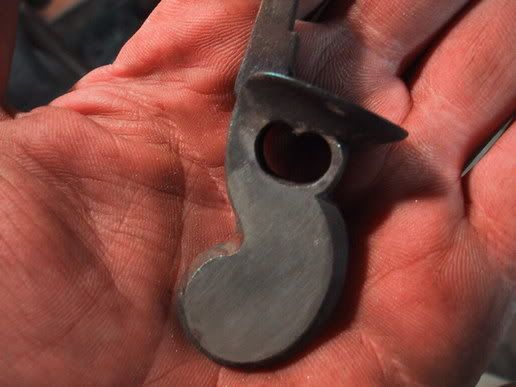
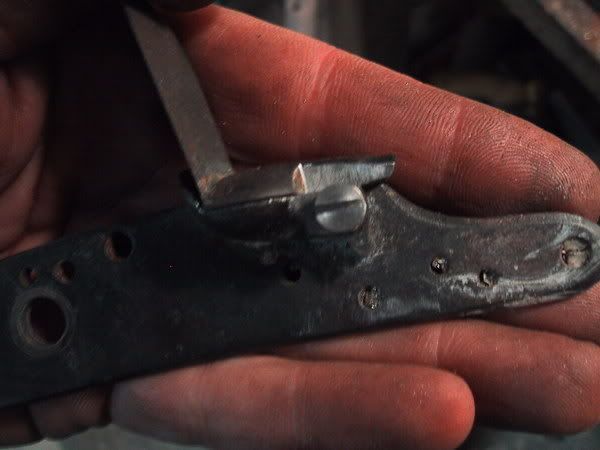
IMG_1754.jpg

and the new casting when lined up with the tumbler (square) does not let the tumbler down far enough.
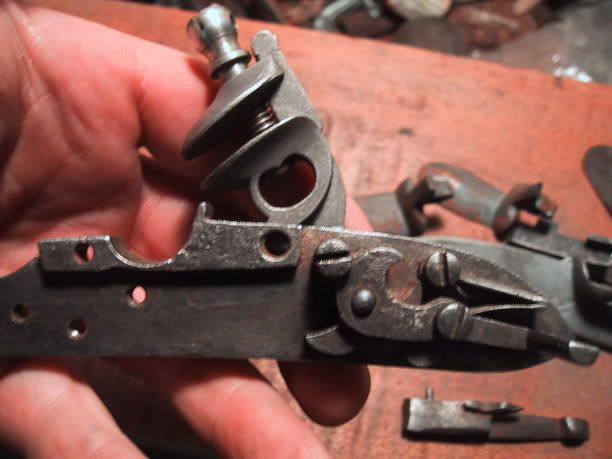
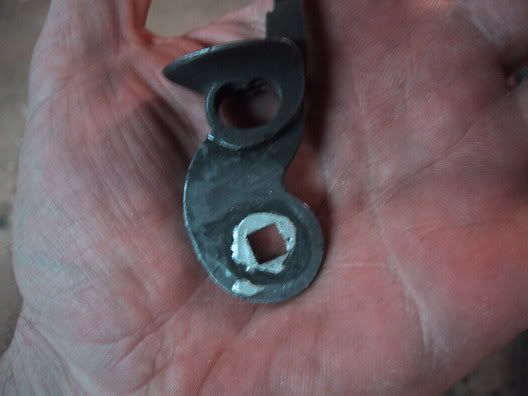
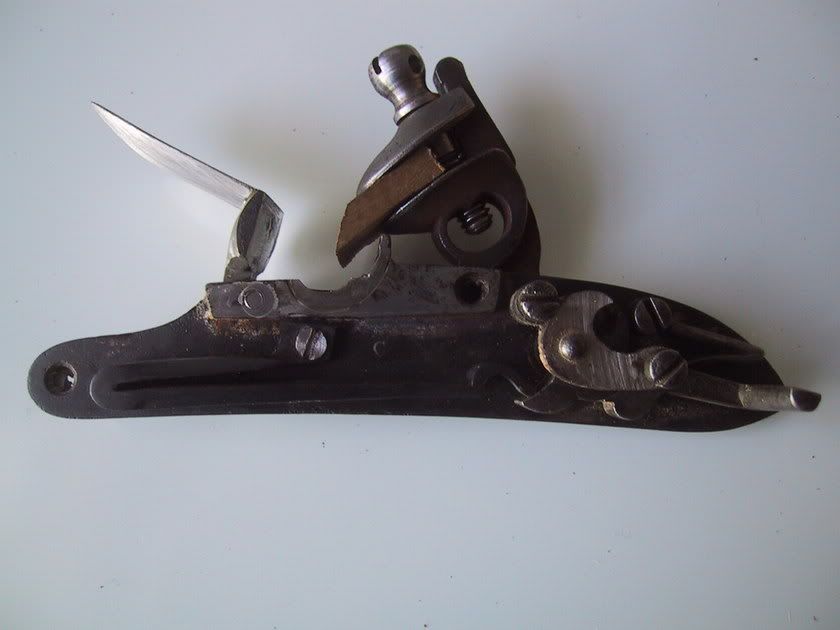
IMG_1756.jpg


I will post more pics of my progess as I get farther along. :thumbsup:
 
First thing I trued up the tumbler to bring it back in round on the part that goes into the lockplate as well as the bridle. Then I made a new bushing for the tumbler. I then cut the pan from the new casting and fit it to the original plate silver soldering it in place.
IMG_1757.jpg

The new bushing will be darkened to blend in, but as long as the hammer is on the lock this repair will never be seen.
 
Alright finally back to the lock..,

I filled the hole in the cock by filling and silver soldering a square piece in place.
IMG_1769.jpg


only to make another hole :grin:
IMG_1771.jpg


The big blob you see there is not a sloppy solder job. I build up a bit of soft solder so its easier to mark where the new hole goes.

Another pic, I also added a bushing to the bridel.
IMG_1772.jpg


Now to fit the frizzen to the pan...
 
Great stuff Roy! keep it comin amigo! :bow: I do have a question ... what silver solder and temps are you using for this repair? Staybright?

Davy
:hmm:
 
I'ts really great to have people post the process like you did, the before problems and the solutons, as well as the completed solutions for all of us to see. If anyboby else is interested in fixing these type problems there's a book by R.H. McCrory titled LOCK, STOCK, and BARREL. It's a great guide to antique gun repair. AND its pretty cheap I paid $6 for it at DIXONS a few (probably 10 years) ago. ...........George F.
 
Davy,
The silver solder I use I get from Brownells, it melts at 1145 F and flows at 1205 F.

Thanks George. :thumbsup:
 
Started out on the frizzen by filling the screw hole by soldering in a piece of steel. Filed the top of the pan and the bottom of the frizzen to ensure every thing was flat and used soft solder to hold it in place to drill the new hole.
IMG_1773.jpg


Next I heated the frizzen to break free the soft solder and tapped the new screw hole and made a screw.
IMG_1775.jpg


Next step will be to deal with the springs. :thumbsup:
 
Hey Davy, Here we go again!

IMG_1780.jpg


IMG_1781.jpg


I cleaned up the spring castings keeping all of my file strokes with the spring. It does not matter how rough of file you use to clean up the springs as long as the file marks are not going across the spring it should not break. Next I heated them up using mapp gas to a bright red and quinched them in water to harden them. I then had to polish them back to bright. Now I temper springs by color, this has been more successful for me, actually I have never broke a spring using this method. I slowly heat the spring with a torch, the thickest parts first. I take the color past purple and blue to a silver black. I then place this on my bench (wood) to cool. If I have drawn to much of the temper out the spring will bend and I'll have to repeat the process, a lot better than having it too hard and breaking it. :thumbsup:

Now that all is left is to case harden the frizzen and the tumbler (check the sear) and even out the color and aging of the lock to make it look like it had before.
 
Sorry not a real clear pic, I'll take some more when finished.


With all these views, I feel like I'm going to get a report card.
 
"...With all these views, I feel like I'm going to get a report card. "
__________________________________________
Thank you Roy. You can now return to your seat.

Class, tomorrow we will be having show and tell.
Everyone, please try to bring something interesting.
Roy, if you bring that road kill you found up on Route 15 in again, it will be off to the Principal with you. I don't care if more hair has fallen out!
:rotf: :grin: :rotf:

Interesting post by the way. :)
 
Zonie said:
__________________________________________
Thank you Roy... it will be off to the Principal with you.

Do you know me? That sounded so familiar... :haha:
 
Last pics...
IMG_1782.jpg


IMG_1783.jpg


I hope you all enjoyed this. Zonie, did I pass?? :grin:
Oh almost forgot...No it didn't take months to do just a few hours here and there just worked on it when I wasn't working on guns, er I mean finishing up another rifle. :thumbsup:
 
Roy: You passed but your credit hours won't transfer so you will have to take the class over again if you want to go on with your eductation.
Now..would you get that dam road kill out of here? The fur is falling on the floor. :grin:
 
Zonie said:
Now..would you get that dam road kill out of here? The fur is falling on the floor. :grin:

That was my lunch. :blah:
 
Why would you case harden the frizzen, rather than harden and temper it all the way through? A flint will cut through that case hardened surface fairly quickly, and then the thing won't spark worth a darn. With the casting steels used today, I would think you could simply harden it, and then draw the temper as you did with the other parts( springs).

Just very curious!
 
Roy said:
Sorry not a real clear pic, I'll take some more when finished.


With all these views, I feel like I'm going to get a report card.
Roy
I'd Give you a A+ you earned it
Slenk
 
Paulvallandigham: Sorry, I didn't see where he was case hardening the frizzen and you are correct assuming the frizzen is newly made using a thru hardening steel. Thru hardening steels should not be case hardened.

If I were using the original frizzen and did not know what it was made of, I would first try to harden it as though it were a thru hardening steel. After all, even an old lock could have been made from a high carbon steel which would harden without a added case.
If that didn't work, I would assume it was made out of a low carbon steel or wrought iron.
As neither of these materials will harden without adding carbon to the surface, I would case harden it. Even a thin layer of hardened steel is better than non at all IMO.
 
Well, Zonie, at least you understand why I asked the question. Case hardening is so thin, and so hard that it wears the flints, and doesn't last very long once it is penetrated. IF you case harden a frizzen on a gun that is going to be shot very much, you have to plan on re-case hardening it about every year, and sometimes more often. I think with replacement frizzens now available for most everything, it would pay to get one made from a proper cast steel, and harden it like he did the springs, and then draw it back by tempering methods, too.
 

Latest posts

Back
Top