• Friends, our 2nd Amendment rights are always under attack and the NRA has been a constant for decades in helping fight that fight.

    We have partnered with the NRA to offer you a discount on membership and Muzzleloading Forum gets a small percentage too of each membership, so you are supporting both the NRA and us.

    Use this link to sign up please; https://membership.nra.org/recruiters/join/XR045103

A Tale of Two Little Rifles

Muzzleloading Forum

Help Support Muzzleloading Forum:

This site may earn a commission from merchant affiliate links, including eBay, Amazon, and others.
I went out and decided to make one of the miniature muzzle caps I need for the little rifles. Here goes......

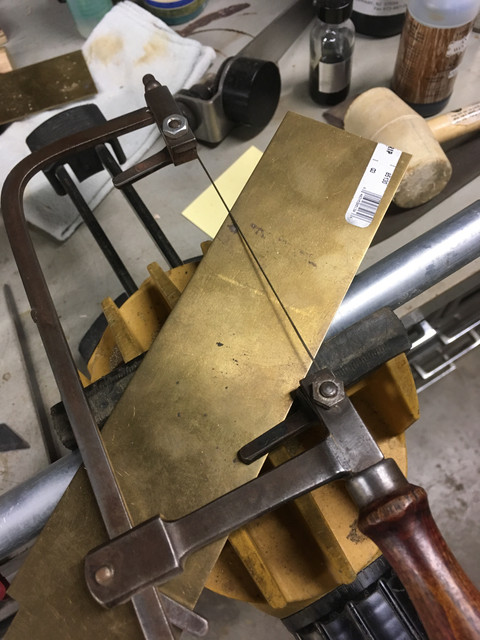
First step, cut out a piece of 0.032" thick brass sheet and anneal


Second, do an initial form around a piece of EMT tubing
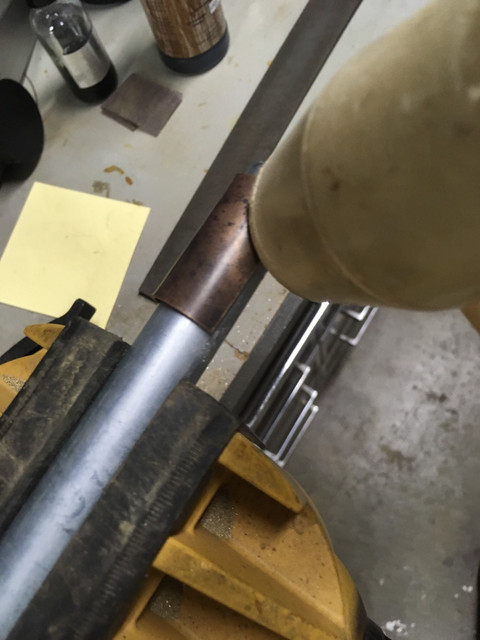


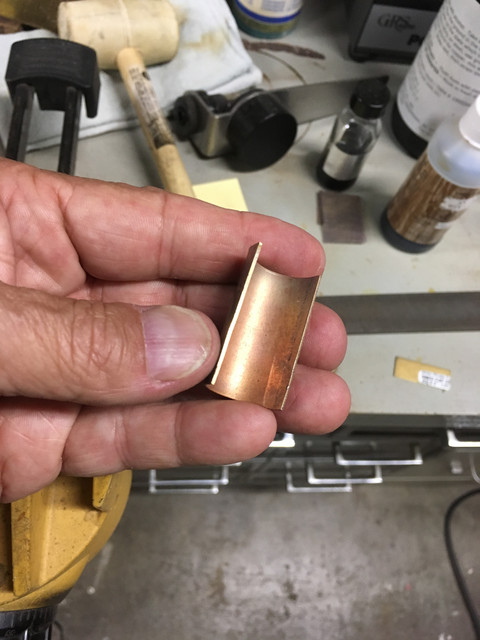
Next, refine the curvature as the cap rolls in to contact the barrel sides. This is done with a nylon hammer and a steel mandrel.....
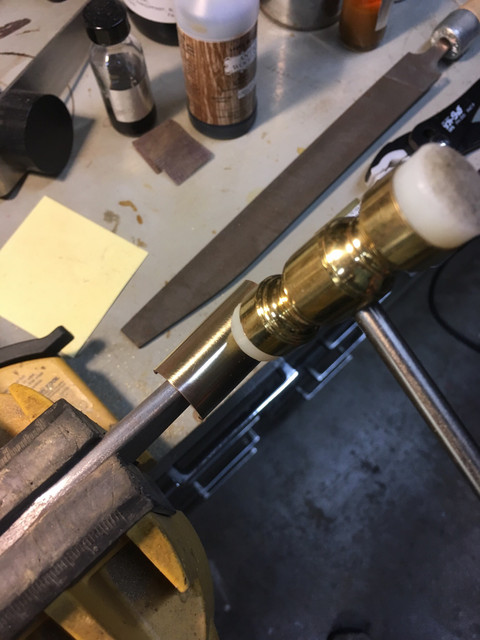


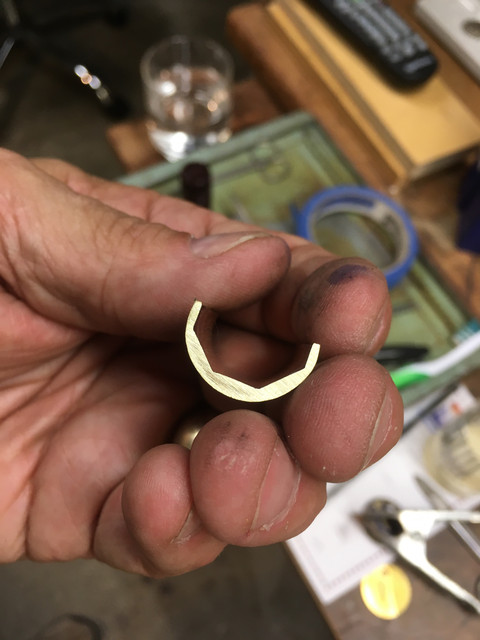
The lips of the cap were left intentionally a little long, so here they are trimmed to proper height
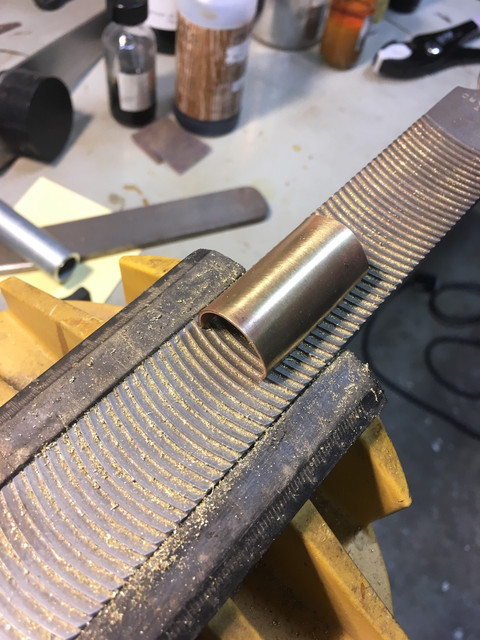


The height is checked on the barrel (upside down from where it will be installed, but a good place to check at this stage in the fabrication process)
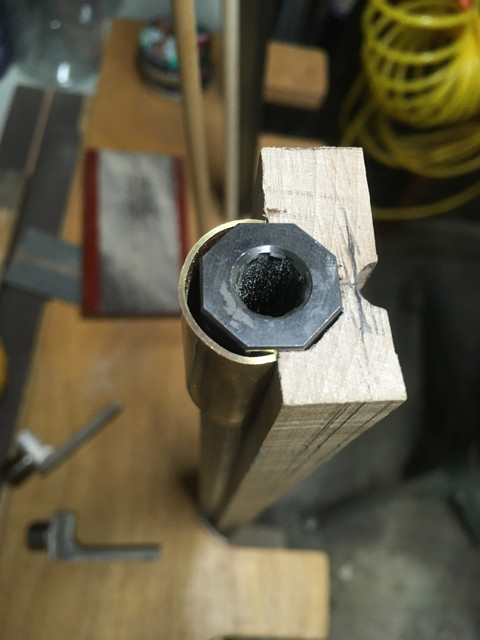


After cutting a small piece of brass for the front of the cap, both pieces are cleaned of oxide and surface dirt, fluxed, and set up for silver brazing
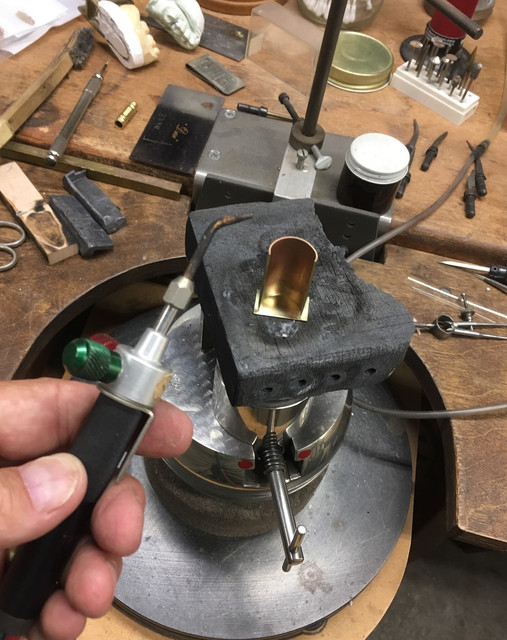


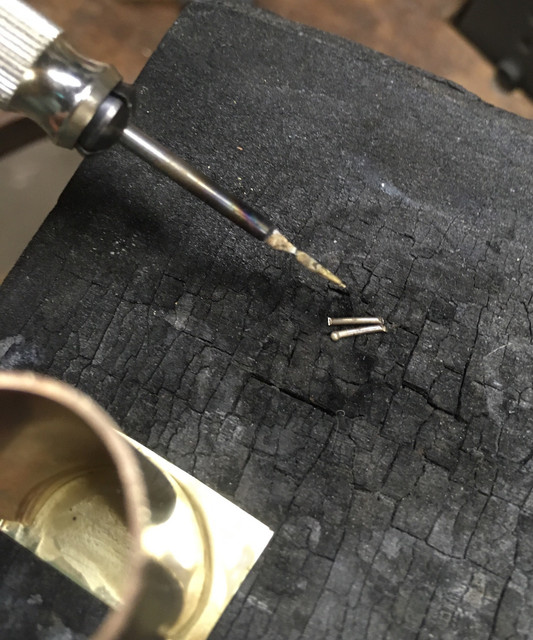
Here I have cut a couple of small pieces of silver braze alloy and will melt them into a ball and pick them up while still molten on my soldering point


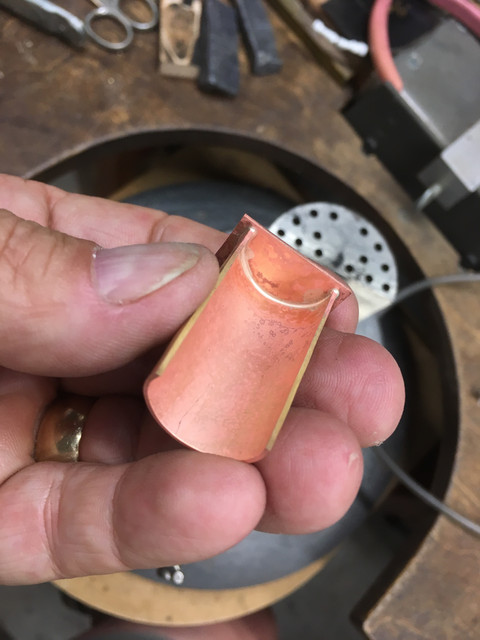
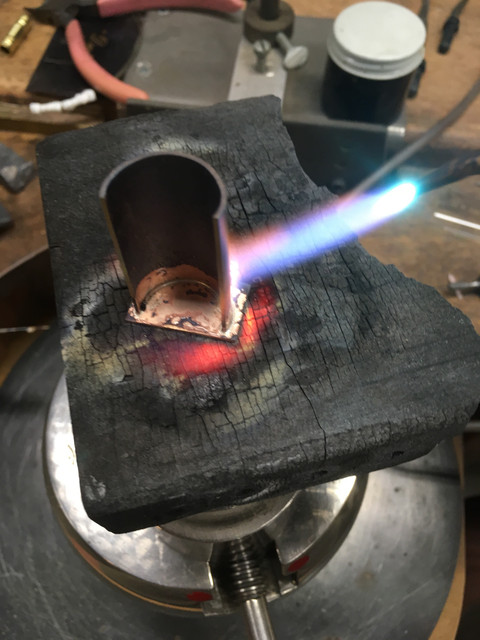
The parts are heated to brazing temperature from the outside and then I have placed the solder on the inside of the joint. It runs immediately and the second piece of solder insures that the entire joint is complete.


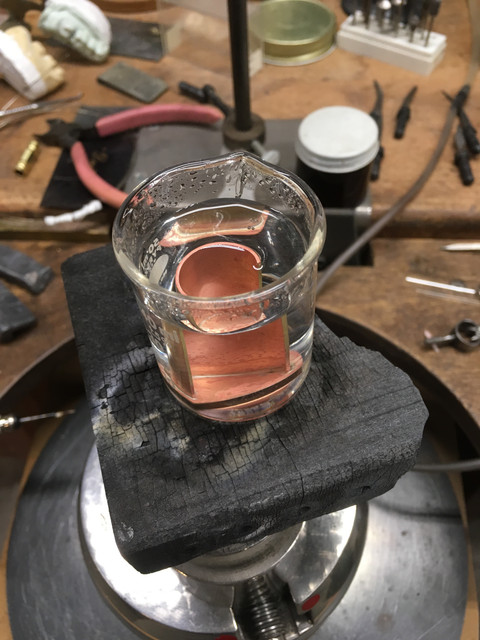
After brazing, a quick pickle in dilute hydrochloric acid to remove scale and flux residue


A quick inspection of the joint shows it to be tight and completely brazed
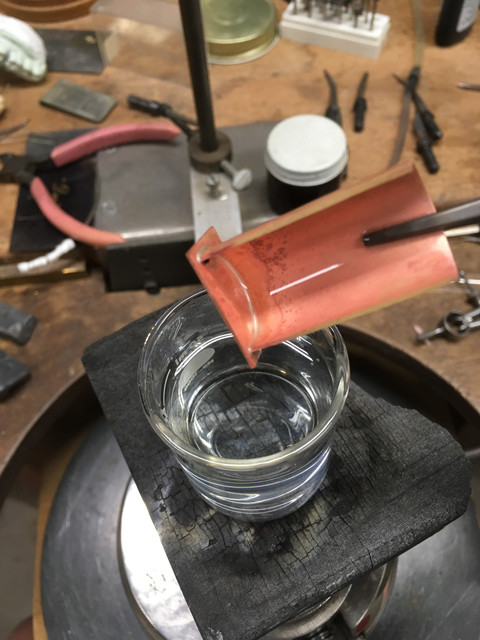


Most of the excess brass on the face piece is clipped of with tin snips
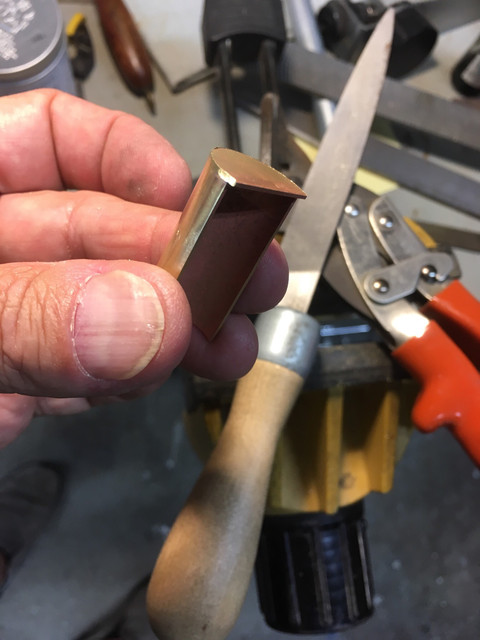


A few file strokes and the face piece is brought to near final contour
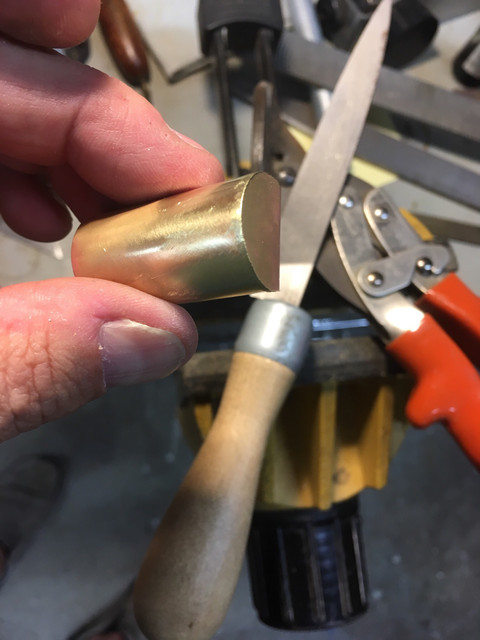


Now I smoked the end of the barrel and put the cap in place so I can tap on the face piece with the nylon hammer
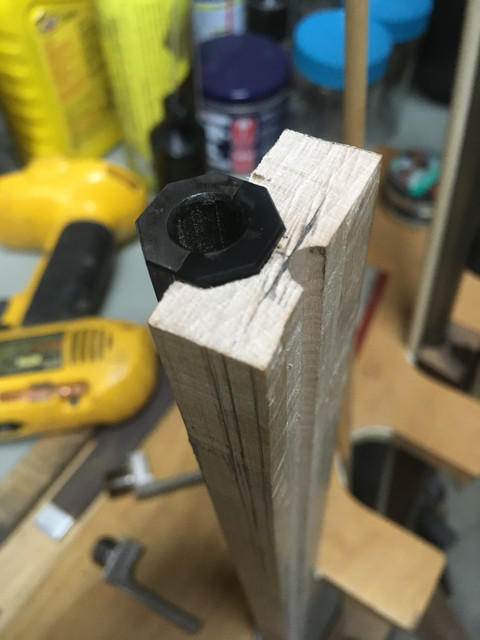
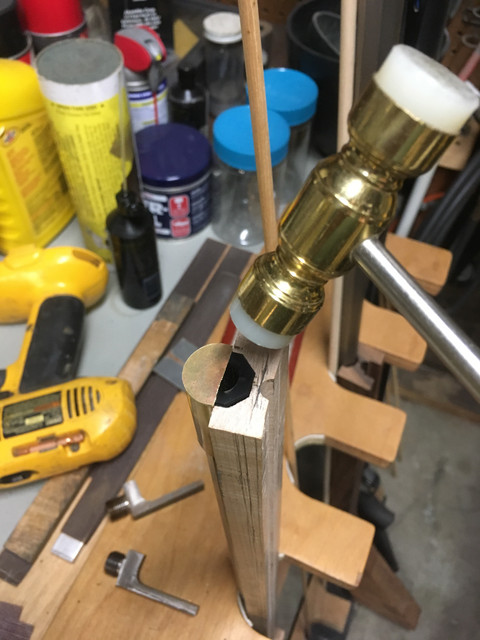


The result is a smoke print of the muzzle on the inside of the cap. The barrel flats are beveled slightly at the muzzle so the print is a little undersized but it will allow me to get very close before the final fitting.
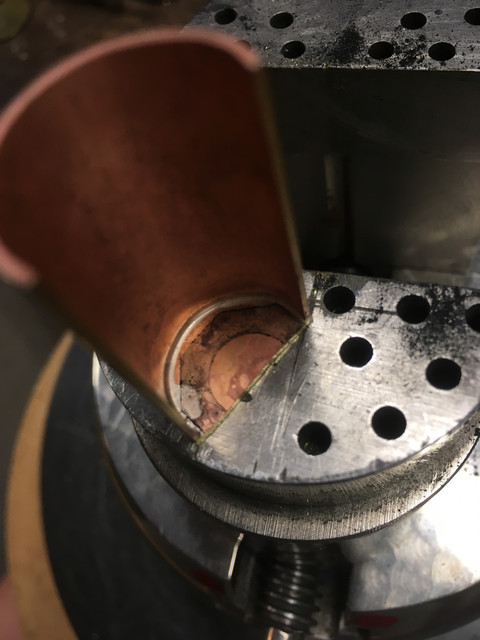


Most of the face piece brass is cut away with files and some back and forth check to get a tight final fit
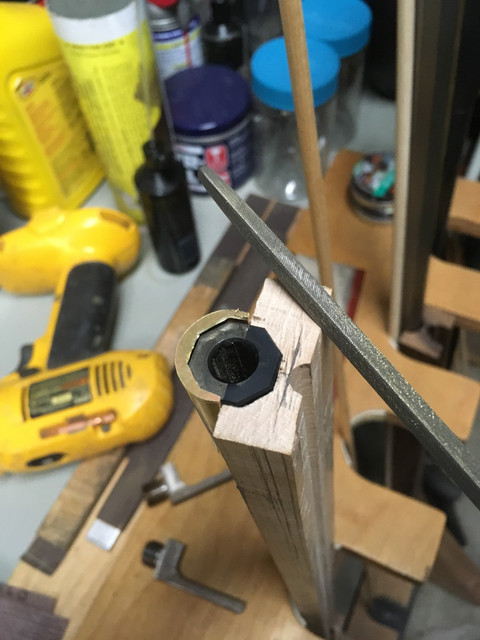


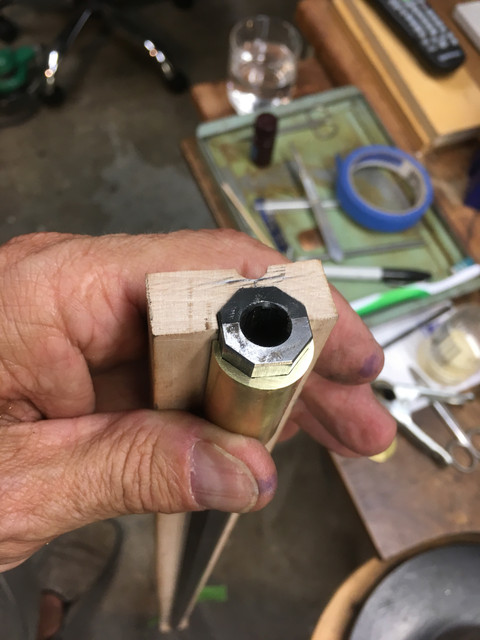
Final check on fit and the completed tiny cap


Last edited:
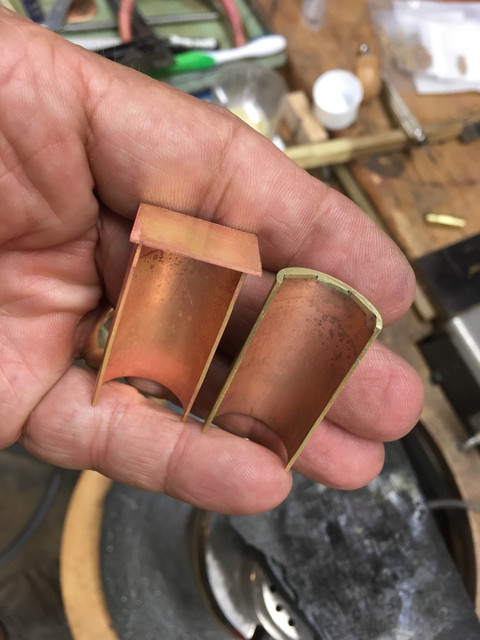
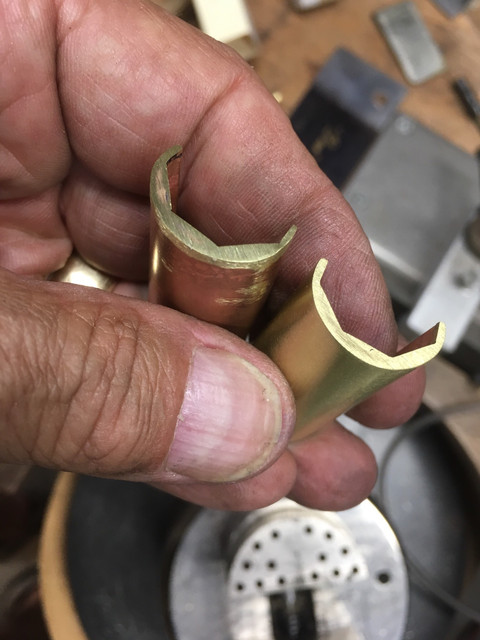
Went out and did the second cap......(before I forgot how I did it..... :eek:)


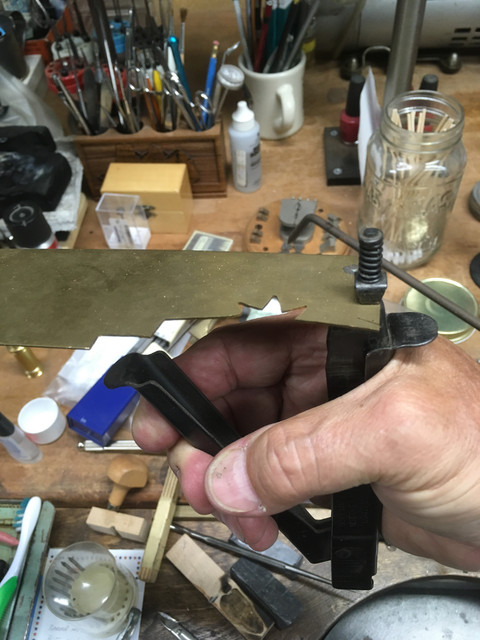
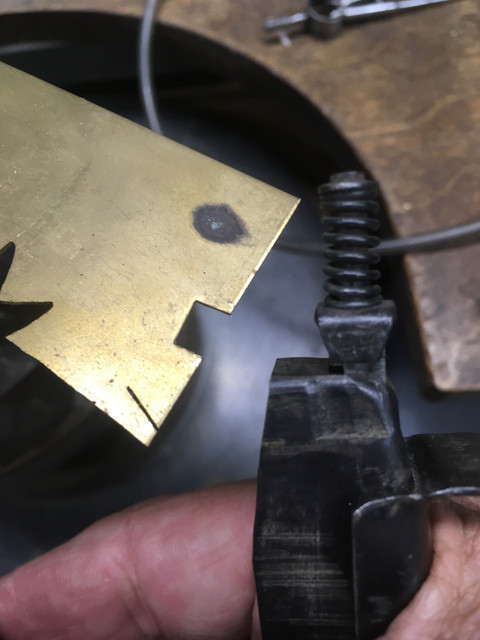
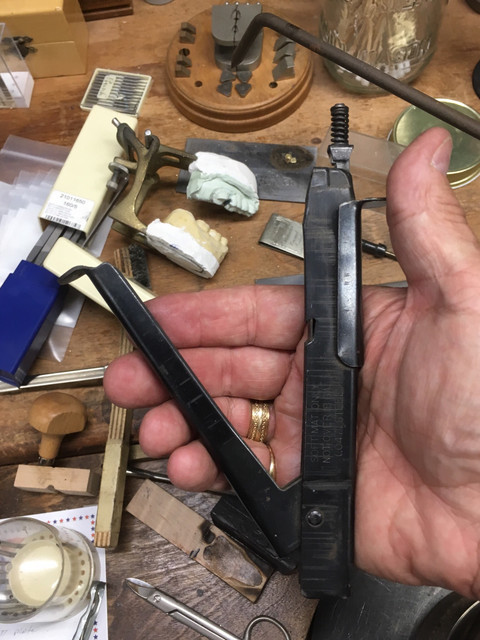
By the way, I forgot to mention how I cut away most of the material in the front face of the cap before filing the final contours. This hand nibbler is one of my favorite tools for removing excess sheet material quickly and without distorting the workpiece. It cuts out a notch about 1/4" wide and 1/16" deep with each squeeze of the handle and it will cut mild steel up to 18 gage (0.047" thick). I shot a very short video of nibbling sheet brass but I don't know how to get it into the post here... Anyway, here are some pictures and a couple of links. (You can also find these used on eBay.) I use this all the time to trim away the bulk of excess material on inlays and patch box components very quickly, and then finish up with files, when I don't want to take the time to use a jeweler's saw. For those who may be interested.....


https://www.eis-inc.com/nibbler-too...rdV0SyPXdG83V42ecupjPbXfWSlYtfPBoCjekQAvD_BwE
https://www.aircraftspruce.com/cata...oXbnRad7ZJSAi9-_02ClZTOog1-H2tRhoC4W4QAvD_BwE
 
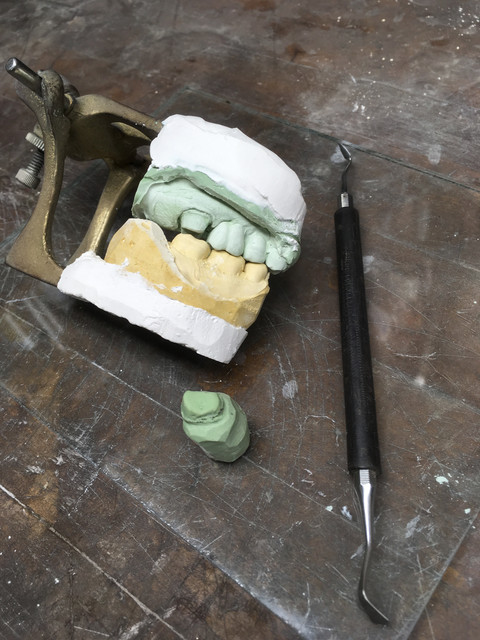
@davec2 the nibblers are cool, but what really caught my eye is the plaster “nibblers” laying on your bench. What the heck!?😂
Stykbow,
My Dad was a dental technician and ran his own laboratory. I worked at a bench making crowns, bridges, dentures, partials, etc., from the time I was 6 or 7 until I left for the Navy at 18.
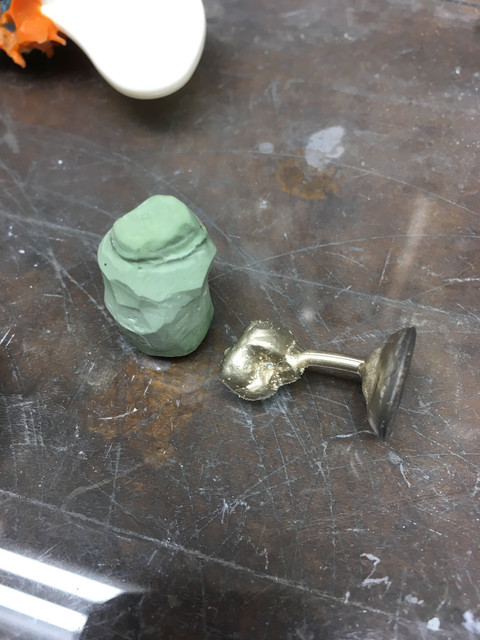
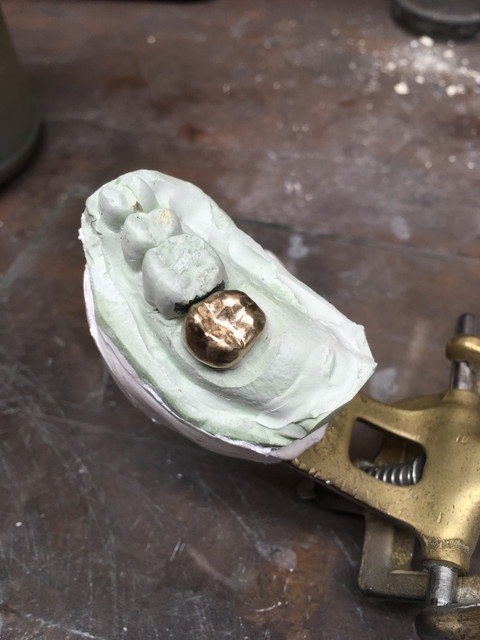
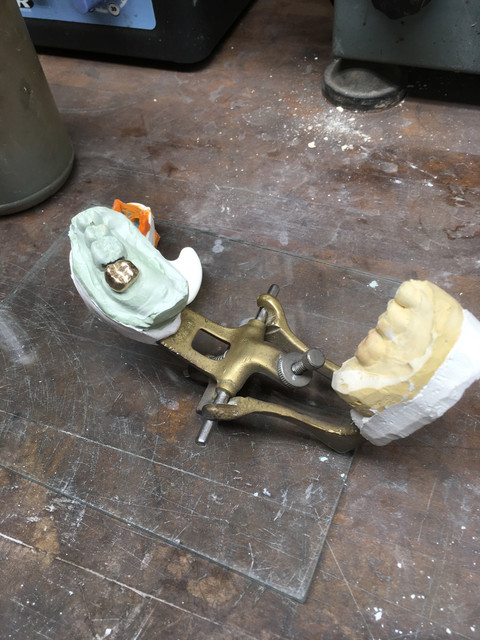
The articulated models on the bench were for me. I had to stop for a bit to make myself a gold crown. I had a posterior tooth go bad and had a root canal. Had a dentist do the preparation on the tooth and give me the impressions. I went home, poured the models, articulated them, carved the crown in wax and then cast it in dental gold (18 K). A little polishing and I went back to the dentist the next day and he cemented it in for me.

My Dad taught me how to carve and cast a gold crown when I was 8.........I have fond memories of his hands working as I watched.....


I am thoroughly enjoying this thread! Very interesting seeing your methods.

I particularly loved these:
nibblers.png


The first time I ever saw such was last October, doing some metal work on a customer's roof. He brought them out of his garage and I used them to shape a void in some flashing.

I was so impressed with them I took a picture to remind me to look for some - then forgot about 'em til now! Thanks for the reminder. :)

Sheet Metal Nibblers .jpg
 
The picture tutorials are so interesting and very helpful for all. I can't imagine the extra time it takes to set all that up and then give details of the pictures online. Frankly, I bookmark a lot of your posts from both web forums so I can refer back to them.

James
 
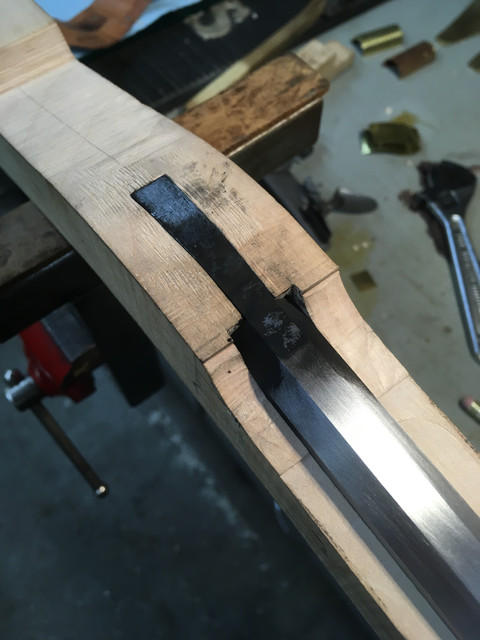
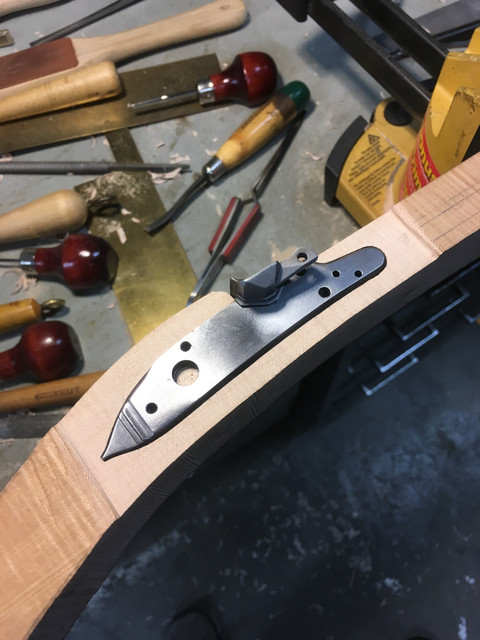
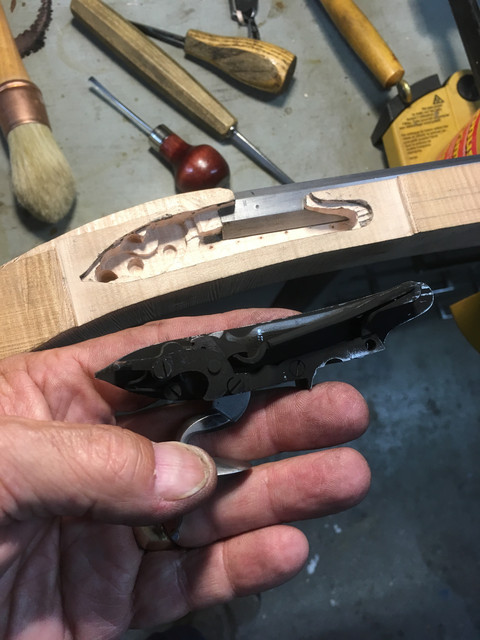
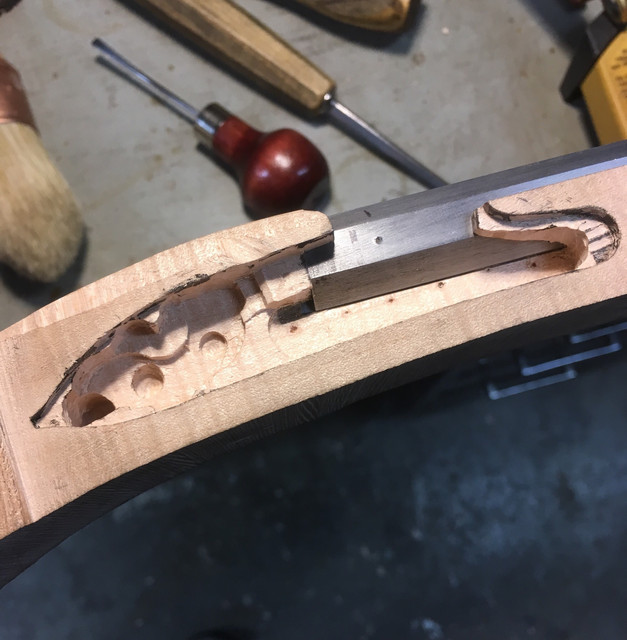
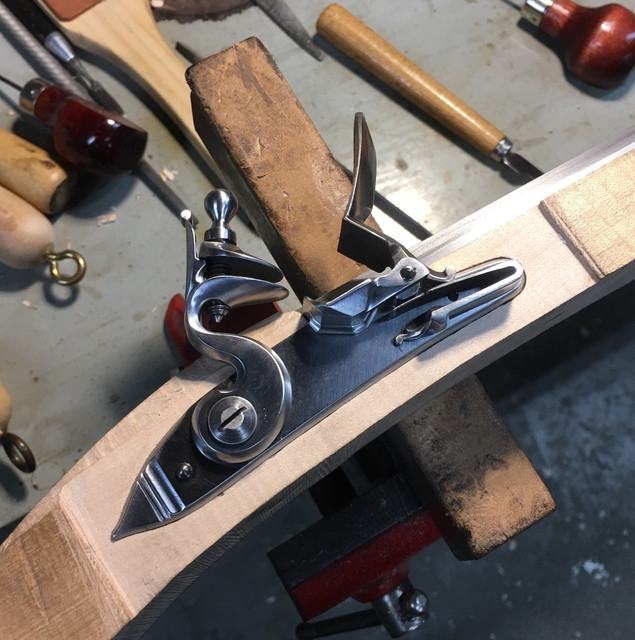
Finished the lock inletting.


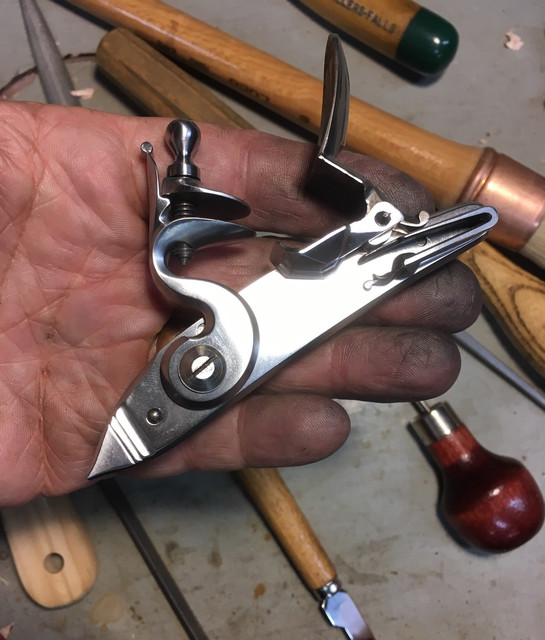
Polished the lock parts.


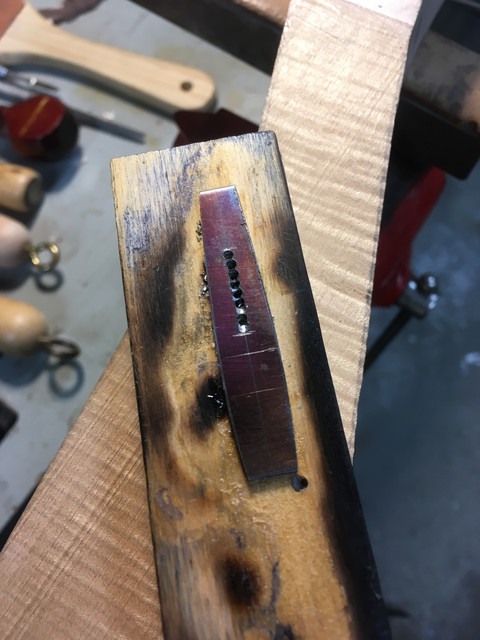
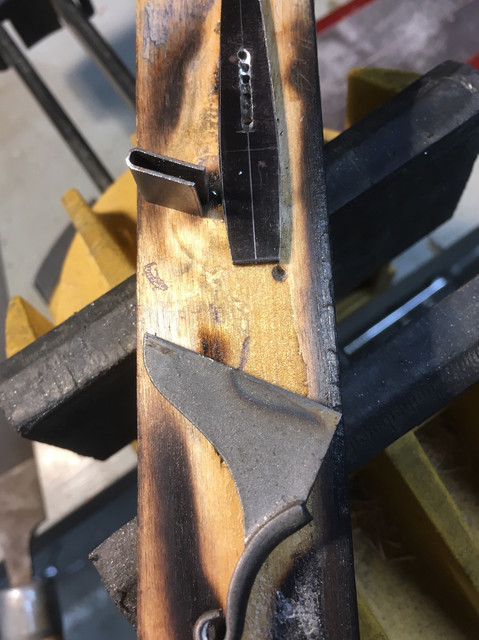
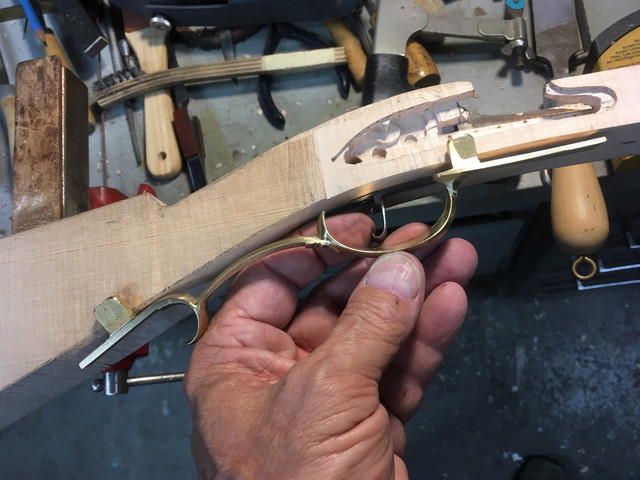
Then made parts for the trigger assembly. Made the trigger plate, shortened a cast trigger I had, made the "U" shaped frame for my usual metallic trigger pivot, and silver brazed all the parts together.


Got the trigger assembly inletted into the stock.


Getting ready to install the little trigger guard.

 
Back
Top