• Friends, our 2nd Amendment rights are always under attack and the NRA has been a constant for decades in helping fight that fight.

    We have partnered with the NRA to offer you a discount on membership and Muzzleloading Forum gets a small percentage too of each membership, so you are supporting both the NRA and us.

    Use this link to sign up please; https://membership.nra.org/recruiters/join/XR045103

Advice

Muzzleloading Forum

Help Support Muzzleloading Forum:

This site may earn a commission from merchant affiliate links, including eBay, Amazon, and others.

LadyColeman

32 Cal.
Joined
Oct 20, 2007
Messages
19
Reaction score
0
Ok, so I have been lurking around for a while, I did post an intro a while back. Anyway, I have been looking around and getting interested, my husband has talked me into buying a kit and building my own gun. Thing is, I have never done anything like this before and I don't even know that much about guns. The kit he helped me pick out is Pedersoli Pennsylvania Rifle Kit - .50 Caliber Flint(copy and paste is great). My kit should be here in a few days or so, depending on how UPS feels. After reading thru so many diffrent posts I have gathered a few tools. I picked up a microplane, a few chisels, some small screwdrivers, and some files. I already have a drill with various sized bits, a cheap exacto, measuring tape and square. I know there has been mention of some homemade tools, and maybe a few things I missed. Is there anything else I need to get started? I plan on taking this really slow, I want to get it right. That's the reason I came here to ask questions and advise. I know you all have plenty of advise and suggestions, and when needed you will tell me how to fix whatever I mess up. And don't worry I will post plenty of pics for you! Thanks in advance to all who help me out!! You will hear that alot in the coming months!!
 
I am about to start my first build also. I strongly recommend you buy one of the instructional DVD's available from Track of the Wolf (try them on google). Easy step by step instructions which anyone could follow. Good luck!!

Robbo
 
LadyColeman:
Welcome and thank you for your vote of confidence in us. :grin:

Actually it sounds like you already have about everything you will need except for lots of sandpaper.

The Pedersoli kits, like those produced by the other manufacturers are basically factory guns which were not totally finished.
The most fitting that needs to be done consists of trimming some of the mortises to allow the metal parts to fit down into the pockets.

Most of the work is sanding the wood so that it matches the mating metal part smoothly and blends with it.

Assuming the barrel is unfinished, you will have to decide whether you want to leave it "in the white", browned or blued.
As the work envolved between these varies substantially I'll wait until you decide what you want.

If you were tackling one of the "box of parts" type of guns that many of us work on I would agree with Robbo however, the kit you will be working on is very straight forward.

While your waiting for your kit, you may enjoy going back to the Gun Builders Bench index and selecting Gun Building Tutorial (A permanent post second from the top).
While this involves way more than what is required to build your kit the steps and logic behind it is similar to what you will be doing (but on a much grander scale).

Again, welcome. :)
We will be more than happy to help you in any way we can.
zonie
 
Thank you! I did check out the tutorial, I am sure I will be going back to it several times to make sure I have it right. My kit got here yesterday but I haven't had time to get it out of the box yet. Hopefully I will be able to get it out tonite after I get the kids settled. I will take some pics and try to post them tomorrow!
 
Welcome to the forum. I've built some Pedersoli kits, and can testify that they're not overpowering for a tyro. As Zonie said, you've got everything you need. The amount of sandpaper required is rather startling, though!
Take your time and have fun. Sure beats scrap-booking.
 
I'd get some kind of bedding black or an obnoxious color of lipstick from the sale bin. Marking metal parts with that, then lowering them into the stock will really help you "true up" the bedding of the barrel and tang. If for some reason you need to adjust the pitch or seating depth of the lock, it will be useful there, too. Not much money or maybe free, but it will sure make your life easier.
 
BrownBear said:
I'd get some kind of bedding black or an obnoxious color of lipstick from the sale bin. Marking metal parts with that, then lowering them into the stock will really help you "true up" the bedding of the barrel and tang. If for some reason you need to adjust the pitch or seating depth of the lock, it will be useful there, too. Not much money or maybe free, but it will sure make your life easier.
That will sure help, I was taught to use a common candle and soot the parts. Some put a light coat of petroleum jelly on the part and then soot it.
But I have got good transfer w/o and it's not near as messy(you still get soon on your hands though).
 
I'm still using the small sample tubes of lipstick that a friend gave me several years ago. A little goes a long way, especially when you are getting down close to the final fitting. Good luck on your project! I'm sure you will find it enjoyable. Emery
 
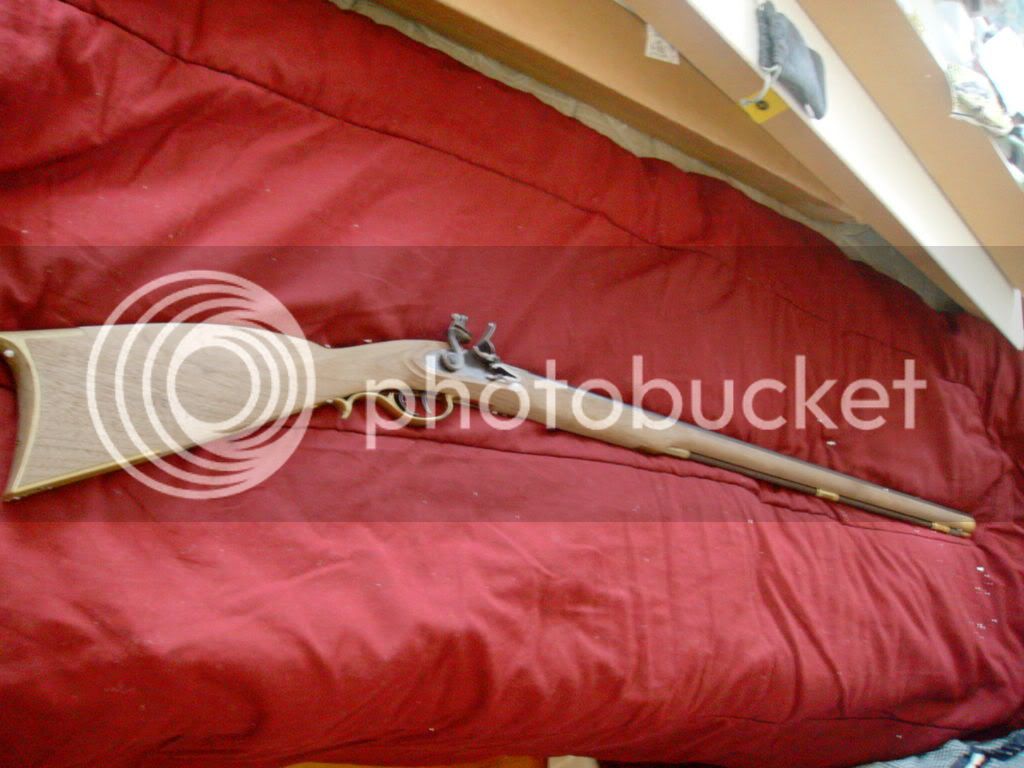
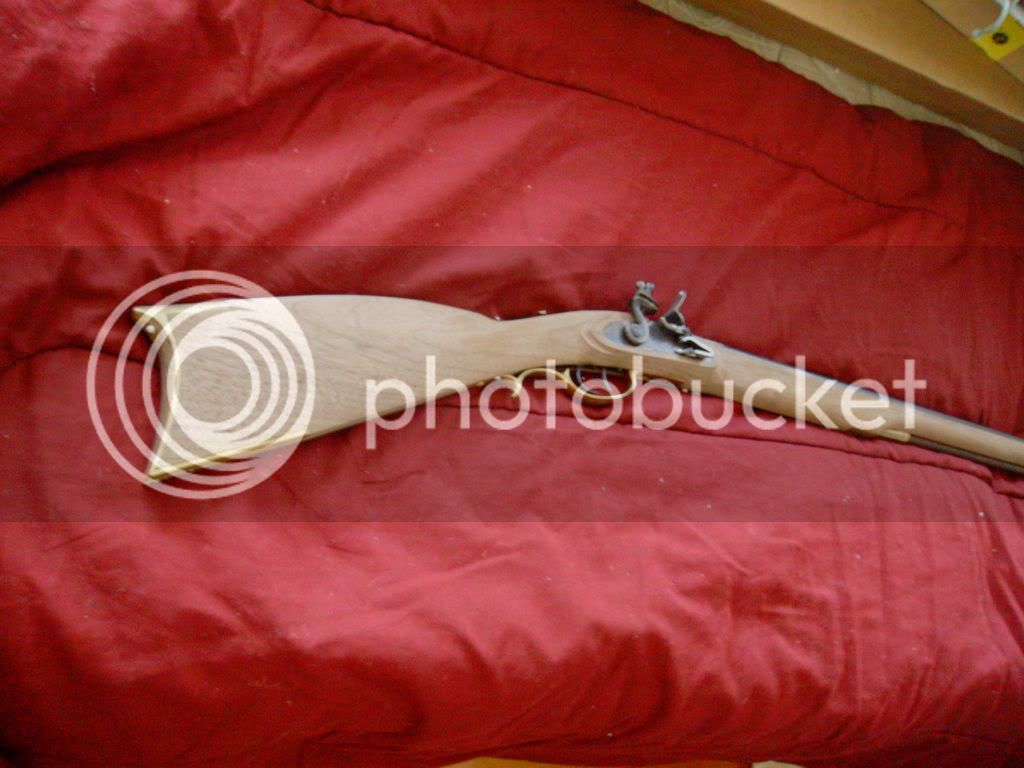
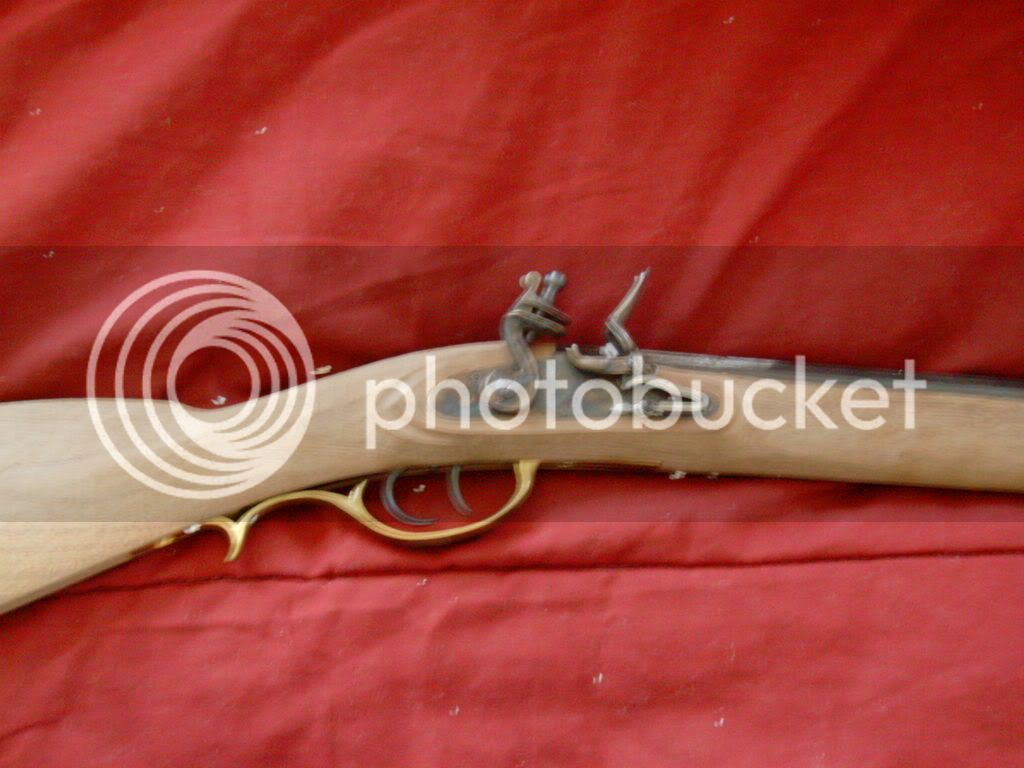
Ok here are a few pics right out of the box.
018.jpg

019.jpg

016.jpg
 
I think you are going to do great and when I get a chance to do a kit I will have you to help me out :blah:
 
Back
Top