• Friends, our 2nd Amendment rights are always under attack and the NRA has been a constant for decades in helping fight that fight.

    We have partnered with the NRA to offer you a discount on membership and Muzzleloading Forum gets a small percentage too of each membership, so you are supporting both the NRA and us.

    Use this link to sign up please; https://membership.nra.org/recruiters/join/XR045103

Another "dragoon" type pistol

Muzzleloading Forum

Help Support Muzzleloading Forum:

This site may earn a commission from merchant affiliate links, including eBay, Amazon, and others.
Joined
Mar 7, 2007
Messages
686
Reaction score
2,095
Several years ago now I had a .58 cal heavy straight sided rifle barrel that was too heavy and too short for me to do much with. I cut off 12 inches and turned it round to make a pistol barrel. I also had a maple pistol stock blank and some castings (butt cap, trigger guard, side plate, etc) in a pile of spare parts, so I started in on making another dragoon type pistol. Not wanting to use any of the spare locks I had, I bought a set of dragoon lock castings from Blackley's in the UK. I got this far with all the various aspects of building a pistol and then "time, tide, and formation" pressures took over......work, house repairs, other commitments with family and kids, weddings, funerals....you get the idea. Anyway, the pistol parts went under the work bench in a box and have been there for almost a decade. I recently finished setting up a new work shop and have been slowly moving all of my tools and gear into it. In the process, I found the box of pistol parts. After looking them over, I decided it was a shame to leave them in that condition, so I have started in on finishing the work.

Everything has been on hold for nearly two months. My Mom (96) was having some severe health issues and my sisters and I dropped everything to be with her. She has made a miraculous recovery but now I have a ton of work to catch up on. Getting back to work on the little rifle for my grandson and finishing up this pistol will, hopefully, keep me a little "saner" than I would otherwise be....
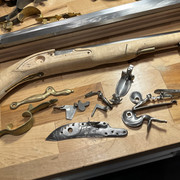
 
In descending order from the things I dislike the most when building a Dragoon type pistol, 1) inletting a spurred butt cap, 2) inletting a pistol trigger guard, 3) inletting the rear ram rod pipe. One of the things my Mom always said about any task was "Worst things first"....then everything else seemed to go easier. I had done the butt cap and rear ramrod pipe during previous work so I started in on the inletting of the trigger guard.

And thanks for the kind words about my Mom.
 
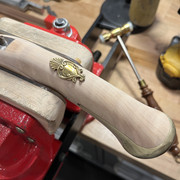
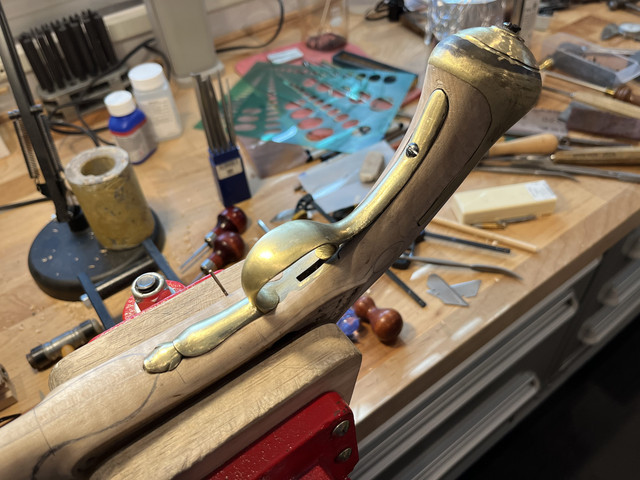
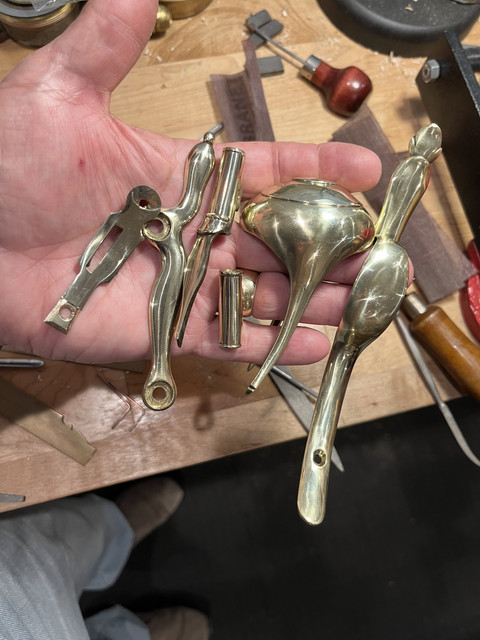
Well....I'm off to the Mojave Desert to conduct a couple of weeks of rocket engine testing, so this project will be on hold for a bit. But today I cast and partially engraved a thumb piece for the pistol, contoured it to fit the pistol wrist, did the inletting, and then made the screw that holds it in place through the wrist. Here is the thumb piece annealed and then lightly hammered into fitting the stock contour......


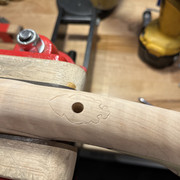
Here is the start of the inletting......


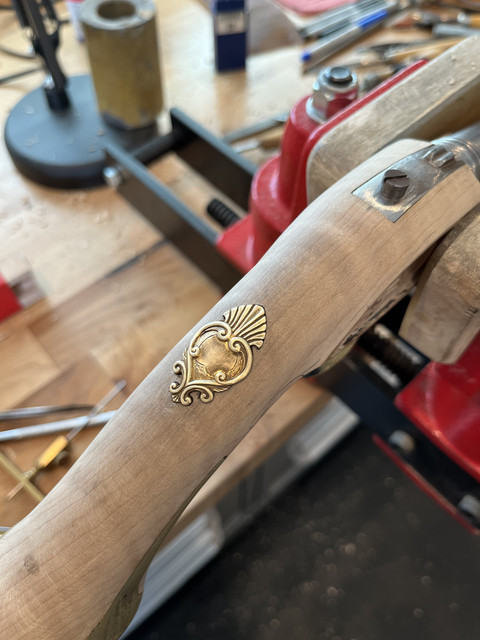
Thumb piece fully installed....


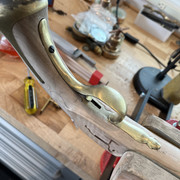
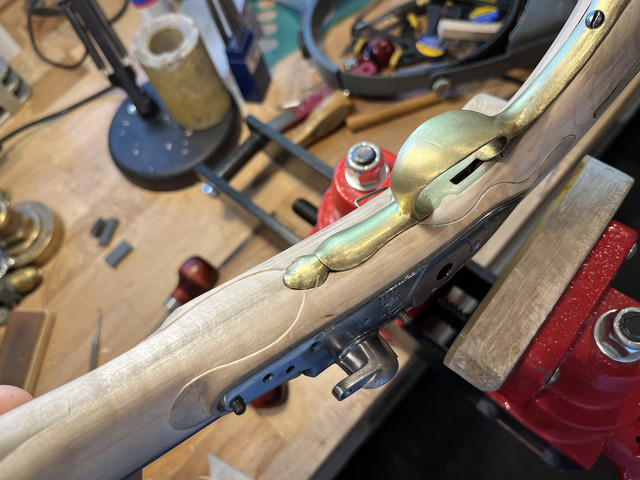
And then I almost finished the trigger guard installation. A little more to do but not far from being done....


More when I get back
 
Several years ago now I had a .58 cal heavy straight sided rifle barrel that was too heavy and too short for me to do much with. I cut off 12 inches and turned it round to make a pistol barrel. I also had a maple pistol stock blank and some castings (butt cap, trigger guard, side plate, etc) in a pile of spare parts, so I started in on making another dragoon type pistol. Not wanting to use any of the spare locks I had, I bought a set of dragoon lock castings from Blackley's in the UK. I got this far with all the various aspects of building a pistol and then "time, tide, and formation" pressures took over......work, house repairs, other commitments with family and kids, weddings, funerals....you get the idea. Anyway, the pistol parts went under the work bench in a box and have been there for almost a decade. I recently finished setting up a new work shop and have been slowly moving all of my tools and gear into it. In the process, I found the box of pistol parts. After looking them over, I decided it was a shame to leave them in that condition, so I have started in on finishing the work.

Everything has been on hold for nearly two months. My Mom (96) was having some severe health issues and my sisters and I dropped everything to be with her. She has made a miraculous recovery but now I have a ton of work to catch up on. Getting back to work on the little rifle for my grandson and finishing up this pistol will, hopefully, keep me a little "saner" than I would otherwise be....


Very glad to hear your Mom recovered and bless you for being with her.

Gus
 
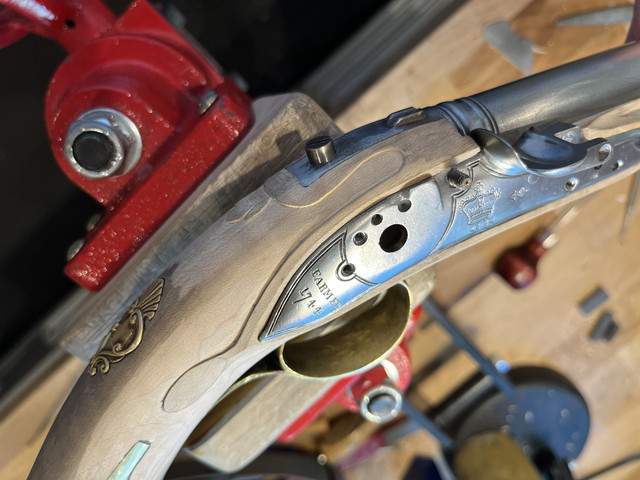
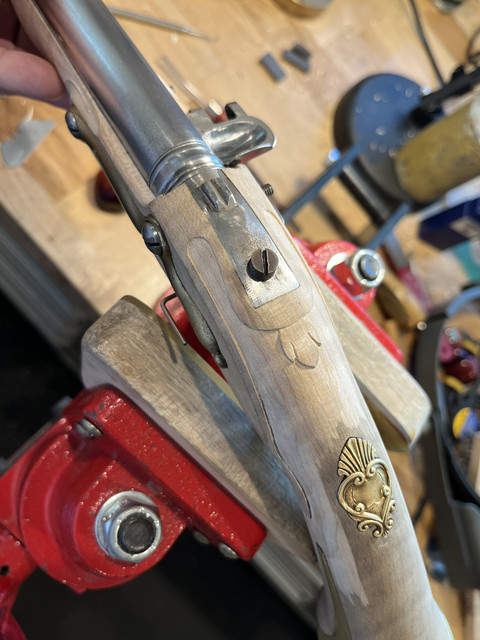
Back from the desert.....but still up to my a$$ in alligators as far as work is concerned. However, for my own mental health (as far as that goes), I spent a little while doing some minimal carving on the pistol stock. There is not much in the way of fancy carving on a Dragoon type pistol, but I did do a little molding around the barrel tang, lock and side plates.


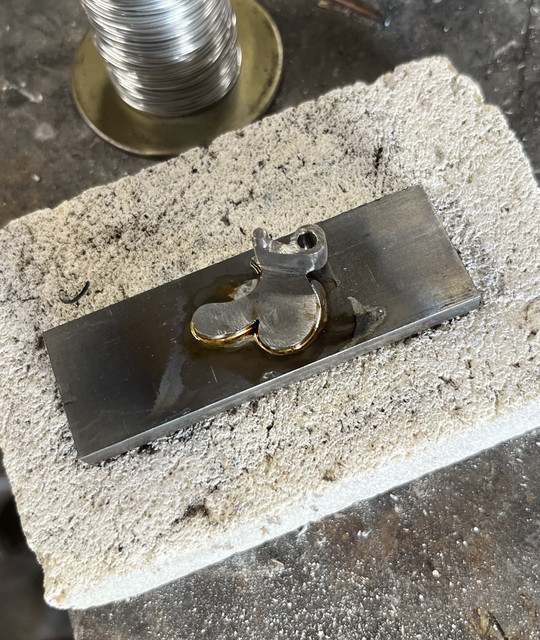
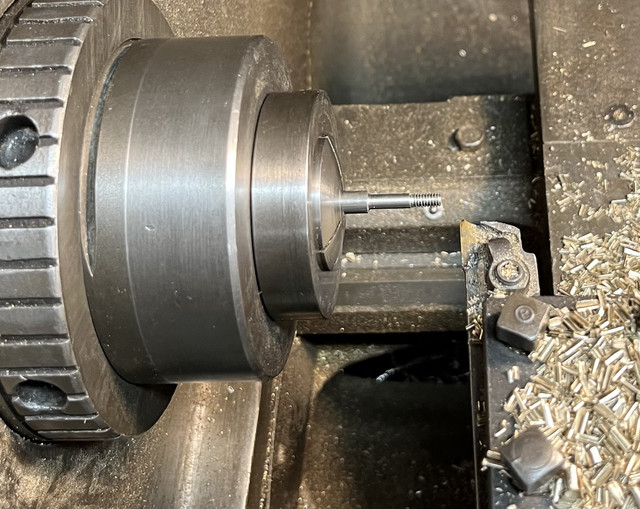
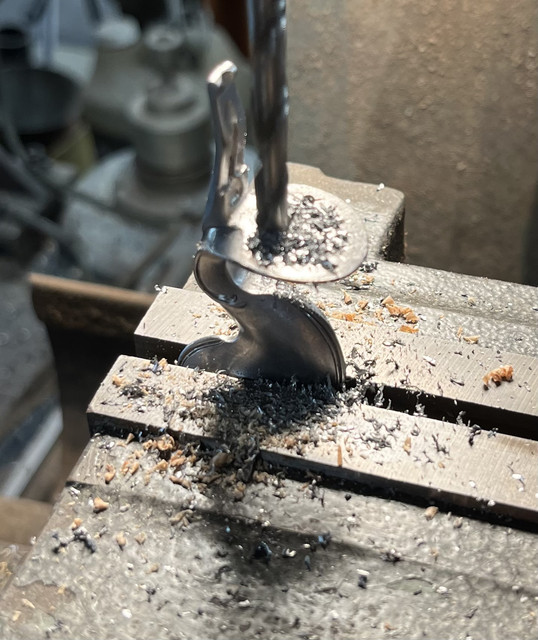
I also had a chance to start working some of the internal parts of the lock. The cast bridle is always a hard part to hold to do any machining so I soft soldered it to a piece of steel bar stock so I could mill the end of the stand off portion parallel to the bridle plate. Also ordered some 12L14 bar stock because i need to make all of the 6-40 screws for the lock.

 
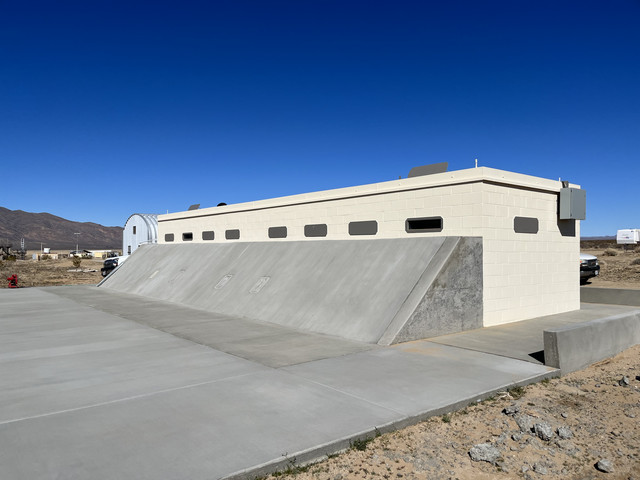
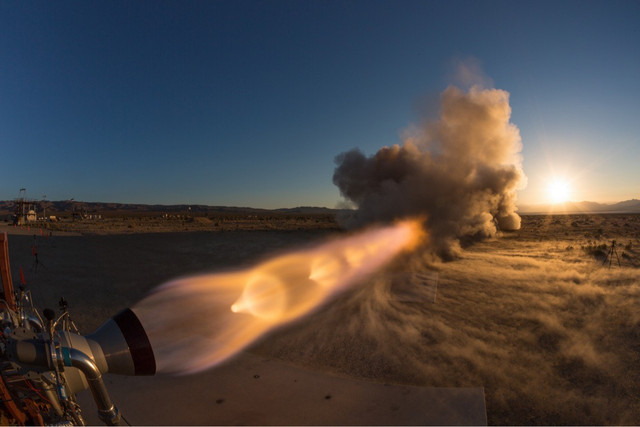
Someone mentioned that I was in some sort of weird time warp.....switching back and forth between testing rocket engines and building flintlocks. Yes. And in addition to testing rocket engines I am in the process of building a new control center / blockhouse to run the tests from.....I was asked about what that kind of work looks like. Here are a couple of pictures of the new blockhouse and the type of testing I run from it......the engine produces 60,000 pounds of thrust.


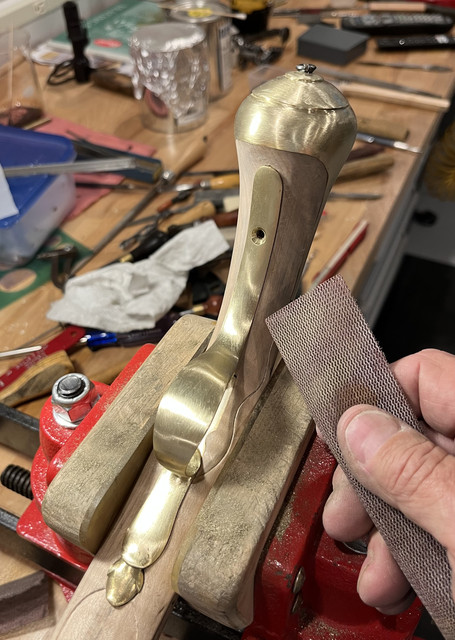
Back to the pistol.....I like to polish brass parts up to about 600 grit in place on the stock so that sharp edges do not get rounded. After that I will pull the parts off and finish with a finer grit.

 
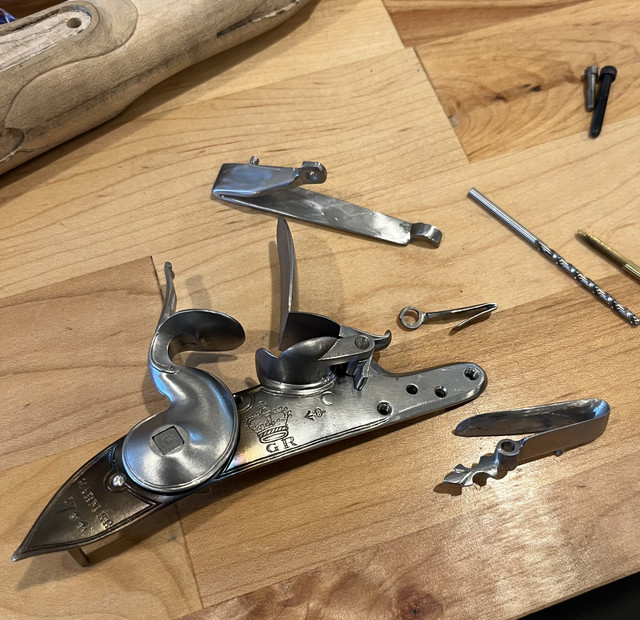
I had previously half way cleaned up the Dragoon lock casting set I had purchased several years ago from Blackley & Son in the UK. At the time they were moving their facility and foundry and did not have the screw set for this lock. After several unsuccessful attempts to have a set delivered I gave up and am now making all of the required screws. The bulk of them will be 6-40 although I may use an 8-40 for the frizzen pivot screw. I have machined the tumbler and done more clean up and polishing on all the parts. The cock is fitted to the tumbler shaft. I will do all the internal fitting with some temporary 6-40 machine screws but will then machine the correct length and shouldered screws to replace them.


I am thoroughly impressed. I really want to ask how hard that build is so you can tell me it's not rocket science.
While traveling a good while back I met a woman (friend of my wife) and during the conversation found out her father worked on rockets for NASA - I said "wait..." and she finished, "yes my dad IS a rocket scientist!!" been fast friends ever since.

Ed - I really like the level of work you are putting into the dragoon, I am far from this level of talent but I strive to improve with every attempt
 
Thank you all....and....Ohio .75, it is NOT rocket science.....but it does give me a tremendous appreciation for the skill and patience of gunsmiths, lock smiths, barrel makers, foundry men, etc., etc. in the 15th, 16th, 17th, 18th centuries who made untold numbers of firearms by hand in those centuries without the benefit of electric lights, modern drill presses, lathes & milling machines, store bought files.....and all the rest. As I labor to build a single pistol, I often thing of a gunsmith shop in Great Britain in 1750 when an officer from the Board of Ordinance walks in and says, "Right oh, and His Majesty will need 10,000 pistols delivered by Wednesday next.":oops:
 
These cast parts will work for me in this particular application but, being copied from originals, there are significant distortions, shrinkages, etc., and as has been the case with every set of lock casings I have ever assembled, some welding is almost always required to build up steel where it should be....but isn't. A few days ago I had to weld some additional steel on the frizzen toe. As usual, the frizzen toe was a good 0.040" narrower than the gap between the arm on the pan and the plate. I could have used a washer to take up the space but that seemed far too "mickey mouse" a fix so I added the steel by TIG welding yesterday.

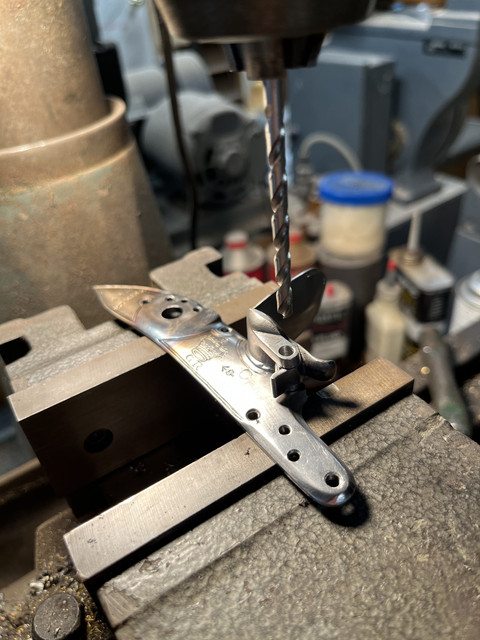
Then today I had a chance to work on lock assembly a little. I had epoxied the fitted frizzen in place yesterday and drilled it for an 8-32 pivot screw today. Then I machined the pivot screw and had some time left to set up to drill and tap for the top jaw screw on the cock.


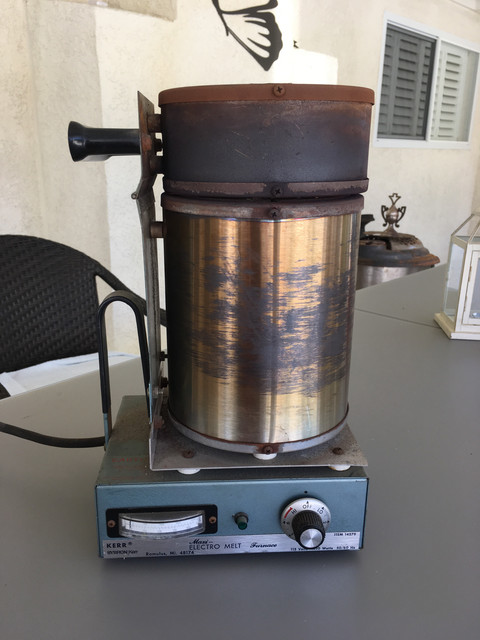
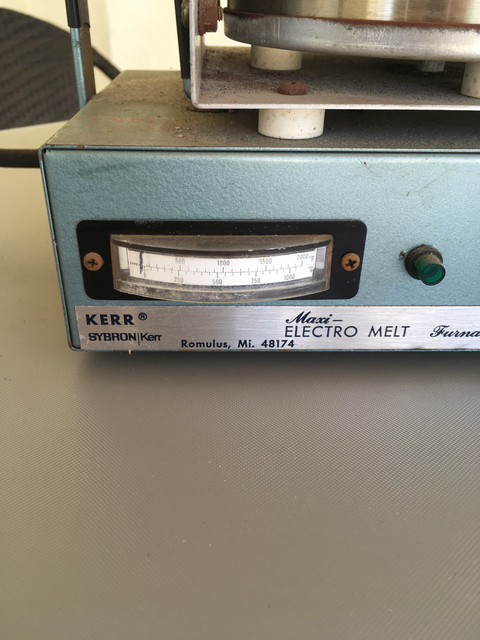
I need to make all the rest of the 6-40 screws and heat treat the springs. I have no idea what alloy the springs, or any of the other parts, are cast from so heat treating will be a real shot in the dark. And if I break a spring I will have to forge a new one as I can't count on getting a replacement casting. I have heat treated cast springs successfully before on other lock assemblies in the past, but I am never confident about it and I think my success was mostly just luck.....and I have never done it the same way twice. (Another indication that I don't know what I'm doing :eek:) I do have a small casting furnace (pictures below) that I can control the temperature fairly well on and will give this a try.


Back
Top