• Friends, our 2nd Amendment rights are always under attack and the NRA has been a constant for decades in helping fight that fight.

    We have partnered with the NRA to offer you a discount on membership and Muzzleloading Forum gets a small percentage too of each membership, so you are supporting both the NRA and us.

    Use this link to sign up please; https://membership.nra.org/recruiters/join/XR045103

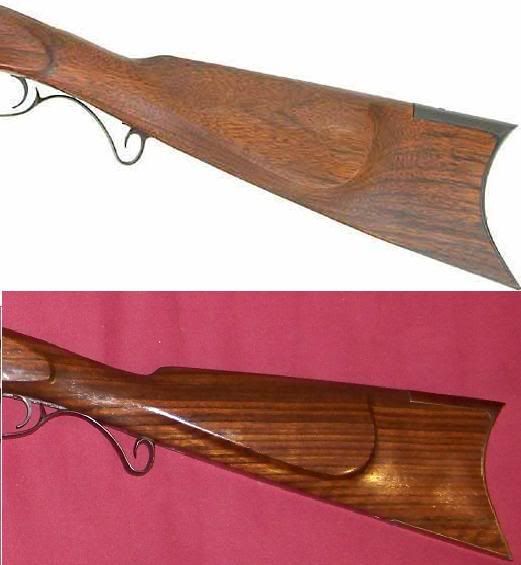
Another GPR facelift

Muzzleloading Forum

Help Support Muzzleloading Forum:

This site may earn a commission from merchant affiliate links, including eBay, Amazon, and others.
Joined
Apr 9, 2004
Messages
1,039
Reaction score
95
Location
Central Washington
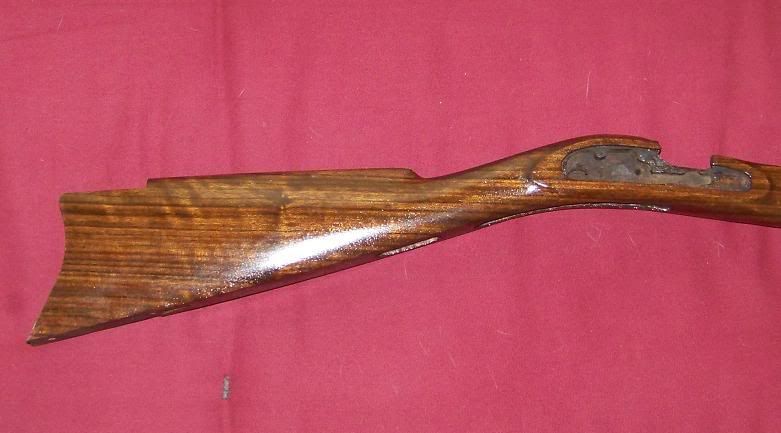
This time I'm starting with a completed gun I found at a gunshop for an obscenely low price! :wink: The builder did a nice job finishing it but decided to polish a lot of the metal parts on a buffer to look like chrome. :youcrazy: Anyway, I've taken some of the curve out of the buttplate and re-inletted it...
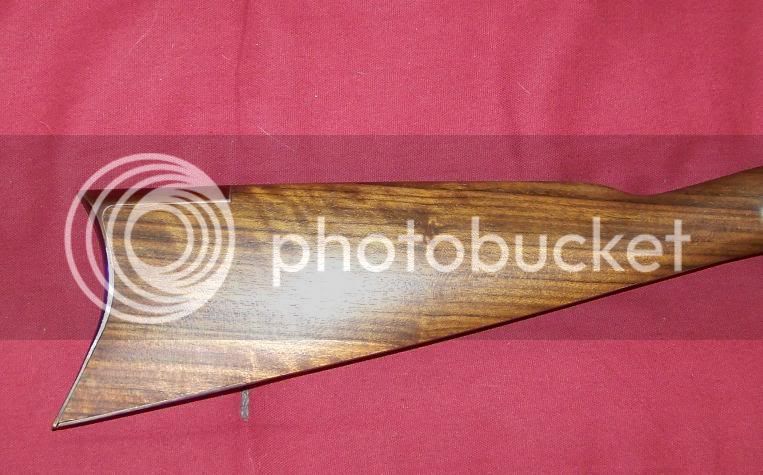
GPRright-1.jpg


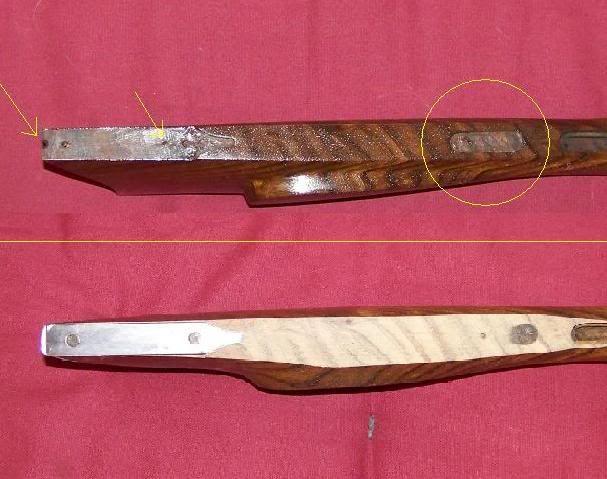
Also re-inletted the toe plate to it's new location, moving it forward to compensate for the wood removed while reshaping the buttplate. As you can see I got the bottom line straightened out by filing a LOT of the pearch belly away and in the process, made the trigger guard inletting disappear leaving only the rear screw hole and a dent ...
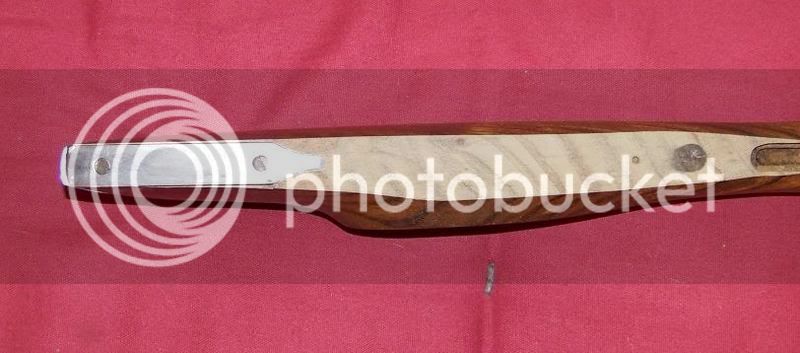
GPRtoeplate.jpg


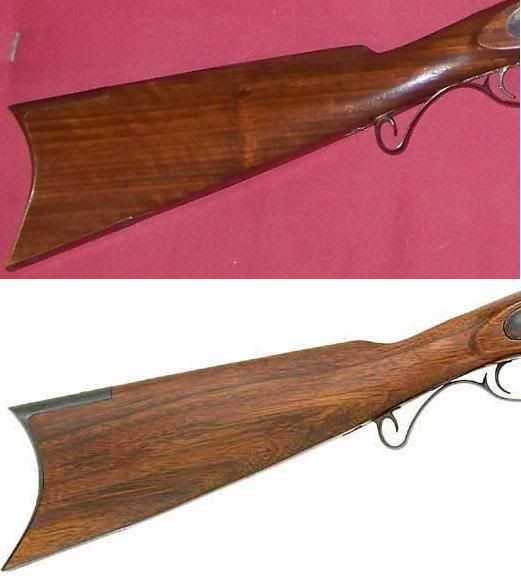
From here I'll reshape the the beaver tail to make it a reasonable size and thickness in relation to the stock and then work on the comb line to add visual length to the wrist...
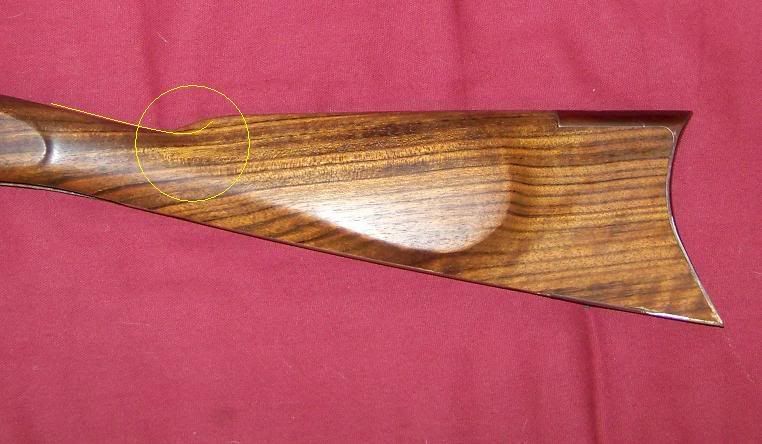
Cheekpiece-1.jpg


...stay tuned if you're not getting sick of my GPR butchering :grin:
 
Did you remove the finish first? It still looks like it's still on there. I had to strip mine to get the BLO off, it was gumming up my files and sand paper ( I tried the paper and file on a couple small areas to see what I was dealing with).

I also had to make a new toe plate. The bottoms of the scew holes were drilled so far through that when I cleaned up the bottom, the bevels completely disappeared! :shocked2: Glad you could reuse yours.

Lookin good!
 
I'll be stripping the finish off soon as my rough filing and sanding is complete. My work schedule limits the time I have to work on it. :(

Speaking of sanding, I have found that 3M brand "Sand Blaster" is the best paper I have ever worked with. It is so long lasting, resists tearing and does not gum up as fast. Even when it does get plugged, a quick pass with a second piece of paper over the plugged area makes it like new. :thumbsup:
 
Johnson,

Get after it! :thumbsup: Do you get the feeling some of us have been ridin' your coattails abit? :rotf: My missus wants a digital camera so when we nab up one for decent price I'll post my GPR Kit progress following the suggestions you have implemented.BUTTSTOCK,NOSECAP,SNAIL,CHEEKPIECE,FOREARM.....

Jay Taylor

Jay
 
Are you going to try LMF stain? or just oil finish again?

Looking forward to your finished product. I liked your last one alot.
 
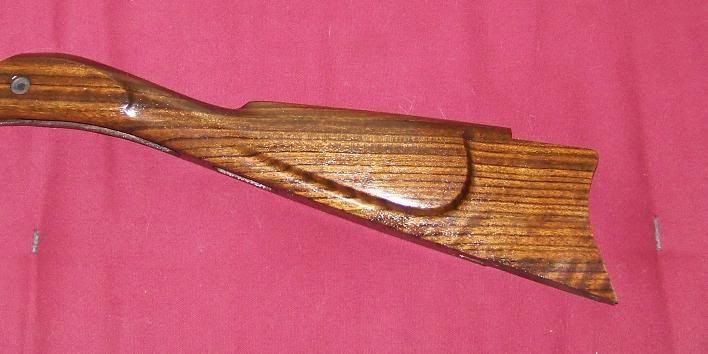
Update - Sanded and stained with two coats of Minwax Polyshade ( too glossy for now :barf: ) four more to go and then rub it out with 000 steel wool. The photos show the reshaped cheek piece, comb and toe plate area - note the old hole locations from where the toeplate was before changing the buttplate angle. Re-inletted the rear trigger guard plate in the same place.

GPRright2.jpg


GPRcheekpieceredone.jpg


GPRtoeplate2.jpg
 
I bent mine cold. I put it in the vise, about an inch or so. Bent the plate a little over half an inch, just enough to take some of the sharp point out of it.
 
Back
Top