- Joined
- Mar 7, 2007
- Messages
- 665
- Reaction score
- 2,020
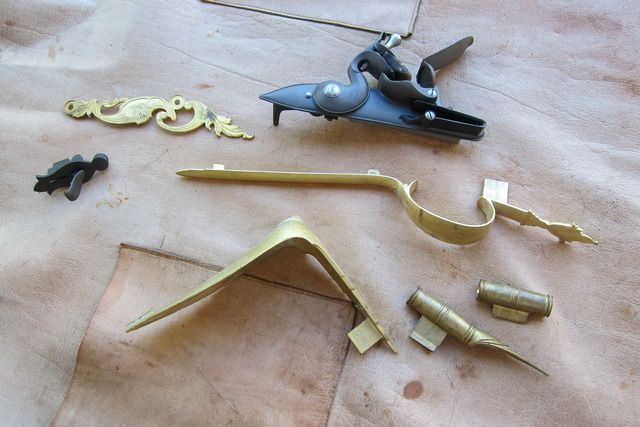
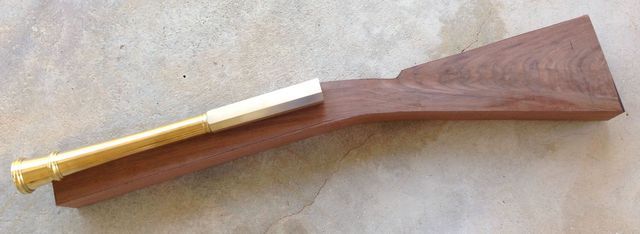
A while back, a fellow asked me to build him a brass barreled blunderbuss. Â I took on the task reluctantly because of my work schedule. Â However, he said he wasn't in a rush, so I took the job. Â I told him the first step was getting a barrel out of Ed Rayl, which might take some time. Â It did, but Ed eventually got me a couple of 10 gage brass barrels, one 20 inches long and another, for this customer, 18 inches long. Â The barrels showed up a month before Christmas.
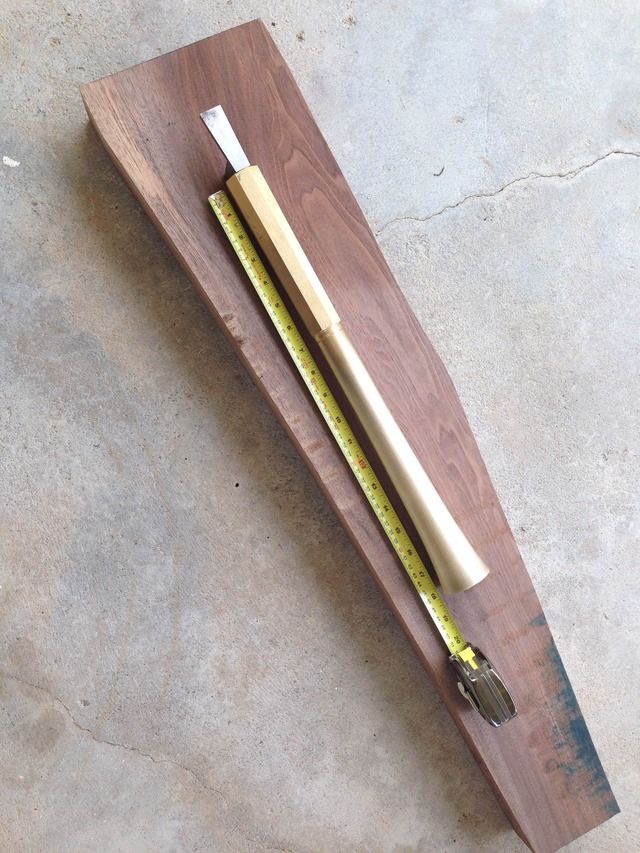
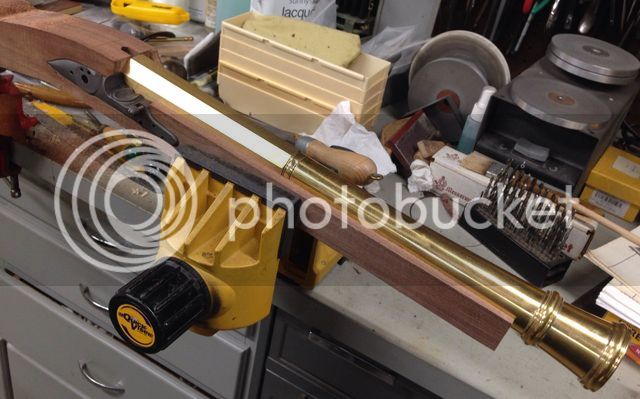
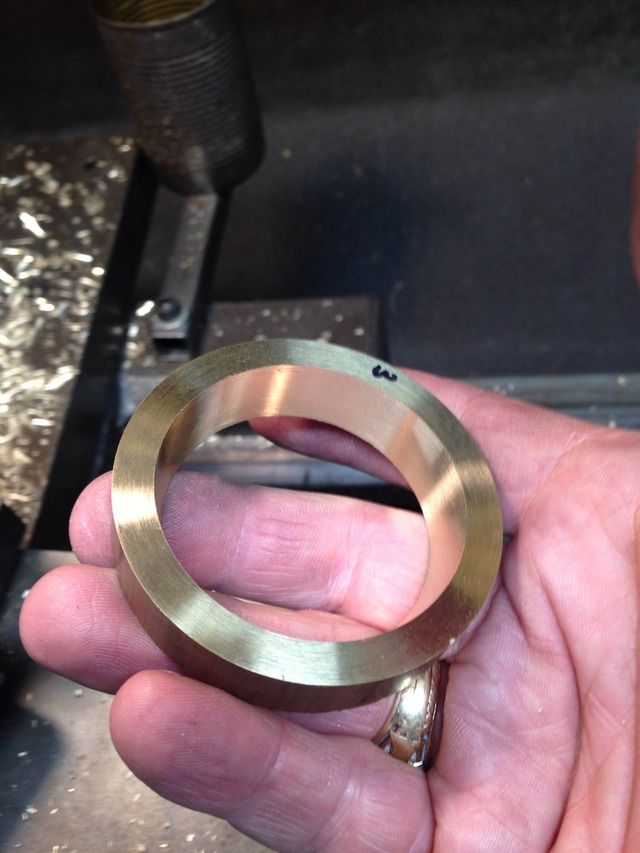
The fellow I am building this for really liked the muzzle rings I had added to a few of Ed's 4 gage barrels in both steel and in brass, one of which was to my own 4 gage blunderbuss. Â So, I rough machined the two brass rings, silver brazed them to the barrel, and then machined them in place to their final configuration.
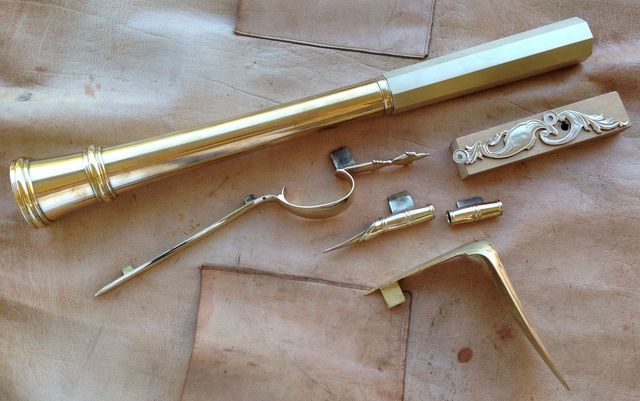
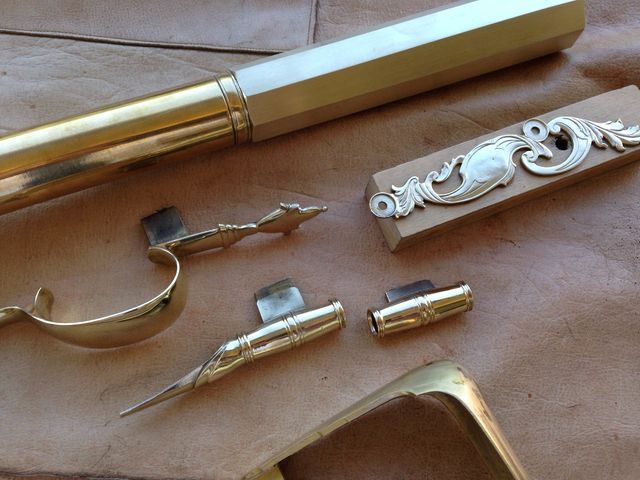
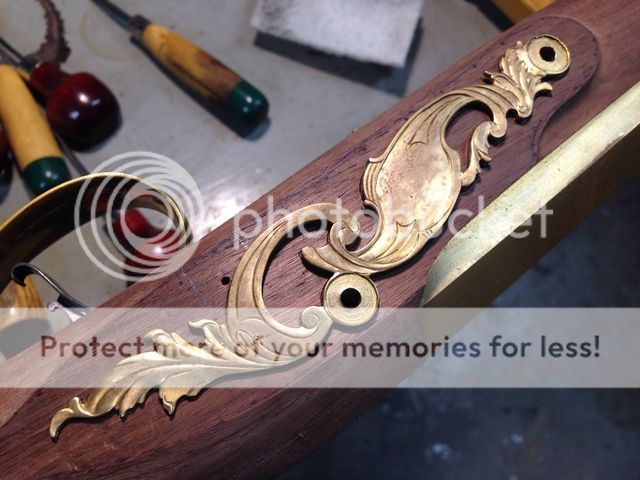
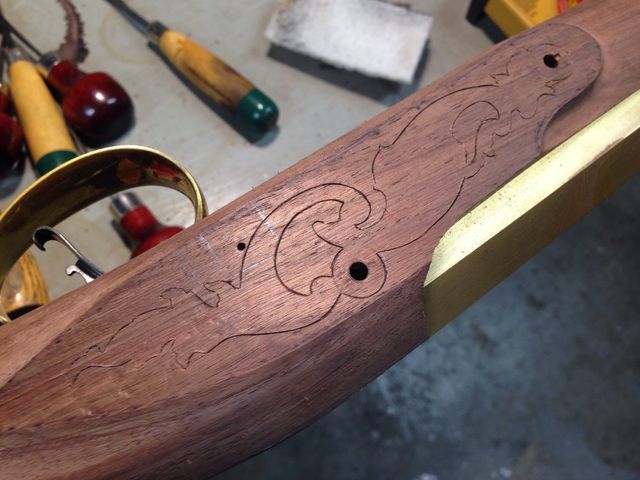
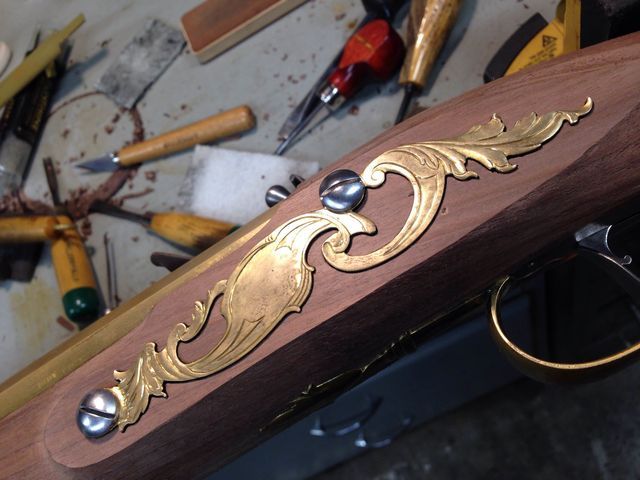
Anyway, here are some photos of the barrel work.........
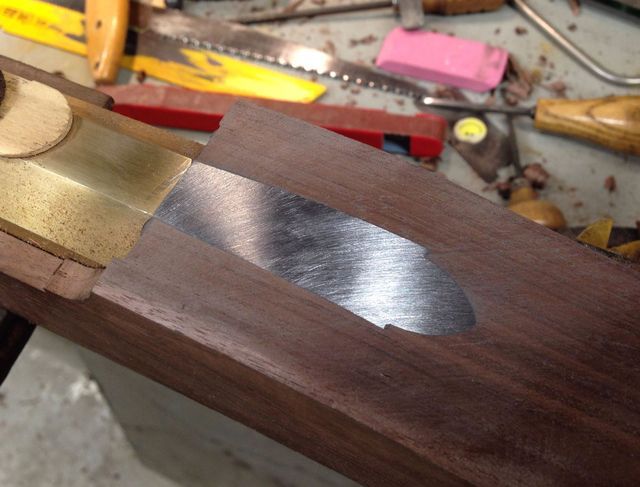
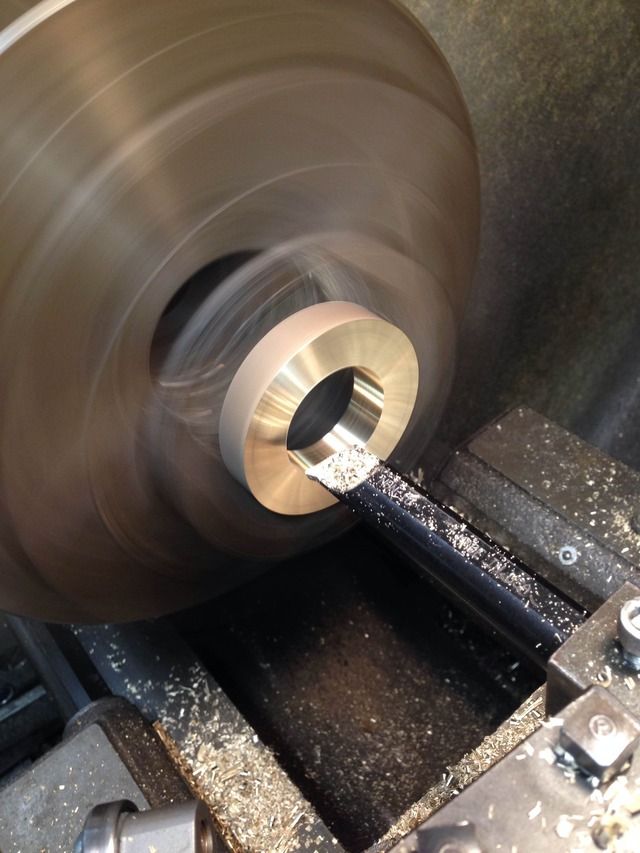
Machining the rough muzzle ring...........
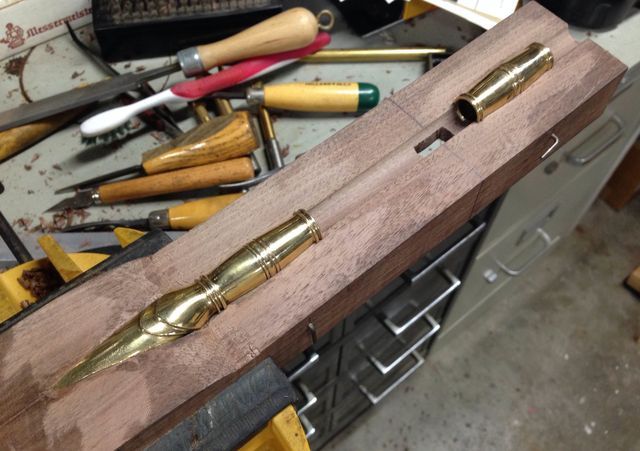
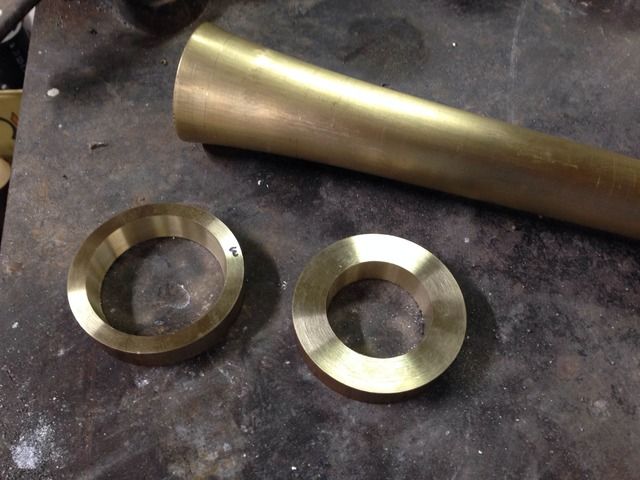
Getting ready to braze the rings in place.........
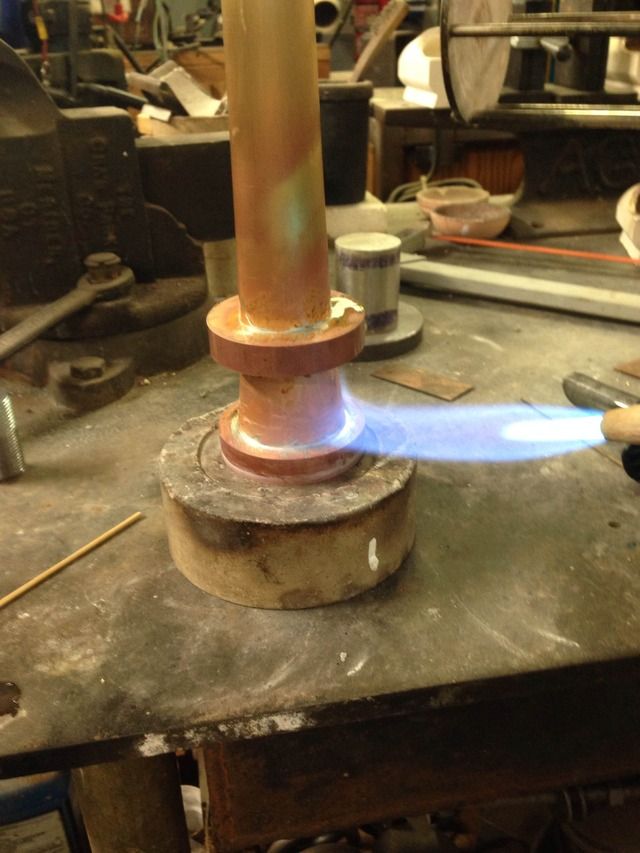
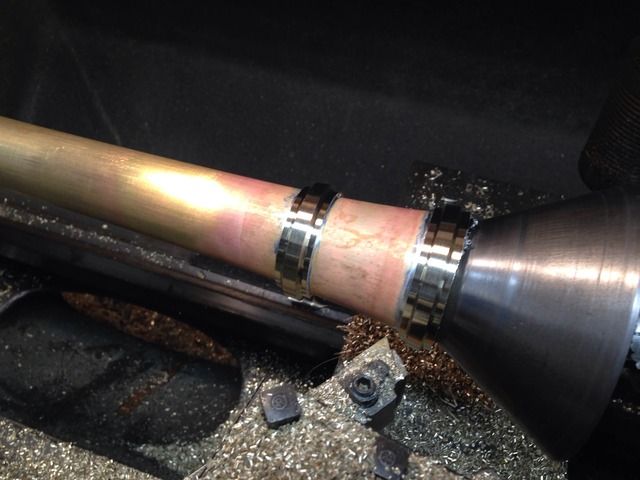
Brazing...............
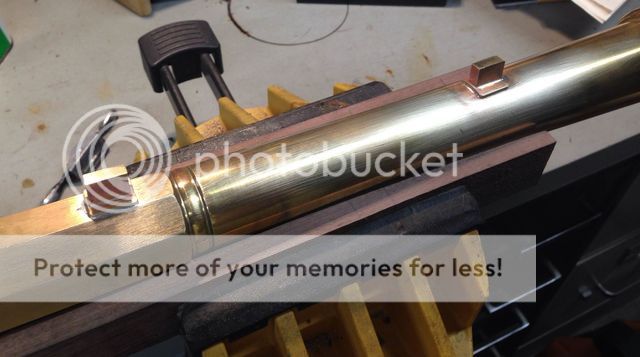
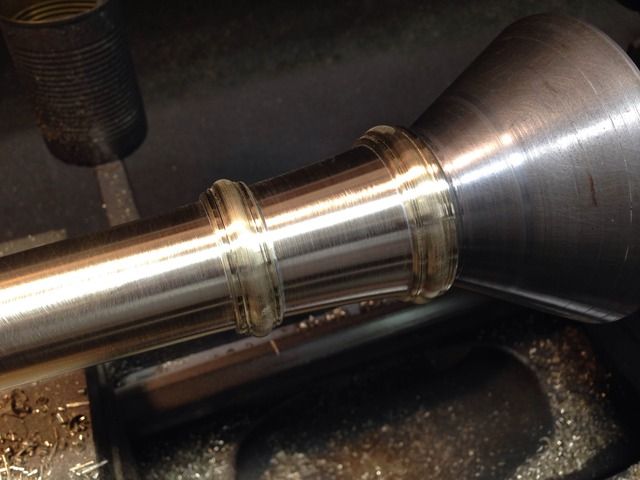
First machining of the rings on the barrel........
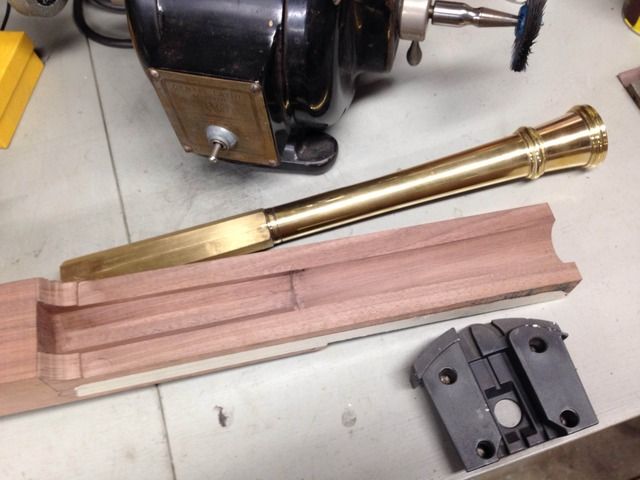
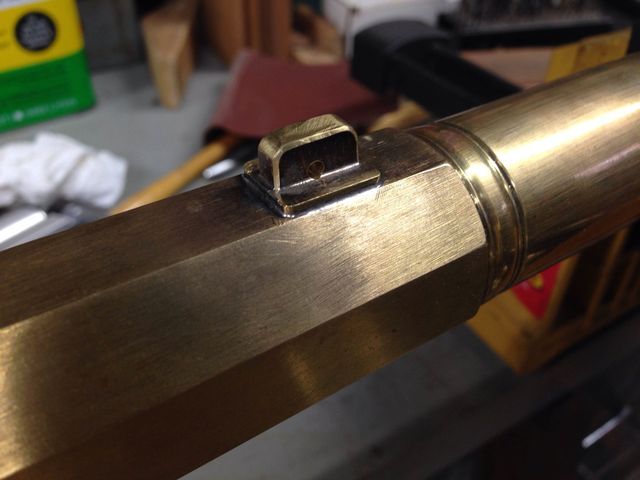
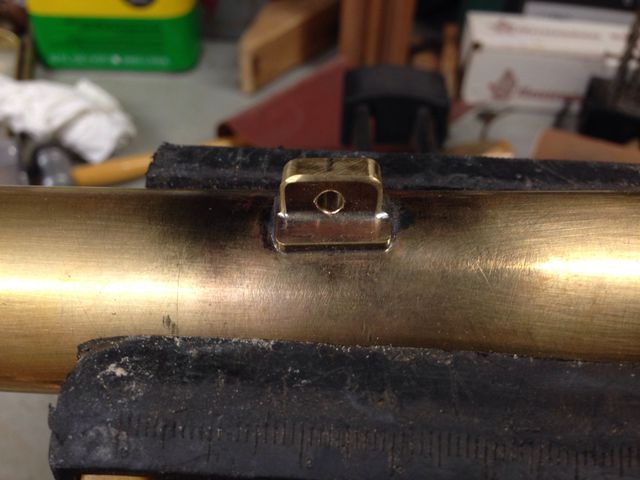
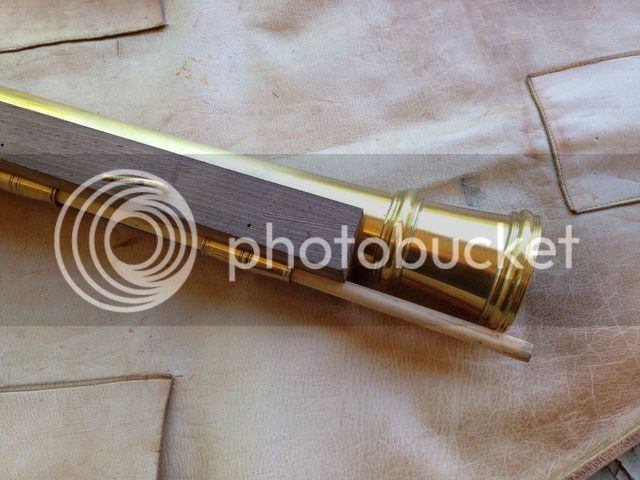
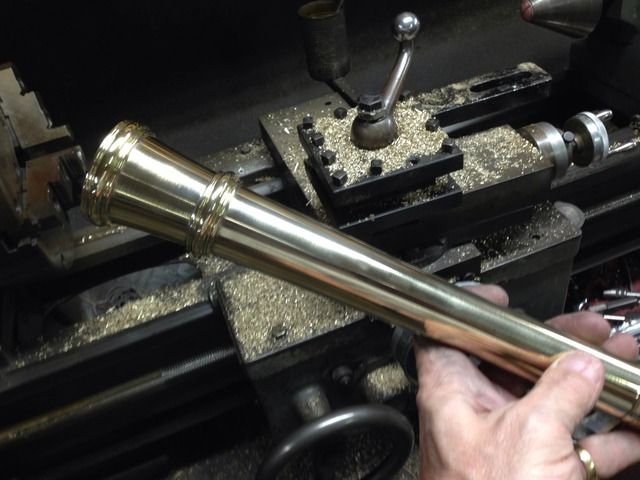
Finished........
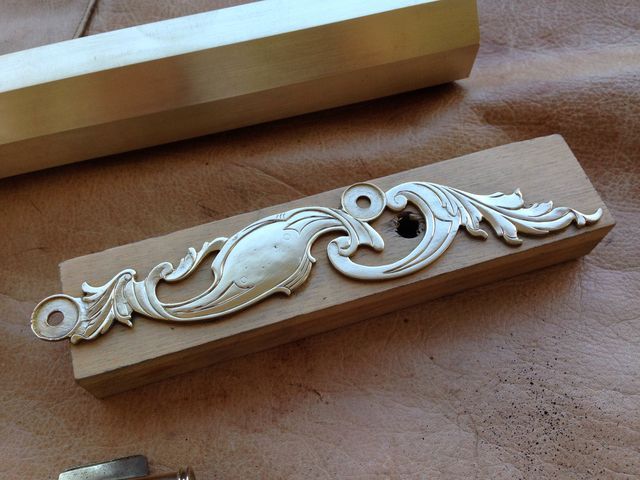
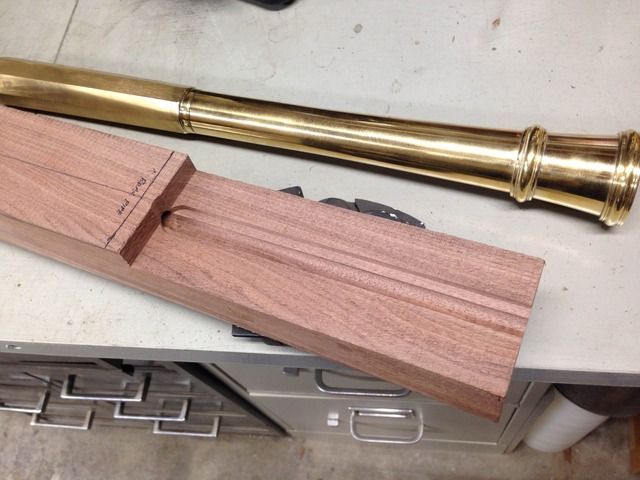
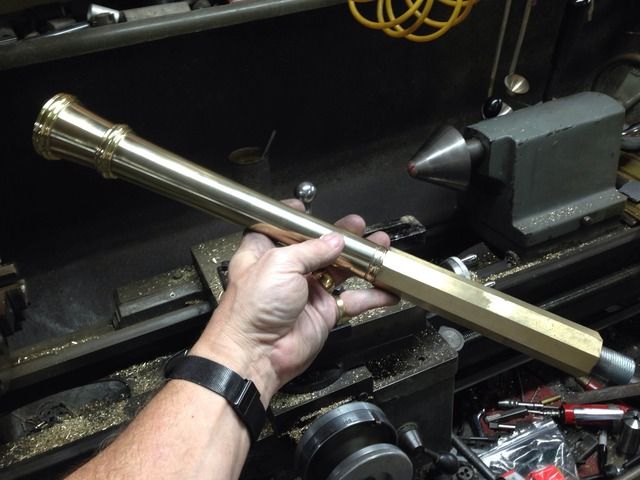
Polished.........
The fellow I am building this for really liked the muzzle rings I had added to a few of Ed's 4 gage barrels in both steel and in brass, one of which was to my own 4 gage blunderbuss. Â So, I rough machined the two brass rings, silver brazed them to the barrel, and then machined them in place to their final configuration.
Anyway, here are some photos of the barrel work.........
Machining the rough muzzle ring...........
Getting ready to braze the rings in place.........
Brazing...............
First machining of the rings on the barrel........
Finished........
Polished.........