• Friends, our 2nd Amendment rights are always under attack and the NRA has been a constant for decades in helping fight that fight.

    We have partnered with the NRA to offer you a discount on membership and Muzzleloading Forum gets a small percentage too of each membership, so you are supporting both the NRA and us.

    Use this link to sign up please; https://membership.nra.org/recruiters/join/XR045103

Browning a GPR kit?

Muzzleloading Forum

Help Support Muzzleloading Forum:

This site may earn a commission from merchant affiliate links, including eBay, Amazon, and others.

BigDave

32 Cal.
Joined
Dec 16, 2007
Messages
30
Reaction score
0
Hi folks,

I have a GPR .54 kit on order with a bottle of "Plum Brown" browning.

This question will sound a bit silly to the experienced folks here, but is an important one for me.

My question is, what of the visible metal do you not brown?

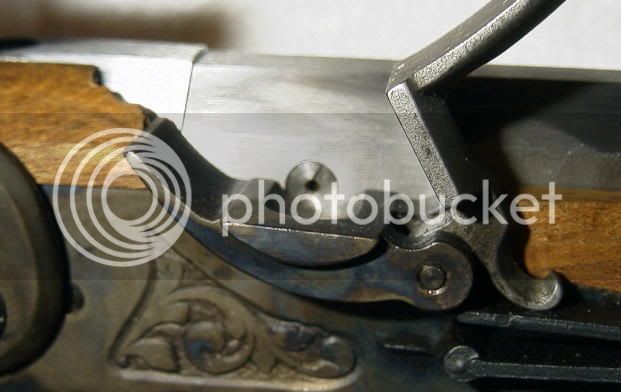
Is it just the frizzen face, or are there other areas which shouldn't be browned?

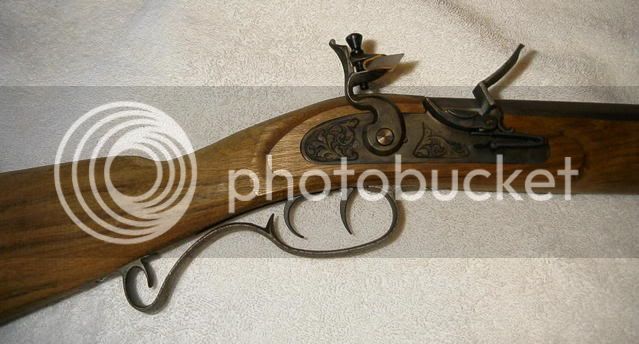
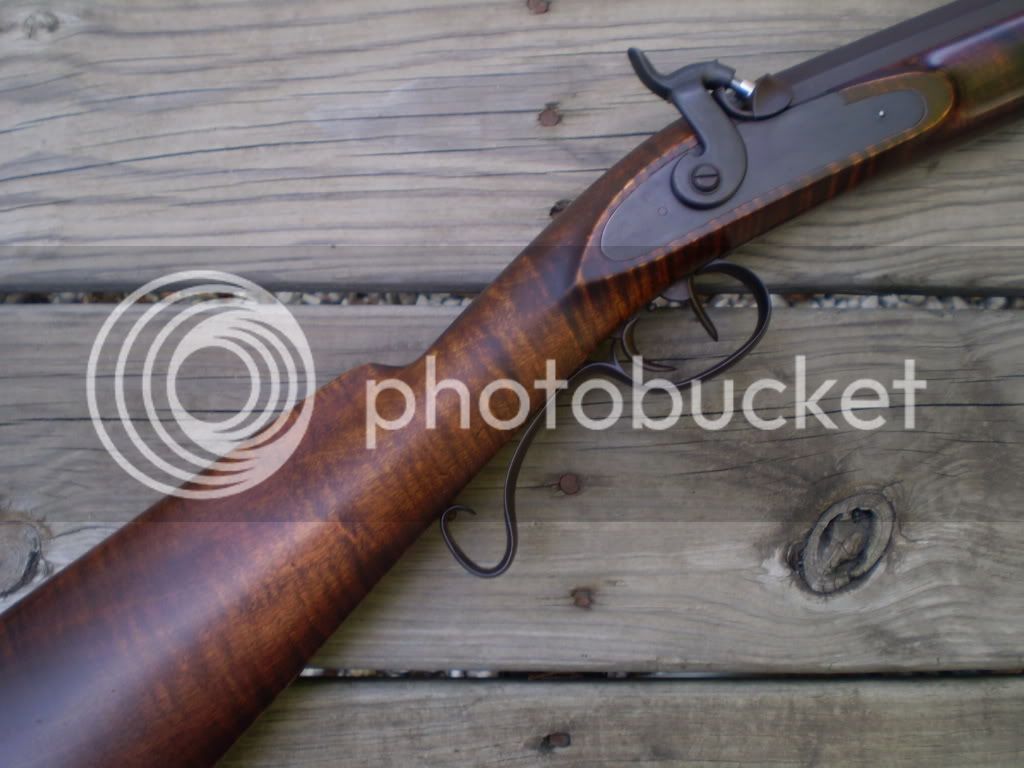
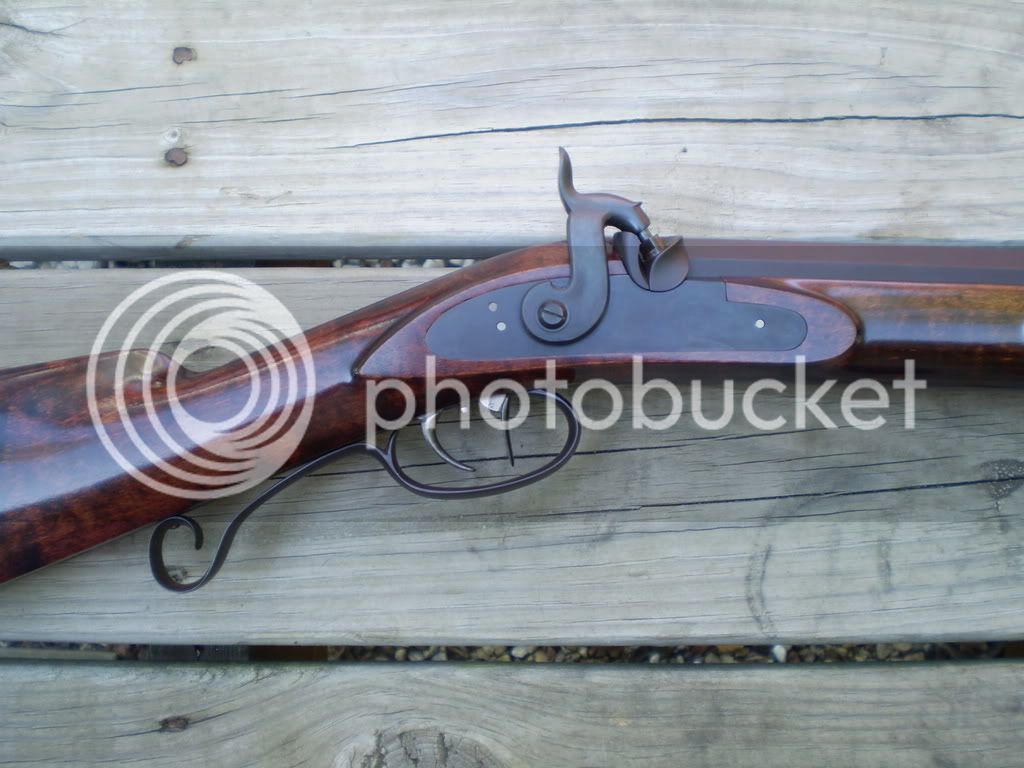
Or as a alternate tack, should I brown the barrel and grey the lock?
 
I would not brown the face of the frizzen, the underside of the frizzen, and the flash pan of the lock. I probably would not brown the buttplate, if its already blued meta. The lockplate should be browned, along with the cock, which should be taken off the cock for this process. Do not brown the stem that holds the cock to the tumber, nor should you brown the inside of the lock, and its parts.

If you have a steel trigger guard, brown it. Same thing with the trigger(s). If you decide to leave the buttplate blue, you may want to do the same with the forend cap, and the keys and escutcheons. Take a look at how those pieces look. You can always remove the blue, and brown them later if they don't look right to you.
 
I have done a few GPRs and what I like is to brown the barrel and blue the rest.

The process is the same, just scald the little parts at the end to turn them black/blue.

I believe your lock will come already blued and for now I would leave it alone.

You can always take it apart later. It is not worth the chance voiding the warranty for a very small gain in cosmetics.

I usually just sand the lockplate face, which makes the cast-in engraving really show up.

Get her built, shoot her some and tweek her from there.

The last one I did I did not use any sandpaper. I used all scrapers on the stock and the color really popped.

I used 14 coats of Tru oil on it and I was pleasantly surprised with the result.

You might want to do a search here and see some of the modifications others have done with their GPRs.

Good luck

We are all here if needed.
 
On my kits with iron parts I brown them. If I have a part on lock that I want to keep from rusting due to black powder resude, I clean and put Brichwood Casey Perma Blue Paste on it. You can do this with out taking lock apart most of the time. No heat involved. Finished 4 guns this month. Some had put together 2yrs ago,got the lead out. Have 3 guns I bought and haven't shot yet. Dilly
 
On my GPR kit I browned everything with LMF, except the lock and screws. I blued all the screw heads for contrast. The lock plate, cock and pan has a nice color case harden look, so I left it. I also left the frizzen in the white. That's the nice thing about kits. You build them to suit you. Have fun building and more fun shooting :thumbsup: .
 
I recently received my Lyman GPR .54 cal flintlock kit. The butt plate is not blued, it's unfinished iron like the trigger guard, nose cap, toe plate, wedge eustachions and ramrod guide.

The triggers appear to be blued already. I'll check that however. as they sure look unfinished in the picture I posted below (I'm not at home for the next few days).

The lock plate, pan and cock appear to be case hardened; the frizzen is unfinished metal. Here's the best picture I have at the moment:
3121.jpg

3108.jpg

Given that, my plan would be to brown the nose cap, ramrod guide, wedge eustachions, trigger guard, toe plate, butt plate, tang, underbarrel rib and barrel. I'll blue the screw heads as needed, although with the exception of the famous eustachion screws, they all appear to be either case hardened or blued already.

I'm pretty sure that I'll use the BC Plum Brown hot browning process on the big parts and LMF cold brown on the small parts. I've done both and actually prefer the BC slightly. Very slightly.
 
All of my small parts i did with BC plum brown. The barrel i am going to do with LMF. Heating the barrel is a PITA and doesnt come out that smooth.

Not sure what i will do with the lock.
 
You might want to heat the lock parts with a propane torch or Mapp gas torch and dip the parts in 10/30 motor oil or Olive Oli. They wind up looking like the Hawken locks I have seen in museums on original Hawkens.

P9120002.jpg


P8110001.jpg


I like to heat and dip blue the parts except for the barrels which I brown with LMF to a pebbly brown surface.
 
Hey Cooner,
That looks real nice. Not a piece of fancy art. More like a tool, as they were intended to be. Simple, strong and reliable! Your pictures says that loud and clear. Thank you for posting those pics :hatsoff: .
 
Back
Top