• Friends, our 2nd Amendment rights are always under attack and the NRA has been a constant for decades in helping fight that fight.

    We have partnered with the NRA to offer you a discount on membership and Muzzleloading Forum gets a small percentage too of each membership, so you are supporting both the NRA and us.

    Use this link to sign up please; https://membership.nra.org/recruiters/join/XR045103

building a lock from castings

Muzzleloading Forum

Help Support Muzzleloading Forum:

This site may earn a commission from merchant affiliate links, including eBay, Amazon, and others.

Roy

70 Cal.
Joined
Dec 12, 2005
Messages
4,763
Reaction score
4
Erzulis boat,
Here you go. :thumbsup:

I am sure that I will leave out some steps, so feel free to ask any questions. :v

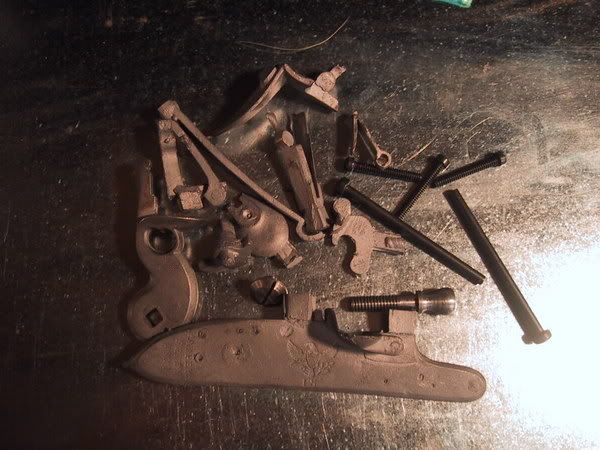
Ketland lock from TRS
IMG_1994.jpg


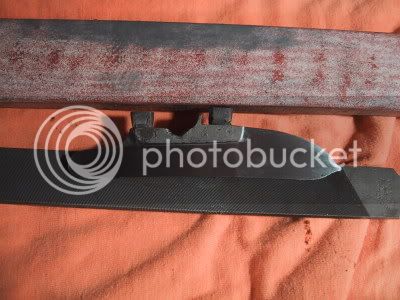
I always start out with the lock plate. First thing I make sure that its flat and then I start in with a single cut file, and finish with a bit of sandpaper glued to a flat piece of hardwood. I try to keep everything flat and square to keep from digging holes. Mind some casting flaws can never be fully removed.
IMG_1995.jpg


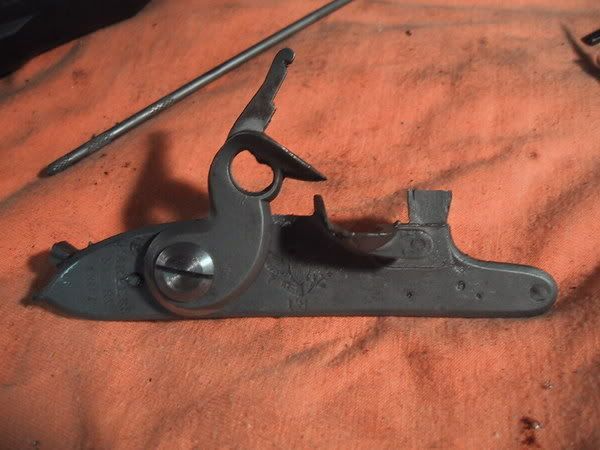
Next step is where the lathe comes in handy to clean up the tumbler and to drill the hole for the tumbler/**** screw. The tumbler hole in the lock plate is the only one that I will drill using the casting mark from the face side laying the plate on a flat surface.
IMG_1996.jpg


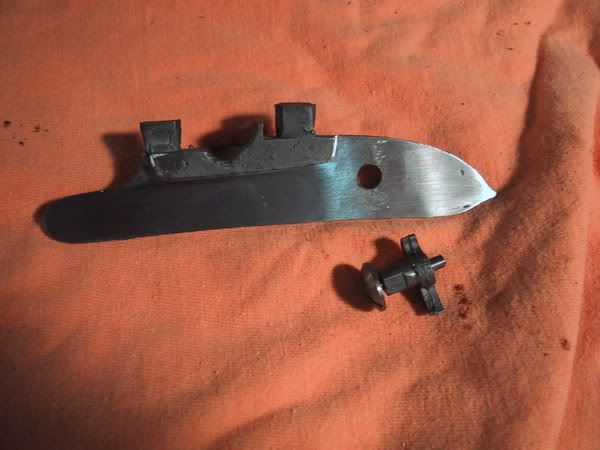
The bridal is next first making sure that the guide pin is drilled in the right location so the bridle, sear, and tumbler will be aligned properly.
IMG_1997.jpg
 
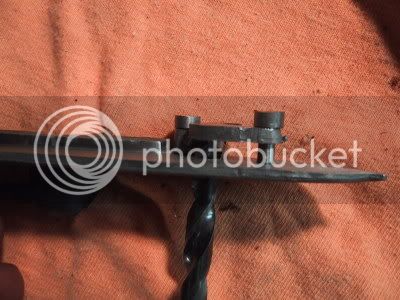
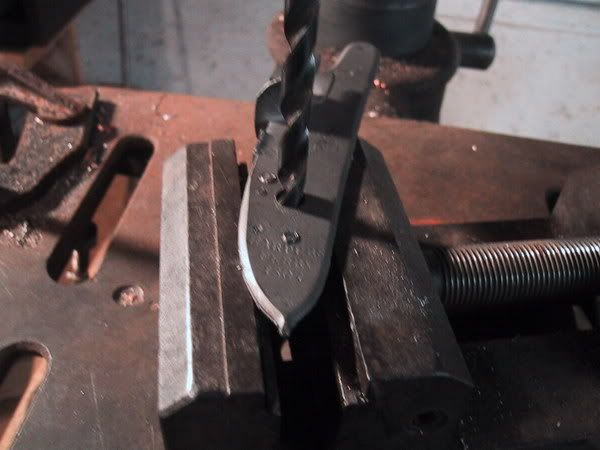
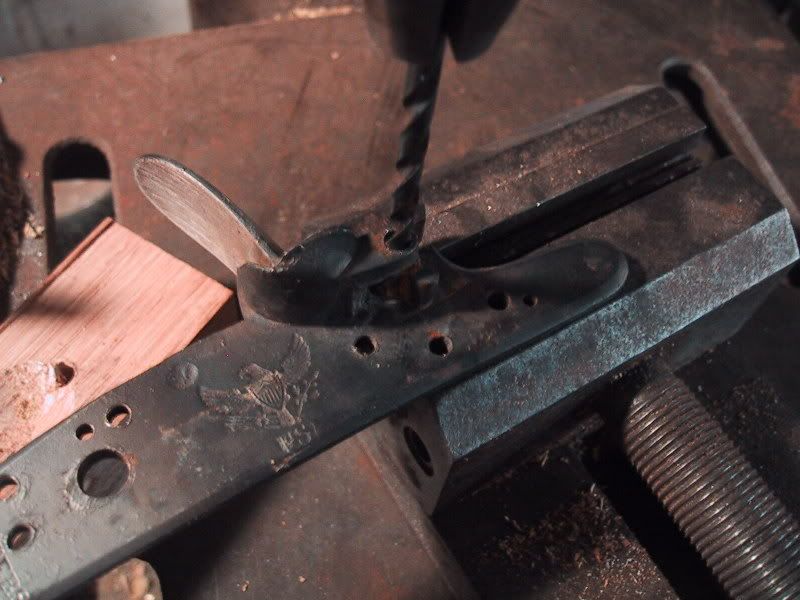
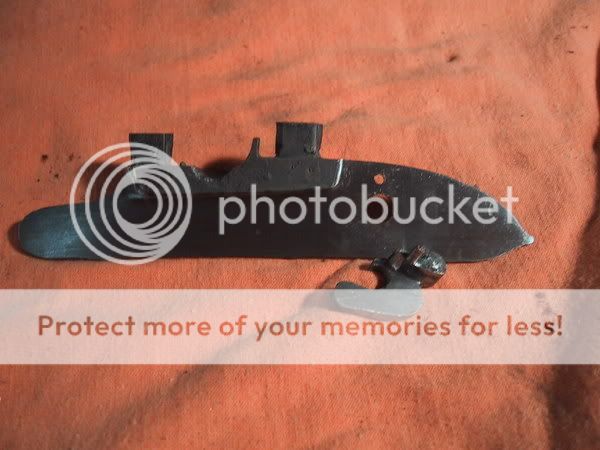
Moving right along I first drill and tap the hole for the bridle screw and then drill the guide hole for the sear screw. Keeping everything sqaure using the clearance drill as a guide I mark the lock plate to drill and tap for the sear screw. When both screws are in place I use the same marking method to drill the hole for the tumbler.
IMG_1999.jpg


(marking the hole using the drill press)
IMG_1998.jpg


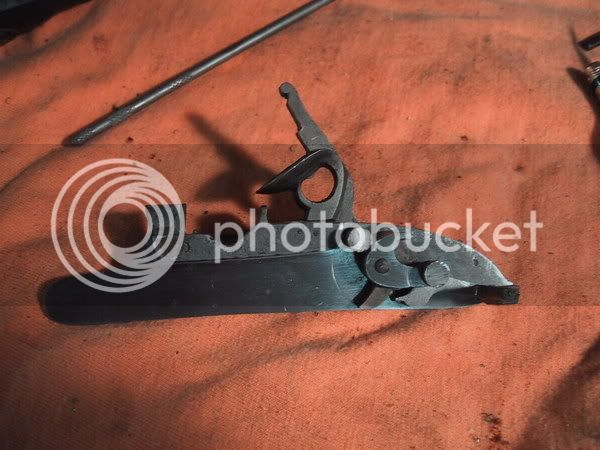
I then drill my hole in the bridle, and in the sear and if everything goes as planned this is what it should look like.
IMG_2000.jpg


Note that I make my own screws and at this time I leave them with no slot so at final fitting I can align the slots together.
 
Roy said:
Ketland lock from TRS


Oops I meant Harpers Ferry, it was late :redface: .

Also on this set of castings it came with a decent top jaw screw and **** screw so no need to make those, but I have in the past :v
 
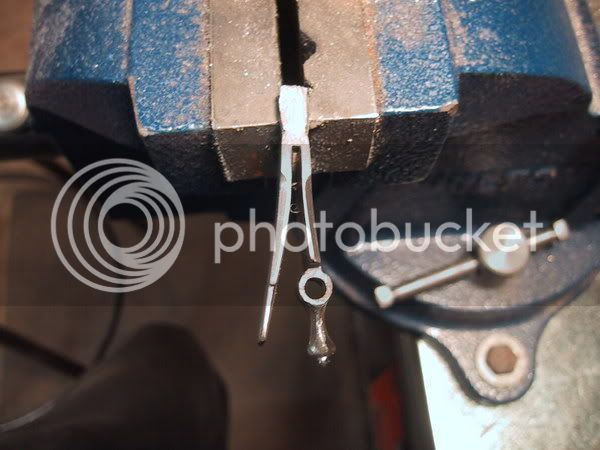
Next is spring clean up. I use thin needle files for the inside and a little bigger for the outside and start to draw file keeping all of the scratch marks go the length of the spring not across. Here you can see that I use the extra material from casting to clamp in the vise. I will remove this last.
IMG_2003.jpg


Now this is the part where everyone has there own way of tempering the spring. I have tried it several different ways with success, but this is the way I like to do it now.
1st I heat the spring to a bright orange color and quench it in room temp water. (most people believe that this should be done in oil, but I have found that it is not needed unless the part you are cooling is very thick. I have even done 2 wall gun locks using this same method with no cracks.)
2nd I check to make sure that the piece is glass hard by running a sharp file over it. If is not hard the file will cut.
3rd I polish the spring bright.
4th I use a torch and lightly heat the spring evenly to a bluish, silverish black. Past yellow, purple and blue it will start turning this color.
IMG_2002.jpg


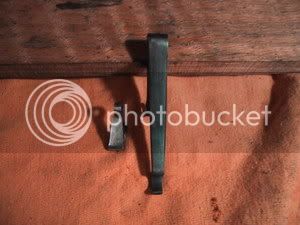
I then lay the spring on a piece of wood to cool. If you get the spring too soft it will bend, to hard it may break, but taking it to this color I have never had one break. If its too soft heat it up red bend it back where it was suposed to be and continue to heat it bright and quench once again.
 
Roy,

Maybe it's just me, but I just see a red X for some of your pics. The fourth pic of your first post, second pic of second post, and everything after that is red Xs.

Very interesting and informative stuff. Thanks for sharing!
 
I may need to resize them all a bit, everything is showing fine for me. Photobucket is doing a maintenence thing now so I can not do anything at this time.
 
Roy, excellent post! How do you locate the hole for the guide pin for the tumbler? That one always gives me headaches... :shocked2:

How do you like the castings from TRS? My US M1795 musket parts from them are very nice!
 
I mark it by using the same drill that I used to drill the hole for the tumbler. By having the pin and the screws holding the bridle in place and keeping everything square this usually works fairly well. This is all pictured in the second post. :thumbsup: Once I have it marked well (slightly drilled) I use the proper drill for the guide pin once again keeping everything square.
 
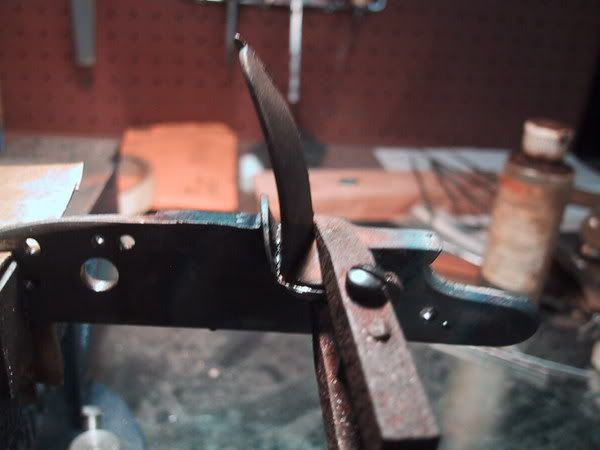
the real fun part is next, fitting the frizzen to the pan.

IMG_2004.jpg


I file and fit and make sure that everything is the way I want it and then soft solder the frizzen to the top of the pan. Pictured above is the little clamp I use to hold everything in place.
 
Keeping everything square and true I first drill the hole to be tapped then carefully follow it with the clearance drill. Making sure that I stop at the lockplate with the larger drill.

IMG_2008.jpg
 
Notice from the pics I have already drilled and tapped the holes for the guide pins and screws for the springs. On this lock the reference marks actually worked and lined up with the springs. Taking careful measurments I made sure that they would before I drilled them.
 
I can wait until you get to it on the class..but are you hardening/tempering the entire frizzen evenly, or mainly concentrating on the upper/face area?

Great class, I practiced making some springs like you posted and they worked. :thumbsup:
 
I mainly try to just harden the face, but being what it is it'll harden the other parts too. So what I tend to do is draw back the other areas a bit so it doesn't break around the frizzen screw.
 
Back
Top