54ball
62 Cal.
- Joined
- Aug 23, 2004
- Messages
- 3,116
- Reaction score
- 1,029
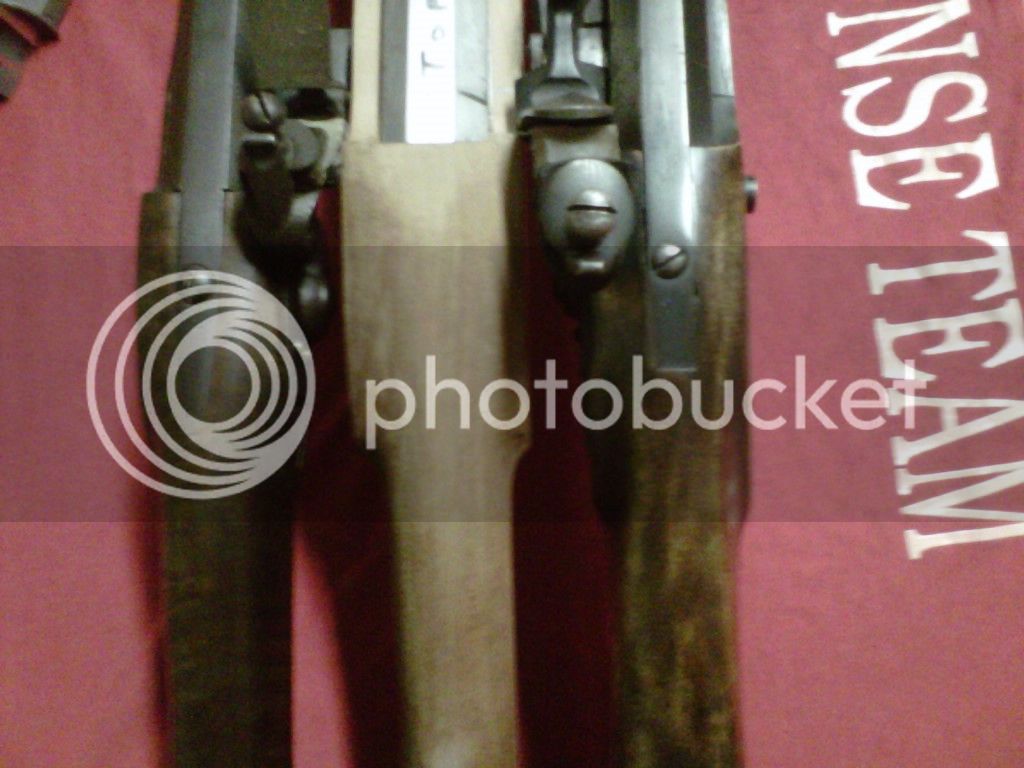
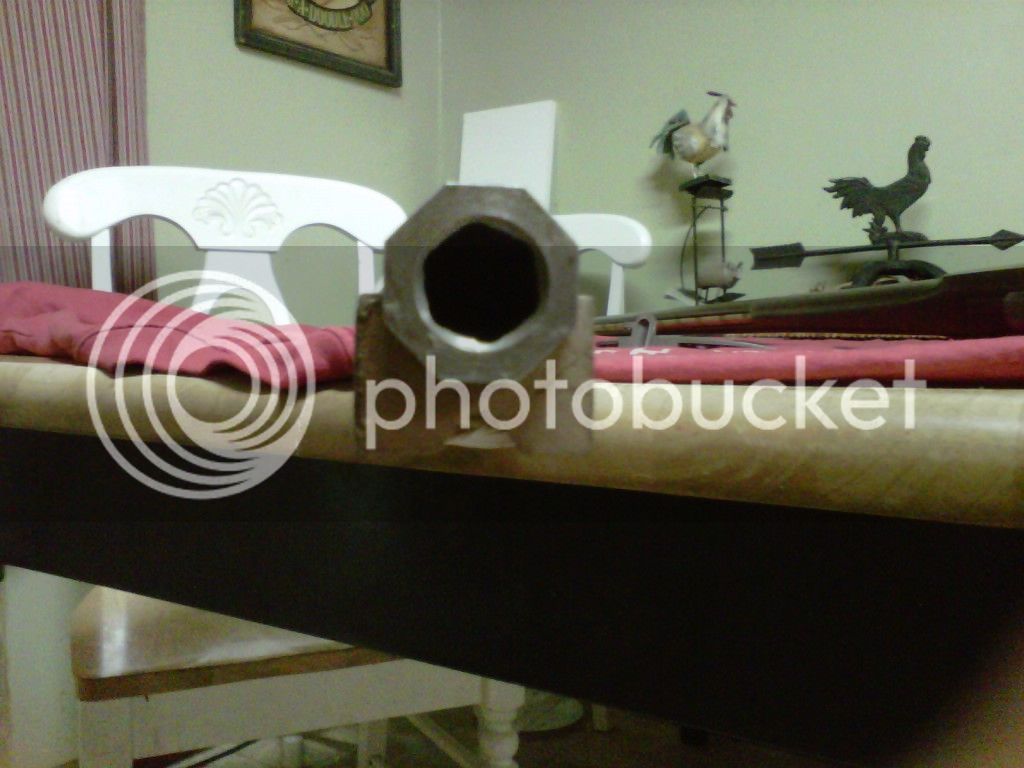
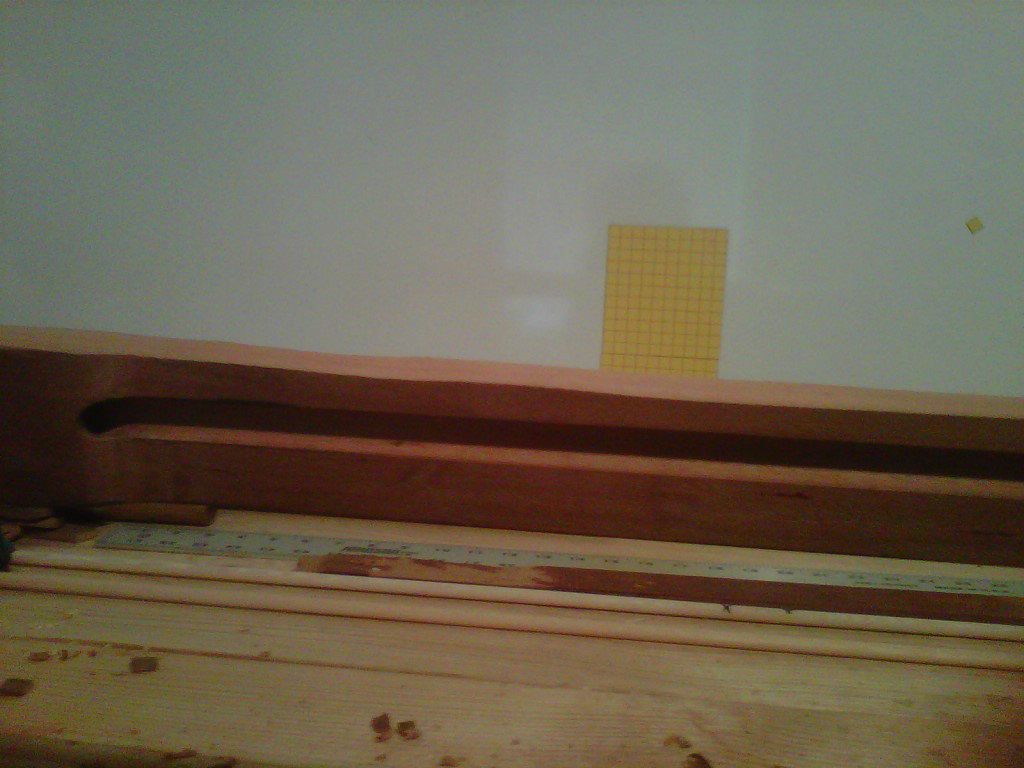
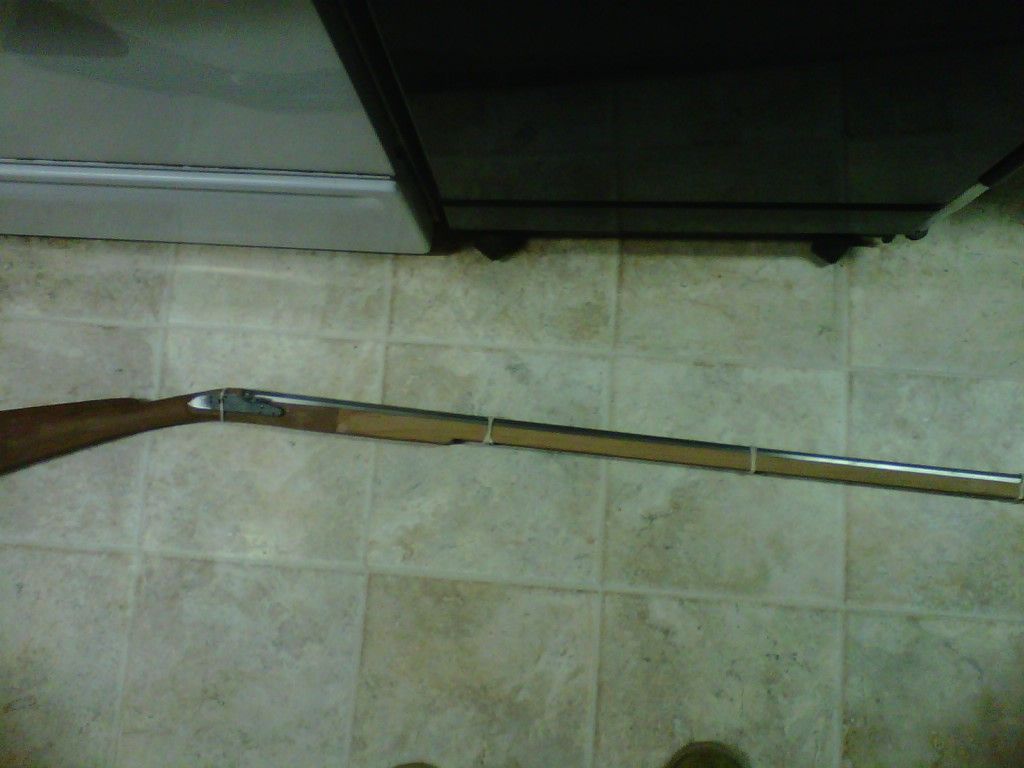
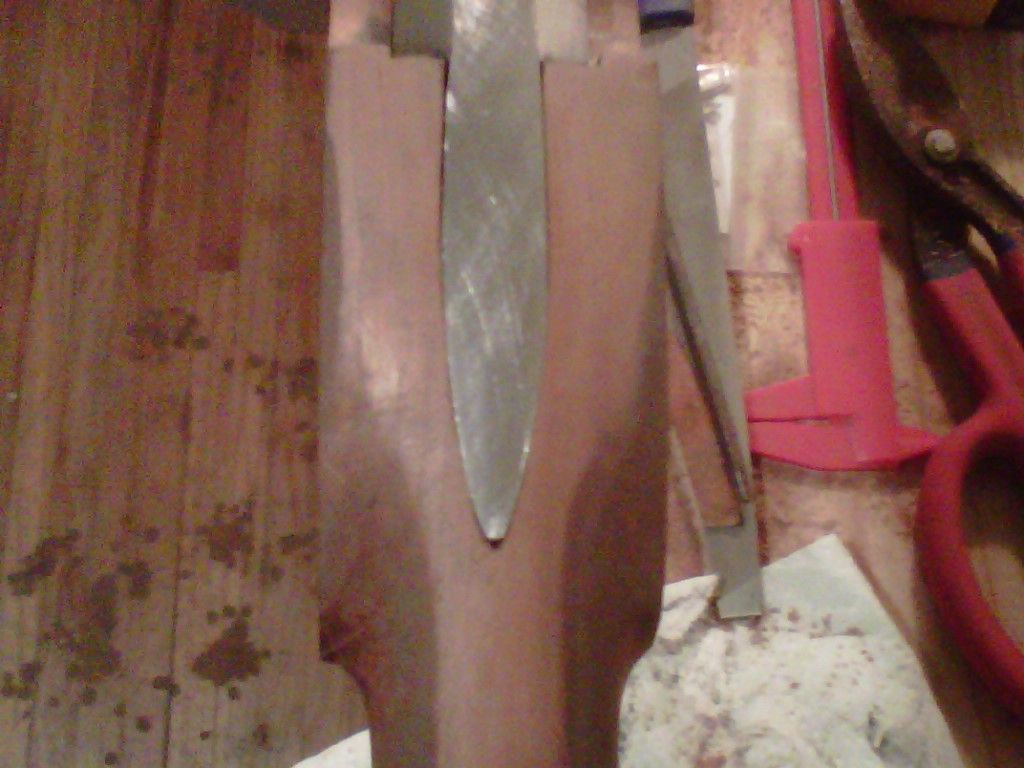
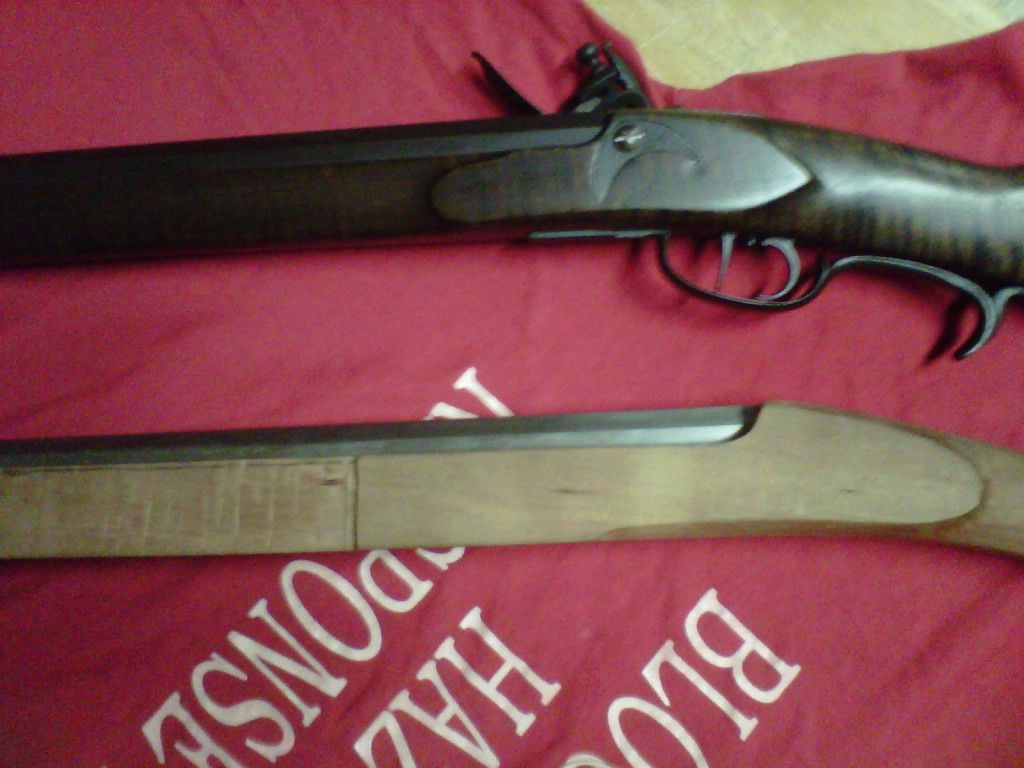
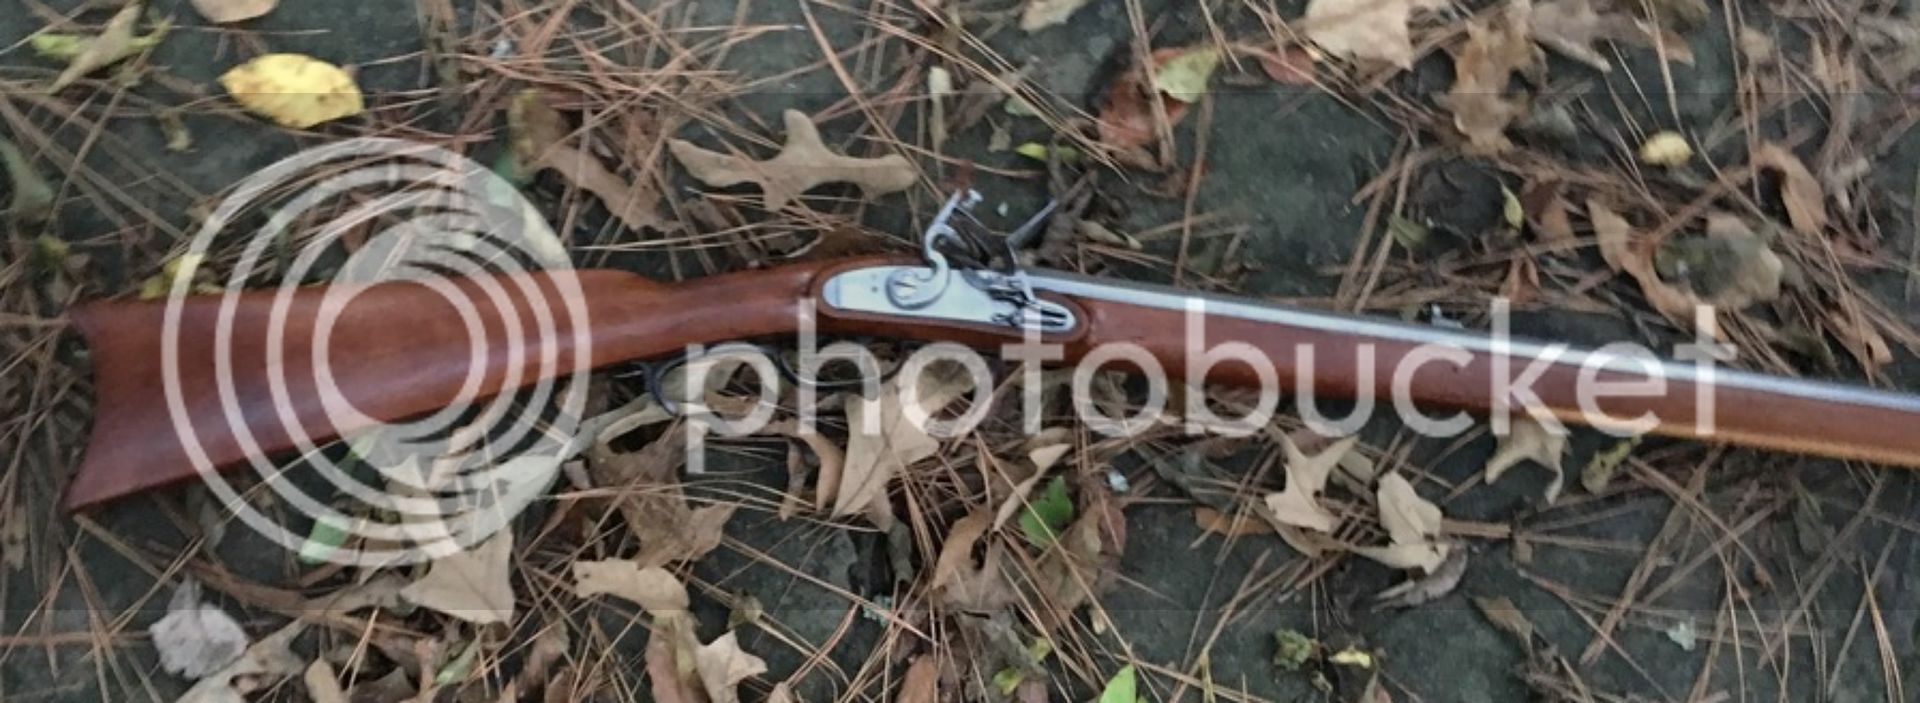
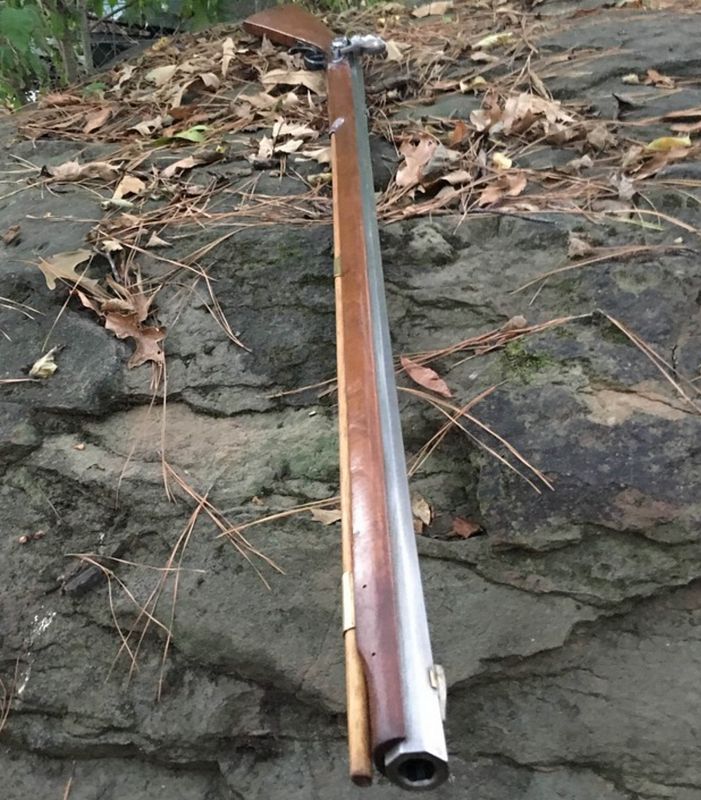
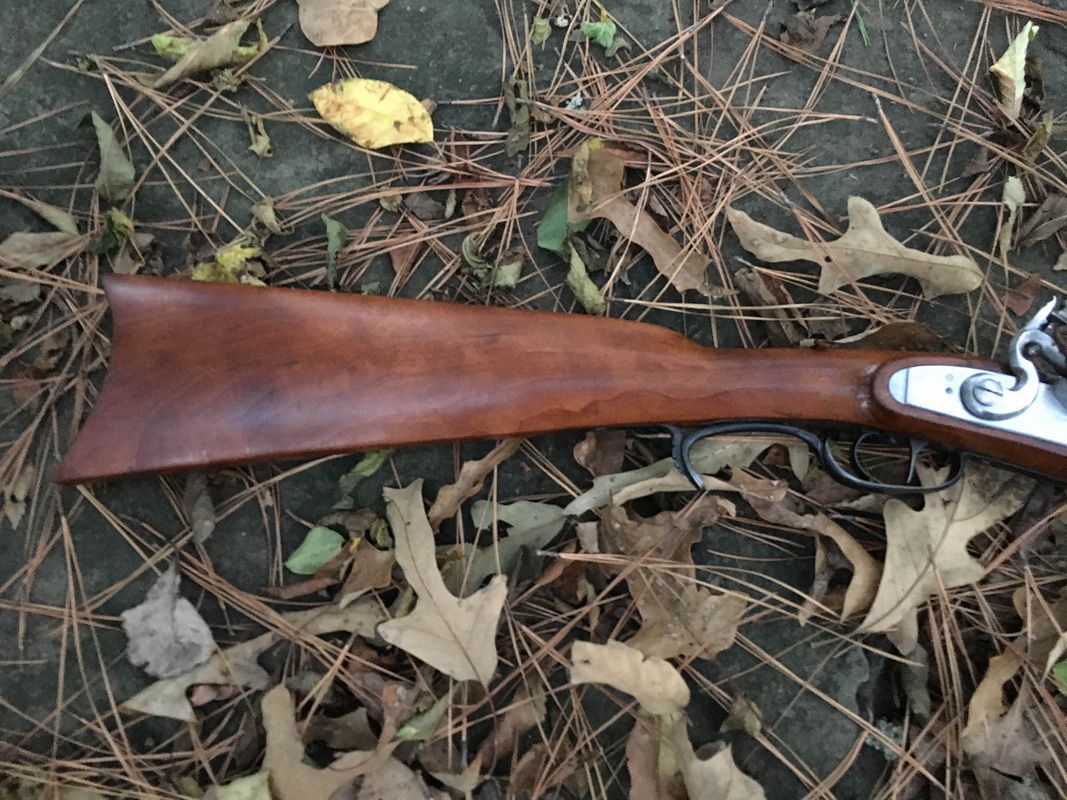
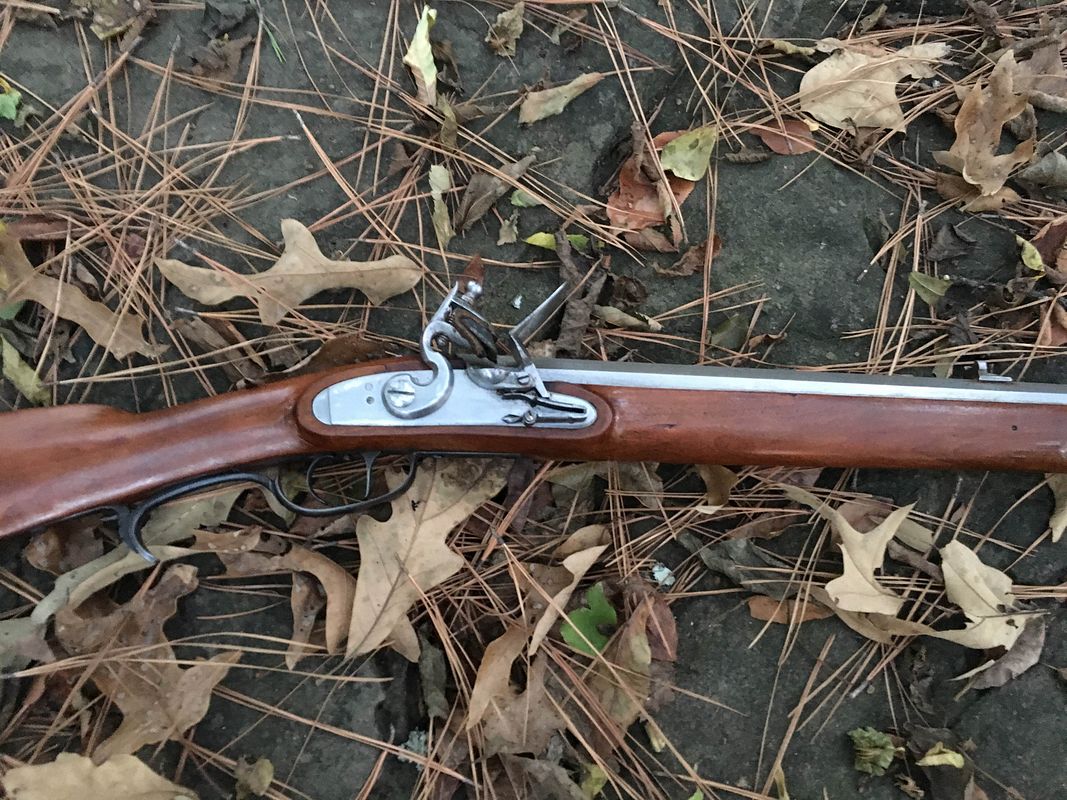
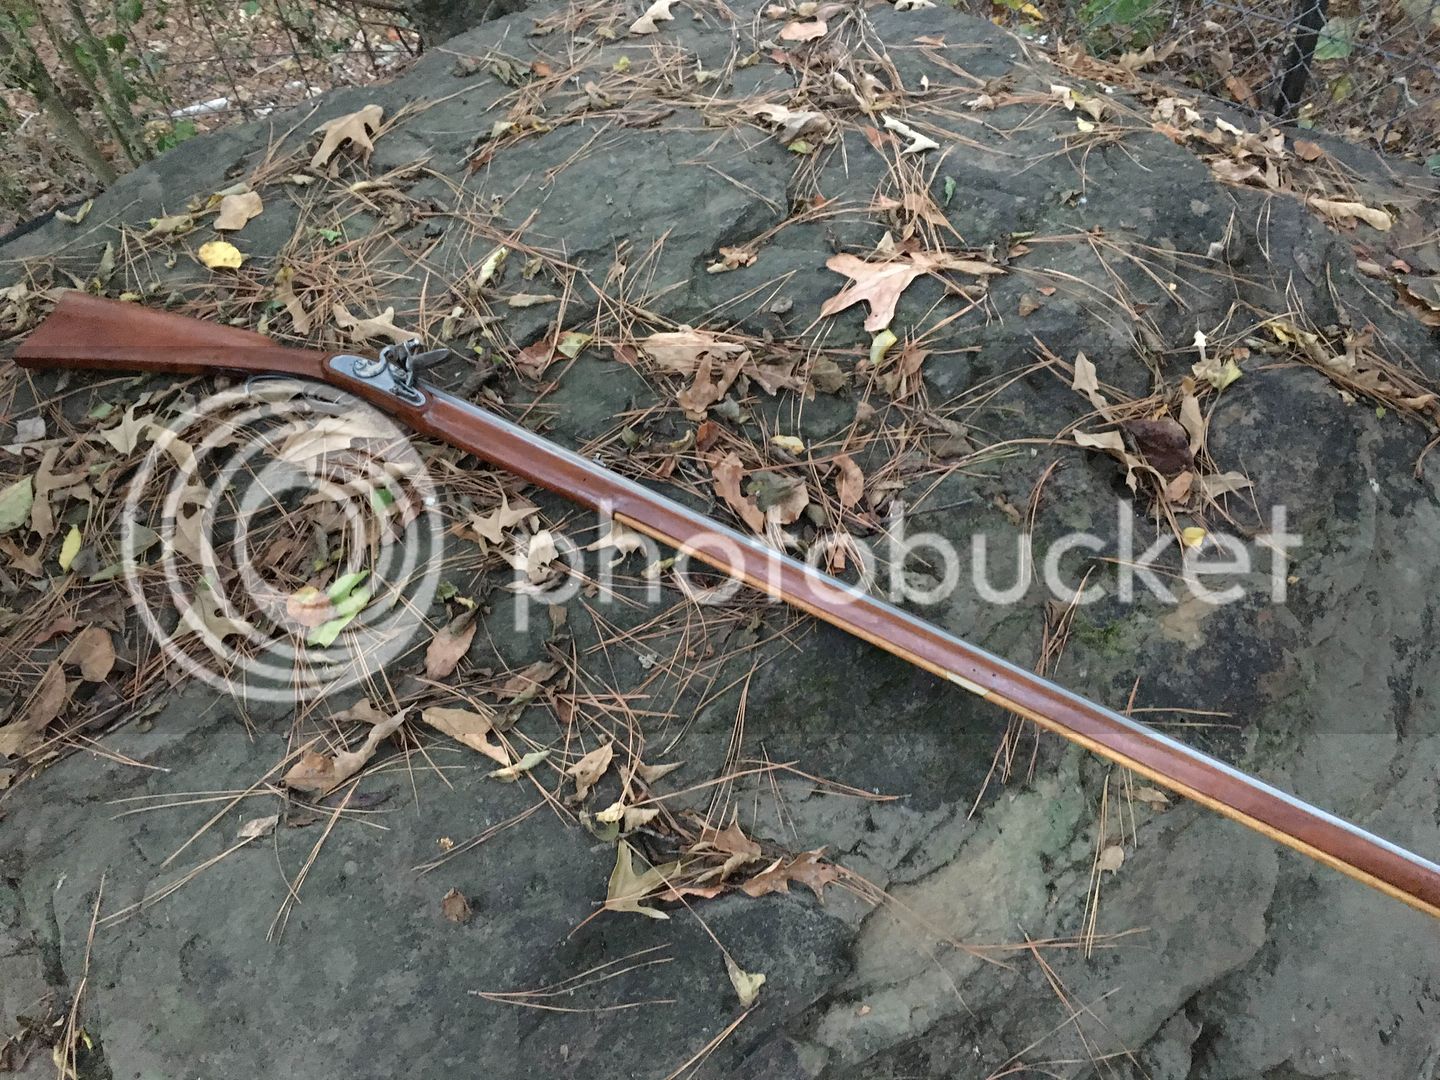
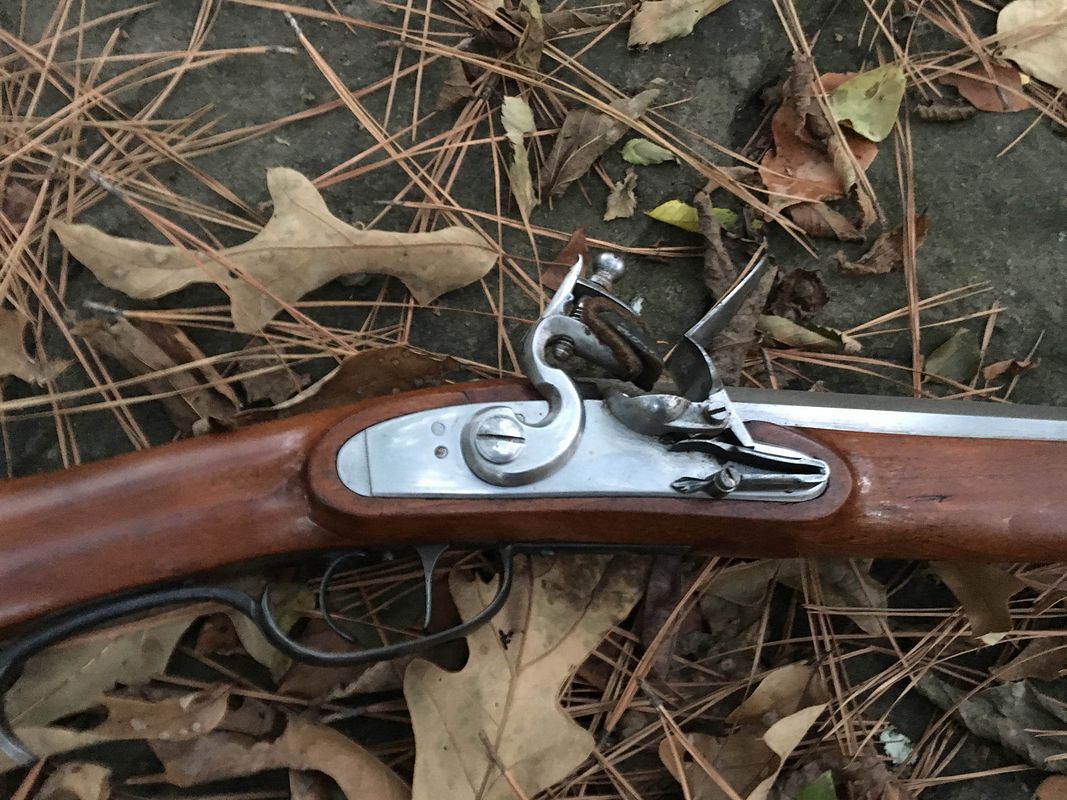
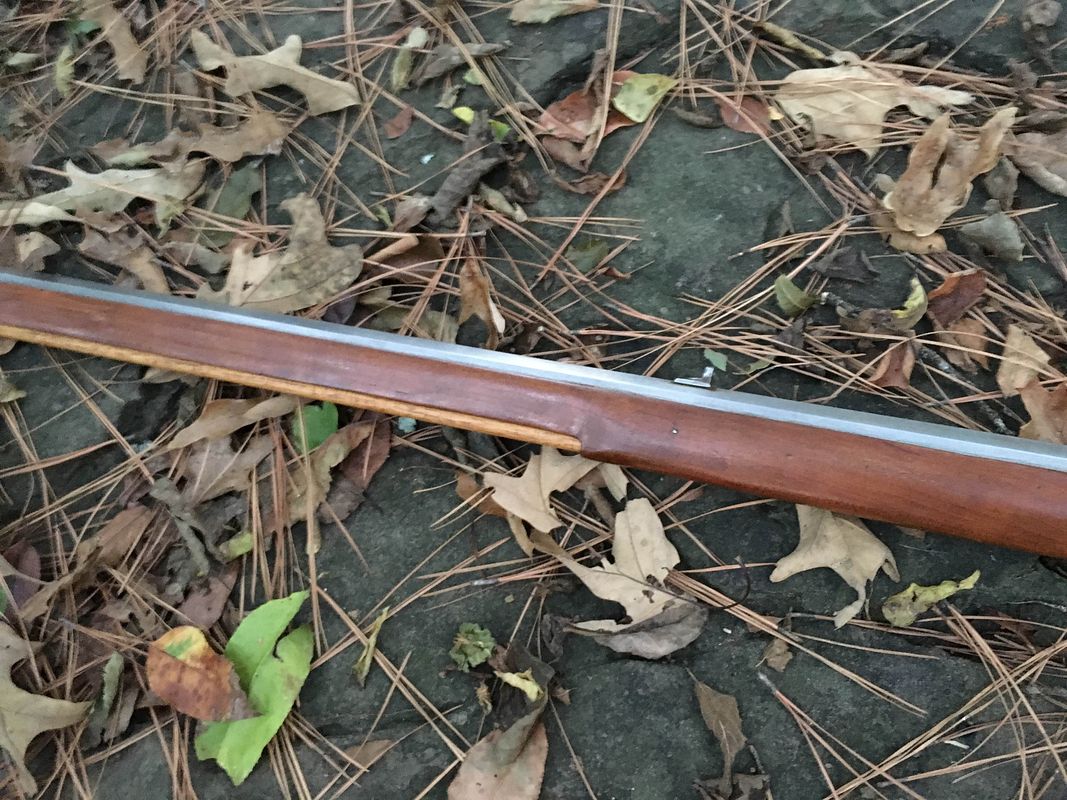
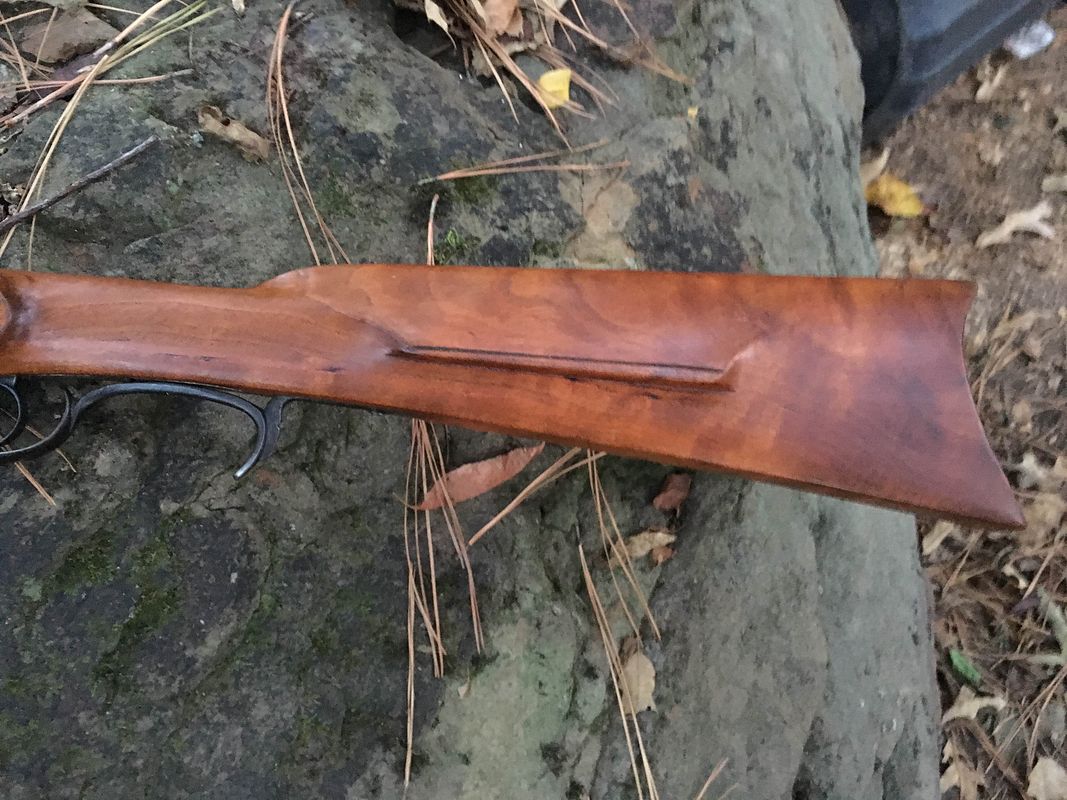
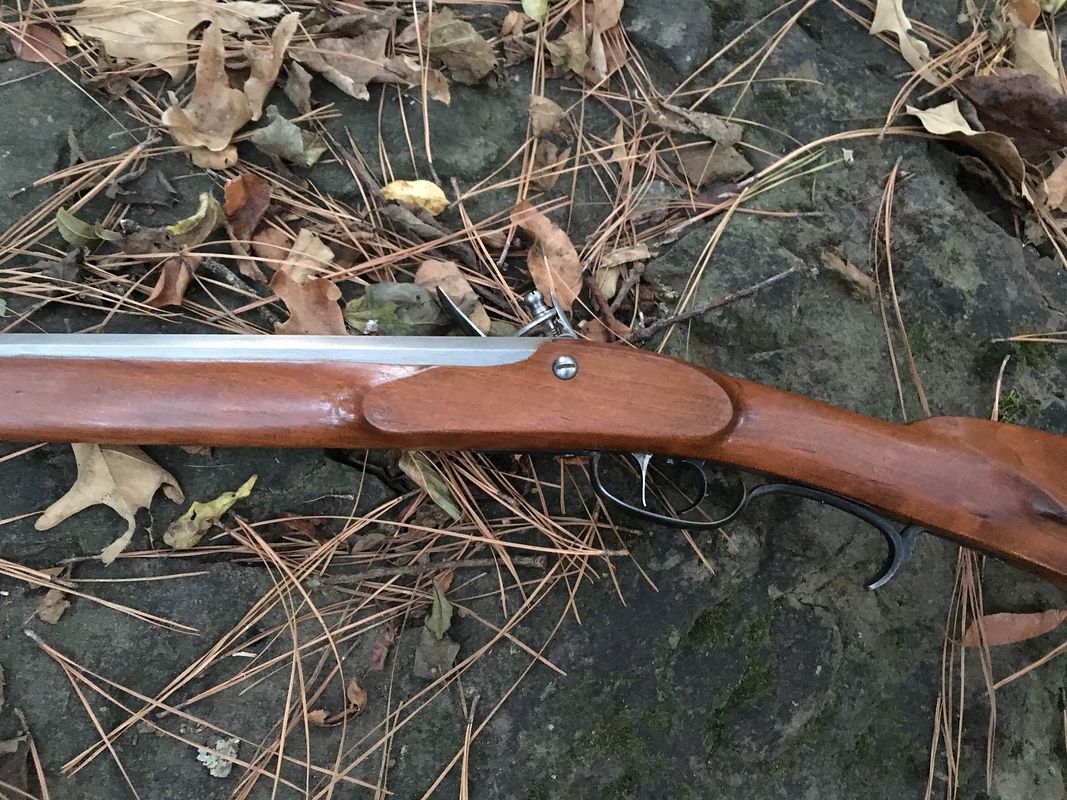
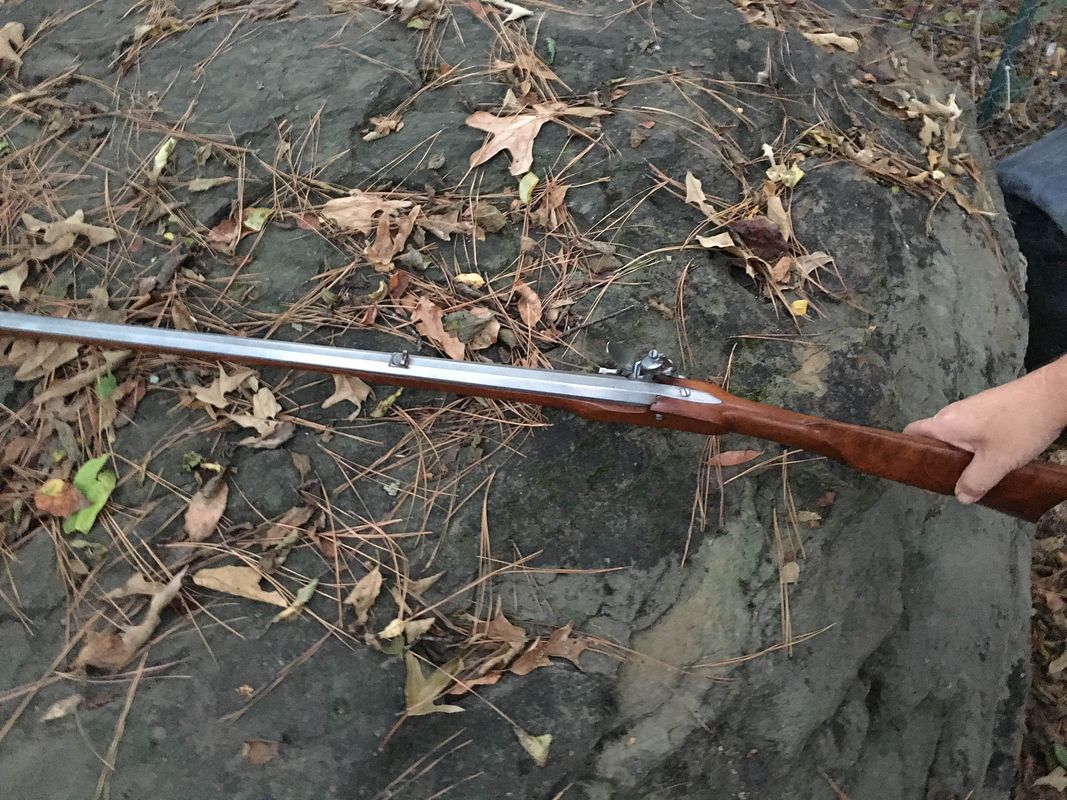
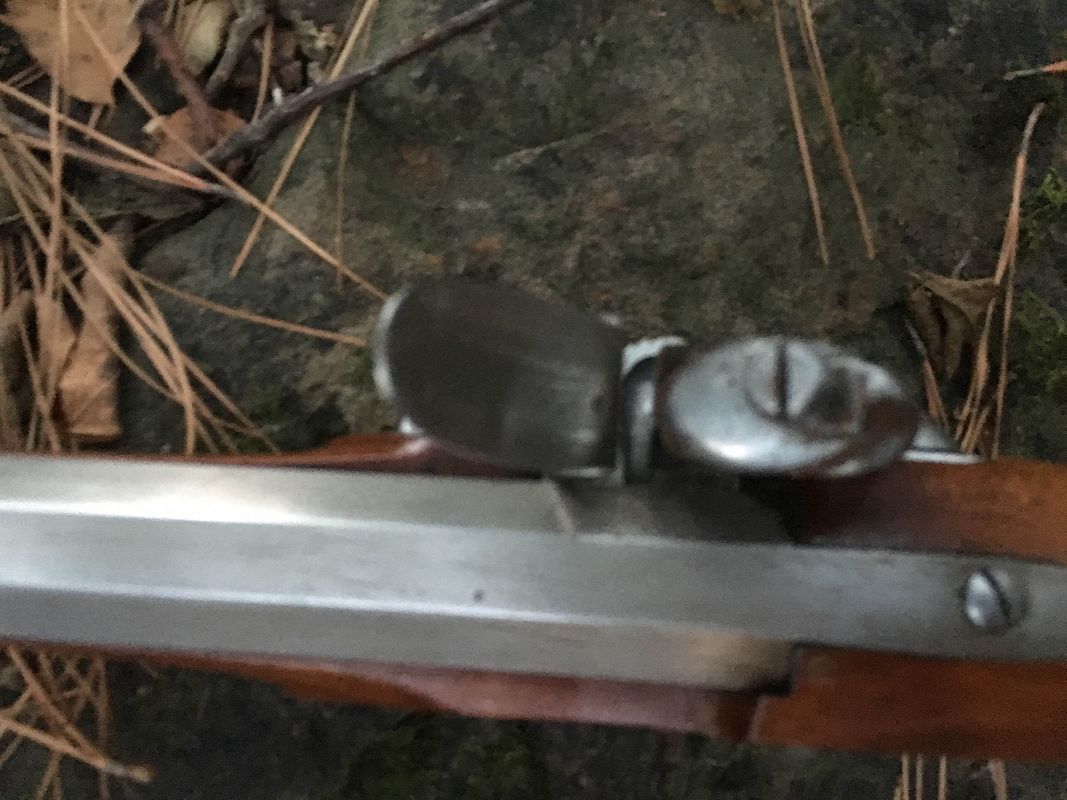
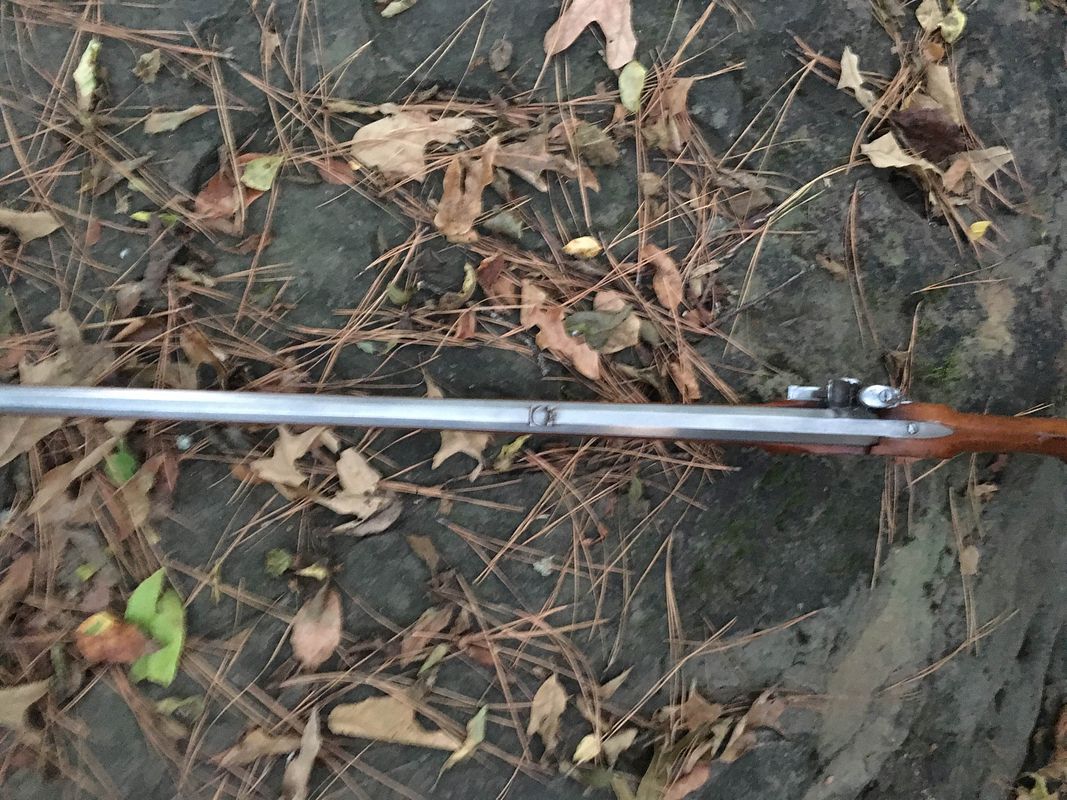
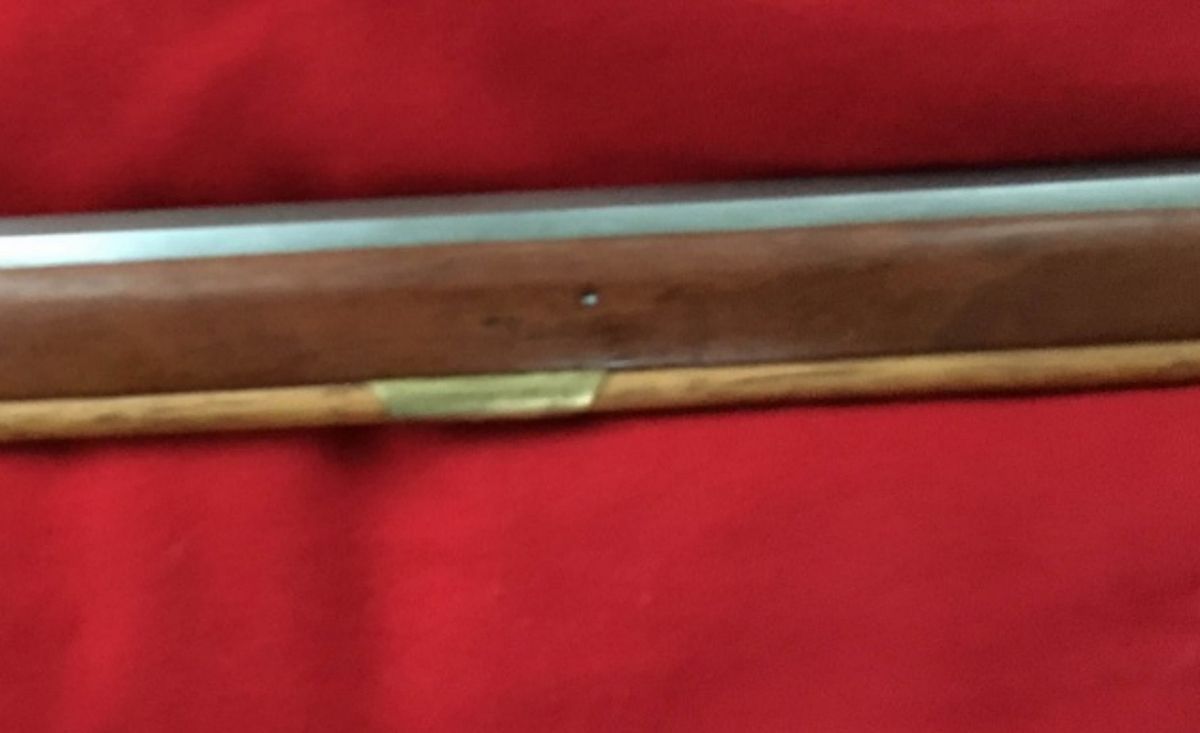
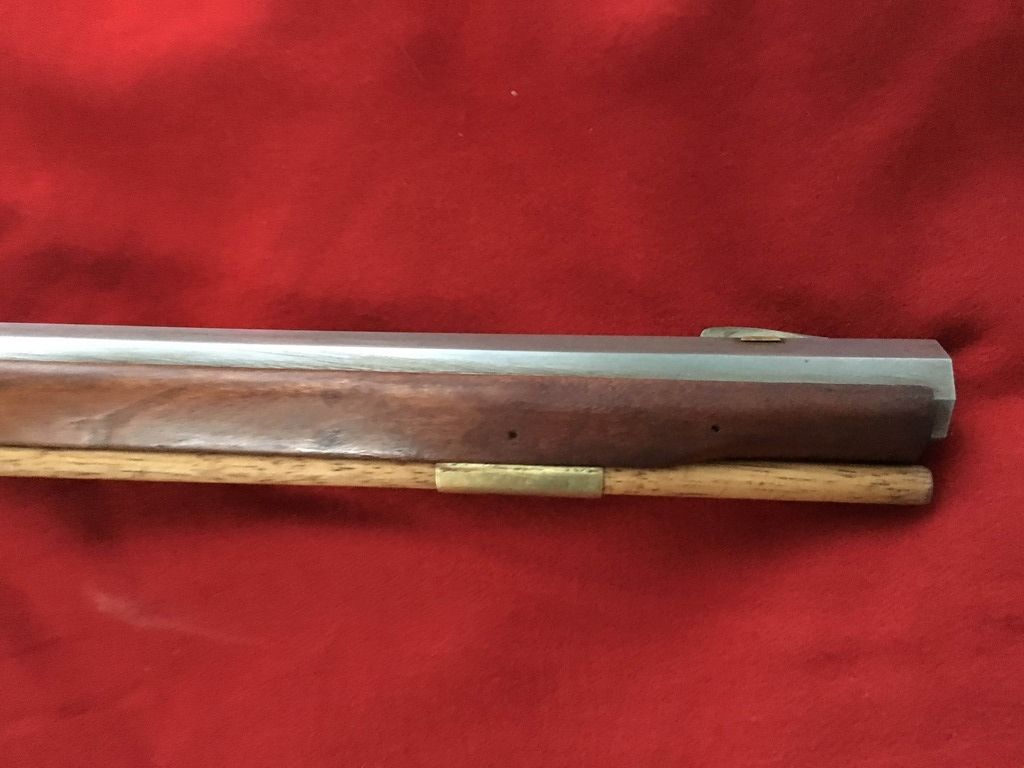
My first real build is nearly complete. It's a North Carolina Mountain Rifle circa 1810. It's a very simple rifle. It needs the sights, nosecapped poured and a final tweak here and there.
It's the hardest one thing I have ever done. Hours involved, well I bought the set in 2008. No I have not worked on it steady for eight years. Realistically I would say at least 6 months worth of work if I did it a few hours every day with a several full days. A lot of those hours are double as you correct mistakes and re-do. Unfortunately some of those hours will be repair. Each step towards completion can threaten the previous work.
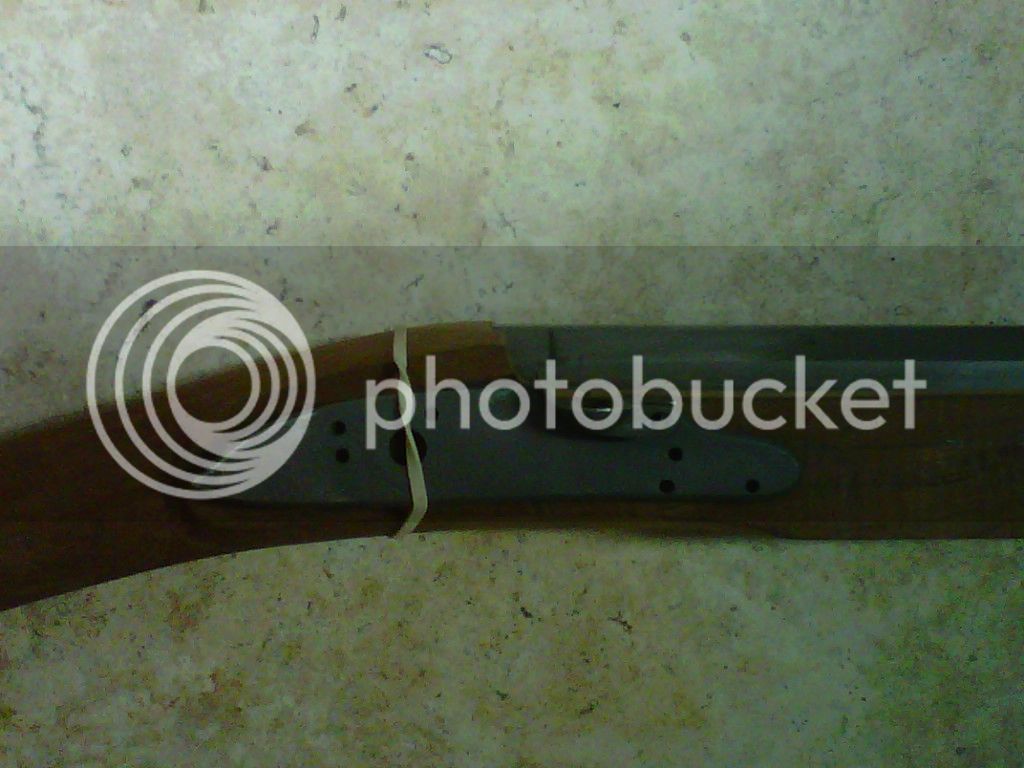
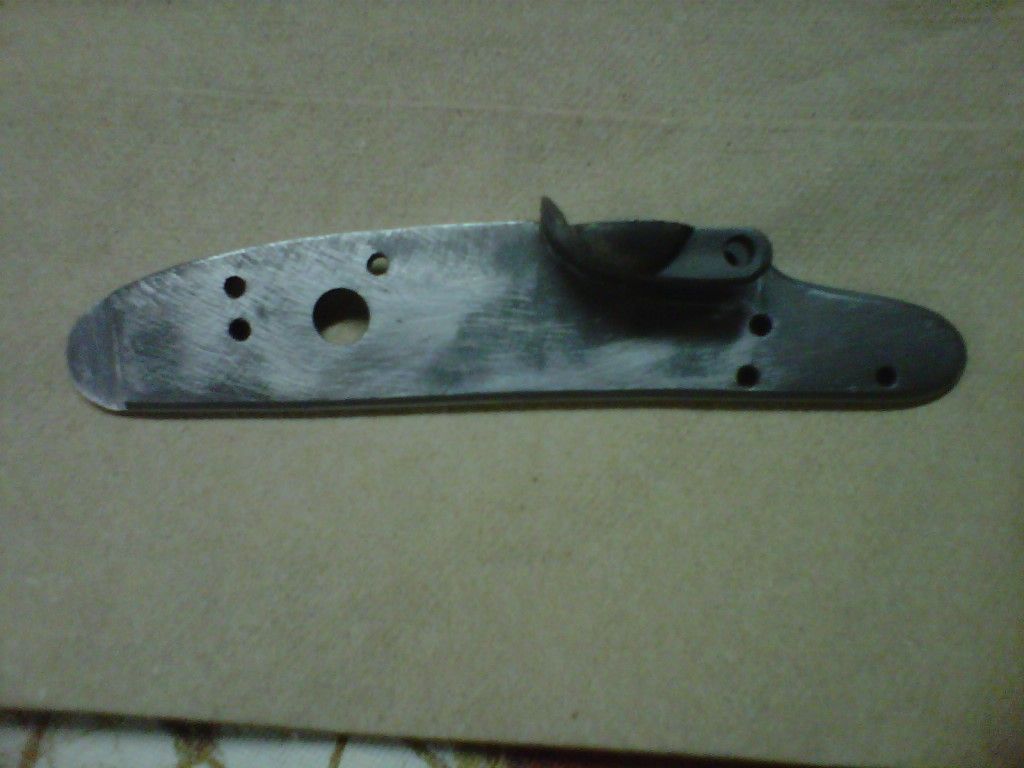
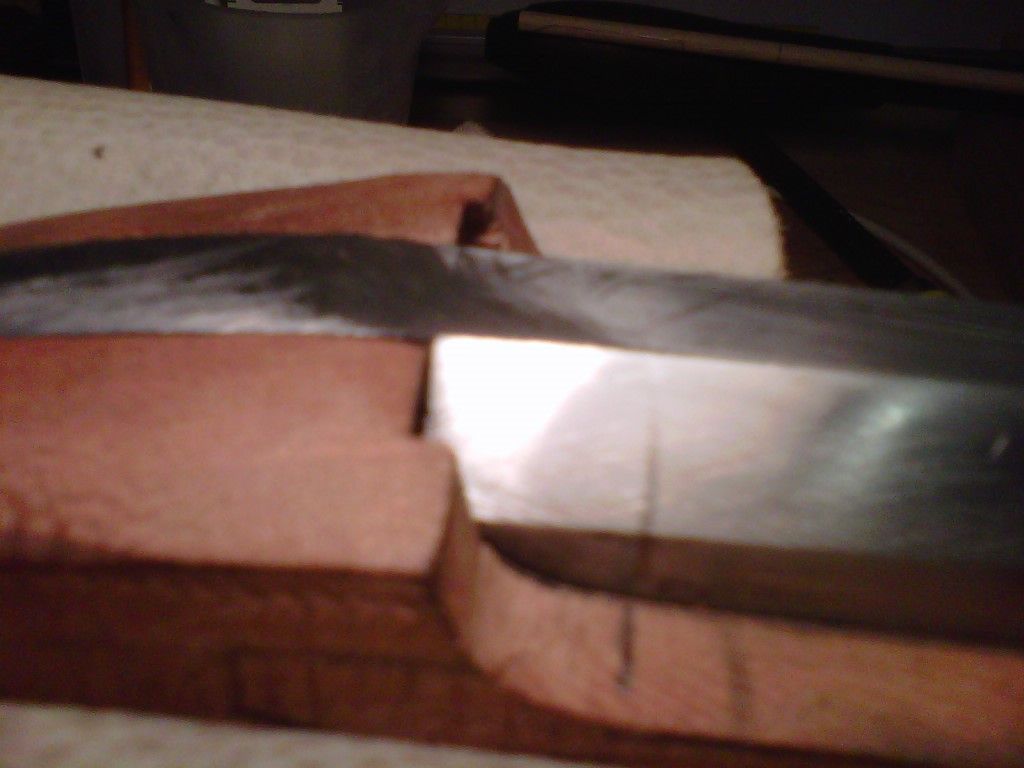
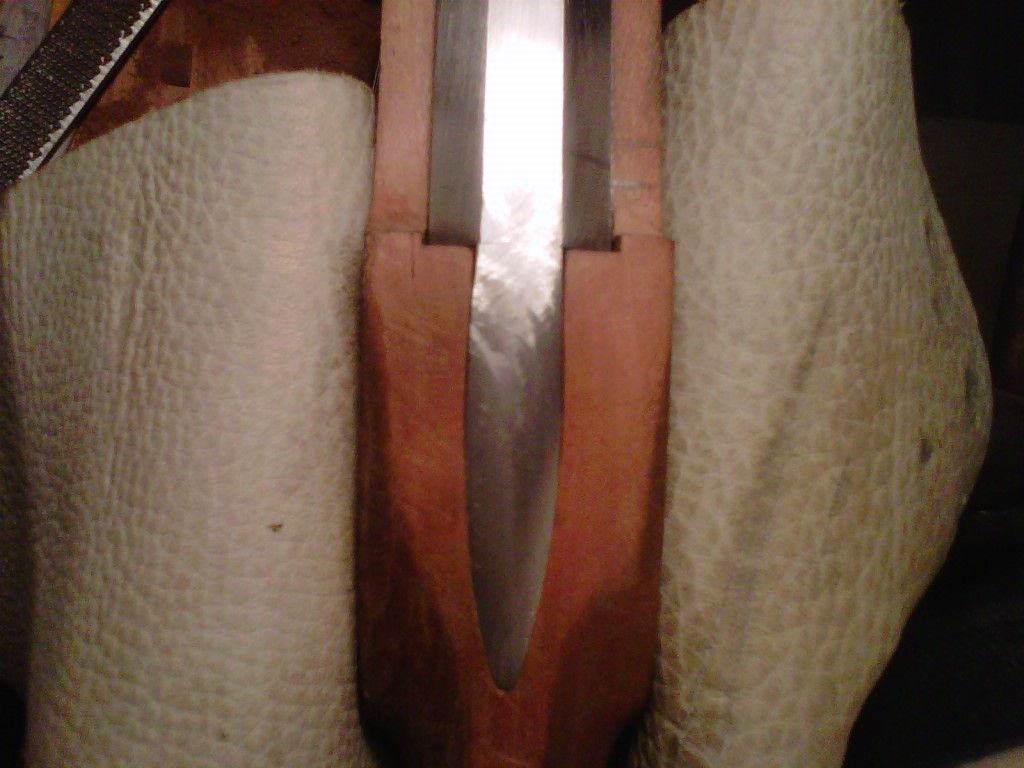
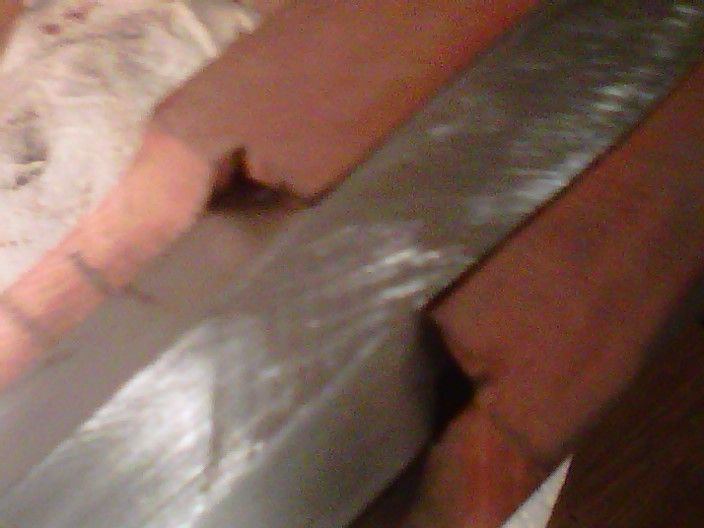
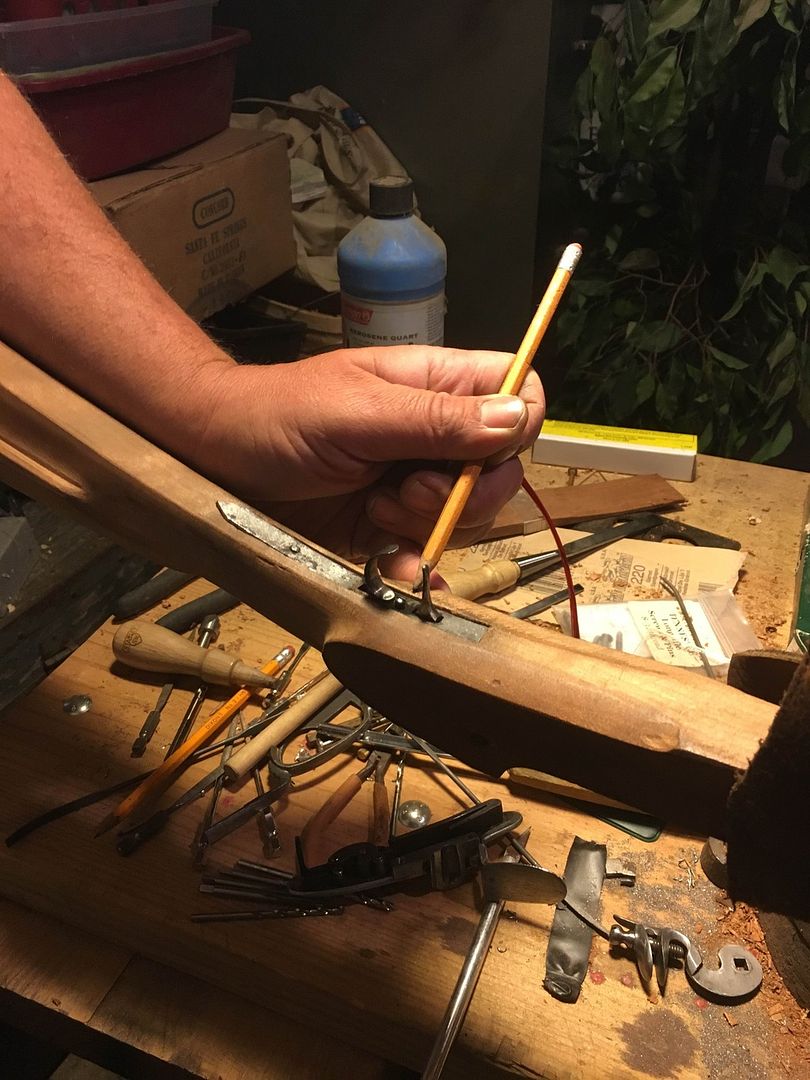
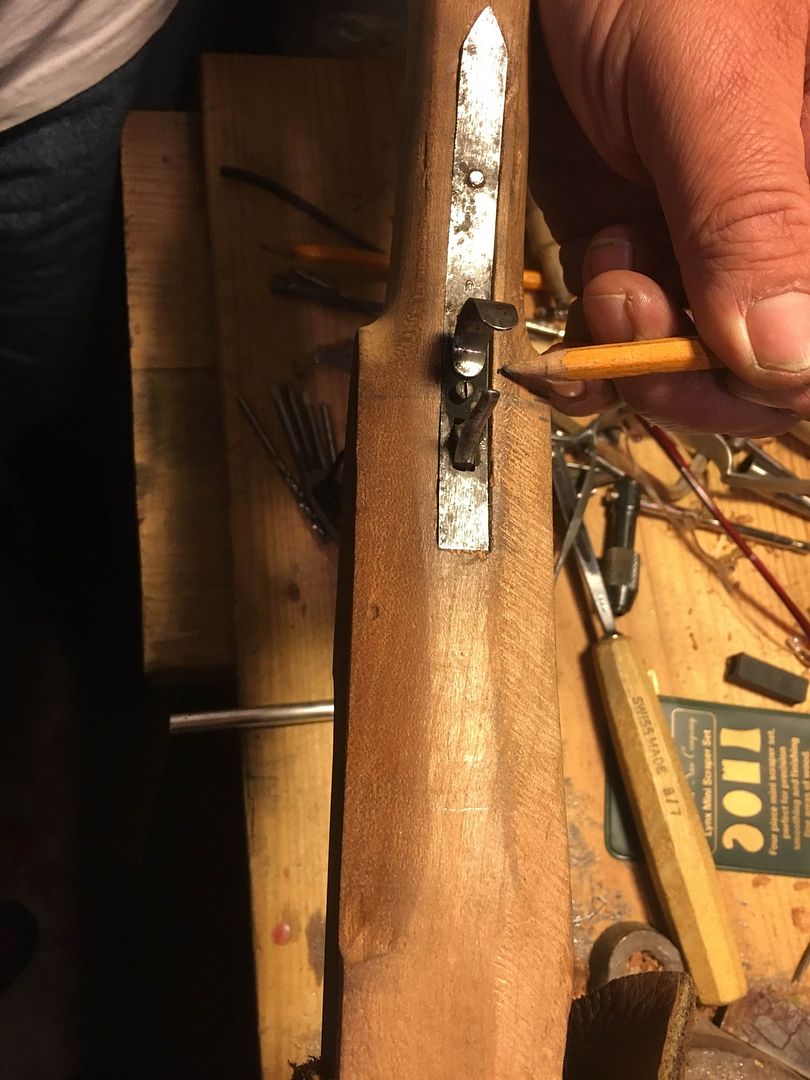
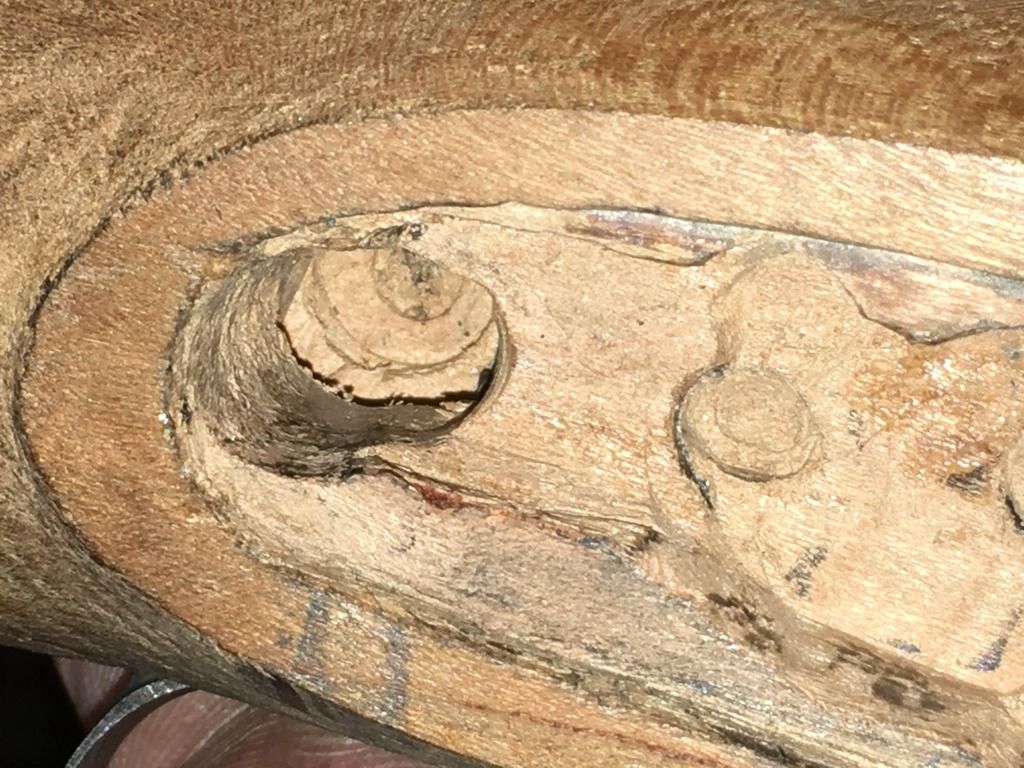
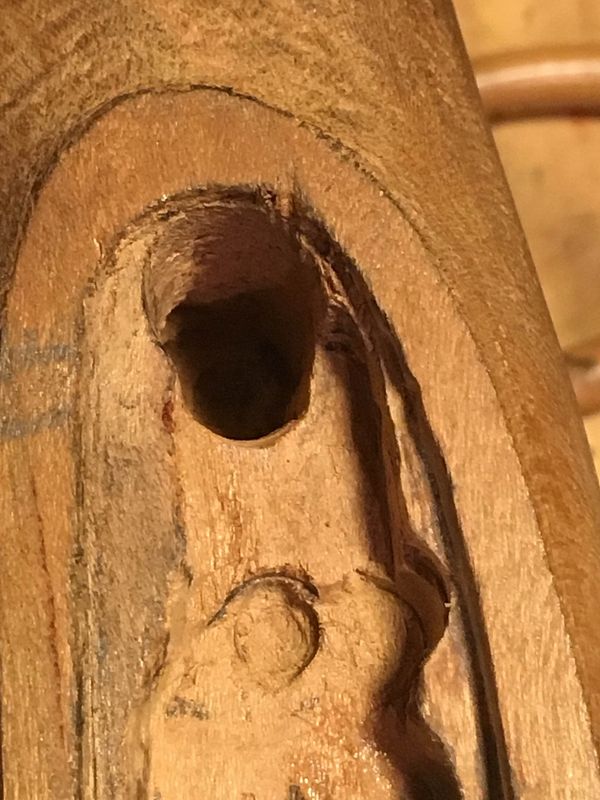
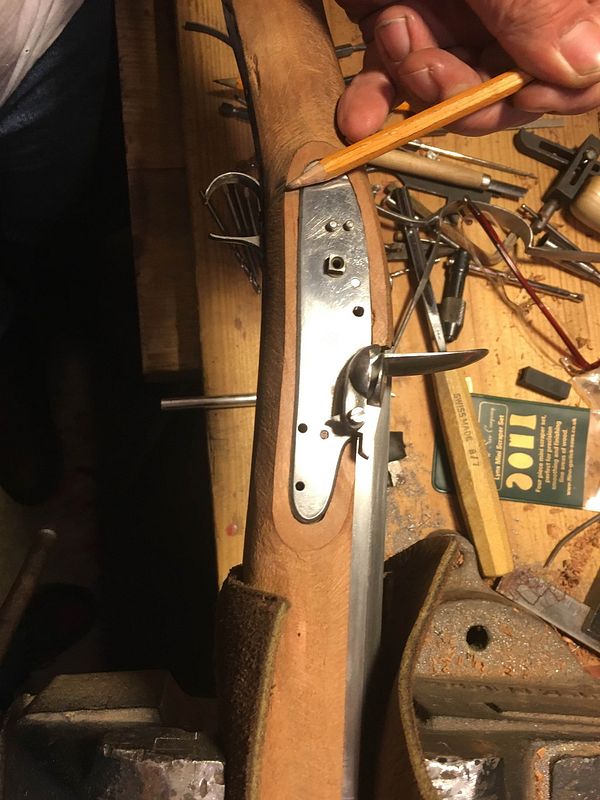
New builders seem intimidated by cutting barrel dove tails and by inletting the parts. This my be just me, but I find cutting dovetails and inletting to be one of the more enjoyable and easier tasks.
Tools...for this rifle here is my tool list. I have a few but here is what I found to be essential.
Reading glasses but I really need an opti visor. You cant work on what you cant see!
1/4 inch chisel...
I use a English made Stanley Sweetheart socket chisel. This chisel has proved to be the workhorse of the build. I also have a 1/2 inch but I could have gotten by with the 1/4.
Swiss Gouge just slightly smaller than the lock nose. It's almost too big a little smaller would have been better.
I really need a 1/8 chisel or smaller. I used one when I when I inletted the lock at a lesson session with a master. The small chisel is useful for curves. I made a tiny one out of a screw driver bit just to make due.
A set if riffler files...
These have been so useful for shaping and cleaning up inlets. I use these a lot, that may be why I'm turtle slow but they are forgiving.
A set of Cobalt small files....
This little set come with a selection of files the flat diamond and the round pointed diamond have been my go toos from that pack.
A 3/8 Round rat tail file...
This has been one of my main shaping tools it's been really good for the lock panels in combo with the other files.
# 50 Pattern makers rasp...
I bought this late in the build but it has proven to be indispensable shaping tool for the lock panels and general wood removal. I might consider a European made one instead of the Nicholson as it's made in Brazil and has seemed to dull a good bit and this is it's first build.
A depth gauge...
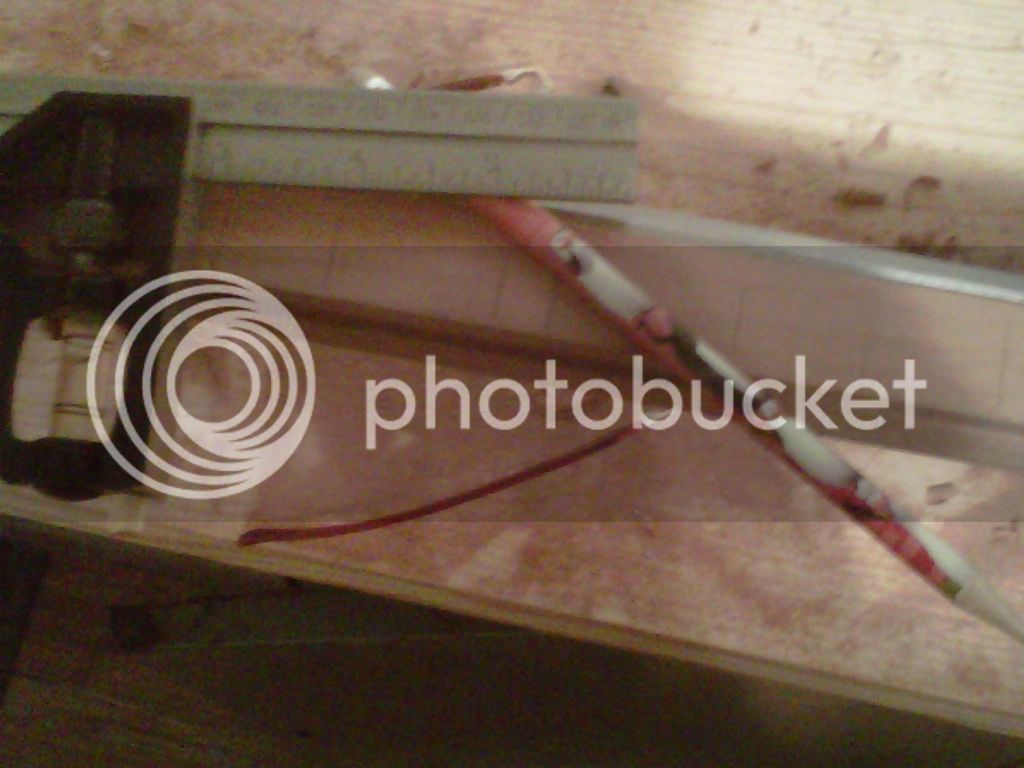
I made this out of a piece of flat wood and a 10-32 turnscrew from Lowes. I tapped the wood and sharpened the point of the screw to get down into the bottom of the ramrod channel and mortises. It;s indispensable for laying out pin locations and marking lay out lines on the side of the stock. With a pencil you can slide it down the stock to mark your file or rasp lines.
I have a good many files but I use a big flat medium mill file a lot and of course a safe sided triangle file for dove tails.
A good bench vise
A have 3 and use two in combo but One could be used. The bench vise acts as an anvil, a saw/file guide, a shaping tool for pipes a crimping tool for pipes and folded barrel lugs. It's a must have along with a sturdy table or bench. Don't forget wooden, carpet or leather pads for your work.
A big slack jawed wrench...
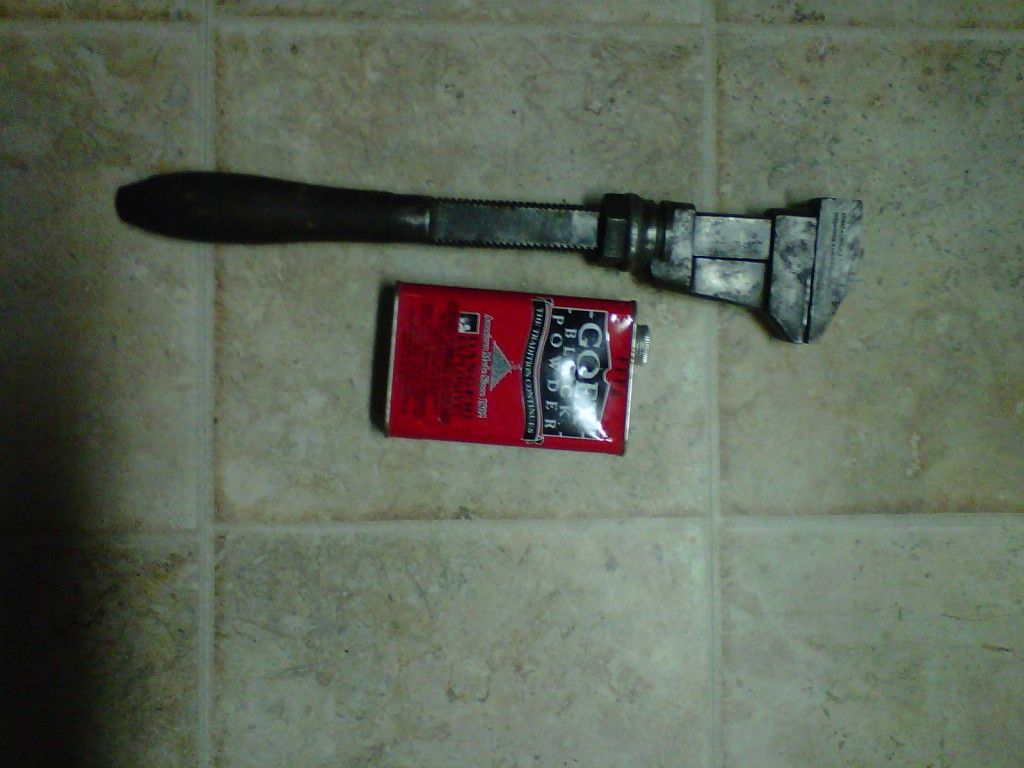
I use an ancient 1800s made steam wrench steamwrench for breech plugs.
Big Monkey wrenches and crescents can be used but I must caution you with the crecents...being tight jawed they may have to be shimmed to prevent marring. They do make purpose built breech plug tools.
A torch and solder...
A handrill
I do have a drill press but this for this build a handrill has sufficed. Since it's a Southern Mountain with a screwed tang, I did not need a press for the tang bolt. I have found that for pins and lock bolts its best to drill straight and horizontal(holding the drill motor like a pistol) rather than trying to dill down with the hand drill motor vertical. Clamped in the vise the drill motor can act as a makeshift lathe.
I have a set of scrapers but sand paper and various sized and shaped sanding blocks can be used.
My wife is screaming for this machine so I'll cut this short for now....more to come with photos.


