Building Track's Colonial Longrifle

Muzzleloading Forum

Help Support Muzzleloading Forum:

This site may earn a commission from merchant affiliate links, including eBay, Amazon, and others.

54ball

62 Cal.
Joined
Aug 23, 2004
Messages
3,116
Reaction score
1,029
Yep....

The lowest of Tracks kit line is on it's way.
Colonial Longrifle

Right now the parts are in transit. Soon the big white will be here. :grin:

This may be one of Tracks better sets, Espeically for the new builder. I was wanting a good quality set that hopefully will go together fairly quickly. I hope I can have this one done by mid January. :idunno:

The lower price point allowed me to choose a higher grade of wood, a brass patch box and the latch system as well. This will be my first box Rifle. So it will be a full house longrifle.

Many things scare new builders. These include.....

Fitting the breech.
Inlet of the barrel, breech and tang.
Cutting and fitting lug and sight dovetails.
Inlet of the lock and parts.
Rough castings.
Drilling pins and bolts.

These things must be done and....they're really not too bad to do.

Why Track and why these parts?

Well...Track of the Wolf has the best commercial web site I have ever seen period. Not just in the black powder world but in general retail of....anything. Whoever set them up knew their stuff.
Because of their site, you can customize a order by adding and deleting in their shopping cart. So you can get a kit as a base and then add or delete stuff as you wish.

One stop shopping.

Normally I like to make stuff like pipes, nose caps, lugs and such. We will see if if there is any economy in these small parts.

So hopefully you all will enjoy watching me fumble through this.

Up next unboxing and evaluation of parts.
 
Yeah, they're a good bunch...catching them in the place can be chancy but there's usually someone around. I've always found them willing to answer questions or look up items if I get lost. Seems a bit more commercial than in the beginning years but they are a great source of knowledge, guns, parts and falderal! Once found a framed print of the 15th Pennsylvania Cavalry, my late wife's paternal great grandfather's regiment. Odd bunch with thinly laced cavalry jackets but in orange like the first dragoons rather than typical cavalry yellow. The in-laws were impressed! :wink: :haha:

That Colonial Long Rifle looks like it'll be a good one. They will do some of the gunsmithing and fitting for a fee should anything prove a problem. It's a nice option if you're not set up for certain detail work.
 
That's neat about the uniforms. Thanks.

My package arrived today. The unboxing photos will have to wait until this weekend but I will share tonight my thoughts.

I love being pleasantly surprised and I'm glad to say I was.
The stock....
Lancaster pattern semi fancy maple...
This stock has good even curl throughout it's not super tight but the stripes are even.....
Very impressed.
The web between the ramrod channel and barrel is a little more than I would like

Barrel. Colerain...very surprised with the barrel finish.

Lock....Chambers Golden age, sparked it and sparks bounced all over my shirt and chair....super quality.

Trigger guard...cast very satisfied

Sideplate...very satisfied and it is adjustable for the front bolt.

Buttplate....this casting is rough and will require some work at the toe.

Bivins triggers....excellent

Dickert Patchbox kit....
The biggest surprise it's very very nice much nicer than the one pictured.

Problems....one small one.
I was sent the wrong breech plug....because I ordered it, but it was the only option in the kit group.
There were two different sized barrels offered. All but two used 5/8-18 thread. My barrel is 3/4-16 one of the two.
Small mistake on both our parts but I should have caught it when I ordered. No biggie, I'll mail it back for credit/exchange for the right plug.

So...be sure to check your parts when they come in.

I'm very happy with the parts.
 
Those are the little things my Mom used to call "humility training", but since you're not on a tight build schedule there's time to exchange or replace. Sounds like you'l have a great one when it's done. :thumbsup:
 
You might be able to finish by Jan. but don't count on it. Most builds take about two hundred hours or so. Some of this is learning time. The two most time consuming and tedious tasks are breech plug and buttplate. Buy a new file for the brass castings and reserve its us for brass only.

A couple of things to watch for are to keep your lock moldings slender on top and bottom and keep the fore end slender. First rifles seem to be sort of thick in these two areas. The stock blanks are usually pretty good in profile but leave plenty of wood on the sides.

BTW, if you are concerned about the ramrod channel, make a small scraper and us it to make the web thinner. I made mine out of a small worn out file. I ground the end to shape and then heated and bent over to about a 70 degree angle.

Good luck on your first build, and keep in mind that there WILL be more. :thumbsup:
 
Two questions;
Is the lock already partially inlet? If so, that will determine your barrel location relative to the plug.

Swamped or straight barrel profile? Straight barrels can move back and forth in the inletting for the touch hole (in addition to moving lower). Swamped barrels can pretty much only move lower.

200 hours? Ha! That's just to get a basic rifle done. It goes up from there if you want to add any decoration like carving and engraving.
 
Col. Batguano said:
200 hours? Ha! That's just to get a basic rifle done. It goes up from there if you want to add any decoration like carving and engraving.

This mirrors my experience. I always smile when I see the "Easy to build!" comment TOTW lists somewhere near the title of each of their kits. I've found the kits to be "easy" to get out of the original packaging, and right about there is where "easy" gathers its kit and heads on back to the settlement for a nap. :rotf:
 
Like the Col. said, if the lock mortise has been partially cut, you will need to position the barrel to suit the lock location.

If the lock mortise has not been cut, the lock is positioned from the barrels location.

None of these "kits" barrel channel is finished.
There is always a need to square up end of the channel that mates with the rear of the barrel.
It should have at least 85 percent of the wood touching the rear of the barrel. More is better.

You will need to make a mark on the outside of the barrel that is in line with the shoulder the breech plug will bottom out on. (This is where the bore ends and the thread shoulder is.)
This represents the face of the breech plug when it is installed.

Assuming the lock mortise has been roughed out, position the lock so it best fits the cutout.
Then position the barrel so the mark for the face of the breech plug is 3/16" aft of the center of the lock pan.
That is where the finished barrel channel should position the barrel.

See? Right off the bat, things aren't as easy as the TOTW would have you believe. :rotf:
 
The stock is shaped but no inlet other than the barrel.

The. Barrel is a 42" 15/16 straight.

Let me clarify. This is not my first rifle. It's my first rifle with a patchbox.

Thanks for all the comments.

I'm at longrifle show in Virginia.....lots of stuff here...learning a lot.

I give more details about what I have seen and how it helps
with this build....when I get back.
 
54ball said:
Let me clarify. This is not my first rifle. It's my first rifle with a patchbox.

The most complex patchbox imaginable is actually pretty easy to inlet... as long as you have something like $5k worth of the appropriate carving tools. :rotf:
 
J. Williams said:
54ball said:
Let me clarify. This is not my first rifle. It's my first rifle with a patchbox.

The most complex patchbox imaginable is actually pretty easy to inlet... as long as you have something like $5k worth of the appropriate carving tools. :rotf:

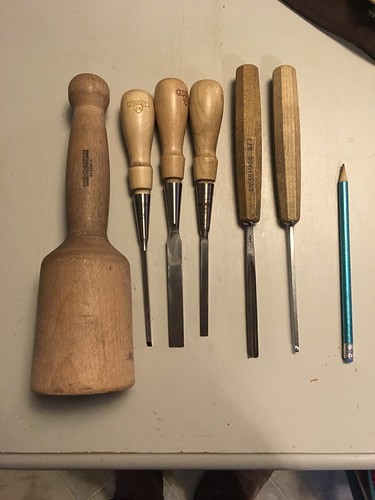
Untitled by Travis Brown, on Flickr

Hopefully these will do. :grin:
 
You may want some smaller push tools, like a Pfeil # 12 veining tool that will let you work really fine.

Just remember that a PB is inlet in the center first, and the arms bent down to follow. You can go ahead and drill and screw in the center screw hole, but do not drill for the side ones until the PB is at full depth.
 
I was going to do an unboxing but after starting yesterday, I'm not in the mood.....it's just a photo of the open box with stuff in it. :surrender:

Since I had to send the wrong size breech plug back I'm going to drawfile all 8 flats. I have no idea now what will be the top flat.

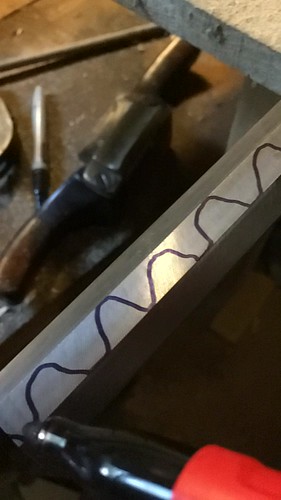
Untitled by Travis Brown, on Flickr

Here I have marked the flat with a marker. One the other flats I put down more ink.

well.. :cursing: My draw file photos are who know where! So I'll move on.

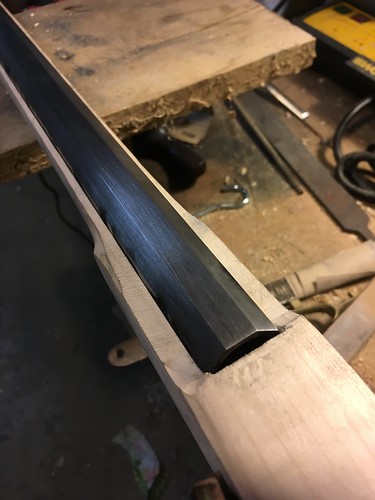
I laid my barrel over where the breech will be. It takes some thought to figure out where to cut out that rounded portion of the barrel channel.

Untitled by Travis Brown, on Flickr

Untitled by Travis Brown, on Flickr

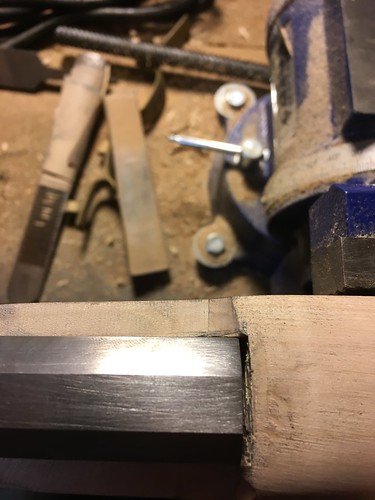
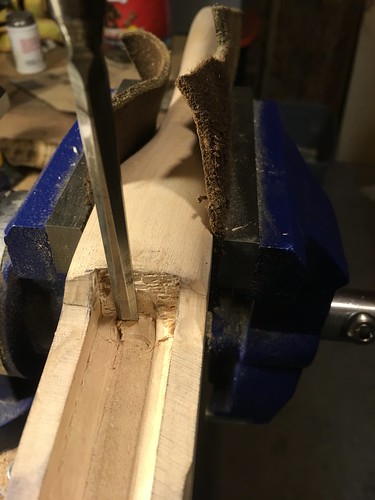
I have cut straight down where the breech face will be. Here I'm going at an angle to keep the channel line.

Untitled by Travis Brown, on Flickr

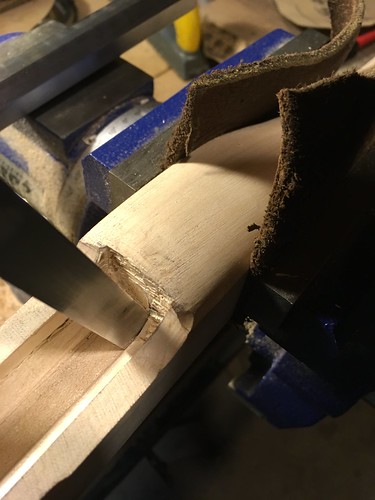
The 1/4 inch is used to cut out the bottom flat. It is real easy to cut this too deep. Use the channel as the guide. too high now is better than too deep.

Untitled by Travis Brown, on Flickr

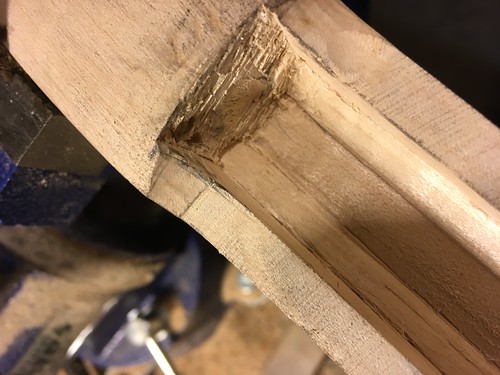
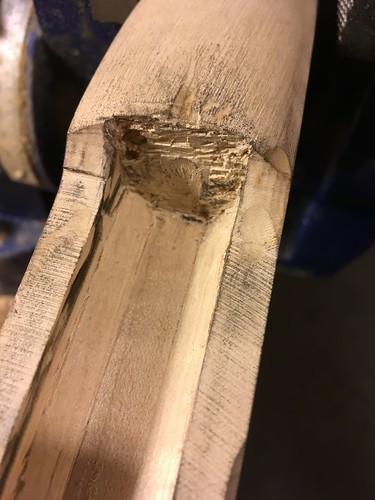
Breech roughed out.

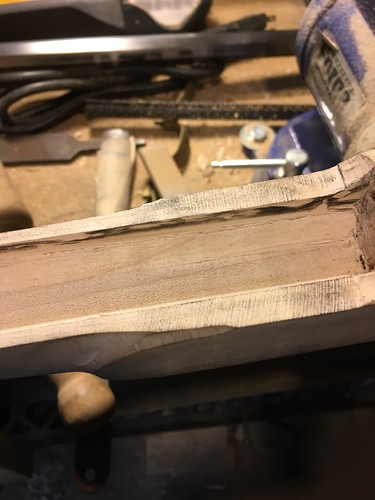
Well this is different. I can't express the care it takes with working with this pre-shaped stock. You can work hard or kind of "go to town" with a blank. You cannot do that with this stock if you do you will break stuff. Too I think this is red maple. It is somewhat soft. You would think sharp chisels would cut softer wood better. :confused: Not so. Cutting down for the breech, it's bouncy and springy. It tends to want to bounce and break rather than cut....like it absorbs the chisel. So your tools need to be super sharp and you need to go slow...a light touch.

I had a crack on the sideplate side cutting in the breech. It may be wood that will eventually be removed if not, I'll glue it when it opens up again....likely the first of many.

Tedious,care and thought is the theme!

Untitled by Travis Brown, on Flickr

My thinking spot.

Untitled by Travis Brown, on Flickr

The barrel is not even close to fitting...Not even close! Even after drawfiling. Too the stock is thin...preshaped. It would be much much better if it were in the square. They did the fun part....making the critical fit of the barrel...even harder.

Being preshaped securing the stock can be a challenge. You can crush it easily with the vice and stuff is so close to finished dimensions that damage will show on the finished product if you are not careful.

Untitled by Travis Brown, on Flickr

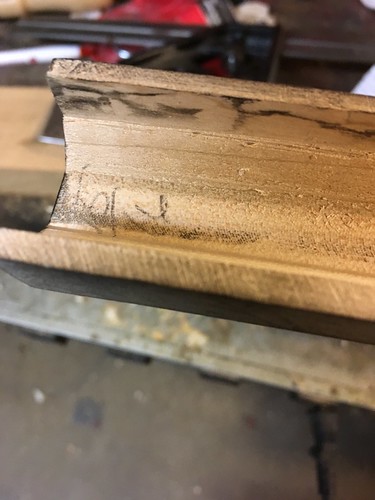
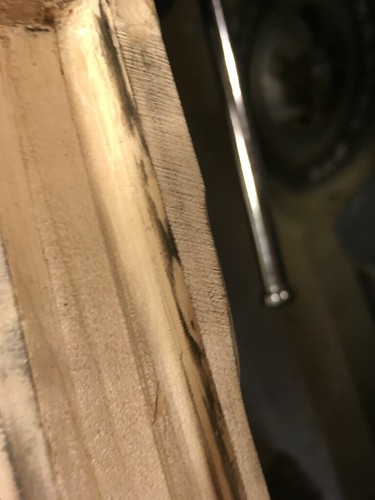
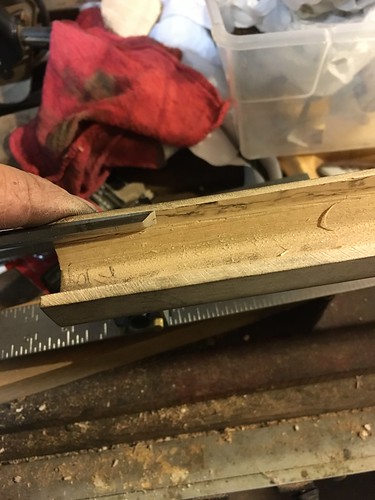
Color that needs to be removed. Go slow color the barrel and remove the high spots. A lot of woof has to come out of this channel.

Untitled by Travis Brown, on Flickr

Once the barrel is all the way down, I'll start easing back for full contact on the breech face.

Untitled by Travis Brown, on Flickr

I may mount another vice for the front. The fore stock is whippy and working it is a challenge.

Untitled by Travis Brown, on Flickr

Untitled by Travis Brown, on Flickr

Lots and lots of this...

The stock is slightly warped. The forestock is like a thinned pool noodle. I have to grab it and pull it over so I can set the muzzle in. No biggie, that's just part of working with a preshaped stock.

Scary Moment :shocked2: ....I stuck the barrel in the stock. Since it's so thin and whippy it was difficult and required great care to get it out so...be aware.

:hatsoff:
 
Well, not much to report.
I took my shop apart and went to the Alabama Frontier Days at Fort Toulouse / Jackson Park. I was set up as a gun stocker in Fort Jackson. I thought I might get a lot done. We had 11,000 visitors that week.....all I managed to do was set the barrel and draw a line on the stock.... :shocked2: I lost my voice doing my demo.
This week....muzzleloading Deer season.
 
That will happen a bunch as you are working on this, particlularly in the winter as the wood dimensions are shrinking relative to the more humid months.

Rather than try to peel the barrel out by the muzzle, you might try inverting the gun and setting the gun on it's heel of the butt. hold the seated barrel around the muzzle, and smack the belly of the stock with your hand. The breech end will probably pop out enough for you to grab it and get the rest of the barrel out of the channel.

Another version of this is to just grab it inverted, and smack the heel down on the bench (while it's somewhat horizontal. The momentum should pop the breech out a little bit so you can grab it.

When the lookey loo's come by it's almost impossible to do any work done with your hands. I once had the thought of building a bark canoe during a week at Scout camp. Working by myself, it's about a 40 hour project. Well, with Scouts and their parents "helping" I wound up getting about 10 hours of actual work done on it, despite spending about 80 hours during the week at the project site. And that which they did as "help" all had to be taken apart and done over once I got it all home.
 
Travis,
Looks like the first thing you should do, is learn how to sharpen your chisels. There is no way your inlet should be that rough if your chisel is sharp. That is a soft piece of wood, and will cut cleanly if your chisel is sharp.
Scrape your barrel channel till the barrel sits down fully, color the breech end of your barrel, tap to the rear, and remove only where it colors the wood, repeat as necessary, till the barrel makes full contact. Add the breech plug, repeat.
You might also arrange it so the area you're working on is supported by a solid wood support.
 
Back
Top