Casting pewter nose caps

Muzzleloading Forum

Help Support Muzzleloading Forum:

This site may earn a commission from merchant affiliate links, including eBay, Amazon, and others.

Col. Batguano

75 Cal.
Joined
Feb 10, 2011
Messages
5,039
Reaction score
1,426
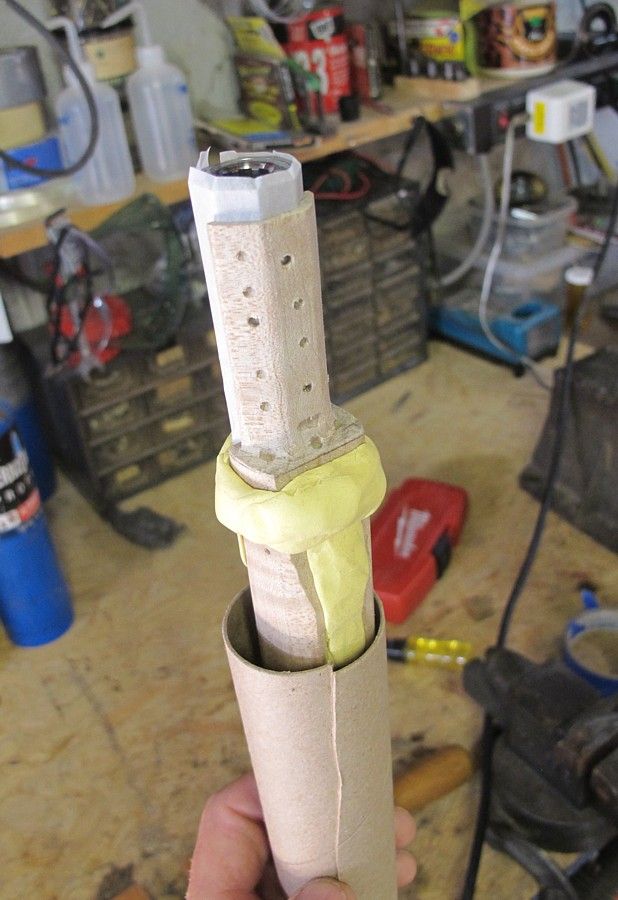
Last night I tried casting my nose cap for my TOW Vincent. Made a mess of it, but at least it didn't leak down the RR hole. It seems that molten pewter really likes to find places to leak out and run all over the place.

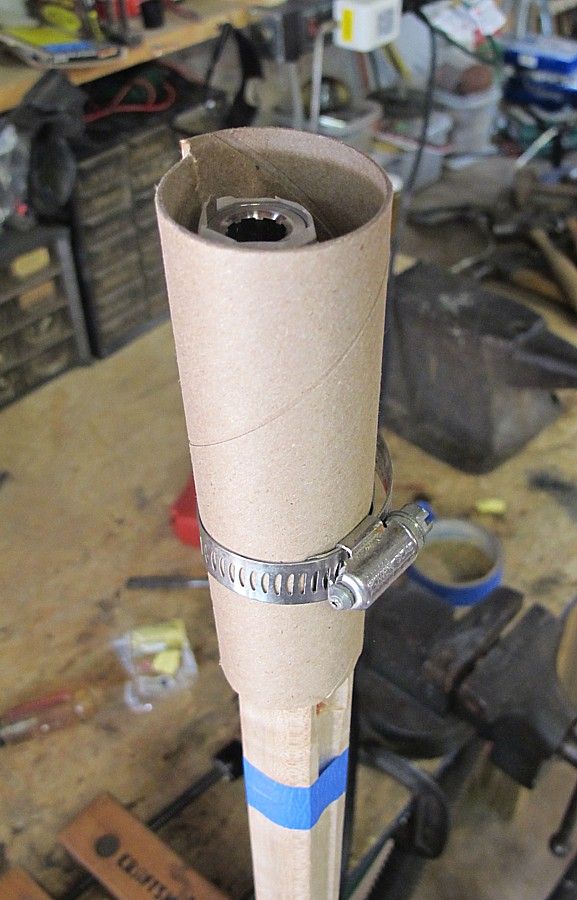
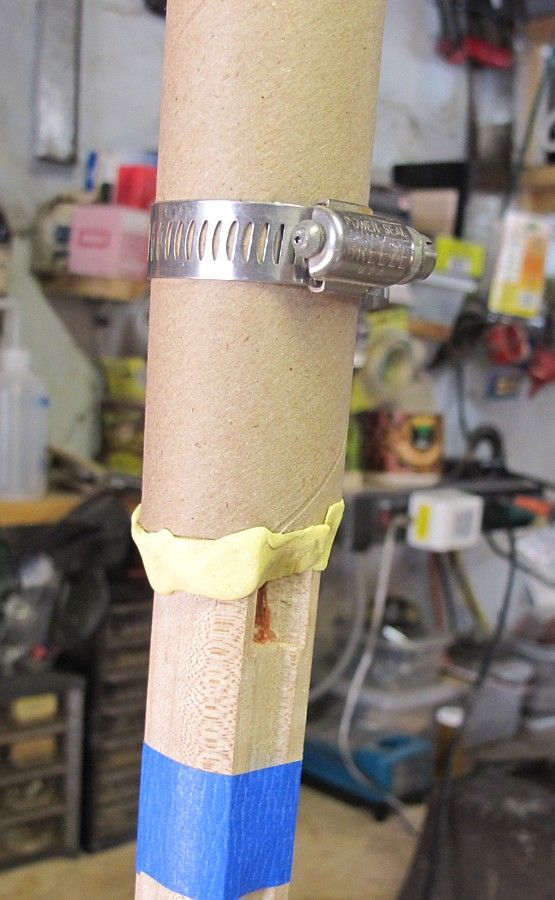
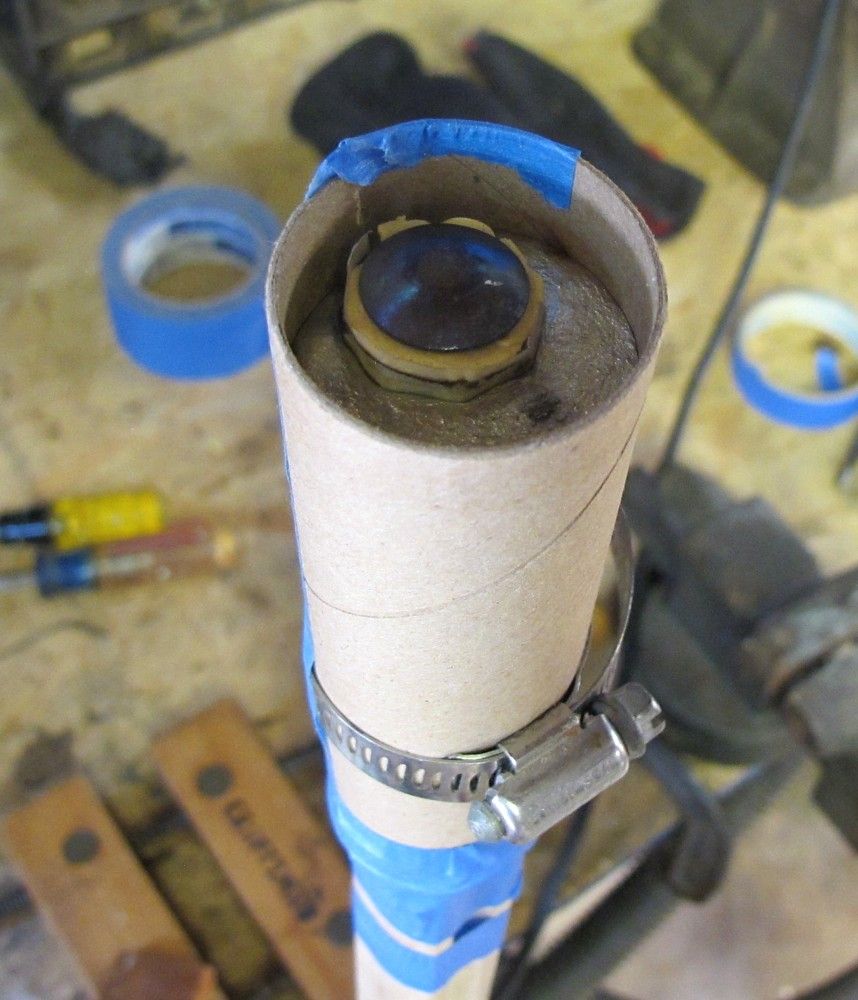
I tried using plumber's putty to seal the small cracks, made dams on either end with small pieces of wood scrap, and then used the cardboard and masking tape over that. What a mess it made!

What's the best way to get a decent seal so the stuff actually has time to pool up in there and cool?

Note to self; used chewing gum makes a gooey mess when heated. Don't use that again!
 
Guano, I use plumbers putty to seal up areas where I see daylight coming through and stuff it in with flattened toothpicks. I do not use cardboard for the mold, I use copper roof flashing. It allows fewer cracks, shapes closer to what I want to end up with, and creates less filing and shaping in the end. I tape the whole thing with duct tape just in case I missed something, then warm the whole area up before pouring.
MY second long gun was a Vincent with a poured cap.
DSCN1396.jpg

Don't be afraid to look at any instructions with the mind set of, How can I improve on this. It may not always be an improvement, per se, but only slight changes that make the operation unique to your abilities, and that in itself will make the whole thing easier.
Good luck!!!
Robby
 
Looks great!

Where do you get copper roof flashing? I only need a small piece, and don't want to buy $30 in materials for this. Would aluminum foil work?

I also learned that you MUST make the pour all in one pour, or else you won't get a bond between them. At least I made the mistake of not drilling holes through it, or using pencil lead on the wood to get a good flow, so peeling off the old lousy one was easier.
 
Col.
Use a manila file folder cut a piece 3inches wide
and the length of the folder.Remove the barrel and
wrap the folder around the area of the nose cap
just go around once, put the barrel back in forcing
the folder into the barrel channel cut a piece
of ramrod and put in the ramrod hole need a tight
fit use masking tape to seal the folder around the
stock. Now you should be able to do your pour
with little or no leaks. The folder will brown
but wont burn threw.when cool remove your form
and file and shape. Works for Me
G
 
Bat, I live in a small town and the local lumber yard has no problem snipping off a bit of that foil and charging me accordingly.
Do not use aluminum!!!!
Robby
 
Robby said:
Do not use aluminum!!!!
Robby

Why not? I have used material from aluminum cans, and the last few pours I used aluminum foil. I like the foil the best, folded a few layers thick, as it conforms easily to the wood and barrel. Works for me. Bill
 
Snowdragon, Okay, my thinking is that it might let go if the pour is overheated. If it works great!! :thumbsup:
Robby
 
I was thinking of using it as the "seal" layer, and then overlaying it with something more stout, like the cardboard (or manila folder) that wouldn't deform. Being so thin and maleable, I thought it would be easier to get to conform to the shape. The problem with the masking tape is that when it gets hot, the liquid pewter seems to melt the glue in the tape, and it finds a wrinkle, and runs out all over the place.

I'm using a TOW pre-carved stock, so there's probably 1/8" of extra wood to play with after the pour is done.
 
It worked! Lots of extra pewter to have to cut and file away (I used a 200 yard smallbore target under my vice to catch the filings, which I saved and re-cast in to an ingot about 1/2-2/3 the original amount by weight), but I was able to cast it all in 1 pour, and the only "wrinkling I experienced was in the barrel channel of the wood, where the molten pewter contacted the barrel and cooled fast. No big deal.
 
FWIW I have used paper from a brown paper bag for the form. Used modeling clay to seal off the leaky spots.
 
I had the same question myself.

It's a function of flash points.

Tin and pewter melt at about 440 degrees
Cardboard spontaneously combusts at about 850 degrees. Lead melts around 940 degrees. What you have to be careful of is using a torch or soldering gun around the wood, because it will char it.
 
it doesn't char the cardboard either. Same way I suppose, because it cools relatively quickly when it comes in contact with the non heated surfaces, so the pour has to be pretty steady. It just doesn't. You test the temperature with wood sticks, like toothpicks. If they don't char, the temp is fine. If they do, then you need to let the liquid pewter cool off a bit.
 
Col. Batguano said:
You test the temperature with wood sticks, like toothpicks. If they don't char, the temp is fine. If they do, then you need to let the liquid pewter cool off a bit.

Yep. Stick a toothpick in your ladle of molten pewter.
It should come out pretty much like it went in.
When your liquid pewter starts to get that shimmery blue look on the surface, you're getting too hot.

Snowdragon: You may be recalling an earlier effort of mine documented here, when in fact the
cardboard and manila folder DID burst into flames when I poured it in the form.
willy_nilly.gif

Why ? because I had unknowingly melted an aluminum alloy, instead of pewter.
The melting temp was somewhere around 1000F.
Lesson: Don't use that "pewter" marked "Wilton". It's not pewter.
 
I was just questioning why aluminum shouldn't be used as a mold, not as casting medium. And I very much remember the "aluminum nose cap" incident. Thought I would laugh myself to death, but only because I've done so many similar things. Like the time I worked for about two hours cutting a recess in a rib for a thimble, only to realize after I had a perfect fit that I had turned the barrel around and had cut the wrong side of the line. I kept looking at it, saying, "It'll be ok, it'll be ok. No, it looks like (bleep)". Took most of the next day to fix, but at least I learned how to dovetail a patch into a rib for an invisible repair. :surrender: Bill
 
Yeah, I remember that one too.
And I Thank you for sharing the lesson.

I had/have a few odd cups an bowls I had found at second hand stores marked "Pewter" that I was going to use to cast.
Your posted topic made me believe I'd be better off purchasing proper casting pewter.
 
I have allways used light cardboard or manila folder paper for moulding pewter nose caps. One tip I would recomend, have the fore end close to finish size, only a thirtysecond or so oversize, masking tape plus popsicle sticks for clamps along the top of the barrel chanel. If paranoid a hose clamp over that. A handy source of pewter alloy (expensive) is modern lead free plumbing solder. The alloy is nearly identicle to food grade pewter. BJH
 
Is there a tutorial on how to do all this on the site? In looking at the pic's above, it almost looks like the pewter casting would go all the way around the barrel, but I'm sure that's not the case. Or do you need to remove the casting and then cut part of it off?

Anyhow, if there is a tutorial someplace, if someone could point me to it, I would appreciate it. I don't think this would work on the Hillbilly mountain rifle I'm making, but it would be good knowledge to know.

Thanks,

John
 

Latest posts

Back
Top