• Friends, our 2nd Amendment rights are always under attack and the NRA has been a constant for decades in helping fight that fight.

    We have partnered with the NRA to offer you a discount on membership and Muzzleloading Forum gets a small percentage too of each membership, so you are supporting both the NRA and us.

    Use this link to sign up please; https://membership.nra.org/recruiters/join/XR045103

Copy of an original blunderbuss

Muzzleloading Forum

Help Support Muzzleloading Forum:

This site may earn a commission from merchant affiliate links, including eBay, Amazon, and others.
I will need to proof this barrel before I go too far with the build. It is a 7 bore. It's made out of better material than the original (I'm fairly sure) and the bore is slightly smaller (i.e. thicker walls), so it should be fine. However, anyone know what a 7 bore proof charge should be ?


#@!! $#@* !!!! Just found the British Gun Barrel Proof Act of 1868.......here is an excerpt ......
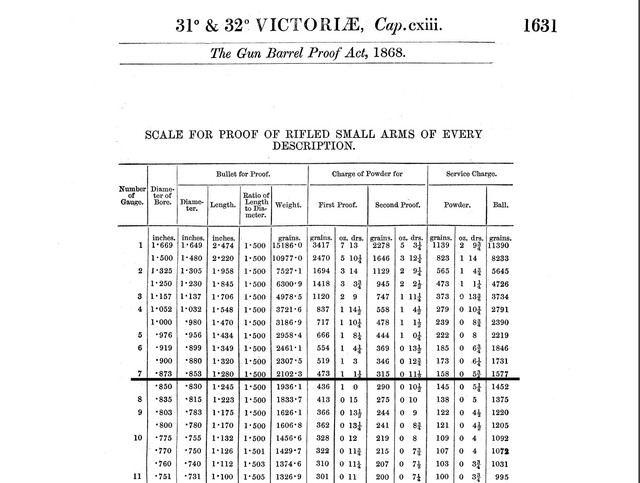


For a 7 bore, look at the powder and projectile weights required for a first and second proof !!!!!! I want to proof the barrel but this looks more like I'm making a pipe bomb !!!


I found an old chart in a 1972 Dixie Gun Works catalog that had some Belgian service and proof charges. The service charge was 158 grains behind a 7 gage round ball but the proof charge was over 500 grains !!! I like the idea of perhaps 180 to 200 grains as the proof charge behind 3 oz of shot for the first proof. Less powder and a little more shot for the second. The barrel is only 12 inches long, so I really don't want to fill it half way with powder and then a load of shot :eek:....I could be inadvertently testing that old black powder BS about "oh you can fill the whole barrel with powder and it would still be fine !"
 
I found an old chart in a 1972 Dixie Gun Works catalog that had some Belgian service and proof charges. The service charge was 158 grains behind a 7 gage round ball but the proof charge was over 500 grains !!! I like the idea of perhaps 180 to 200 grains as the proof charge behind 3 oz of shot for the first proof. Less powder and a little more shot for the second. The barrel is only 12 inches long, so I really don't want to fill it half way with powder and then a load of shot :eek:....I could be inadvertently testing that old black powder BS about "oh you can fill the whole barrel with powder and it would still be fine !"


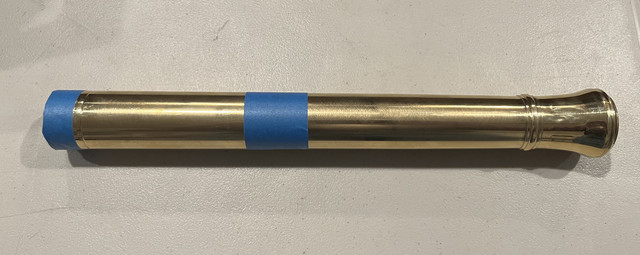
Just for fun I put 600 grains of FFg in the bore. It filled the 7 bore (0.875 in this case) between the two blue tape marks....i.e. the brass showing between the two pieces of tape is the length of the bore filled with 600 grains of powder. Looks a little excessive to me.....but what do I know ???


Just for fun I put 600 grains of FFg in the bore. It filled the 7 bore (0.875 in this case) between the two blue tape marks....i.e. the brass showing between the two pieces of tape is the length of the bore filled with 600 grains of powder. Looks a little excessive to me.....but what do I know ???


I would think it would be spitting shot and powder out the muzzle before the entire charge gas burned, just based on proximity of the front of the charge to the muzzle...
But, I'm probably wrong and someone will be along shortly to tell me so and, hopefully, why.
 
Pathfinder,
Yes…..I test rocket engines for a living…. So I will fire this barrel electrically from a safe distance….😉

Brokennock,
I think you are correct that a lot of the powder charge would burn in the air outside of the barrel. We will see.
 
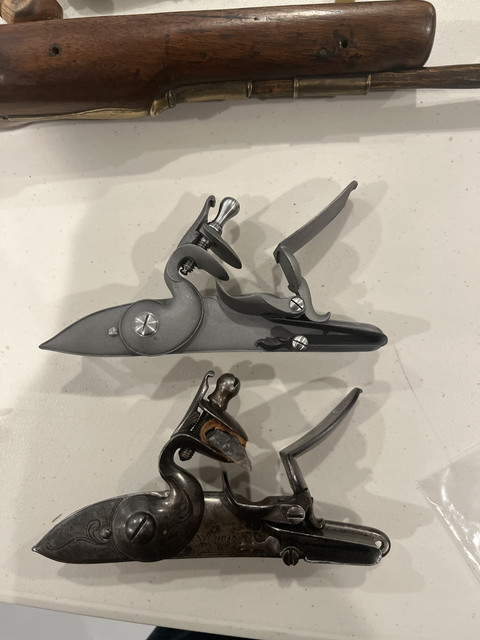
Gathering parts that are close to the original. Here is the original lock compared to one of Chamber's English fowler locks.....


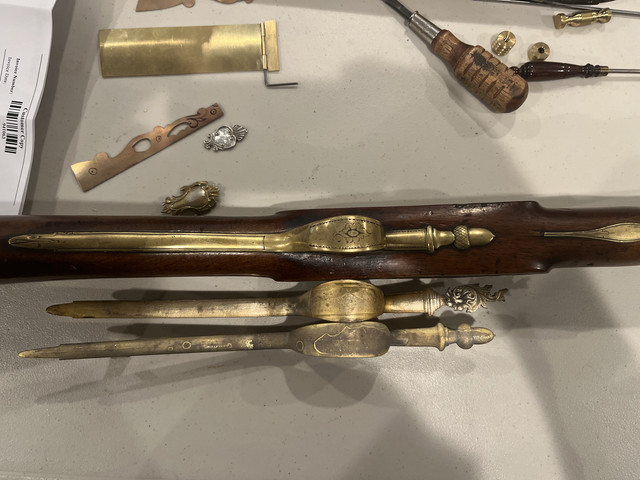
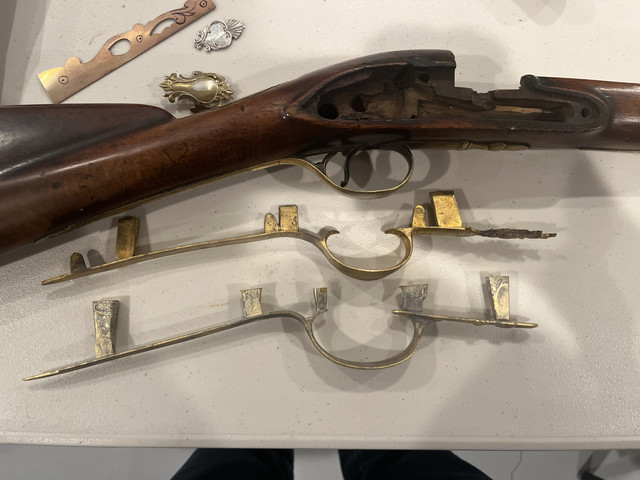
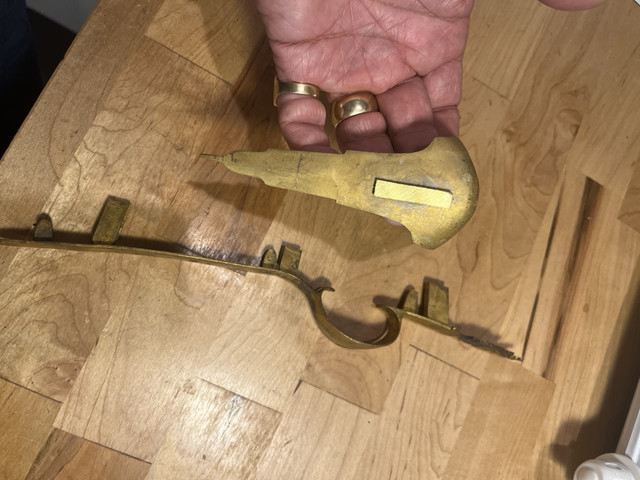
Some options for the trigger guard.......


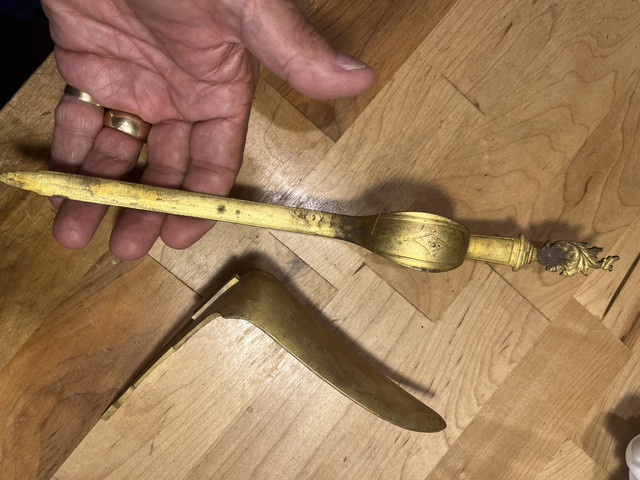
The guard with the acorn finial is a little too big in the bow and the bow is too narrow. I will go with the trigger guard with the fancier finial just for the size and shape of the bow.

This butt plate can be easily modified to almost exactly match the original....


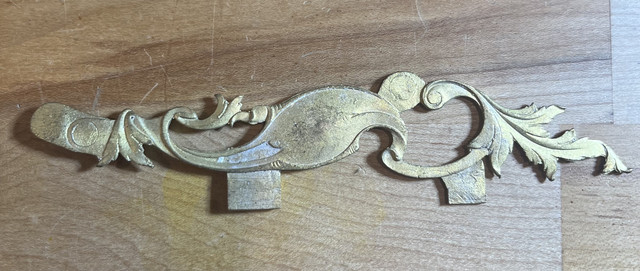
This side plate is very close to the original but I may just duplicate the original by making a silicone mold and then doing a centrifugal casting in brass....


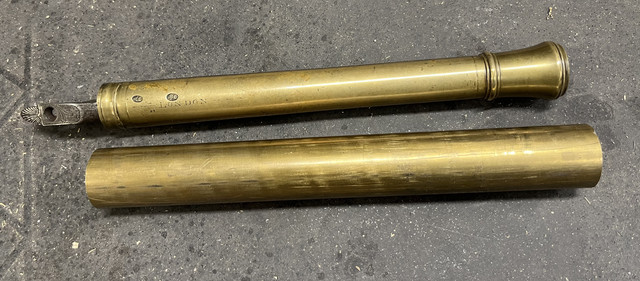
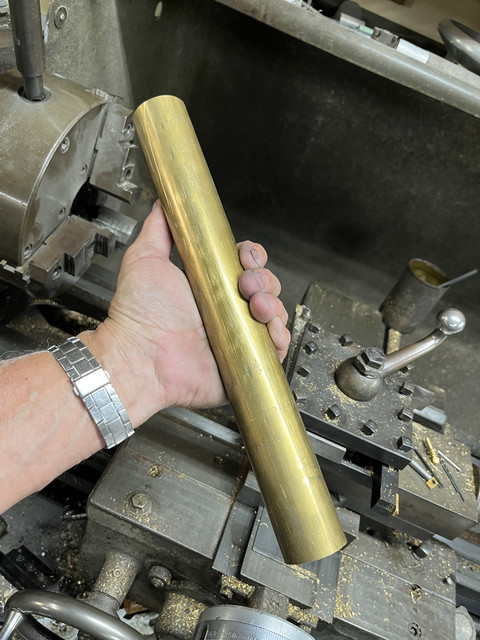
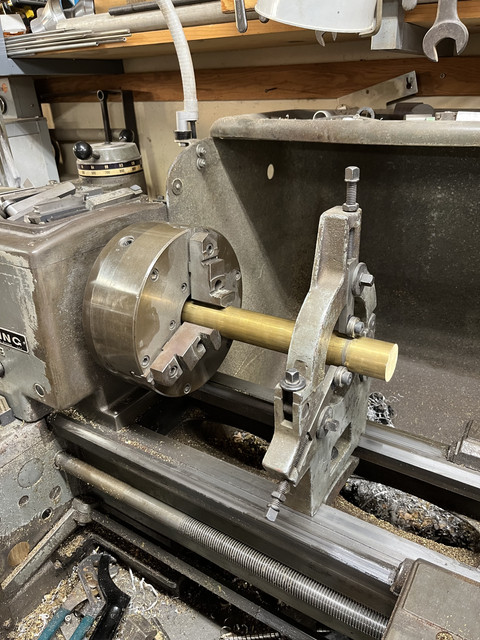
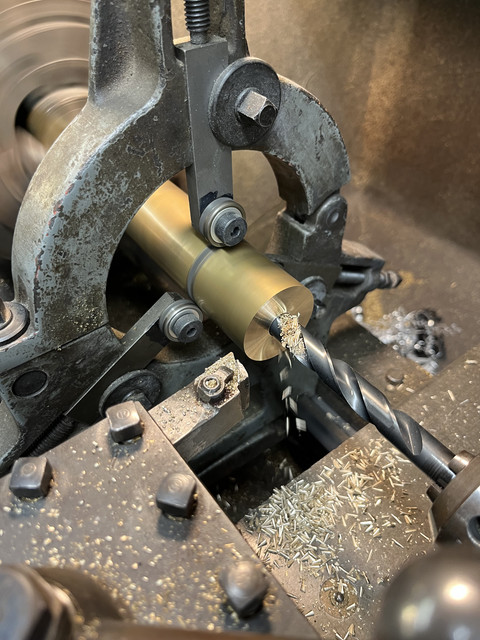
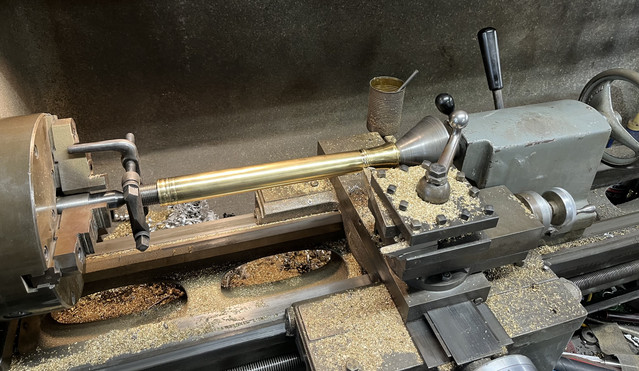
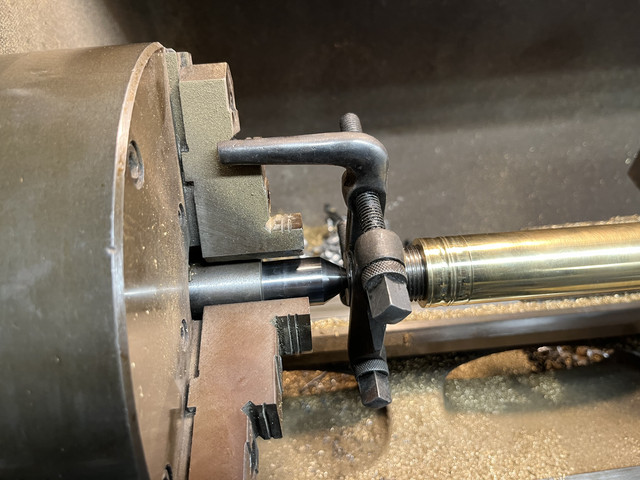
Rounded up the brass bar stock for the barrel. Got it set up in the lathe and started the pilot hole through. The bore will be about a 7 gage when finished.....


Howdy Amigo,
How are you doing today? Fair to Partly Midland at least? I sincerely hope so. Please pardon me if I have already asked you this question because I don't know how to use this Forum and unfortunately I am having to use my Television's browser! Anyway, I was wondering if you would be willing to "cast" a Brass Patch Cover for my Belgian DAG 1850's Blunderbuss?
Or if you can please recommend someone or a source for replacement or replica parts? It's seashell or conch shaped and hinged if you are familiar with that type?
Thank you kindly,
Tejano Libre
 
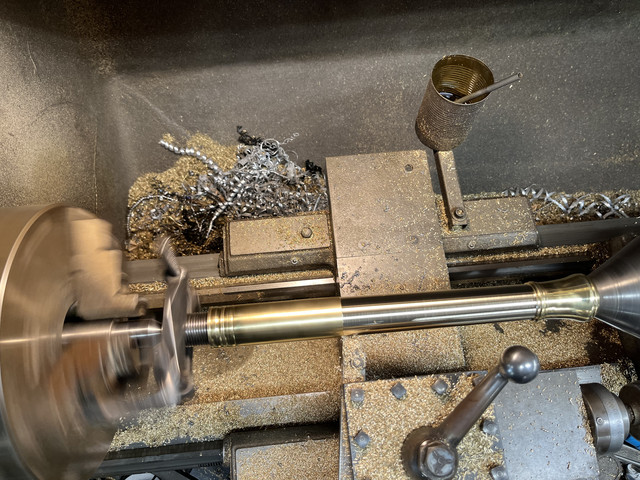
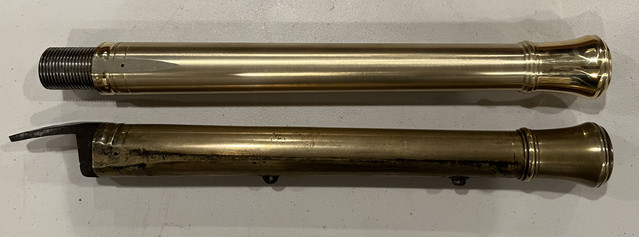
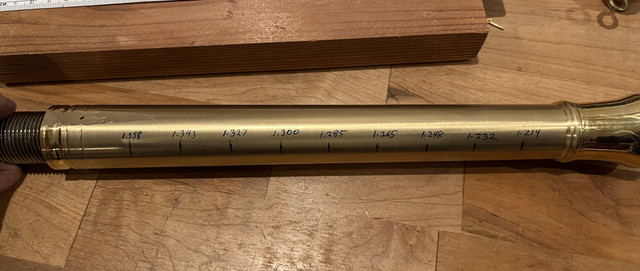
I had a little time between business trips to look at the barrel again and make some decisions about proof testing. The first thing I realized is that I didn't really like the profile of the new barrel. I had taken the easy way out and, in cutting the outside taper, I had just used the compound on the lathe. The travel is only about 4 inches on my compound so I had to cut the full length taper in three sections. Then I cleaned up the surface with a lathe file and then various grits of abrasive paper. The result was OK but after closer inspection is was a little...well....lumpy. You can't really see it with the naked eye, but I could feel it running my fingers over the surface. It bothered me so much that I decided to recut the taper. And if I was going to take off more metal, I should do that first before I did the proof firing. So I re-cut the taper properly. I took the time to calculate the offset required on the tail stock, off set it, and then ran the taper cut in one pass with the cross slide in auto feed. Came out great and feels right now... :) (The hard part here is getting the tail stock back on center....not really hard, just time consuming.) As soon as I get back from my next short trip I will build a test fixture and take the barrel out to my test site to run the proof firings.


Howdy Amigo,
How are you doing today? Fair to Partly Midland at least? I sincerely hope so. Please pardon me if I have already asked you this question because I don't know how to use this Forum and unfortunately I am having to use my Television's browser! Anyway, I was wondering if you would be willing to "cast" a Brass Patch Cover for my Belgian DAG 1850's Blunderbuss?
Or if you can please recommend someone or a source for replacement or replica parts? It's seashell or conch shaped and hinged if you are familiar with that type?
Thank you kindly,
Tejano Libre
Tejano.......sorry I missed seeing your question. Can you send me any kind of a picture of the part you are missing ?
 
One thing very interesting... A straight taper can tend to look bulged even though it isn't. This is true with other items such as architectural columns etc. Historically, these were sometimes made to have a slight curve (think of a very slightly swamped barrel) such that they appear straight. Bulges on some forms don't look the best.
 
Tejano.......sorry I missed seeing your question. Can you send me any kind of a picture of the part you are missing ?
Unfortunately at this moment I am unable to use my Computer or my Cellphone due to an Extremely Dangerous and Persistent Hacker that has taken his illegal activities to an incredibly Personal Level that nobody could ever Imagine!
If I can remember exactly where I located the same exact Brass "Conch Shaped or Seashell Shaped" hinged Patch Cover I can Post it.
I downloaded a Picture of the Patch Cover but I am having to use My Television to Post!
Letter by letter. The Picture is in My Television!
I may be able to take a Picture of the 55in. image and include the Measurements of the Cover and Upload them!
Without a Single Doubt, my Lovely Hacker Absolutely Deserves "3" Hots and a Cot for (25) years!
Thank You Kindly,
Tejano Libre
 
One thing very interesting... A straight taper can tend to look bulged even though it isn't. This is true with other items such as architectural columns etc. Historically, these were sometimes made to have a slight curve (think of a very slightly swamped barrel) such that they appear straight. Bulges on some forms don't look the best.
James,
You are absolutely correct about bulges not looking all that good in some (even most ) places. In this case the new barrel is a nice straight taper and it looks nice and straight. And above that, my fingers do not detect a “lumpiness”, which makes me feel better personally. ;) Now if I don’t put a bulge back in it doing the proof test, all will be well.
 
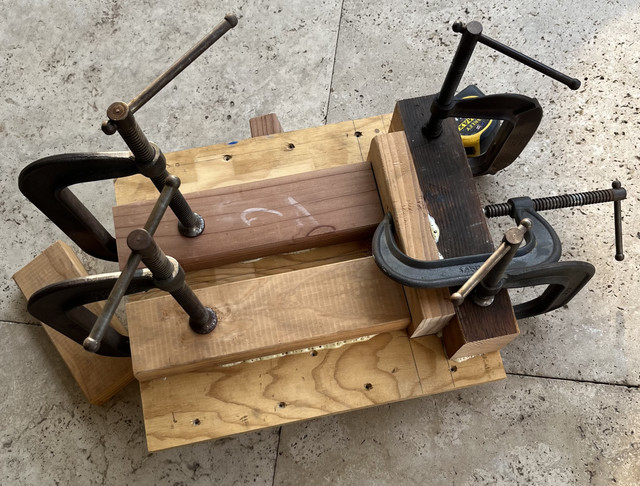
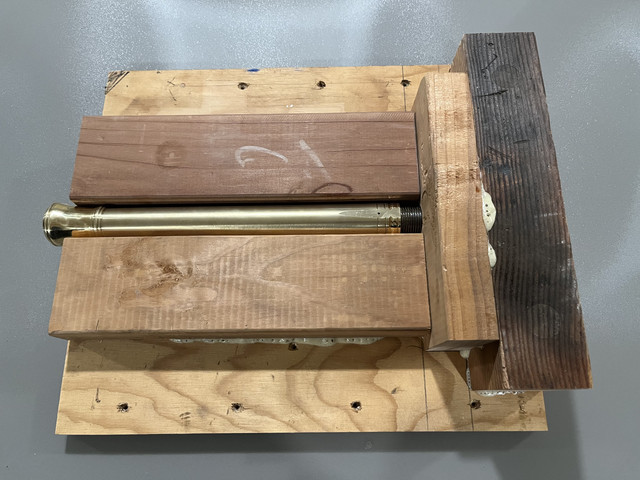
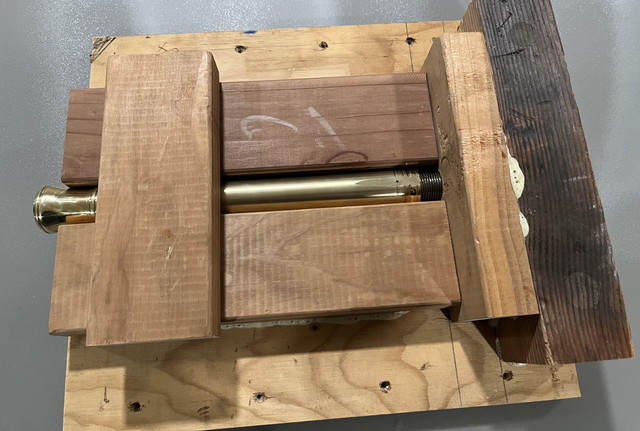
I'm going out to my Mojave Desert test site for some work related stuff tomorrow. It presented a good opportunity to proof test the barrel since I cannot really do the test in my backyard here in town. So I quickly make up a wooden fixture to hold the barrel while it is being fired. I will use the British Gun Barrel Proof Act (1868) table for the first and second charges.....473 grains of powder for the first and 315 for the second. Both will push 2,100 grains (~5 oz) of lead shot. I will set it off electrically. A service charge for a 7 bore is 158 grains of powder behind a ball half that weight. I think this is sufficient for a proof test.....

Here is the fixture. The cross piece over the barrel with be bolted in place tomorrow.


I will need to proof this barrel before I go too far with the build. It is a 7 bore. It's made out of better material than the original (I'm fairly sure) and the bore is slightly smaller (i.e. thicker walls), so it should be fine. However, anyone know what a 7 bore proof charge should be ?


#@!! $#@* !!!! Just found the British Gun Barrel Proof Act of 1868.......here is an excerpt ......


For a 7 bore, look at the powder and projectile weights required for a first and second proof !!!!!! I want to proof the barrel but this looks more like I'm making a pipe bomb !!!

Excellent work ! Four thumbs up
 
Tejano.......sorry I missed seeing your question. Can you send me any kind of a picture of the part you are missing ?
Thank You Kindly Dave!
I may have posted in the Wrong place. My Blunderbuss isn't a Copy, it's actually Real. But that doesn't matter. The Spare Part is the Subject.
Be Well,
Tejano Libre
 
Back
Top