- Joined
- Apr 5, 2019
- Messages
- 826
- Reaction score
- 915
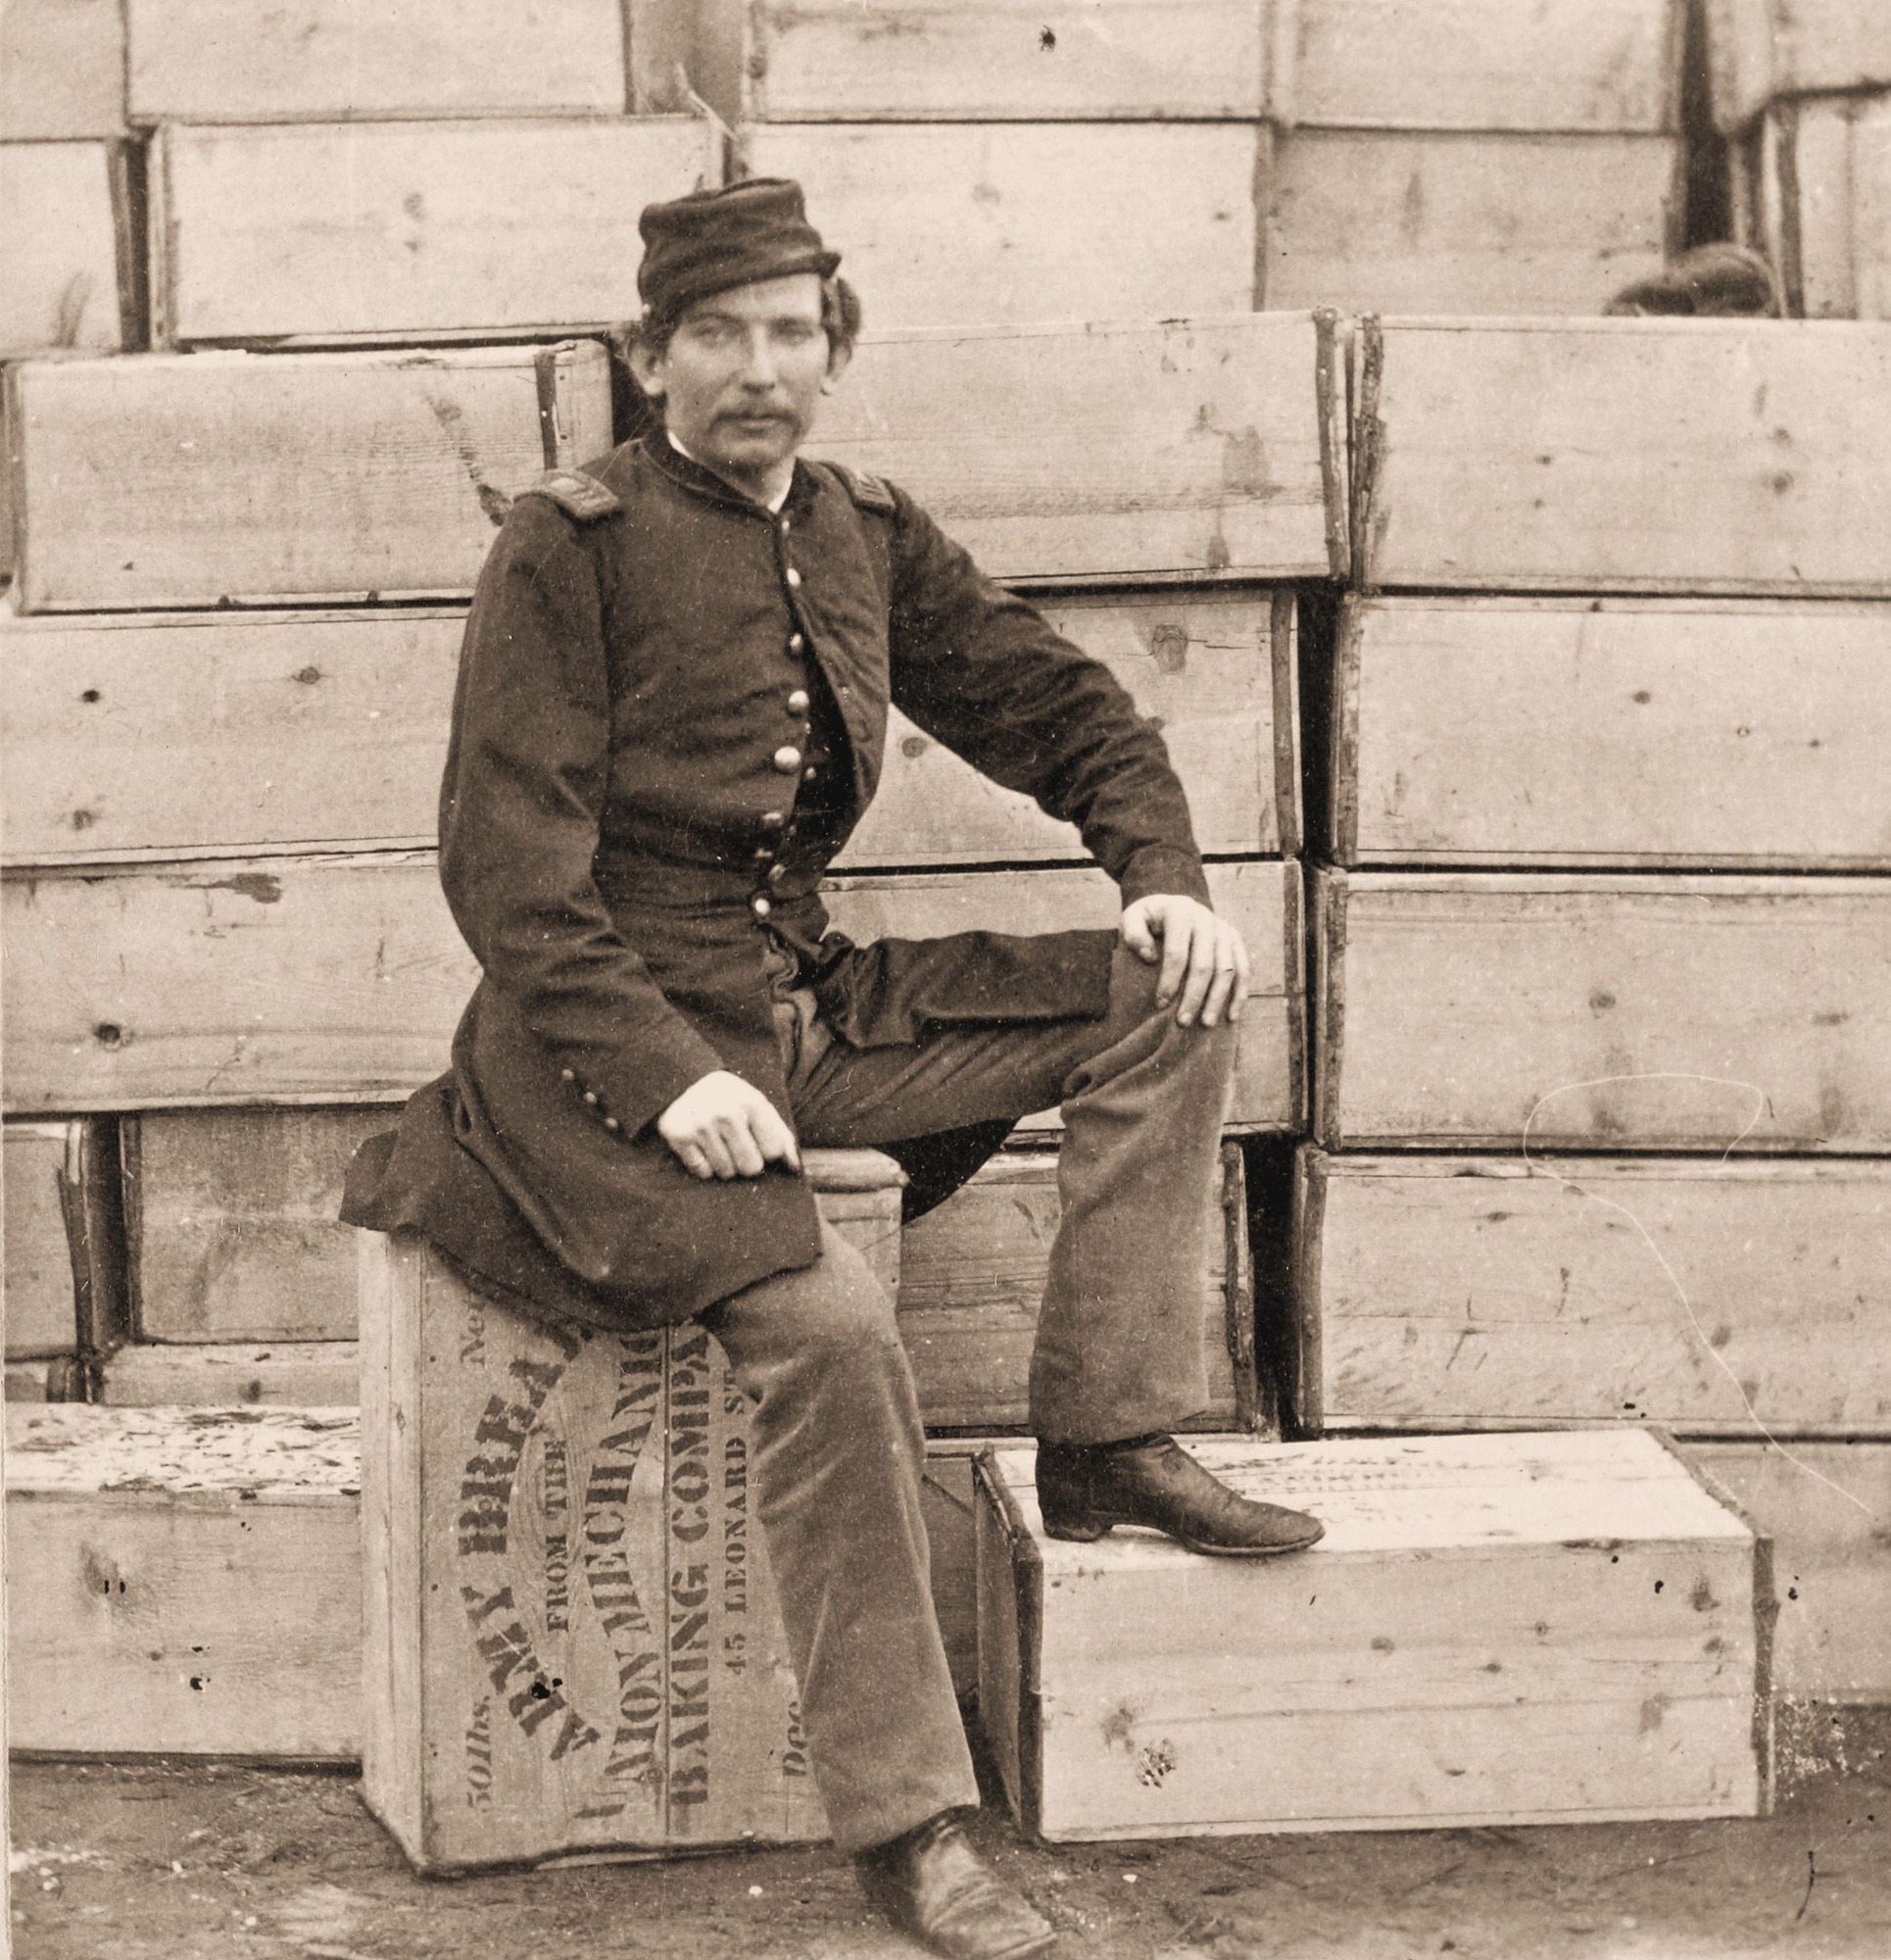
I hope this thread will be of use to those who need something to put their stuff on or in while encamped; perhaps not "period correct" or "historically correct," but sturdy and functional nonetheless and for the most part meeting Webster's definition of "crate." Please bear in mind that my particular period of interest is late percussion.
 The following photos explain assembly of one of the two pieces at left.
I use hand tools as much as possible and find the large backsaw indispensable. Second most useful is the 1" socket firmer chisel, kept shaving-sharp; never struck but used as a "slick" for paring. The small hammer is plenty for box nailing and affords good control. The square and the rule are your best friends for this type of work, trust them without question and use them often.
Modern four penny (4d) box nails were used in lieu of the oft-discussed "correct"cut nails. The originals here are from a small 1892 schoolhouse I disassembled which provided the wood used for the furniture shown. The structure came apart with ease and most boards simply tapped apart. It was my observation that the nails mostly acted as pins preventing lateral movement rather than providing the clamping force we expect with today's construction techniques. It is important to add that all of the sheathing, siding, and flooring of the structure was tongue-and-groove.
Much of the lumber was then utilized for sheep panels which required removing the tongues and grooves with a drawknife, yielding 5" width boards. The panels had been assembled with sheet rock screws, which again, were easily removed.
The boards were then ripped in half with a circular saw and four panels assembled, 18" wide, 20" in height. For each nail, a 5/64 hole was drilled in the board it was being driven through. Note the nails for assembly of the individual panels are started in their holes at this point.
Nailing into end grain provides little clamping force; avoid it like the plague. No need to drive the nail head into the wood, as the fibers thus compressed only strive to push back. If your hammer blows mar the surface, you've gone too far.
For final assembly of the panels, two opposing panels will each require eight nails being driven home, the other two opposing panels will each require six nails being driven home. With four nails each, the bottom slats are installed in a manner that keeps any eventual contents of the crate off the ground.
I very much look forward to any discussion on what I've presented here. For those interested in this subject, try searching "crates" (using quotation marks) on this forum. There is a wealth of information previously posted by those far more accomplished than myself...
 The following photos explain assembly of one of the two pieces at left.
I use hand tools as much as possible and find the large backsaw indispensable. Second most useful is the 1" socket firmer chisel, kept shaving-sharp; never struck but used as a "slick" for paring. The small hammer is plenty for box nailing and affords good control. The square and the rule are your best friends for this type of work, trust them without question and use them often.

Modern four penny (4d) box nails were used in lieu of the oft-discussed "correct"cut nails. The originals here are from a small 1892 schoolhouse I disassembled which provided the wood used for the furniture shown. The structure came apart with ease and most boards simply tapped apart. It was my observation that the nails mostly acted as pins preventing lateral movement rather than providing the clamping force we expect with today's construction techniques. It is important to add that all of the sheathing, siding, and flooring of the structure was tongue-and-groove.

Much of the lumber was then utilized for sheep panels which required removing the tongues and grooves with a drawknife, yielding 5" width boards. The panels had been assembled with sheet rock screws, which again, were easily removed.

The boards were then ripped in half with a circular saw and four panels assembled, 18" wide, 20" in height. For each nail, a 5/64 hole was drilled in the board it was being driven through. Note the nails for assembly of the individual panels are started in their holes at this point.

Nailing into end grain provides little clamping force; avoid it like the plague. No need to drive the nail head into the wood, as the fibers thus compressed only strive to push back. If your hammer blows mar the surface, you've gone too far.

For final assembly of the panels, two opposing panels will each require eight nails being driven home, the other two opposing panels will each require six nails being driven home. With four nails each, the bottom slats are installed in a manner that keeps any eventual contents of the crate off the ground.

I very much look forward to any discussion on what I've presented here. For those interested in this subject, try searching "crates" (using quotation marks) on this forum. There is a wealth of information previously posted by those far more accomplished than myself...


