-
Friends, our 2nd Amendment rights are always under attack and the NRA has been a constant for decades in helping fight that fight.
We have partnered with the NRA to offer you a discount on membership and Muzzleloading Forum gets a small percentage too of each membership, so you are supporting both the NRA and us.
Use this link to sign up please; https://membership.nra.org/recruiters/join/XR045103
You are using an out of date browser. It may not display this or other websites correctly.
You should upgrade or use an alternative browser.
You should upgrade or use an alternative browser.
Decorative inlaying
- Thread starter steveh
- Start date

Help Support Muzzleloading Forum:
This site may earn a commission from merchant affiliate
links, including eBay, Amazon, and others.
Practice on a seperate piece of wood. I draw the outline by using the back of a sharp knife like and X-acto. I then darken the marks with a rubber eraser on the wood. If you file ever-so lightly on the back of the brass inlay, You can establish a bevel.SteveH said:Can someone direct me to a tutorial, topic, etc. on the method for inlaying decorative metal (stars, moons....pink clovers :grin!
Thanks...
Try to start inlaying the piece with this bevel in mind. I allways draw a second line 1/16" inside the first line and start my cuts. Remove enough wood to establish the depth of the brass into the wood. I use emery boards cut to size to finish sanding. My last step is to gently remove the last 1/16" of wood around the outside. The bevel in the brass should give the appearance of a perfect fit. Most folks finish by drilling a tiny hole in the piece and hammer in a brass nail of sorts to anchor the piece in. This brass nail has no head per say, maybe just a lump. Use epoxy to set the piece and finsh with the brass nail. File off the head of the nail flush with the surface using a very fine toothed file and it will dissapear. Here's one of my inlays, sorry the pictures kind of crappy....

The inlay should be bent to the contour of the intended area and the edges are filed for a slight back draft. The inlay has to be "held" against the wood....some use a screw, pins, nails, fingers or "super glue". An Exacto knife w/ a new blade is used to cut around the inlay at the base of the drafted edge and then the inlay is removed. The same Exacto knife or a chisel is used to back cut to the "cut in outline" and because the original outline cut is outside the inlay, the inlay has a partial entry as soon as the interior wood is removed. Continue removing wood, both on the edges and depth as indicated by whatever is used for a spotting compound until the inlay is a few thousands of an inch above the wood. The inlay can then be filed flush w/ the wood and remains there for final sanding and finishing, thereby preventing the edges of the inlet to be rounded over. There are a few excellent "how to" books available and at least one should be studied thoroughly...Fred
Over the years, there have been several posts about installing inlays. You might want to check out this link:
INLAYING
You might also want to look this old post over;
tools
If you ever get around to inlaying a large item like a patchbox, you might want to look at this post:
Large Inlay Depths
INLAYING
You might also want to look this old post over;
tools
If you ever get around to inlaying a large item like a patchbox, you might want to look at this post:
Large Inlay Depths
AeroncaTAL
50 Cal.
- Joined
- Jun 19, 2006
- Messages
- 1,196
- Reaction score
- 0
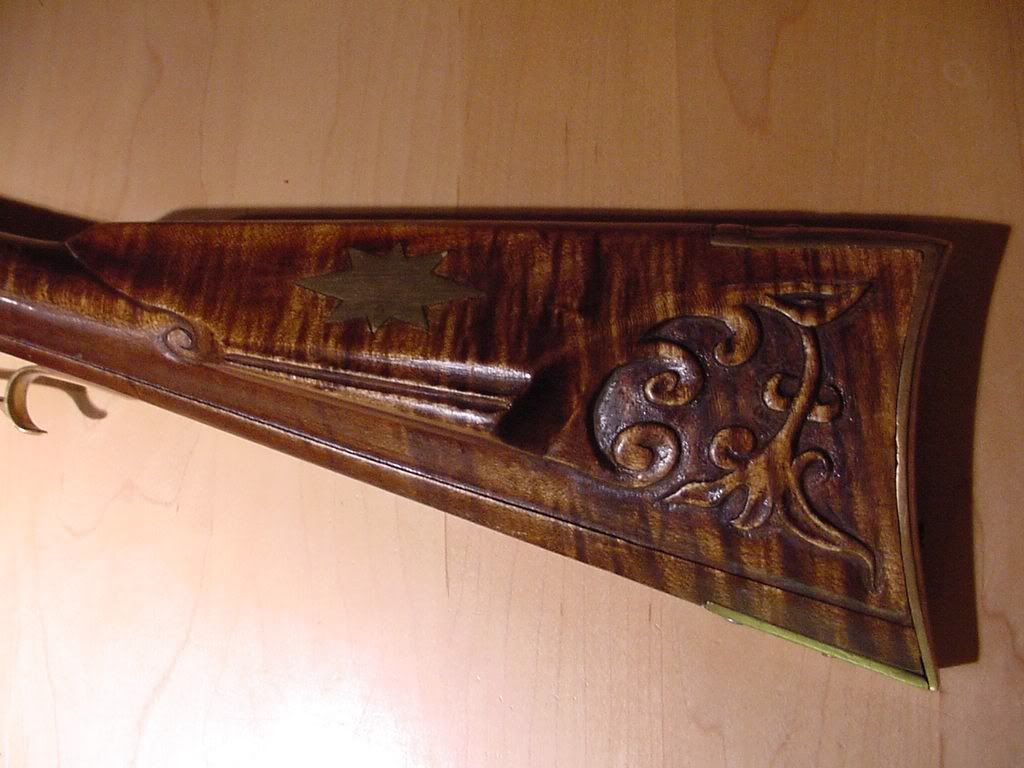
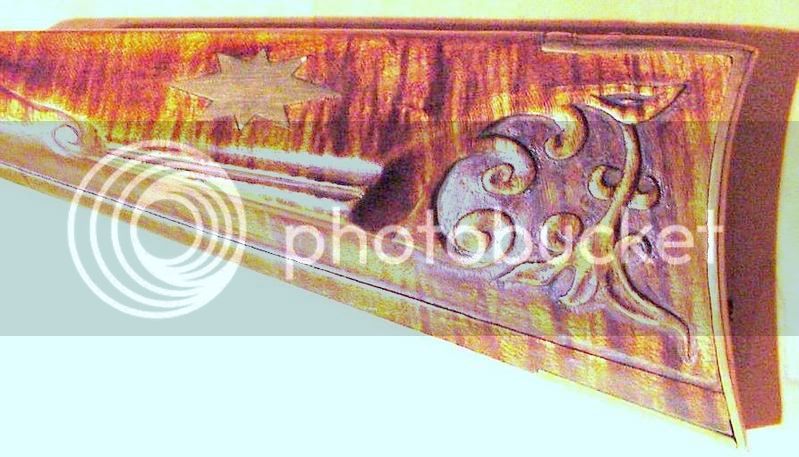
Here is an inlay I put in the cheek piece of my GPR this past weekend.

I basically used the methods put forward here in this discussion, but not exactly. :redface:
This is my first inlay attempt and I had a little trouble forming it to the shape of the stock, with the result that the German Silver ended up slightly out of true (and I was so careful to cut and file it exact ). I also managed to cut a little too deep in places. I was originally just going to pin it into the stock, but ended up using epoxy. I did pin it in four places with brass brads, and put a brass #2 screw in the center, but mostly for show. I then inlay some brass wire around the star. After setting the inlay, I filed and sanded it to the wood.
Scott

I basically used the methods put forward here in this discussion, but not exactly. :redface:
This is my first inlay attempt and I had a little trouble forming it to the shape of the stock, with the result that the German Silver ended up slightly out of true (and I was so careful to cut and file it exact
Scott
Goldhunter
54 Cal.
- Joined
- Mar 27, 2006
- Messages
- 1,596
- Reaction score
- 6
Nice job! :grin: That looks great. :thumbsup:
Similar threads
- Replies
- 10
- Views
- 808
- Replies
- 7
- Views
- 303
- Replies
- 0
- Views
- 505
- Replies
- 9
- Views
- 515
- Replies
- 55
- Views
- 6K


