Doing Barrel channel with vertical mill

Muzzleloading Forum

Help Support Muzzleloading Forum:

This site may earn a commission from merchant affiliate links, including eBay, Amazon, and others.

theDuck

40 Cal.
Joined
Sep 20, 2005
Messages
144
Reaction score
6
Has any one use a Bridgeport type vertical mill to router out a barrel Channel? I've done them with a real wood router but it seems easier to clamp the wooden stock blank in the mill vise and crank the table around to do the channel. ( read; I'm lazy)
Before I wreck a piece of walnut has anyone tried it? Did you use a wood router bit or an end mill?
 
seems that the table on a Bridgeport mill is almost too small for a gunstock. (9x42 if my memory serves me) I have used standard end mills for wood cutting. Seems I cant get enought speed (4000 rpm) is all I can get out of my mill. I'd prefer a router.
 
Yes, I have put barrel channels in stock blanks with a vertical mill. I only have a table top vertical mill with about 20 inches of travel so I can only do half stocks. I use a rotor bit. I take many passes till I get to the deepth I want. I also set a stop on the table so I don't go to far back in the stock (Toward the wrist)at the breech end.

For full stock rifles I take them over to The Log Cabin Shop And let Oz put the barrel channels in.
 
Where can I find information on how to inlet for octagon barrel, either by hand or router. I've got 9x42 Bridgeport but 4000 rpm is a bit of a fuzzy router in my past experience with wood and it. Round barrels for suppository guns pretty straight forward by hand (esp if free floating)... 8 sides gets me confused.
 
Check Mike Brooks tutorial here, and then invest in some of the films available on how to build rifles. If you have access to a table saw, us it to cut the straight sides, including the two side flats, and then cut all the way down to where the bottom flat is going to be located. With that much wood removed, you can often remove much of the rest so that a router bit, in your mill, or in a handle held router, with a guide clamp on it, only has to cut the two angled flats on the bottom of the octagon barrel. If you do the long cuts on a table saw, you can clamp your stock blank in the mill vise at a couple of locations and still set it up so you will cut an even flat on the bottom three flats of the barrel. The curve of the pistol grip or wrist of the stock may not let you get all the way back to where the breech of the barrel will be inletted into the stock, on your mill, so you may just have to set up a router to do this work, or otherwise do it with chisels, by hand. Don't hesitate to talk to your local woodshops. They will often help you with your small projects while you wait. All kind of " deals " are struck with the guys who work in these shops. The same with local machine shops. I have yet to meet someone working in a machine shop who is not interested in guns.
 
I've gone through Mikes tutorials several times. They are great. Thanks for your input Paul, makes good sense. are there a couple of specific books that should be "required" for building/reading here?
 
I'll be inletting another barrel in a few days, I can take pics as I go along. The biggest thing is layout. Other than that is fairly simple

here are some pics on the progress of inletting a barrel that I have done, but no descriptions[url] http://www.nimrodsplace.com/nefowler3.html[/url]

I pretty much sart out finding a center line and use a router to go to the deepest part of the smallest diameter of a barrel. Then go after it with hand tools... Any questions feel free to send me a pt
 
Last edited by a moderator:
I've used a hand held router in the past. I clamp angle iron on the stock blank for a wider place for the router to sit on and set the router guide on the iron to slide along.
Got looking at the mill and figured it may be simpler to use.
 
Get a 45 degree router bit with a quarter shaft. Run a round nosed mill in the 3/4 range first. Since you are cutting the full depth of the barrel, you have to work in stepsThen use the 45 to cut the width and clean up the angles. The tip of the 45 may cut a little into the bottom flat. Clean up the bottom flat to the needed depth with a straight end mill. Worked just fine for me, but I built a jig on the router table and did it upside down making test cuts to make sure of settings as I went. My mill/drill will not cut a long enough channel without moving the piece of wood. I considered making a sliding jig for it so I could cut a longer channel
 
Many years ago a machine shop instructor held a class on building muzzleloaders. He had ground a special cutter to use in the vertical mill for octagon barrels. As I recall, we went half way down the channel due to table travel limit, taking light cuts until we were at the right depth. Then we moved the stock ahead and finished up the rear half; the ramrod channel was done the same way up to the inlet hole. We used a shop vac in back of the cutter to keep chips out of the way and to save time in clean-up (2 man team). Worked real slick! My only regret is that I didn't build a flinter at that time. Emery
 
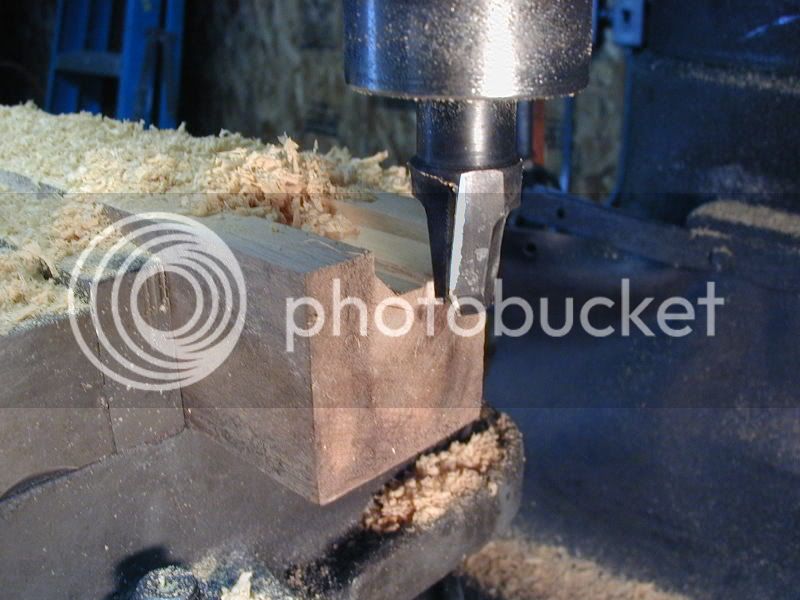
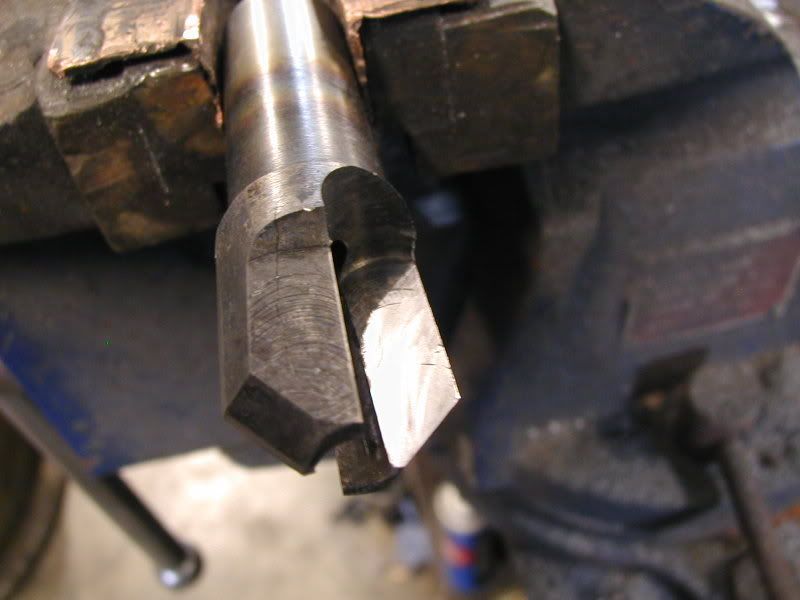
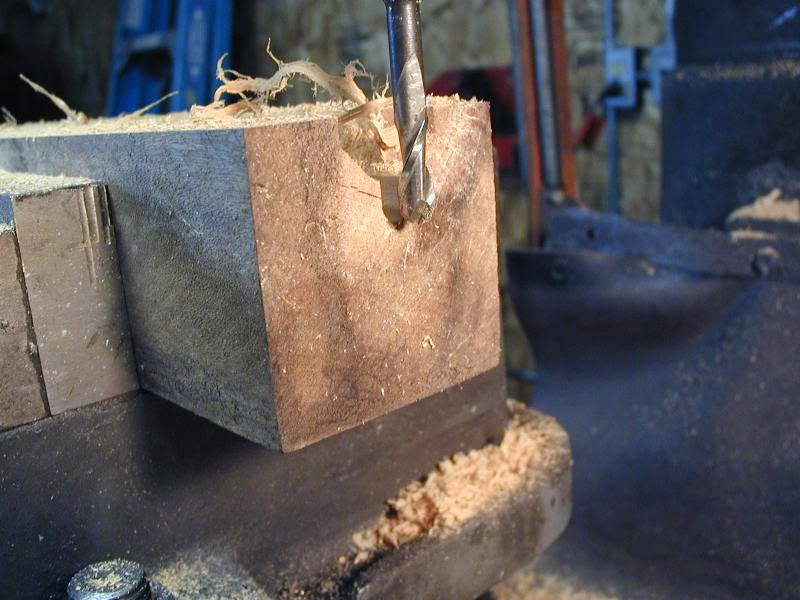
I have posted these pictures before.
brassUHforeend.jpg

Router bit made from cut off end of Douglas barrel
routerbitpolish2.jpg

cutting ramrod channel for under hammer
brassUHforeend2.jpg
 
Hey John I was wondering when you were going to finally jump in. :thumbsup:
 
Excellent!! Thanks guys! With respect to hand held routers I seem to remember a jig made from two planks (3"x3" and 3"x5-6" perhaps and length to need) and two Jorgenson pipe clamps. Smaller plank mounted to the crank jaws and the other with a piece of iron for a straight edge that apparently was adjusted to guide the router base along the blank clamped between the two planks. Simple, seemed to work to the satisfaction of the builder. I'm sure the guy did most of his work with hand tools and just used this jig to save a few hours of grunt work hogging out the bulk of the barrel channel. You know, something like that could be built to slide along an index bar on a mill table to give the length of cut needed also. Thanks for those pictures, very helpful!
 
Back
Top