OK I was asking questions on balance and some people showed interest in a build along.
This is my first gun build. My hobbies are making bows, arrows and stone bladed knives usually. I also carve canes and walking staffs. I am not a metal worker....yet.
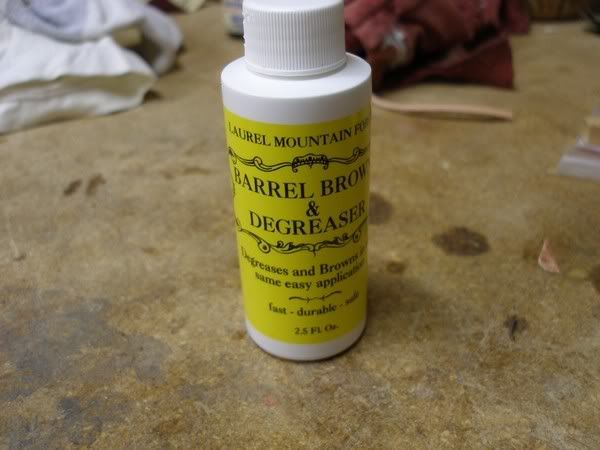
I will post what I have so far and I regret not taking more photos now. I am waiting for browning solution to get here in the mail so I will post more of that process when I get it started.
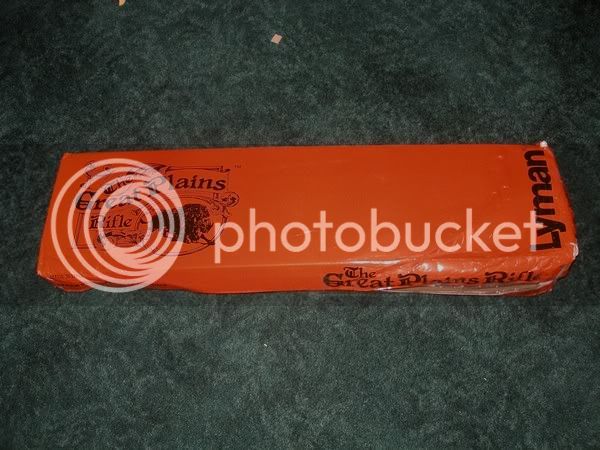
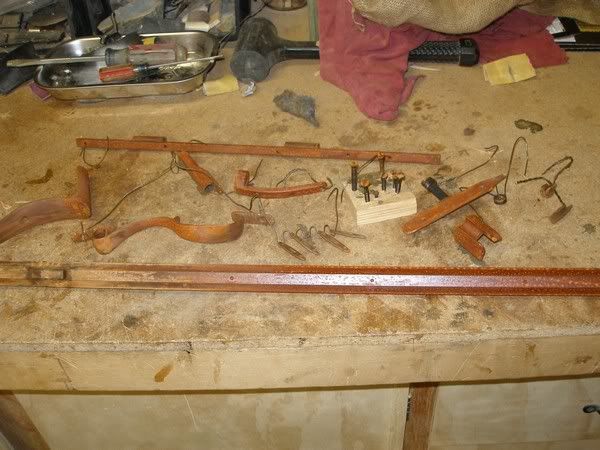
This is the kit I bought from Track of the wolf, on line. $395 or so with freight.
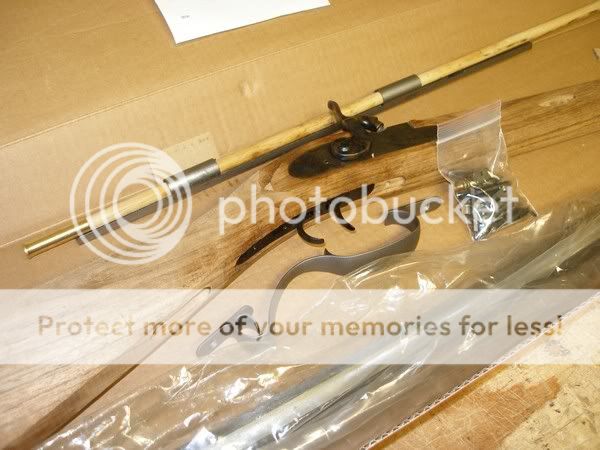
Here it is when I opened the box. it had sat in a fed ex truck over the holidays and was wet from snow seepage.
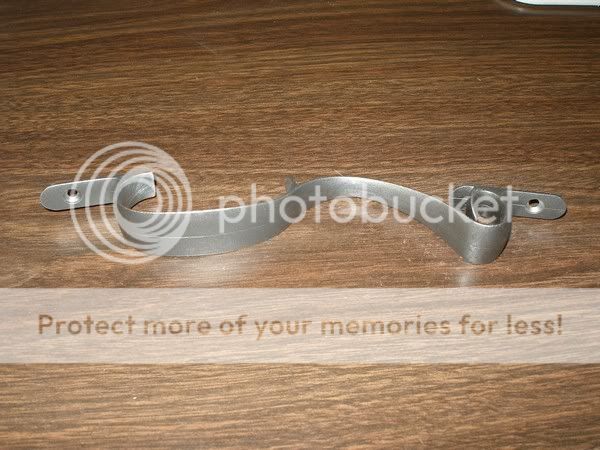
The trigger guard
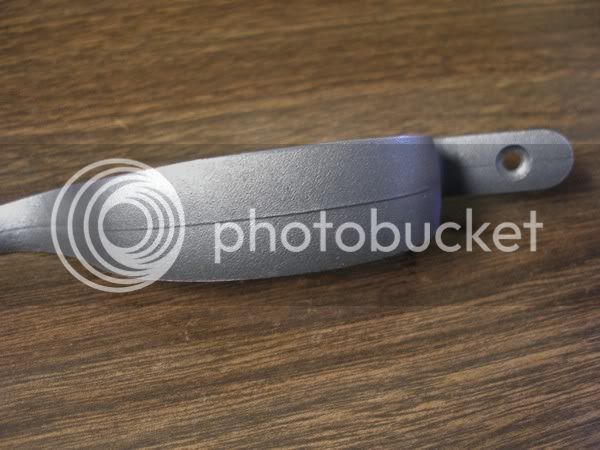
The casting marks on the guard as it came out of the box.
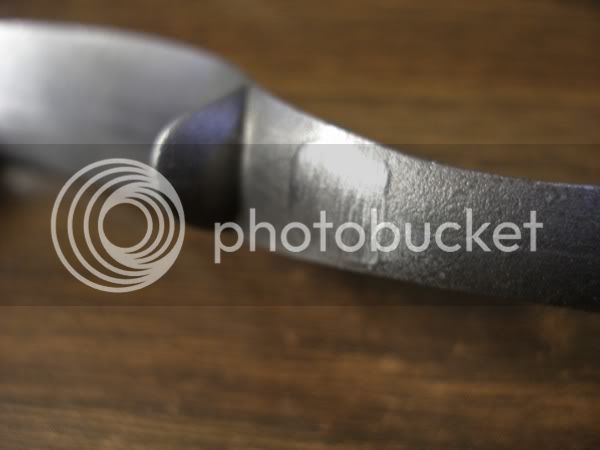
More casting marks
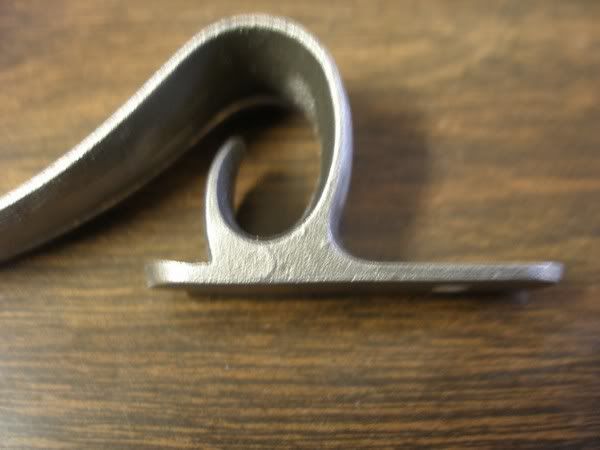
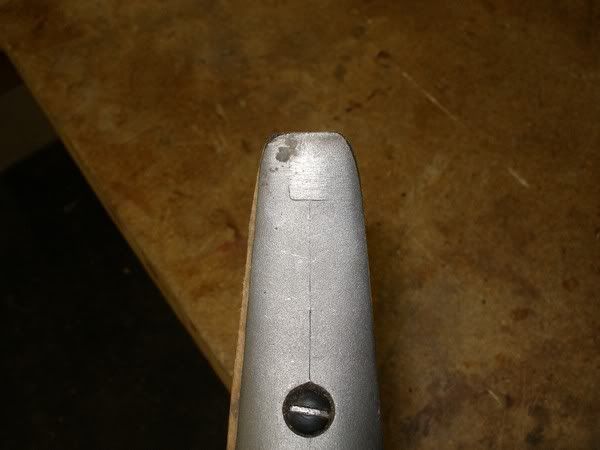
The way the base looked as I got it.
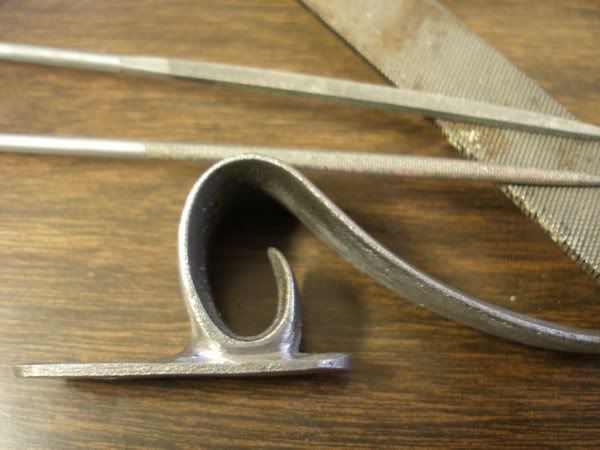
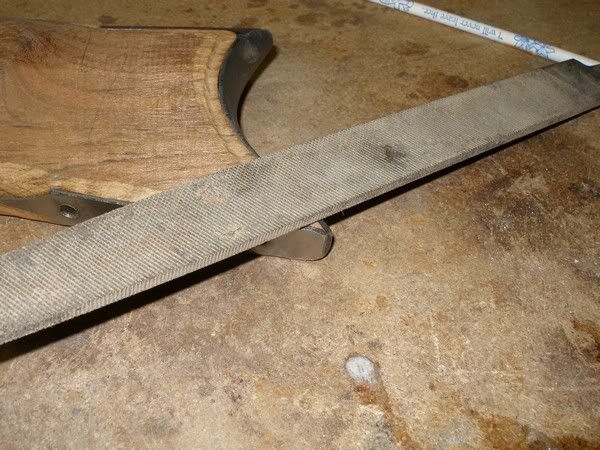
I started modifying it to give it better definition. I was using a 6" mill bast file and some hobby files that were different shapes.
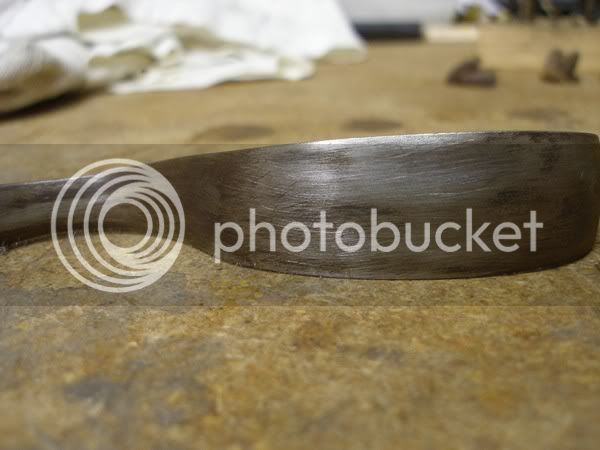
The butt plate has casting blemished as well
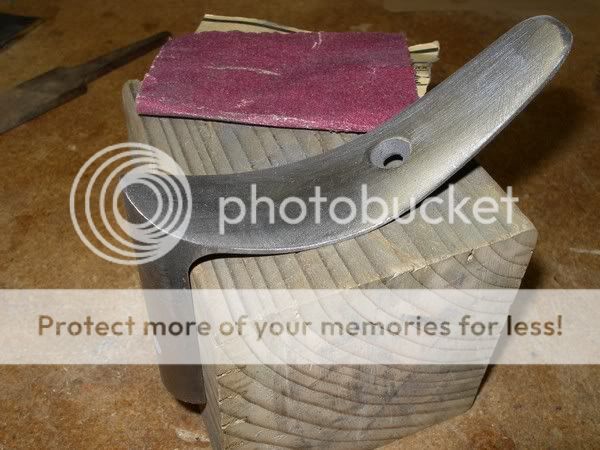
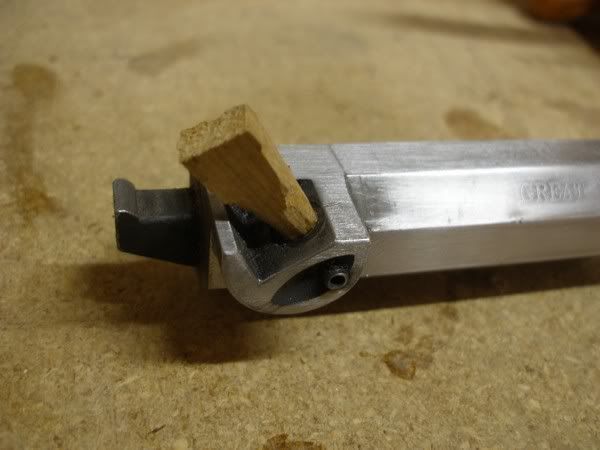
Filing the but plate I set it on a wood block so I could hold it better.
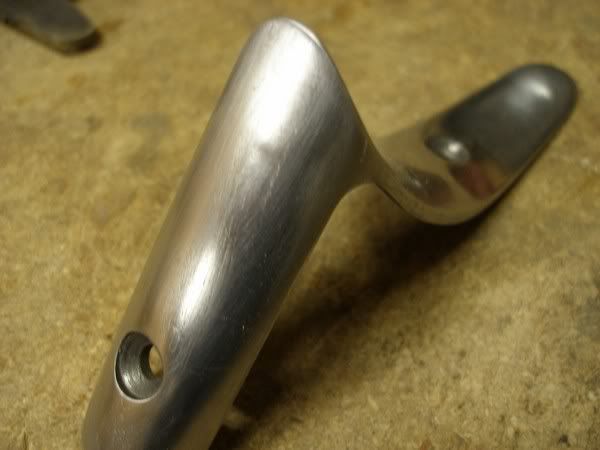
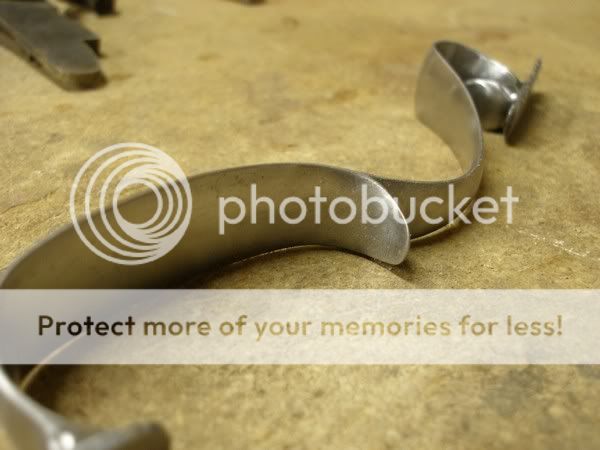
Here it is after filing and sand paper from 100 grit through four stages to 600 grit.
the trigger guard with the same process. I sanded my fingers as I was doing this to the point they split open.
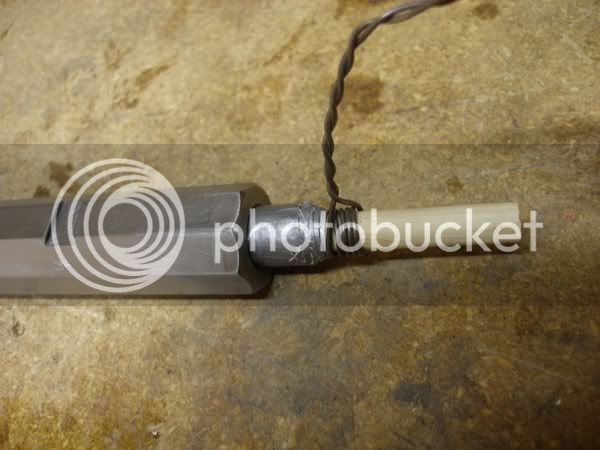
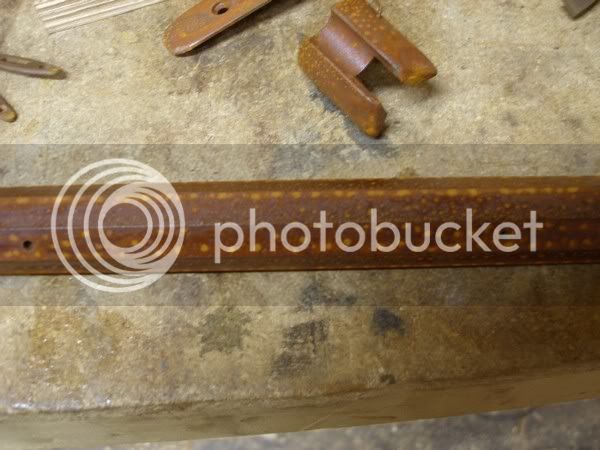
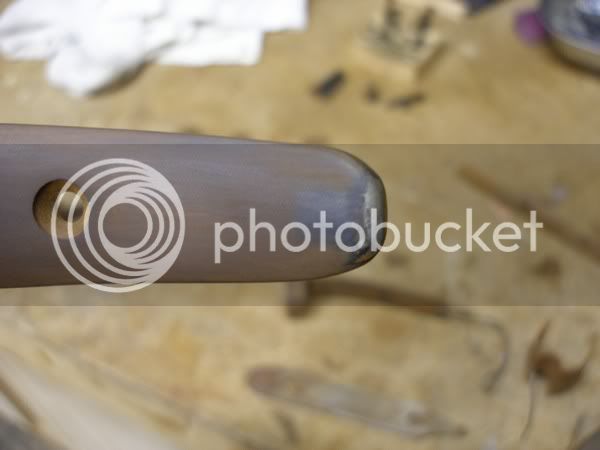
I am not sure what this part is called, it is where the ramrod enters the wood of the stock. Being a non conformist I had to add a second grove next to the one that was cast into it just to make mine different. I was going to do three but the second one wore me out.

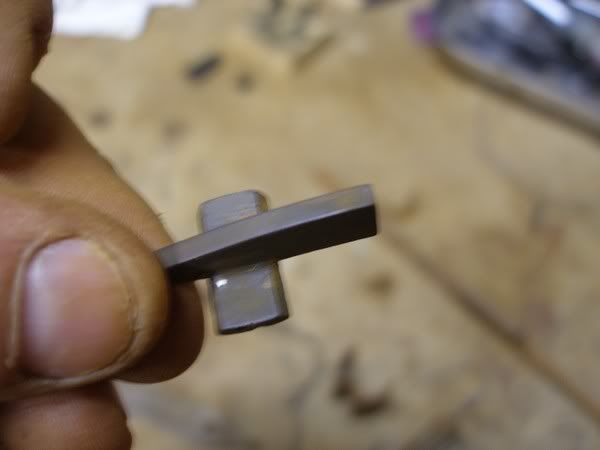
The triggers had casting lines up the center of them so I filed and sanded them smooth.
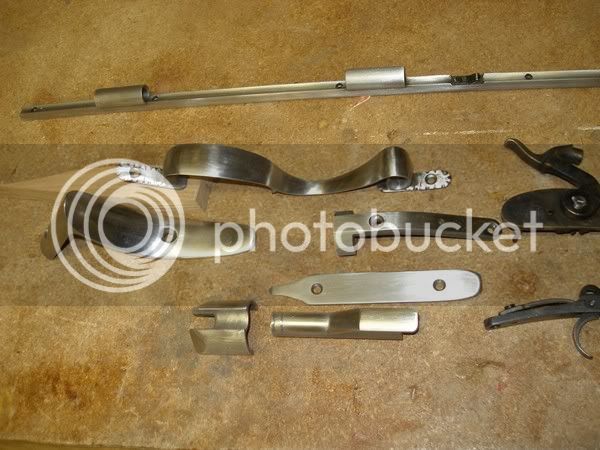
Sanded furniture ready for browning process I don't think I will mess with the lock or triggers as I am not sure what the browning process might do to their function.
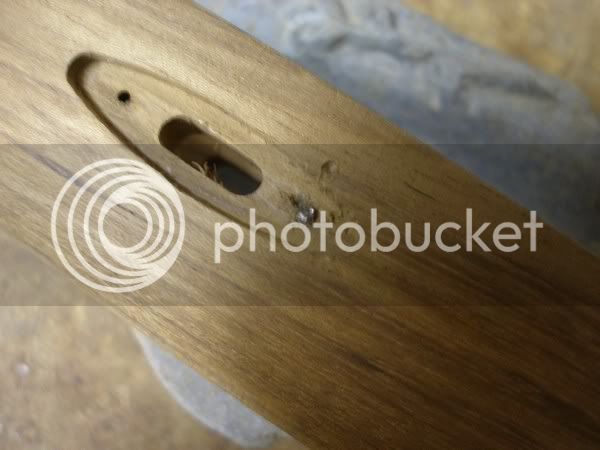
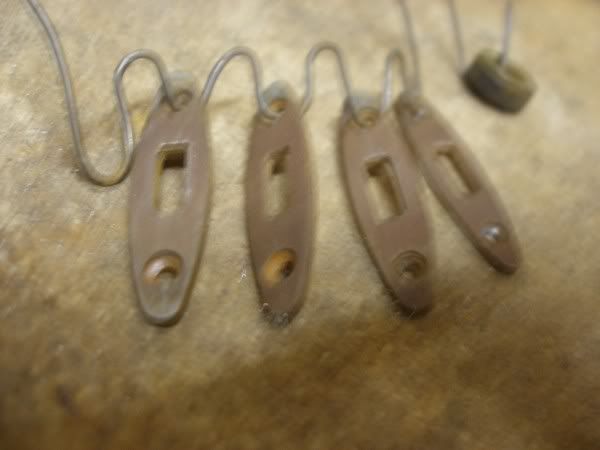
I tried putting the whole thing together once but the escutcheon screws were soft and I broke two off in their holes. This was one to document my error.
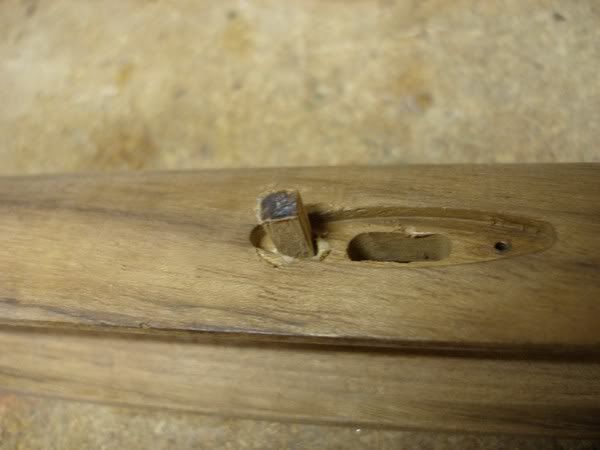
I drilled a hole along side the screw then broke it out sideways. then I plugged the hole with glue and a hardwood wedge. then cut the wedge off with a chisel and sanded it smooth. I bought some new "2x 1/2" single slot screws to replace all of the ones that came with the kit. Somebody suggested I wax them before trying to mount the escutcheons again.
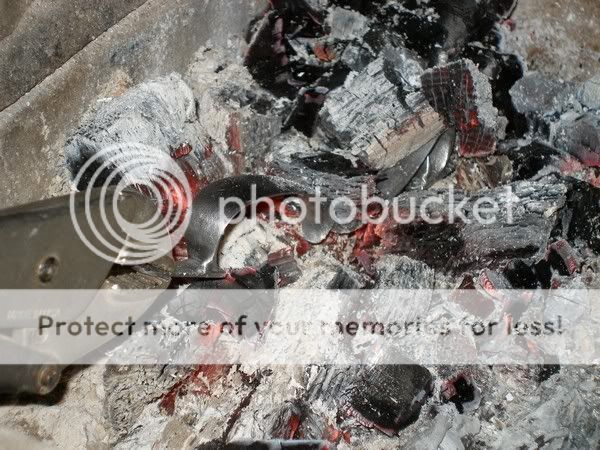
The other issue I had was that the trigger guard came warped to one side and did not fit the mounting inlets well. I got brave and heated it in my wood stove and bent it straight. The heat colored the metal at the one end but with more sanding I got it back to match the rest of the metal.
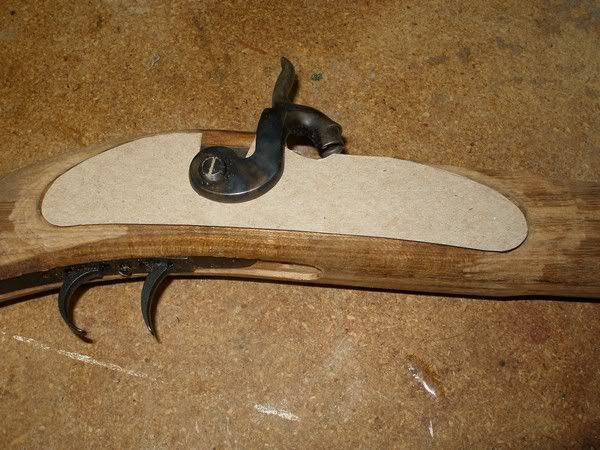
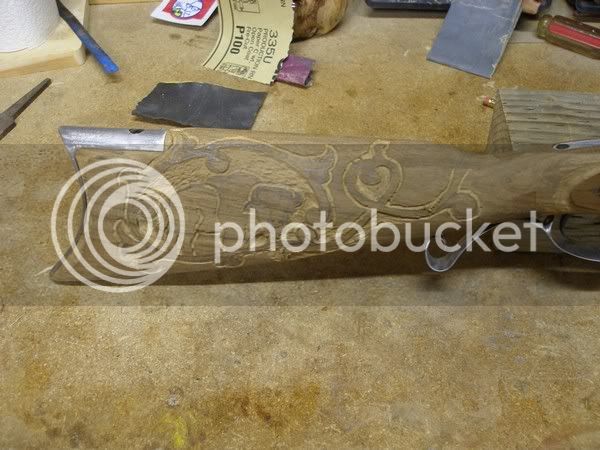
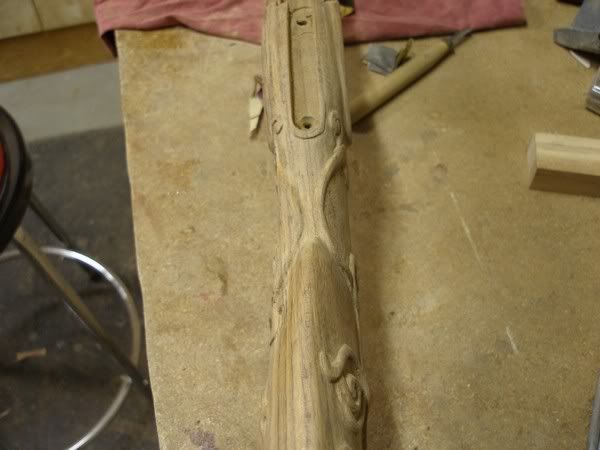
When I started the carving first thing I did was to make a cardboard pattern of the raised area around the lock. I then used it to make the opposite side the same size and shape.
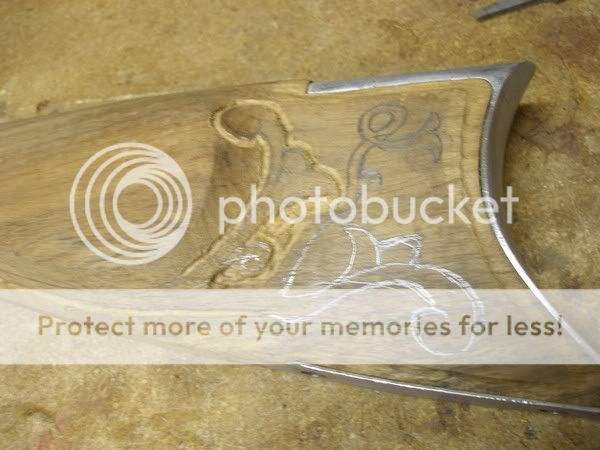
I drew a rough sketch of what I wanted to do,then outlined it with a dremmel and small round bit. I use round bits from as tiny as a pin head to about the size of a .50 cal lead ball. the round heads tend to leave less marks if you mess up and they won't grab and rip through your work if you use a light touch.
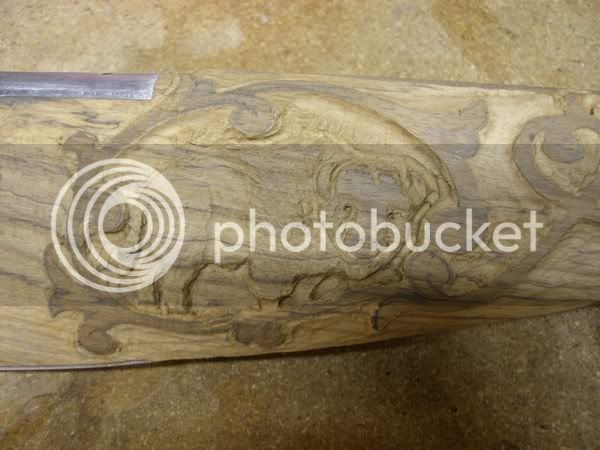
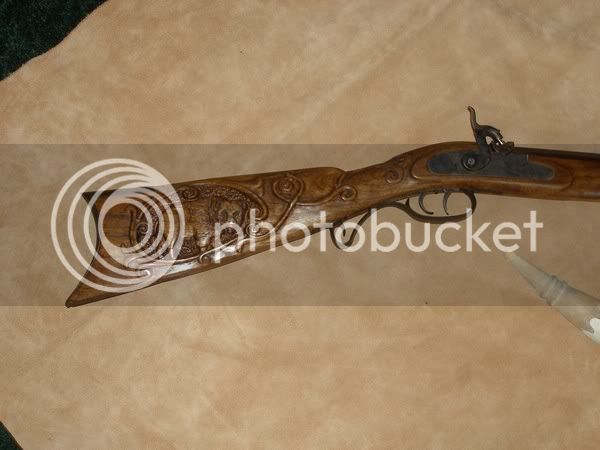
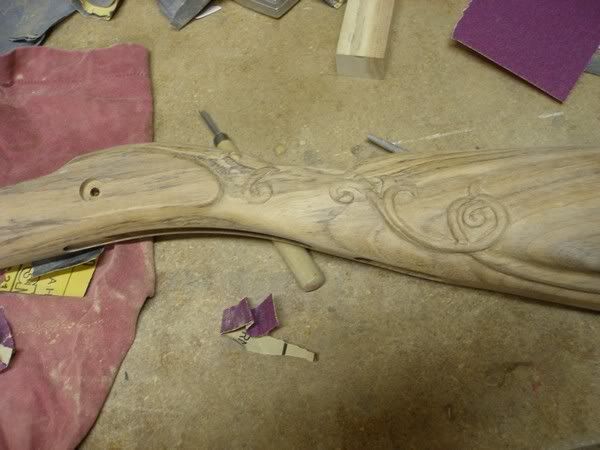
I drew the circle of vines first to get my size then drew the buffalo freehand by looking at a picture. I Had this image in my mind before I got the kit and discovered Lymans logo is similar.
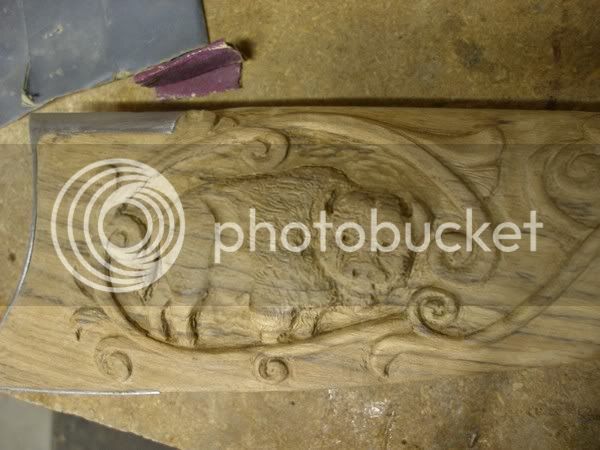
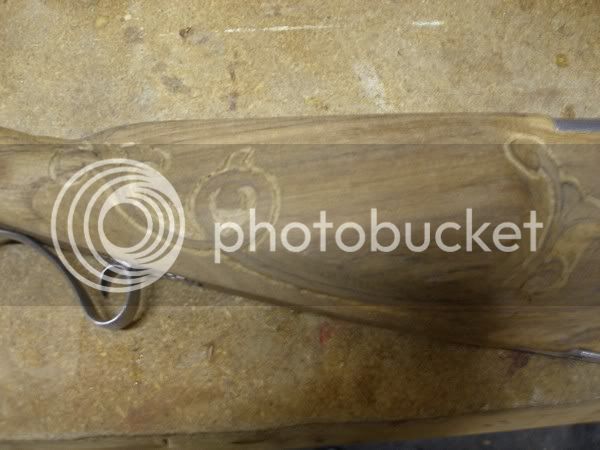
I take the surrounding wood down away from the parts I am defining. Then I file and or sand to smooth it all out. I jump from tiny to small to large to tiny tips on the dremmel to get what I am looking for. Once it is carved I sand,sand,sand. The hobby files come in handy here too to get in the crevasses and sharpen lines. Notice I took out the center part of the drawing I liked this side a bit less cluttered.
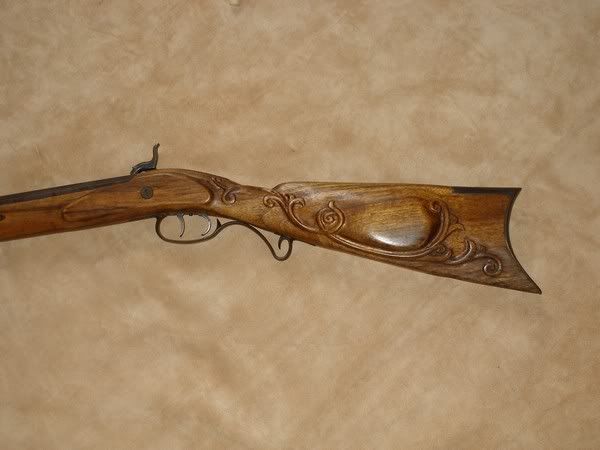
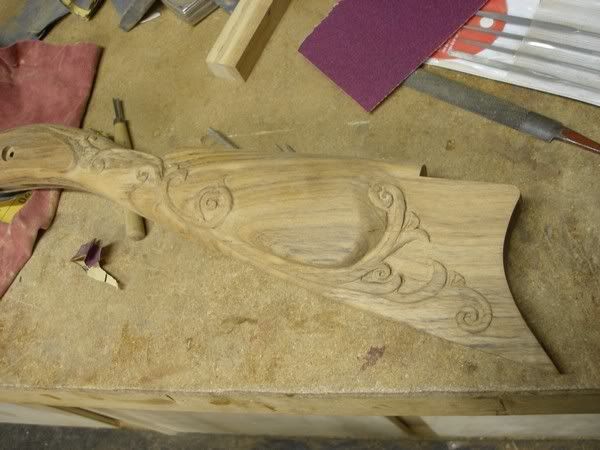
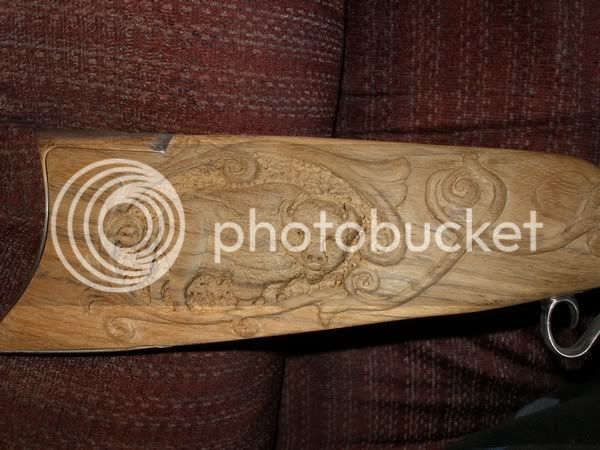
As I get it close to finished, I close my eyes and run my fingers over the carving to find sharp or rough points then sand them down. I want the wood to feel good in your hands even more than look good.
Once the wood was carved I needed to modify the edges of the butt plate to match the wood.


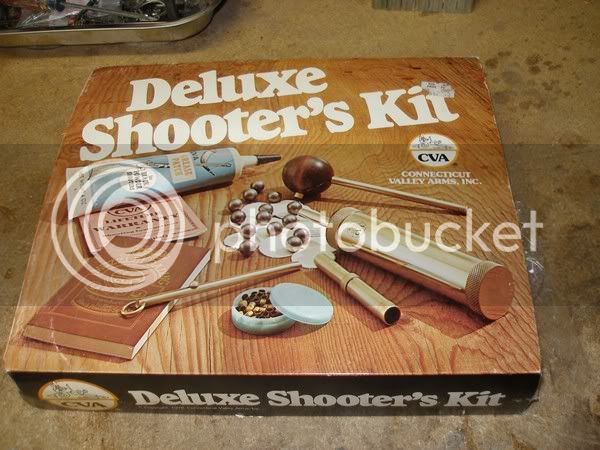
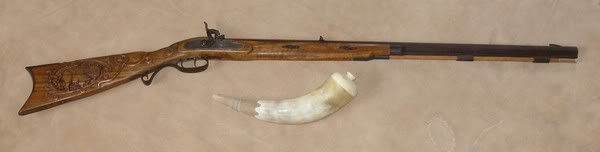
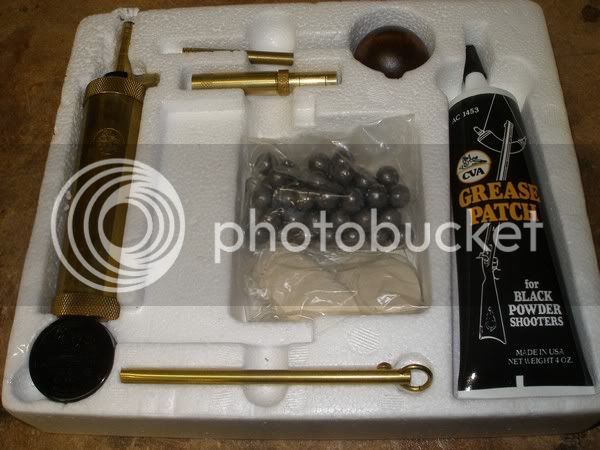
Score! A friend was cleaning out his closet and found this. Since he knew I was building a black powder gun he gave it to me. It was even a .50 caliber kit like the rifle I am making :grin:
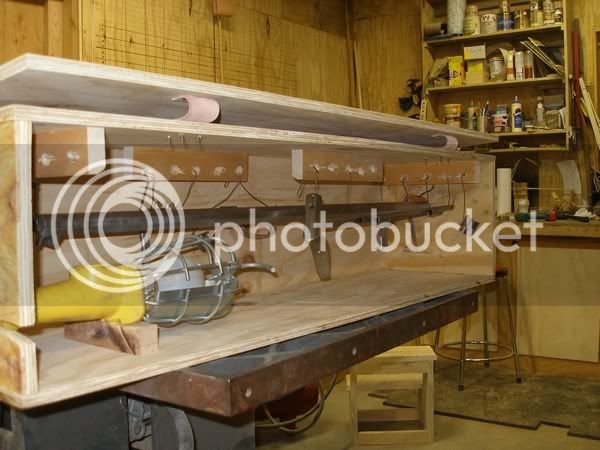
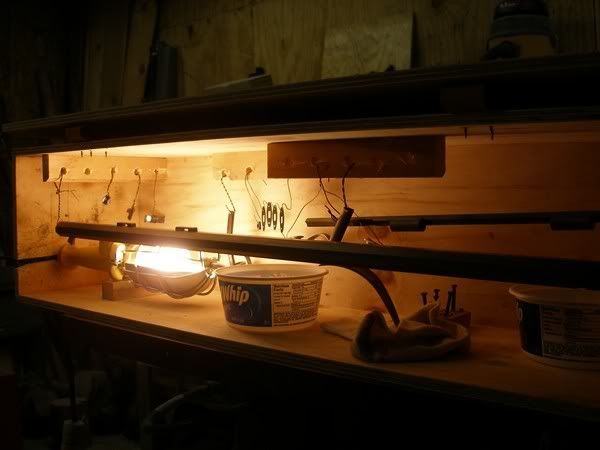
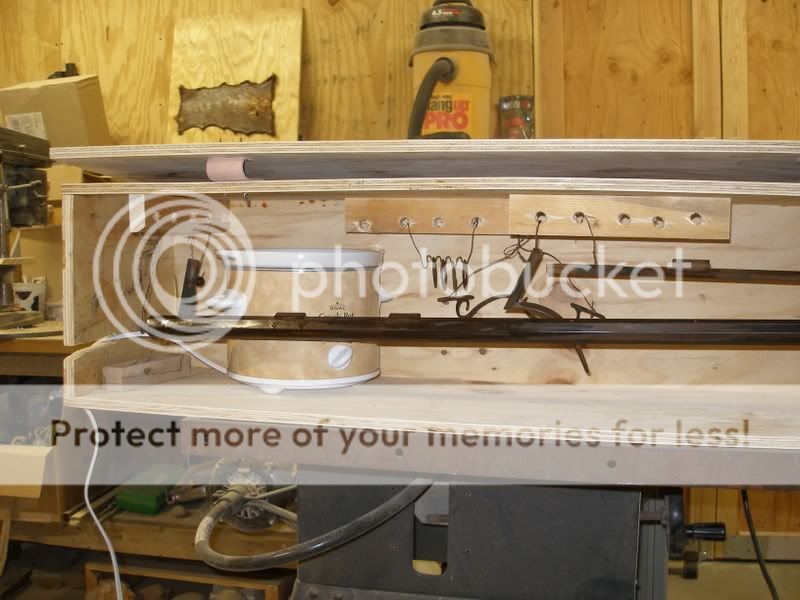
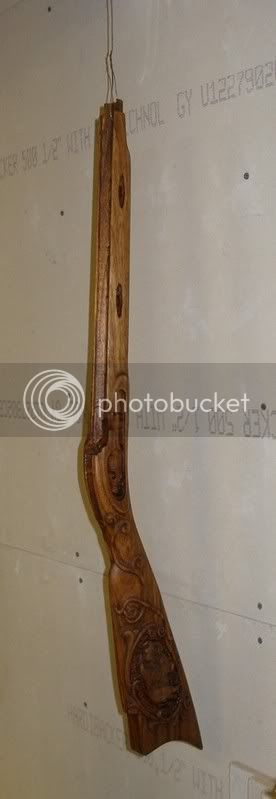
I made a sweat box for the browning process tonight. I tried hanging the barrel and all the furniture to make sure it would all fit
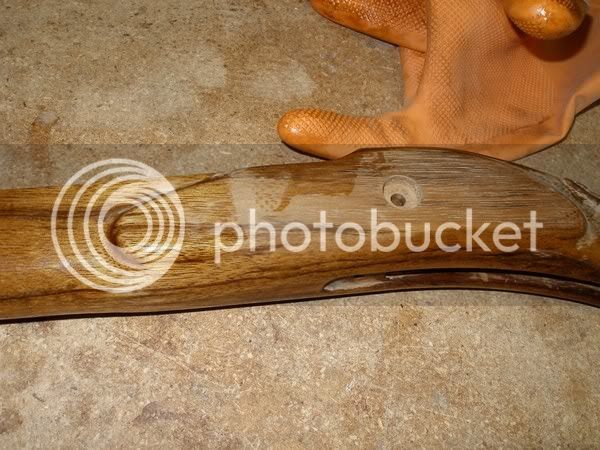
Ahhhhh, dark walnut stain, I like it!
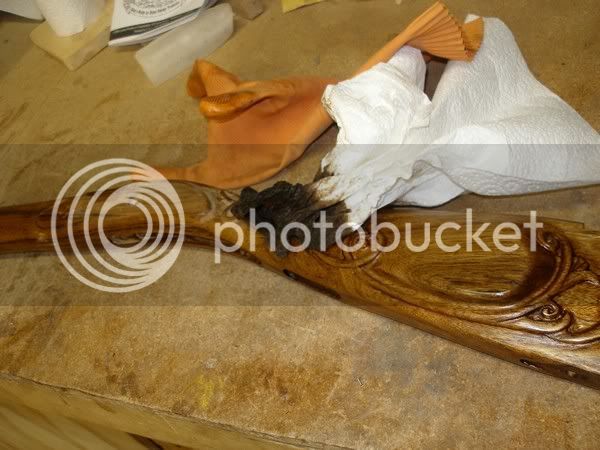
It is drying now! I can't wait to get this browning process going.
This is my first gun build. My hobbies are making bows, arrows and stone bladed knives usually. I also carve canes and walking staffs. I am not a metal worker....yet.
I will post what I have so far and I regret not taking more photos now. I am waiting for browning solution to get here in the mail so I will post more of that process when I get it started.
This is the kit I bought from Track of the wolf, on line. $395 or so with freight.
Here it is when I opened the box. it had sat in a fed ex truck over the holidays and was wet from snow seepage.
The trigger guard
The casting marks on the guard as it came out of the box.
More casting marks
The way the base looked as I got it.
I started modifying it to give it better definition. I was using a 6" mill bast file and some hobby files that were different shapes.
The butt plate has casting blemished as well
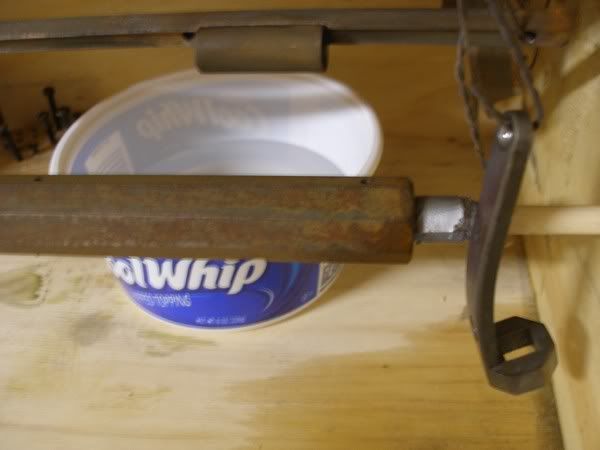
Filing the but plate I set it on a wood block so I could hold it better.
Here it is after filing and sand paper from 100 grit through four stages to 600 grit.
the trigger guard with the same process. I sanded my fingers as I was doing this to the point they split open.
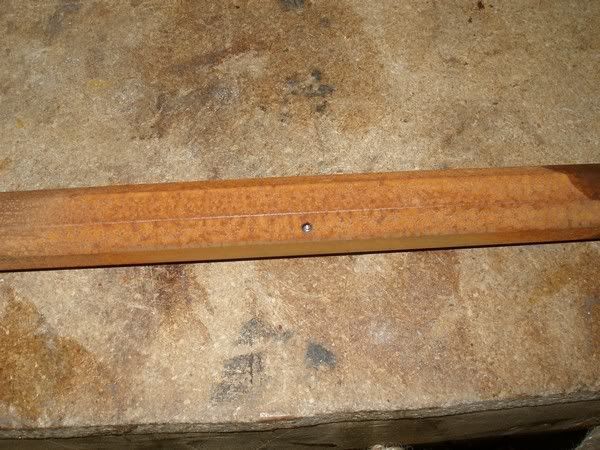
I am not sure what this part is called, it is where the ramrod enters the wood of the stock. Being a non conformist I had to add a second grove next to the one that was cast into it just to make mine different. I was going to do three but the second one wore me out.
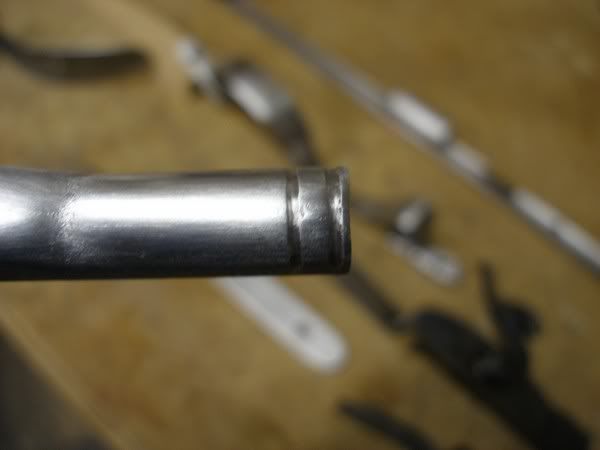
The triggers had casting lines up the center of them so I filed and sanded them smooth.
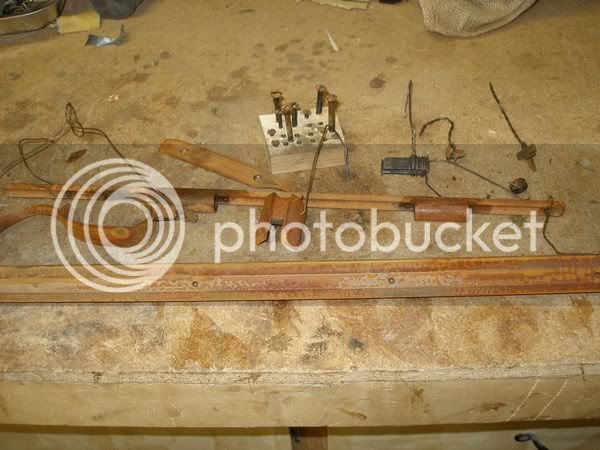
Sanded furniture ready for browning process I don't think I will mess with the lock or triggers as I am not sure what the browning process might do to their function.
I tried putting the whole thing together once but the escutcheon screws were soft and I broke two off in their holes. This was one to document my error.
I drilled a hole along side the screw then broke it out sideways. then I plugged the hole with glue and a hardwood wedge. then cut the wedge off with a chisel and sanded it smooth. I bought some new "2x 1/2" single slot screws to replace all of the ones that came with the kit. Somebody suggested I wax them before trying to mount the escutcheons again.
The other issue I had was that the trigger guard came warped to one side and did not fit the mounting inlets well. I got brave and heated it in my wood stove and bent it straight. The heat colored the metal at the one end but with more sanding I got it back to match the rest of the metal.
When I started the carving first thing I did was to make a cardboard pattern of the raised area around the lock. I then used it to make the opposite side the same size and shape.
I drew a rough sketch of what I wanted to do,then outlined it with a dremmel and small round bit. I use round bits from as tiny as a pin head to about the size of a .50 cal lead ball. the round heads tend to leave less marks if you mess up and they won't grab and rip through your work if you use a light touch.
I drew the circle of vines first to get my size then drew the buffalo freehand by looking at a picture. I Had this image in my mind before I got the kit and discovered Lymans logo is similar.
I take the surrounding wood down away from the parts I am defining. Then I file and or sand to smooth it all out. I jump from tiny to small to large to tiny tips on the dremmel to get what I am looking for. Once it is carved I sand,sand,sand. The hobby files come in handy here too to get in the crevasses and sharpen lines. Notice I took out the center part of the drawing I liked this side a bit less cluttered.
As I get it close to finished, I close my eyes and run my fingers over the carving to find sharp or rough points then sand them down. I want the wood to feel good in your hands even more than look good.
Once the wood was carved I needed to modify the edges of the butt plate to match the wood.
Score! A friend was cleaning out his closet and found this. Since he knew I was building a black powder gun he gave it to me. It was even a .50 caliber kit like the rifle I am making :grin:
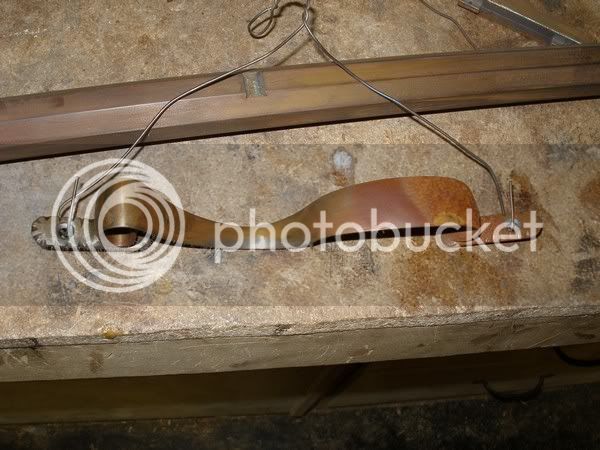
I made a sweat box for the browning process tonight. I tried hanging the barrel and all the furniture to make sure it would all fit
Ahhhhh, dark walnut stain, I like it!
It is drying now! I can't wait to get this browning process going.