• Friends, our 2nd Amendment rights are always under attack and the NRA has been a constant for decades in helping fight that fight.

    We have partnered with the NRA to offer you a discount on membership and Muzzleloading Forum gets a small percentage too of each membership, so you are supporting both the NRA and us.

    Use this link to sign up please; https://membership.nra.org/recruiters/join/XR045103

First Build!

Muzzleloading Forum

Help Support Muzzleloading Forum:

This site may earn a commission from merchant affiliate links, including eBay, Amazon, and others.

19283

36 Cal.
Joined
Feb 26, 2014
Messages
60
Reaction score
0
Howdy,

My name is Mike, and I thought I'd share my first build with everyone, and perhaps get a few hints and tips from the experts along the way :bow: . What I've started with is a .36 cal. TOW classic golden age kit, with one small deviation.... I am going to try and build the stock from a blank. I do not know the wisdom of this decision, but I'm sure having fun with it so far! Since the golden age kit does not come with plans, I am not trying to duplicate a specific gun with this build, but I do have two full size pictures/plans that I'm referring to. One is the Isaac Haines Lancaster, and the other is the John Armstrong Longrifle. Speaking strictly about the profile of the stocks (not the decor) I like the comb of the IH, but everything else on the JA. So, this gun will be a hybrid of sorts, or... an original :grin:. To aid me along the way, I have two videos (Hershel House and James Turpin) and a couple books (Recreating the American Long Rifle and The Gunsmith of Grenville County)and So, anyway, here's where I'm at after a long weekend of playing in the shop!
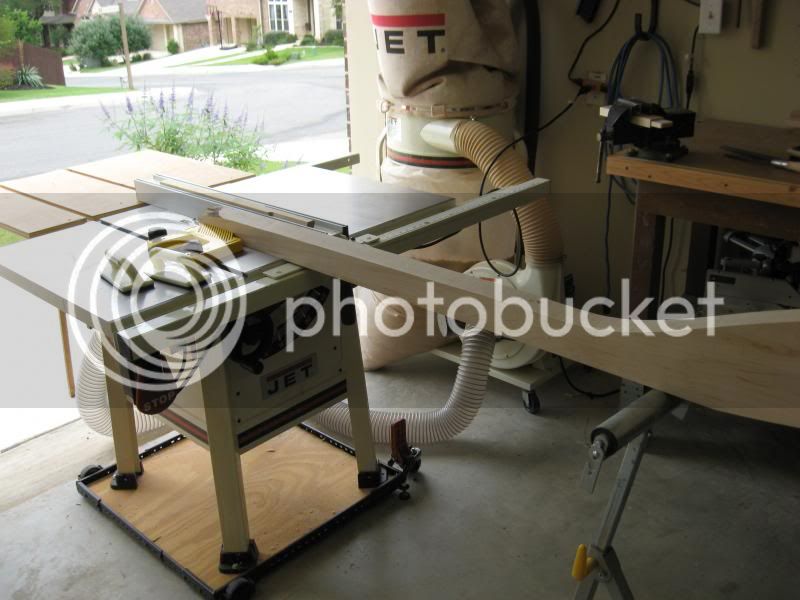
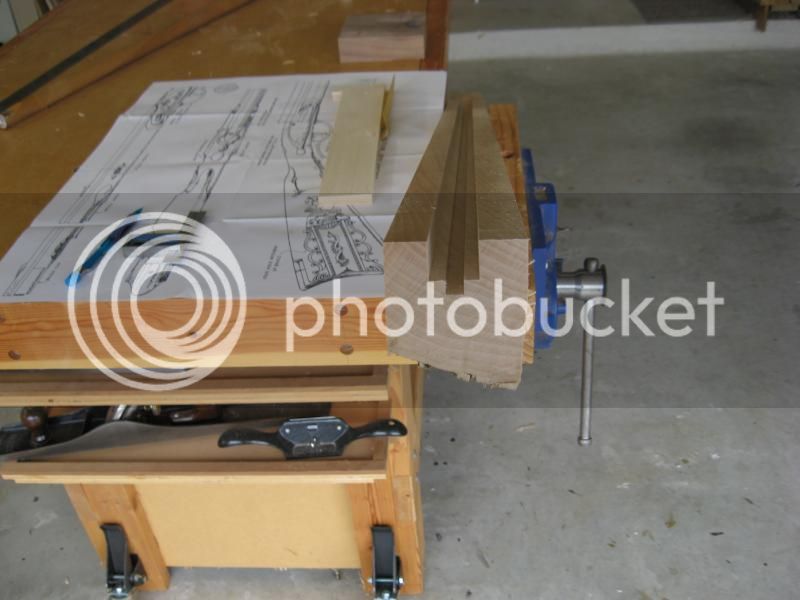
The beginning:
IMG_1098.jpg

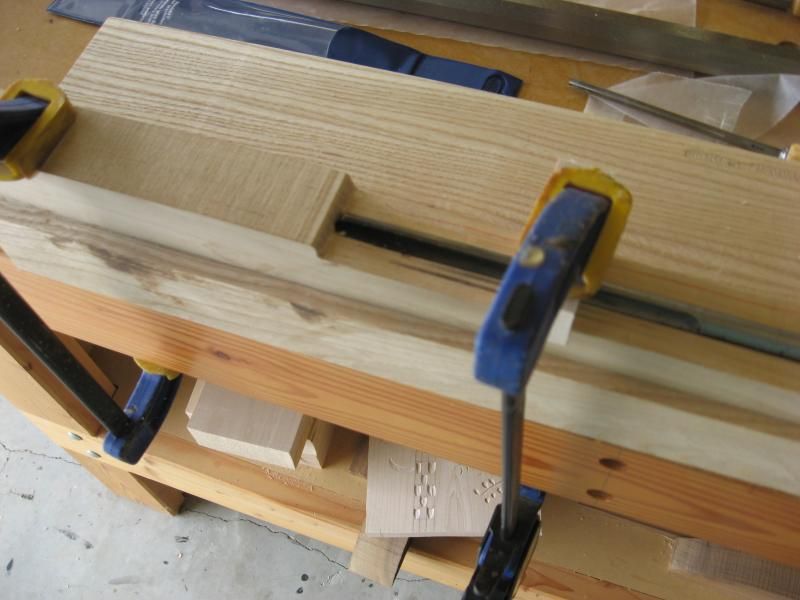
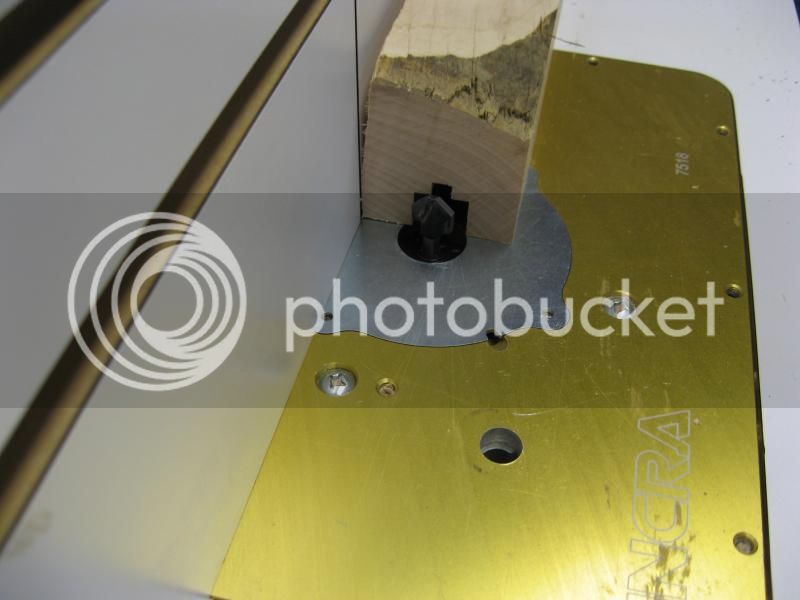
Channeled barrel flats using the table saw:
IMG_1100.jpg

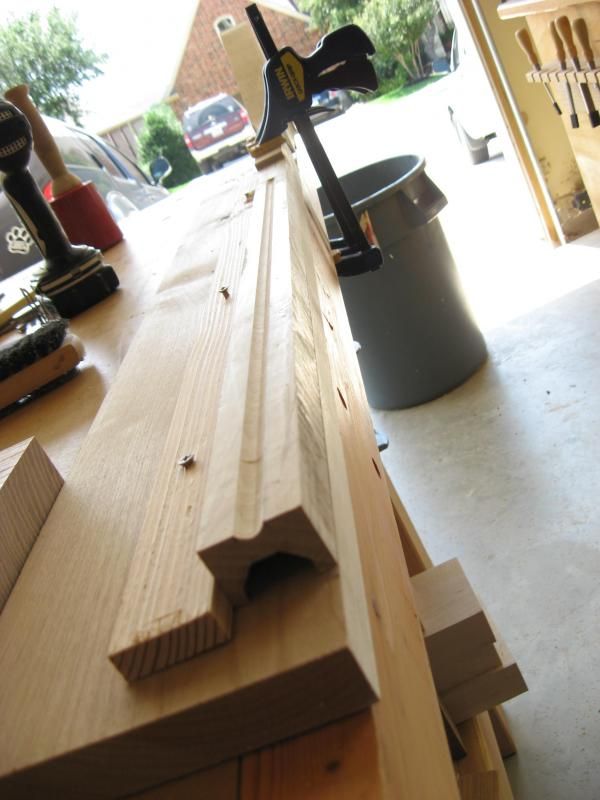
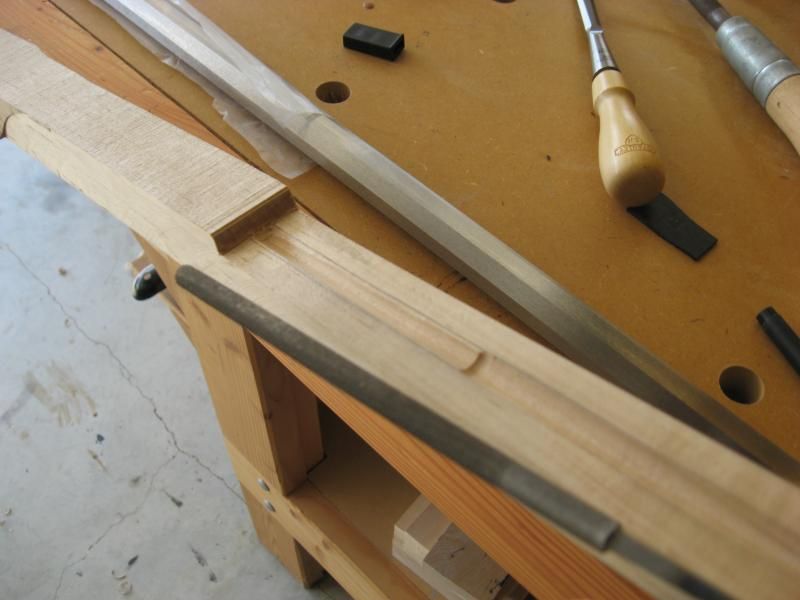
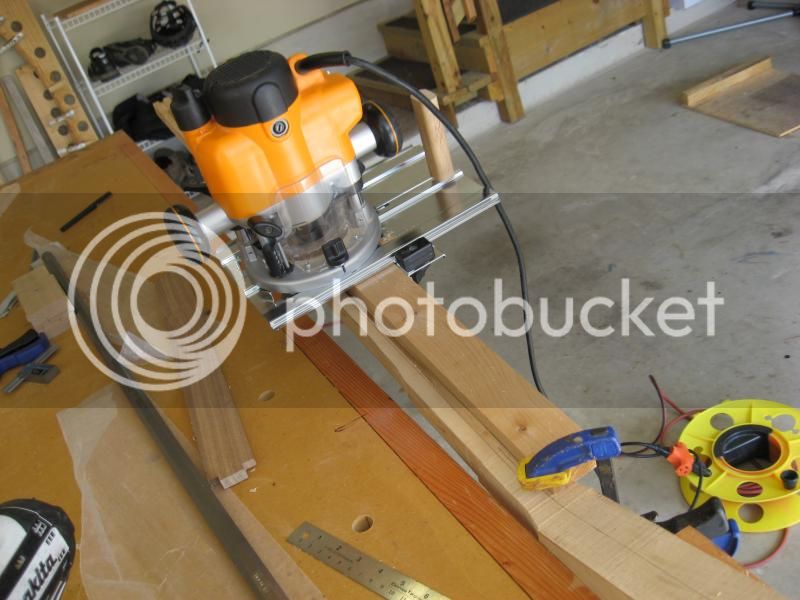
Diagonal flats with router:
IMG_1101.jpg

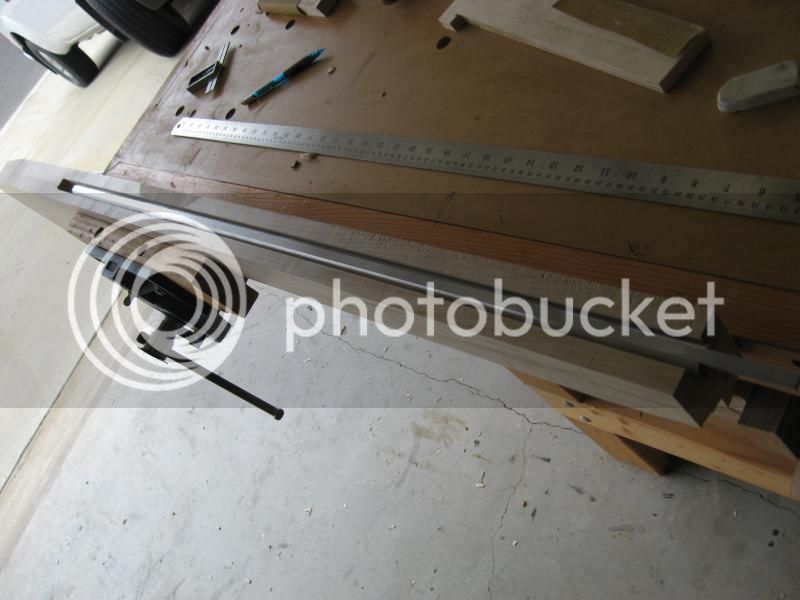
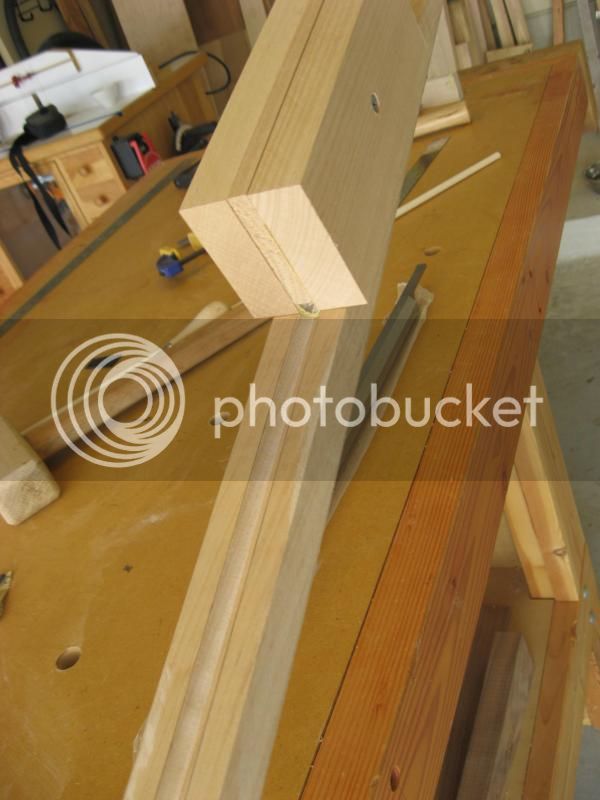
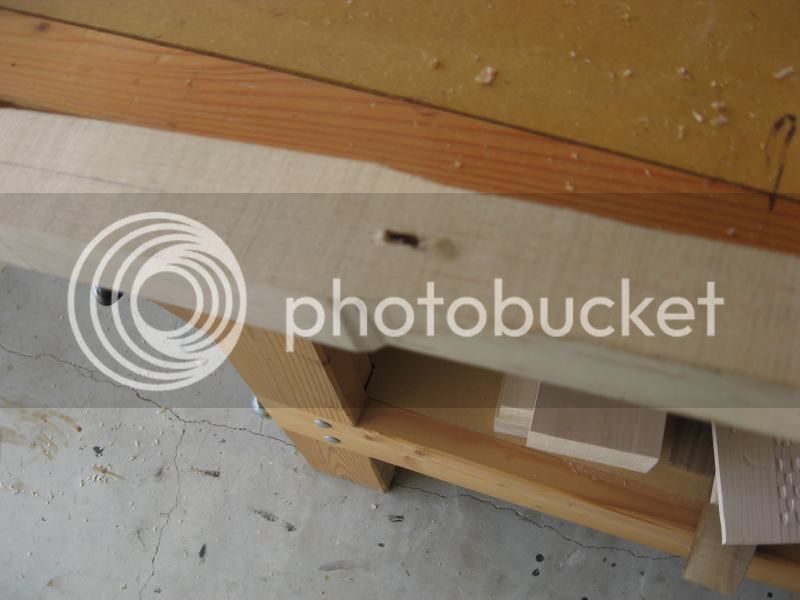
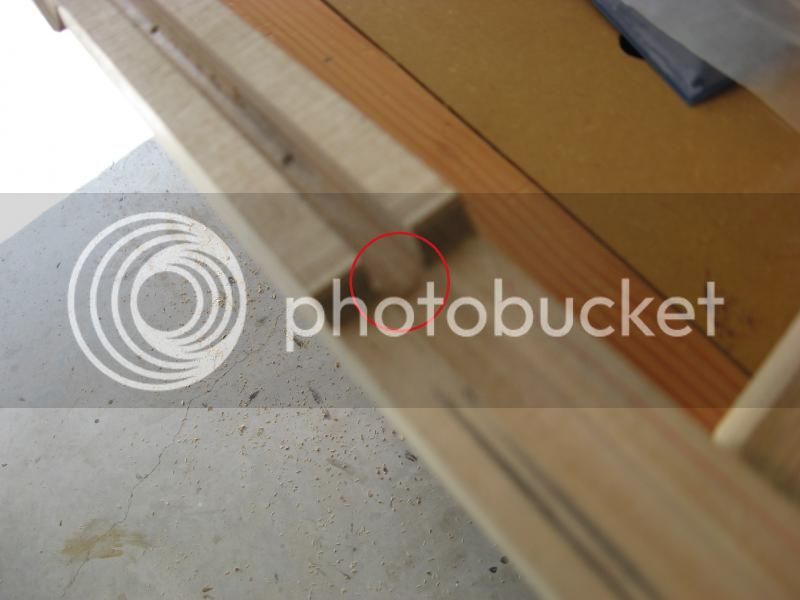
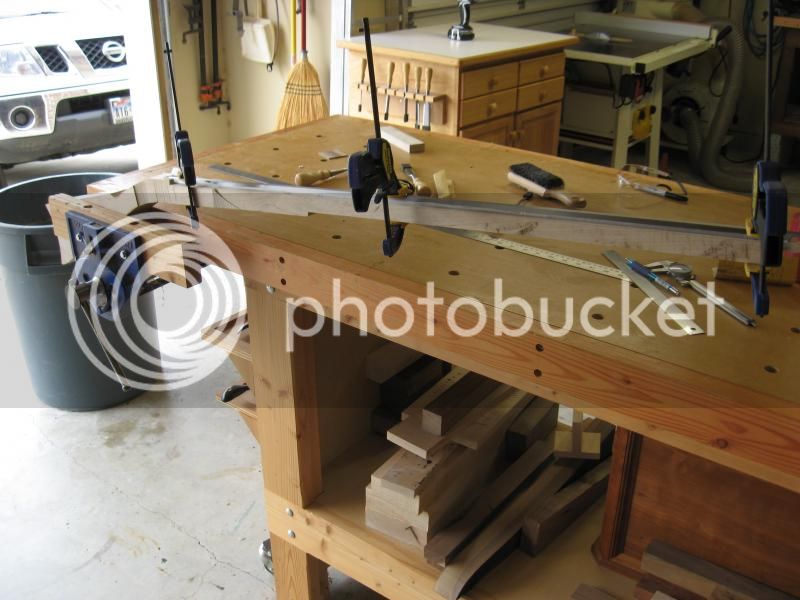
A little rough trimming from the top and sides using the dimensions from the JA plans:
IMG_1108.jpg


Any helpful hints or advice is always appreciated. And, hopefully I have not screwed things up too bad just yet.....

Thanks everyone!
 
Make sure you do your build in the order that Alexander tells you in "The Gunsmith of Grenville County".

Since you are using power tools for your barrel channel, I hope that is a straight barrel or that your barrel channel is the narrow width of your barrel.

Take it slow and you should do just fine.
 
The barrel is the plain old straight type, and the barrel fits like a glove! I used my dado set with shims and made several test channels on scrap wood to get the width almost perfect. All it needed was a few light passes with a sanding block for a final fit.

IMG_1099.jpg


IMG_1102.jpg
 
BWAHAHAHA! (insert mad scientist laugh here)

another one turned to the dark side! ... once rocks banged have you, forever will they dominate your range time ...

one 'attaboy' for your woodworking skills ... I have the tools, but I'm not nearly brave enough to do barrel channels by machine ... did one on a blank with hand tools and it was a bit slow, but the barrel fits fine.

Glad yours came out with a good fit.

You have good books and videos, and the advice to follow the steps (in order) in Alexander's book is good advice and you should heed it.

If you have not already done so, see if you can build the try- stock he recommends, and this will get you the length of pull, drop at comb, drop at heel and (since you're going to all that trouble) the cast- off which fit you exactly. Then, you'll have a custom fit, hand built stock. Go to one of those fancy shotgun stores and see what you're up against ... you'd be surprised at what it would it would cost to have some one else do this for you; but that's rather the point - the fun is doing it for yourself, and coming out with a unique piece.

I see that you have only one vise on your bench, which is not necessarily a bad thing, but you will need to have a way to support the stock when you get further along with the project. I have seen (and use myself) a hunk of 2x6 with a deep U shaped cut in it which has been lined in leather. You can clamp this to the bench wherever you need to, and it will support the non- clamped end of the stock, so you don't run the risk of crushing whatever you're carving, shaping, or whatever.

For whatever it's worth, my tirade about hand tools: (a) don't buy 'sets' of tools (especially chisels) because you'll end up only using a few of the tools, and your purchase will leave you with a lot of tools you don't need and don't use. bummer... just spend a bit extra and get good stuff in the first place. (b) avoid tools made in third world XXXt- holes ... they have no QA and you're likely to get mystery metal ... this isn't to say never do it, but go in with eyes open, and avoid it if you can. cutting tools made in such places are especially problematic: so, a vise or a clamp or a jig made in the PRC? - OK, if the price is right... but a chisel made in Pakistan? only if it's darn near free, 'cause it probably won't hold an edge (assuming you can get it sharp in the first place) ... (c) now that I'm on the subject of sharp, since you appear to be a pretty skilled woodworker I am probably telling you something with which you're already well familiar, but here goes: dull tools suck. get your tools scary sharp ... neurosurgery sharp ... dull tools slip about an inevitably cut you, and it's very hard to get bloodstains out of hardwood (please don't ask me how I know)
:redface: :redface: :redface:

also, you seem to have good lighting. it took me a while to figure this out on my own, but now that I have do so, there are plenty of lights in my basement. don't work in the dark, either figuratively or literally.


when it comes time to stain, I like alcohol based stains. they are (to my mind) easier to use, easier to control, and less likely to streak. I cut mine with alcohol and use multiple passes. I also like Permalyn finishes (filler and topcoat) which can be had from Track of the Wolf. Watch the shelf life on these: once opened, you don't want to let them sit too long.

OK ... let me climb down off my soapbox, before I fall and get hurt ...

good luck with your build ... send more pictures as it moves forward.

:thumbsup:
 
Thanks MSW for the advice. A funny story about shop lighting... one evening, working under the garage lights, I actually inlaid a strip of redwood (thinking it was dark cedar)instead of cedar in a strip kayak I built. The next day when I took the boat out in the sun, the redwood stuck out like a sore thumb. As a result, I had to surgically remove it with an x-acto knife. It sucked. I learned the hard way about lighting, and I still don't have enough in my opinion. I also agree sharp tools are a must, even though I find sharpening to be a huge PITA! As far as vices, I have three total all over the shop. Once I'm in the position where I need another to support the rifle, you can rest assured I'll get or make another. I have not even thought about staining yet...it seems to be so far down the road. I have messed a little with alcohol based aniline dyes and have had varying degrees of success. Once I get closer to that chore, I'll be performing a mini research study to see what works best for me. Stay tuned for more pics. I can't wait to get in the shop tonight!!!
 
Since you've built a strip kayak, :bow: you well understand what taking on a lengthy build process is all about. I only built a strip canoe (21' EM White Guide), and that was a 300 hour job. I imagine the kayak was longer than that. Hint; there is no place for staples in traditional gun building. :wink:

I use a leather strop a lot for my touch-up sharpening, and only go to the stones when the edge is getting too rolled over. It'd be nice to have that power Tormek-7 with a 3000 grit wheel, but I don't. :(
 
You can use the table router to do the RR channel also.....then it will be nice a straight, pointing correctly into the stock. A long drill bit from TOTW can be then used to drill that blind 12" hole!
And if your right, it will be 3/16" from the barrel back there :v :bow:
That's the trick of a thin rifle....get the RR channel/hole close to the barrel......
And before cutting the butt/cheek areas....measure and draw it out on the blank....LOP and Drop, comb everything.....then do it again.....the cutcutcut whittle, spokeshave.....
Leave the barrel forearm alone and square as long as you can....this helps to hold these thin things......

But.....I deviate from building steps :stir: because I'm a "ridgerunner".... :stir: :youcrazy:
Marc
 
You're on your way! Impressive that you are starting from a pure blank on your first gun. Good luck. Patience is your friend! Looking forward to watching your progress.
 
Nice work and shop. Your efforts to date are inspirational!

Looking forward to more pictures through out the build!
 
you will never make it as a gun builder. Your shop is too clean, you look organized, you have lots of room to work, the shop floor looks swept, no place for small parts to get lost in. :rotf:
 
Yes, there's definitely an element of OCD with the garage! It's all I have....the wife has everything else... :grin:

I did a little work this weekend. Here are some pics of my ramrod channel. There was major pucker factor whilst routing the channel. Not much wood to stabilize and I don't care for my router base, but I've been too lazy to make a new one. I made multiple passes so I could make adjustments between passes of need be.

Set up:
IMG_1110.jpg


Partially routed channel:
IMG_1109.jpg


Little depth sander per Alexander's book:
IMG_1113.jpg


Filing the part the router couldn't get:
IMG_1111.jpg


I used to calipers and measured the depth down the entire channel and feel good about how it turned out. I've got a buddy here at work that is supposed to be making by drill bit, hopefully within the next few days. Stand by for more updates!
 
I am amazed with your work and having the guts to start with a blank. I just do not have the fortitude to start with a blank. All of my rifles have started with a 90% stock. I don't have the skills, tools nor guts to try cutting my own barrel channel and, especially the ramrod channel. I have built many pieces of fine furniture but turning a piece of expensive lumber into a gunstock is just too much for me. You are doing a great job. :hatsoff: :hatsoff: :hatsoff:
 
Thanks,

I may end up turning this expensive piece of maple into an expensive piece of firewood before it's all over. I have ample opportunity to still mess this up, however, I accept that, and am comfortable with failure. :grin:
 
I have done two barrel channels in my life, one a round channel for a Russian bolt action military rifle, and the other an octagon for a muzzle loader. I sweat bullets doing both, wood is expensive, even plain grain stuff, but both worked out ok, well actually very well, but I don't think I would try it again, too simple to order pre-inlet stocks cut for the barrel channel and the ramrod. I have a special jig that a Friend showed me how to build and gave me the materials to build it with, you clamp the wood in a long metal channel created by two angle pieces, mine is made of thick aluminum, that are apposed to each other and then a third piece of heavy flat plate welded to one of the flat plains of each of the angles, forming a square "u" shaped channel with flat wings the width of the angle iron, or in my case aluminum, extending outward. The entire piece is about three and a half feet long. It is hard to describe this thing, but what it does is allow me to clamp my stock blank in the inside "u" using bolts threaded into the sides and bottom of the jib, and once leveled out as perfect as I can make it then setting up a long guide to run my router against that guides it along so I can router in the barrel cuts, first square buts to the depth and width of the bottom flat, then square cuts along the side just deep enough to come out at the bottom of the side flats and then I change to a angled bit to cut the two bottom angled cuts for the bottom side flats of the barrel. It takes a while to get it all set up but works great once you have everything in place. Your work looks great, looking forward to more pix as you go along. Stew.
 
Well boys and girls, something was bound to happen...it was just going too smoothly! Despite my best efforts to keep everything straight and level with the ramrod channel, the bit decided to do its own thing and punch a hole though the belly about 8 inches in. Here's my setup:
IMG_1120.jpg

I had the bit held still (I thought) with guides about every 8 inches along the ramrod channel. FYI the bit is an 11/32" drill rod from TOW. Here's the hole!
IMG_1121.jpg

A post mortem revealed that the bit took a little step as soon as it started augering in, sending it off course right off the bat. Don't you love drilling end grain! :grin: Here's the pic of the step (with the channel routed out now for repairs)
IMG_1125a.jpg

So now, off to correct this little mistake. I'll route a 1/2" channel and make a belly patch. It's no big deal, just a side trip that I did not intend to make. Here I am preparing to route the channel:
IMG_1123.jpg


So, we'll fix this, and try and figure out what went wrong, and how to prevent it in the future. I think a possible fix is to undercut the lower fore stock where it meets the drill bit initially, encouraging it not to step up towards the belly. Anyway, if anyone can see where I went wrong, please chime in. Stand by for pictures of the repair!
 
Hi,
Before you rout consider another option. Make a maple dowel that can be glued into the ramrod hole as far as the breakout. It will be exposed a little at the break but that can easily be hidden during staining and finishing or covered by a small inlay. Once the dowel is glued in place, then redrill the hole properly. That is much easier than a big belly patch or inlay and will look much better in my opinion. Remember to drill very slowly and remove chips for every 1/4-1/2 inch of drilling. I also urge you not to use an electric drill but a brace and bit.

dave
 
Hi Dave,

Thanks for the advice. I'll keep that in mind in the future (hopefully I won't need it), but I already started routing the channel, so it looks like I'm going that route. I'll just do my best and see how it turns out!
 
Back
Top