- Joined
- Mar 7, 2007
- Messages
- 662
- Reaction score
- 2,018
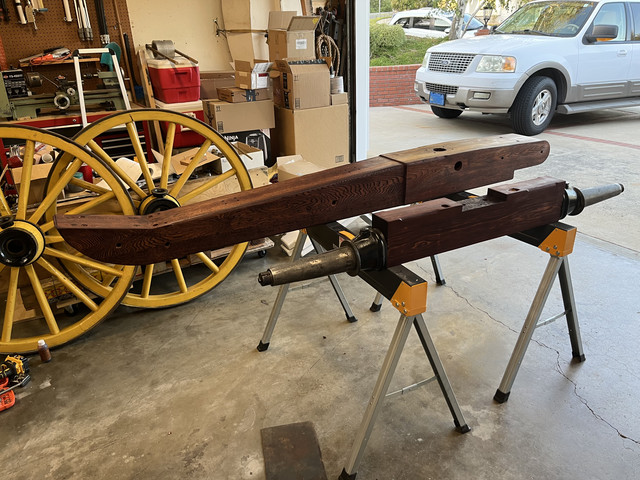
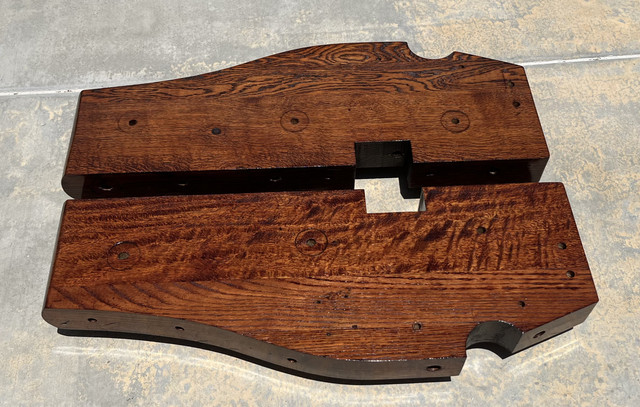
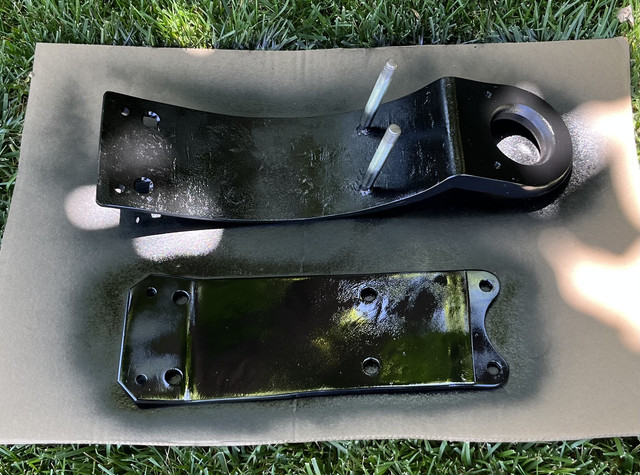
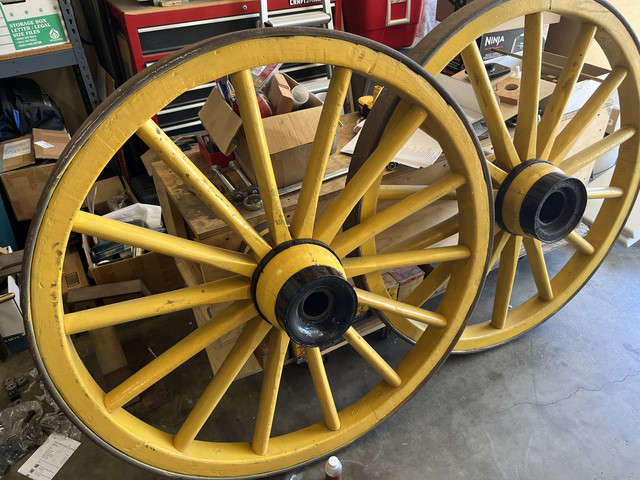
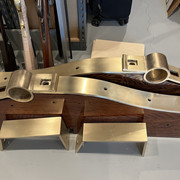
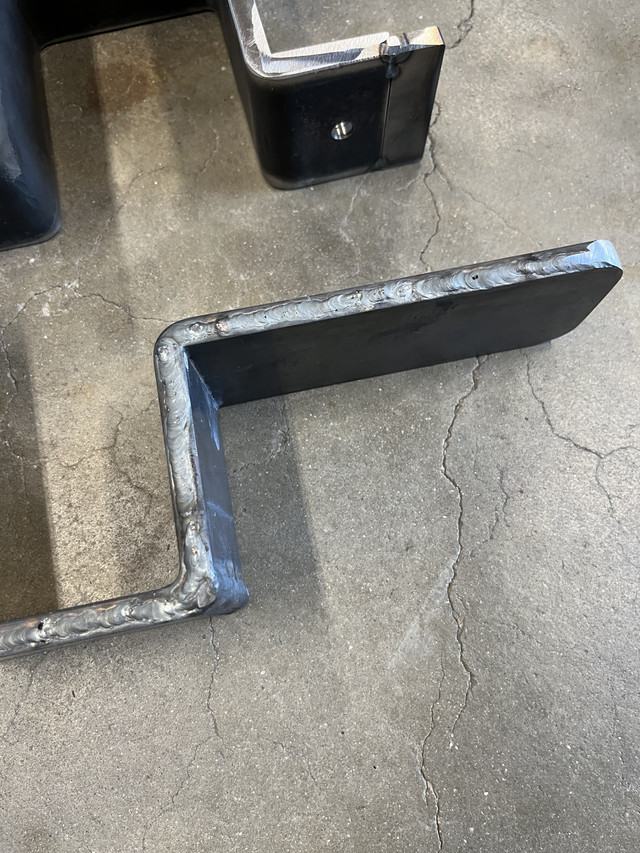
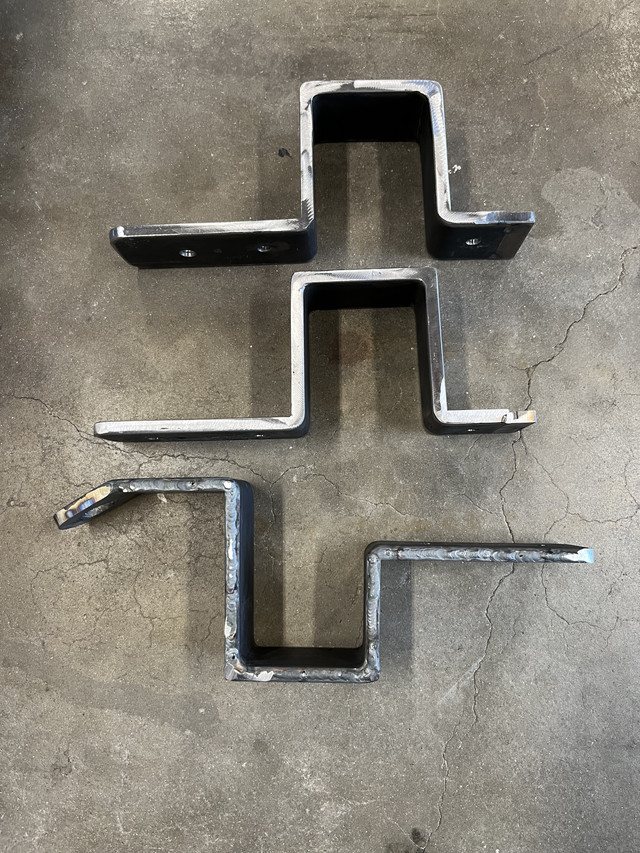
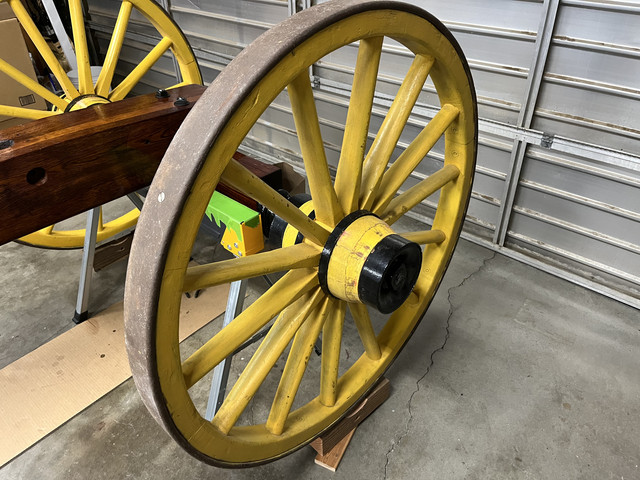
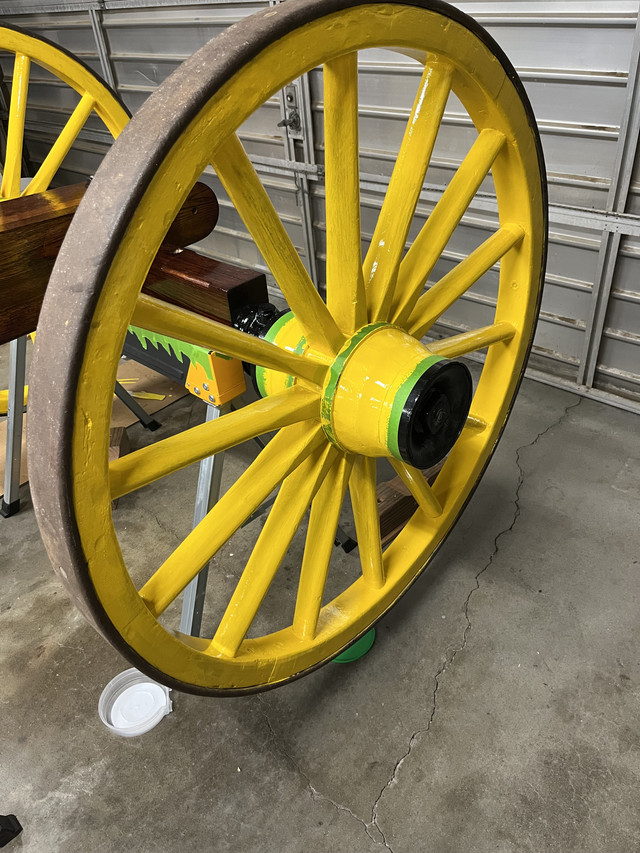
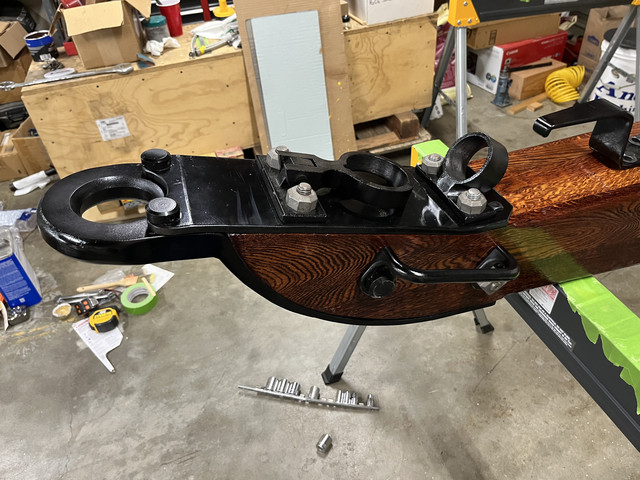
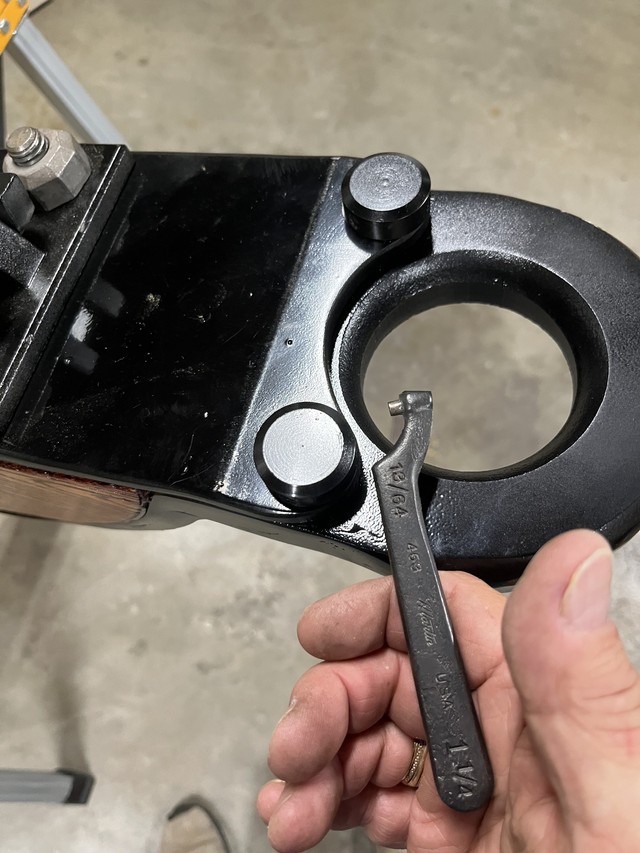
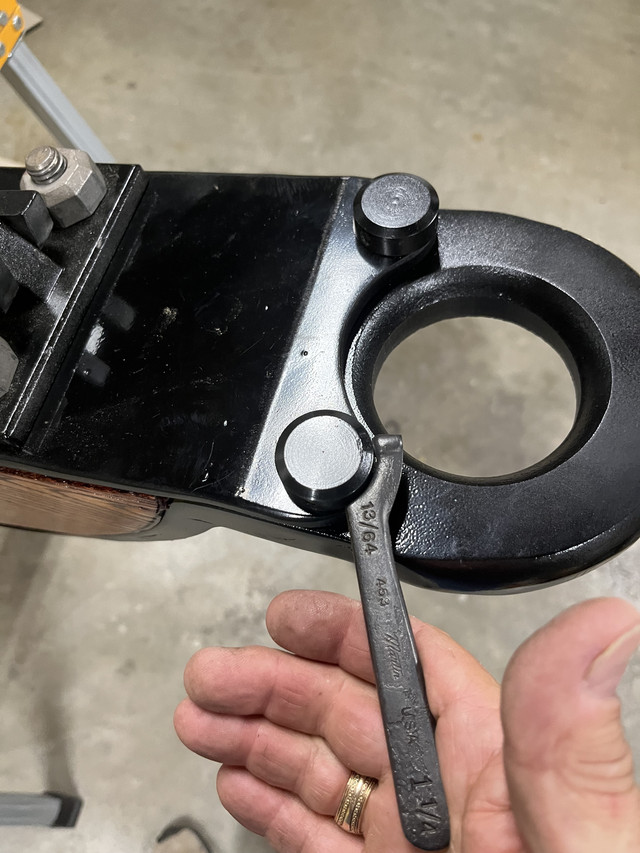
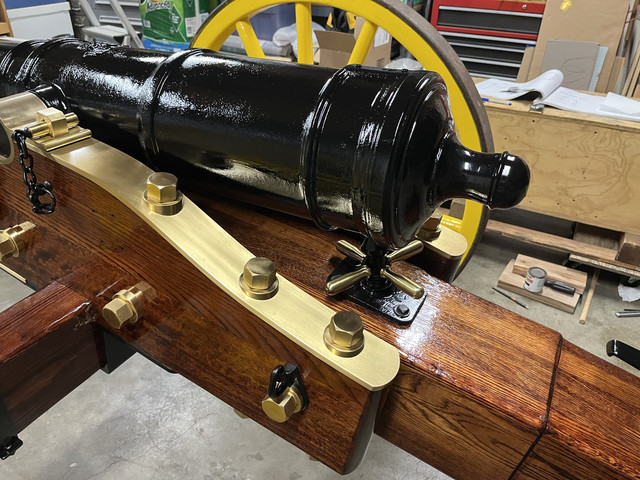
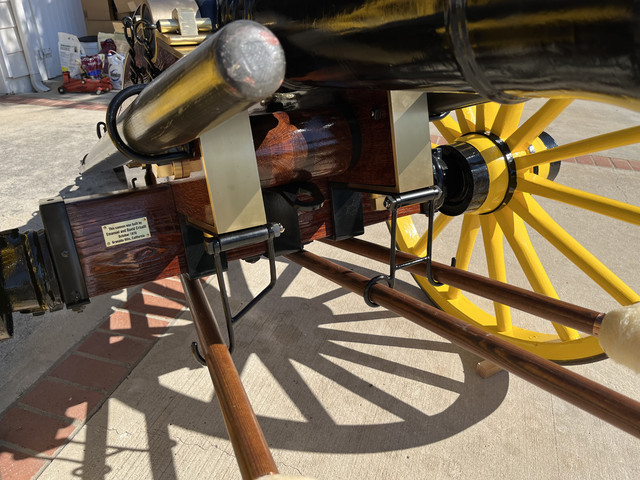
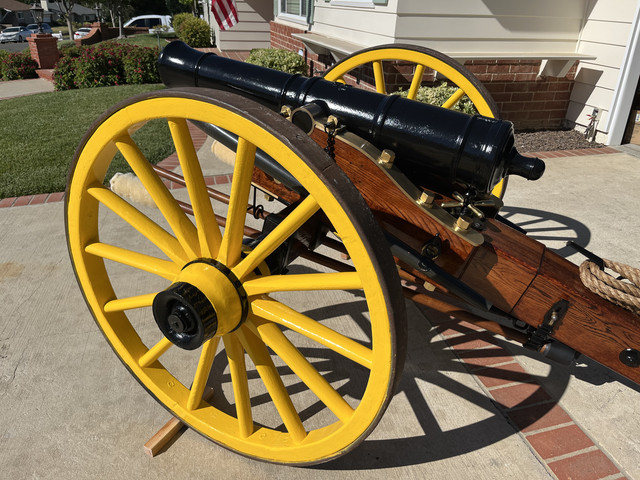
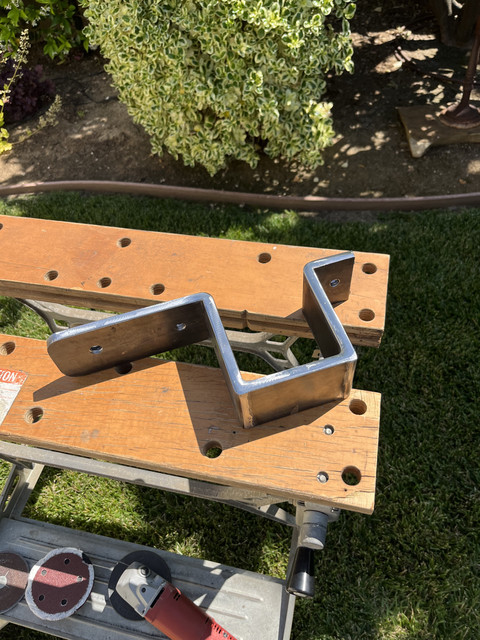
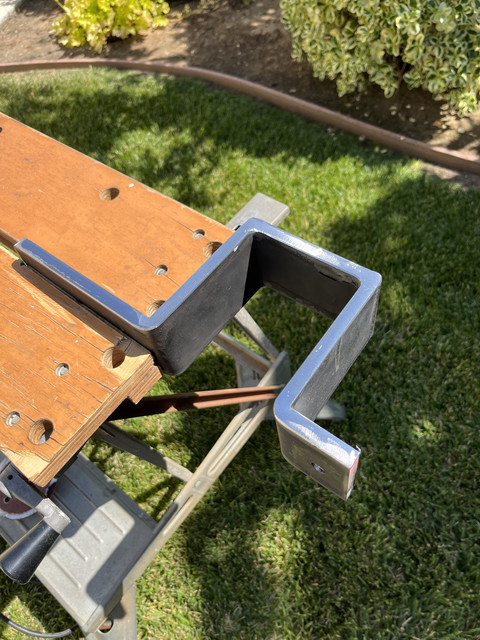
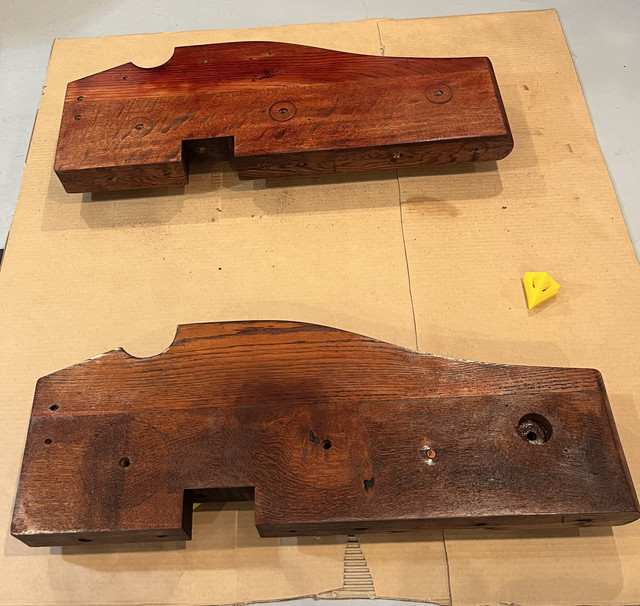
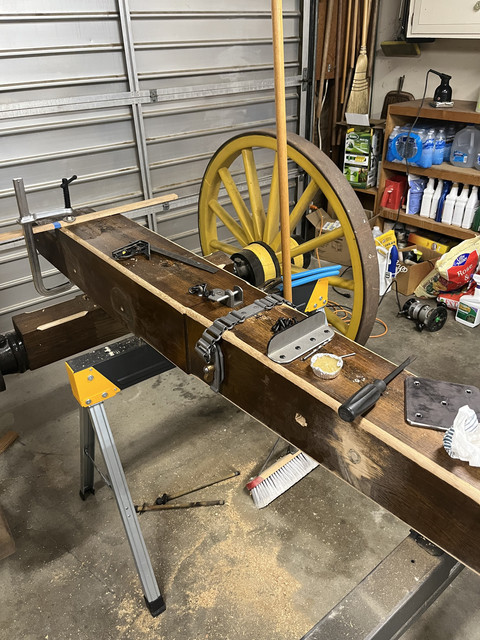
Still working on the irons but needed to get started on some of the wood work modifications on the gun carriage so that I can get cracking on the wood finishing. Since the cheeks had been modified and completed previously, I started in with staining and applying the fist coat of a tung oil sealer. The cheeks were sanded sufficiently to remove the 50 year old polyurethane finish and stain on the oak. I had toyed with the idea of just painting the carriage woodwork this time but decided to go back to staining with a tung oil varnish finish. Here are the cheeks with stain and a single coat of sealer.....Got the grinding done on one of the under straps......Now it looks like it's supposed to look. Not "whimpy" and more. May finishing the welding on the other parts today.
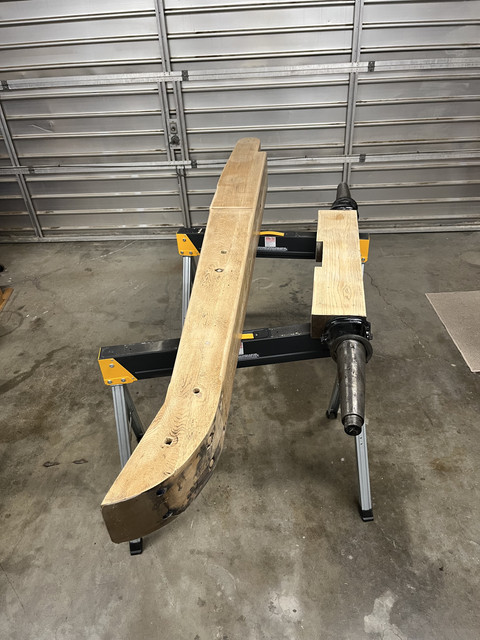
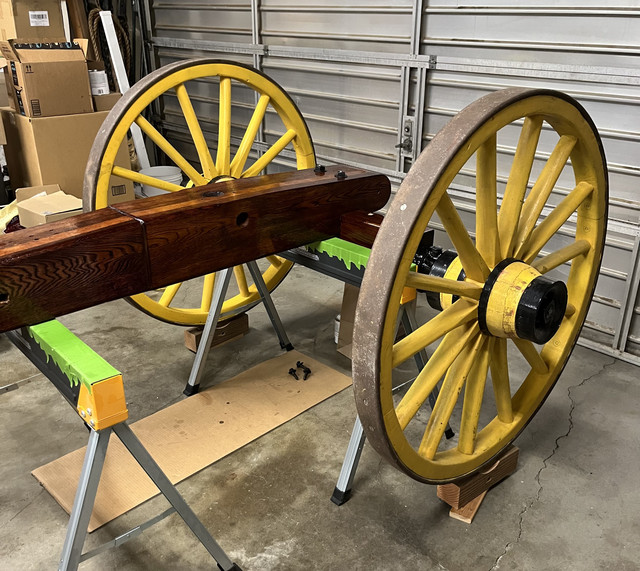
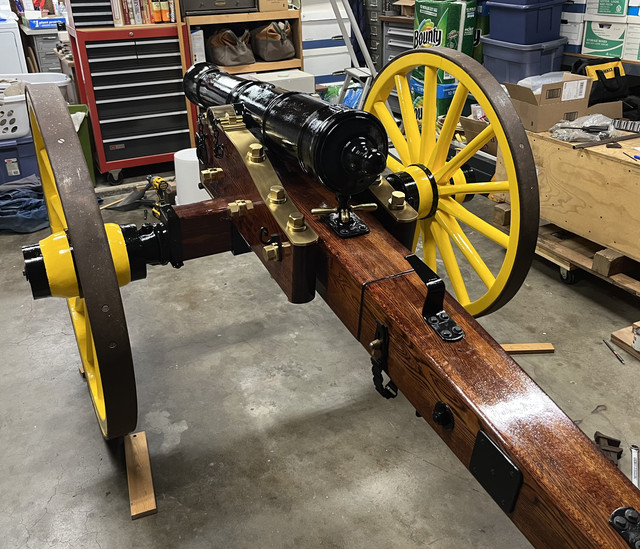
Next I wanted to correct another 50 year old error. When I built the trail I had left the corners sharp. Actual gun carriages had the sharp corners planed to a substantial radius which helped reduce normal wear and tear damage to the sharp edges. I set up a router with an edge radius bit and converted all the appropriate edges to the correct radius.
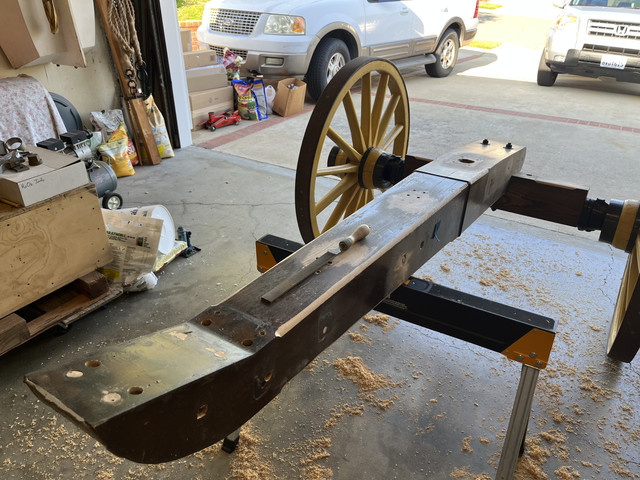
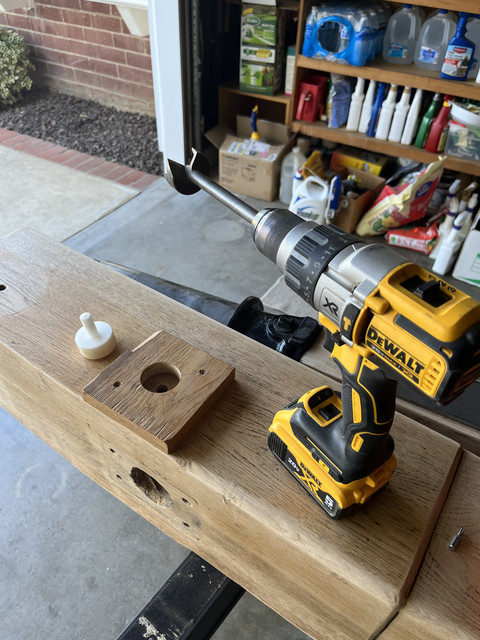
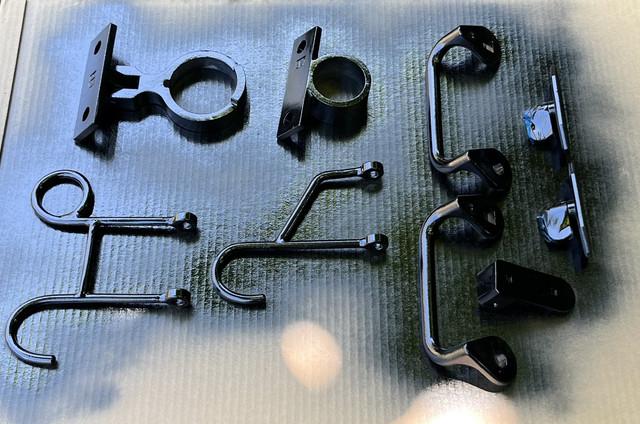
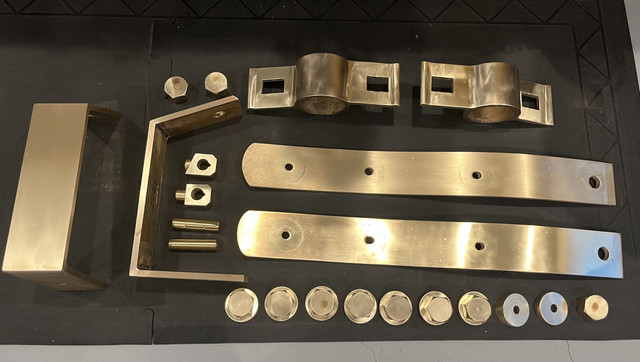
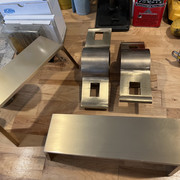
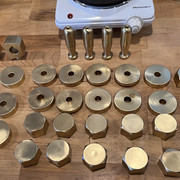
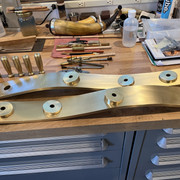
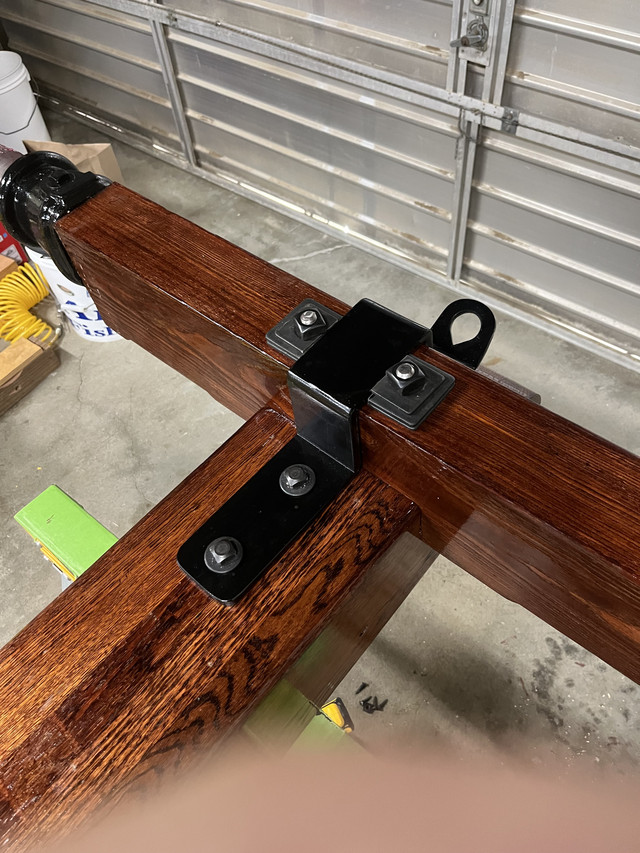
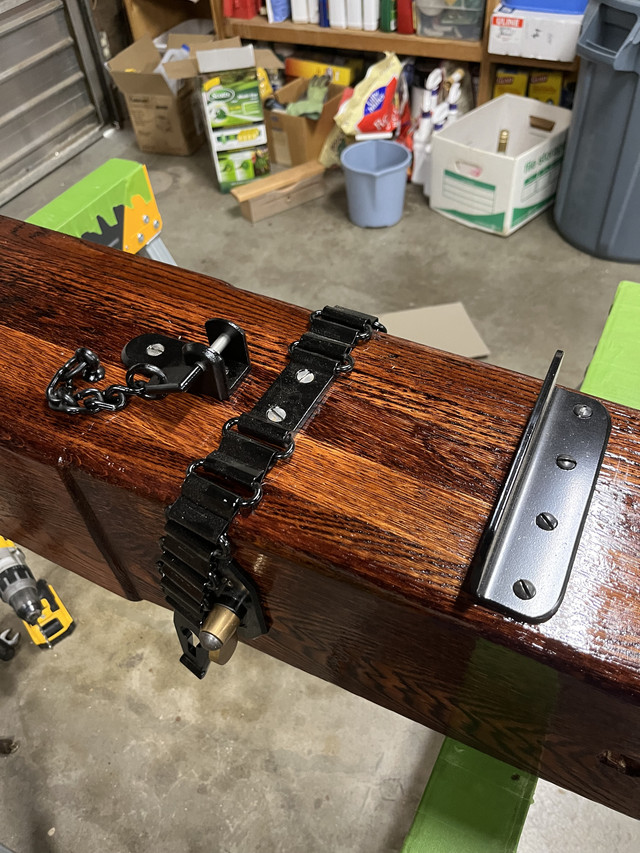
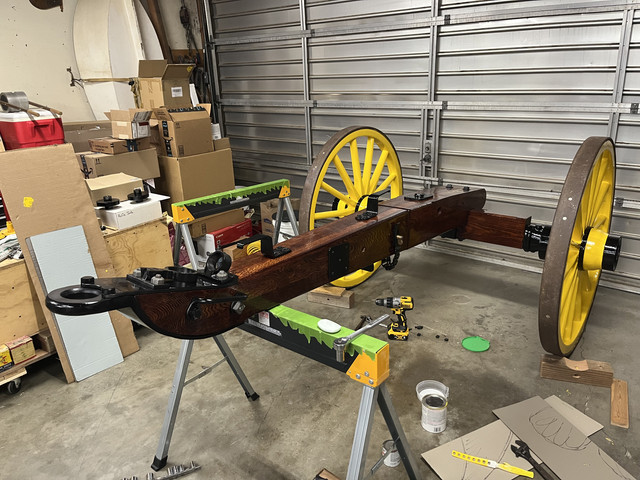
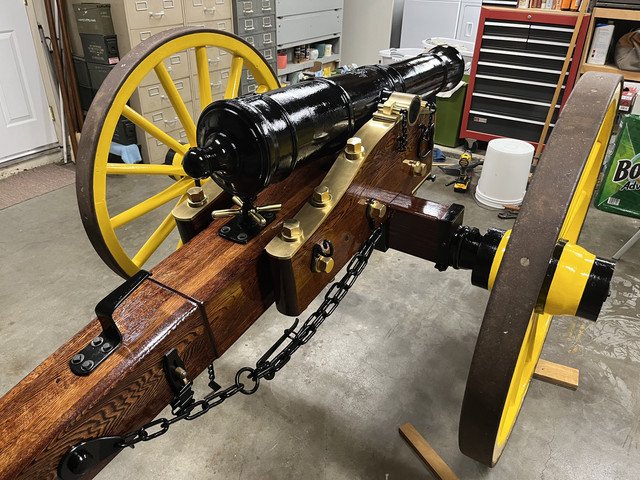
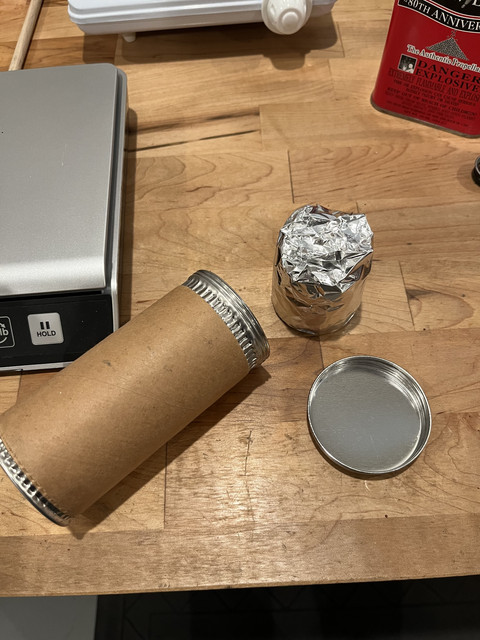
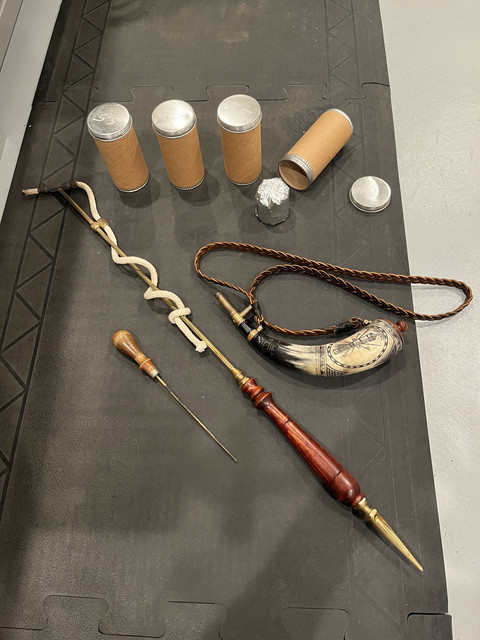
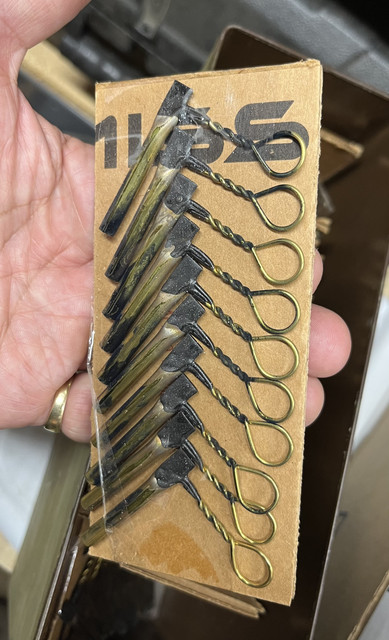
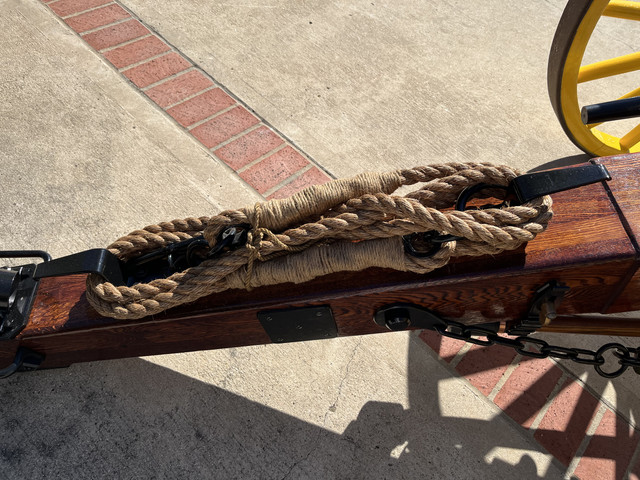
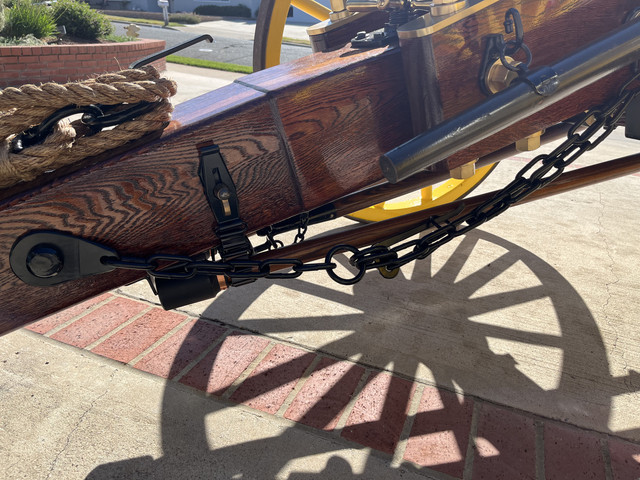
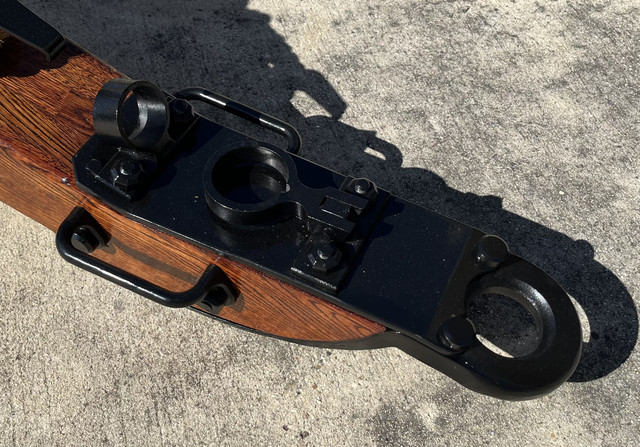
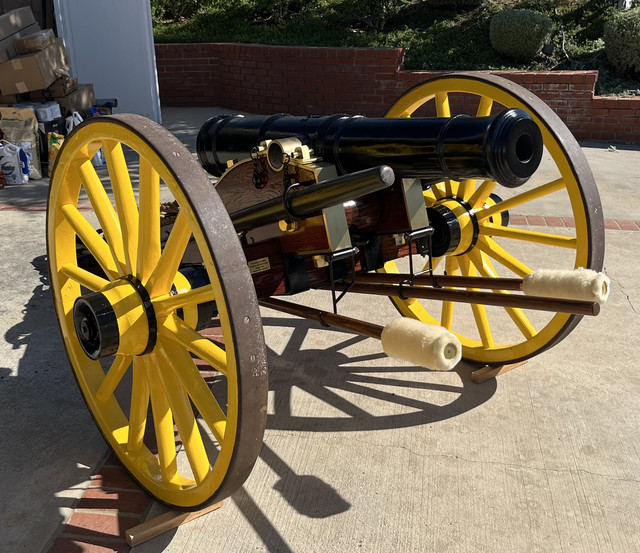
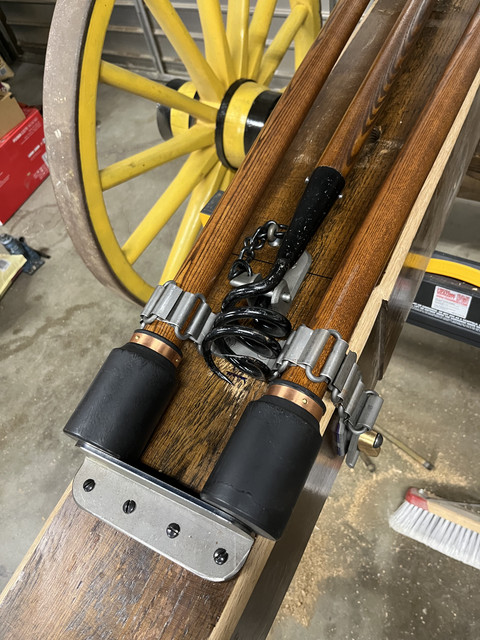
Before I jumped into the labor intensive process of sanding all of the trail and axel surfaces, I wanted to complete the mounting of the last few items that are located on the underside of the trail. These include the ear plate (and its key - used to hold the worm for transport), the rammer chains, the rammer stop, and the toggles that capture the ends of the rammer chains on the sides of the trail.
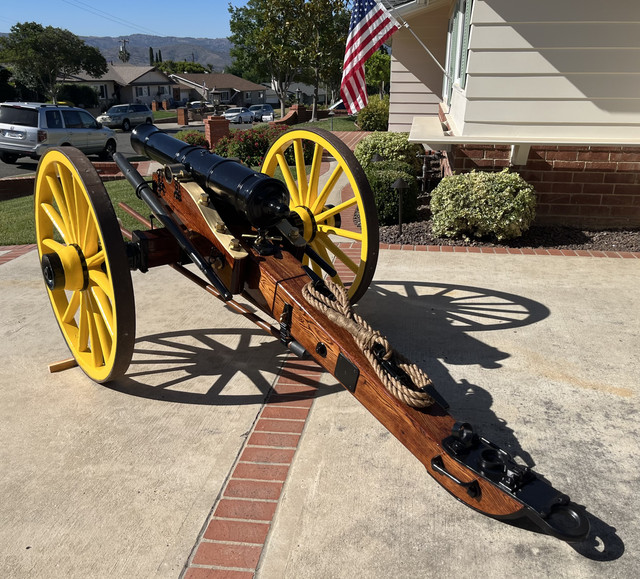
With those components mounted, all the trail irons were removed and the trail and axel were sanded down to bare wood.....