• Friends, our 2nd Amendment rights are always under attack and the NRA has been a constant for decades in helping fight that fight.

    We have partnered with the NRA to offer you a discount on membership and Muzzleloading Forum gets a small percentage too of each membership, so you are supporting both the NRA and us.

    Use this link to sign up please; https://membership.nra.org/recruiters/join/XR045103

gaposis

Muzzleloading Forum

Help Support Muzzleloading Forum:

This site may earn a commission from merchant affiliate links, including eBay, Amazon, and others.

George

Cannon
Joined
Aug 8, 2010
Messages
7,913
Reaction score
1,969
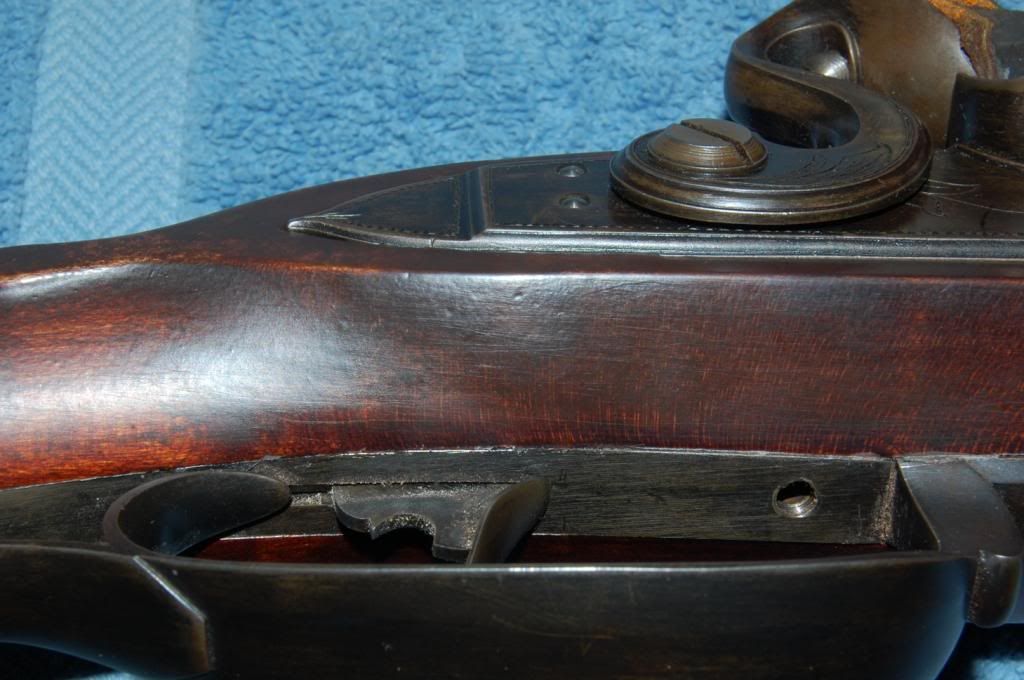
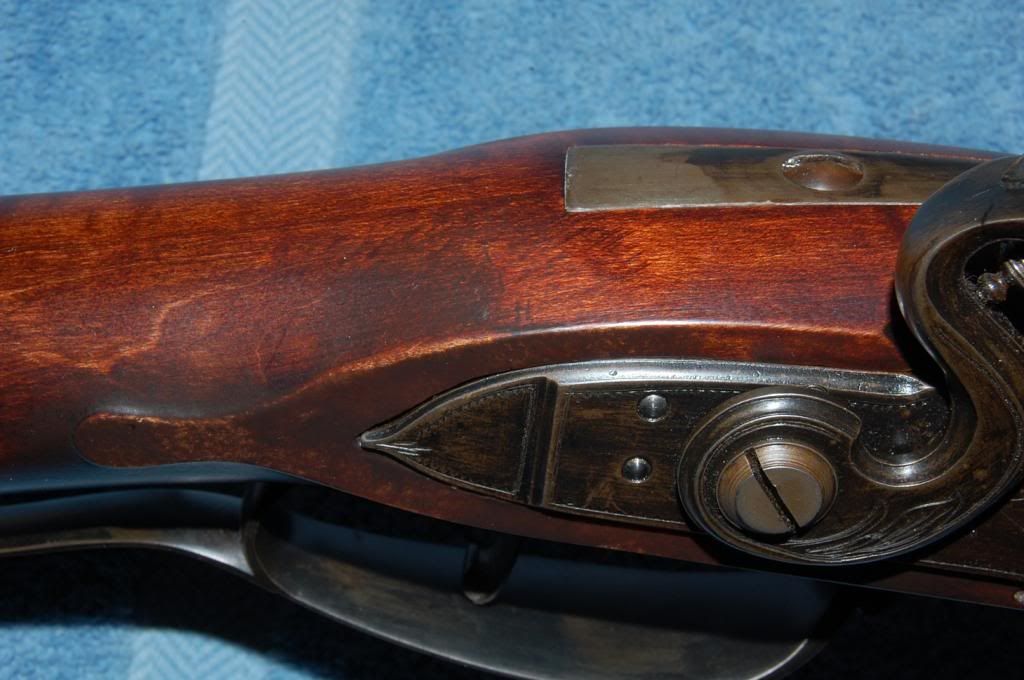
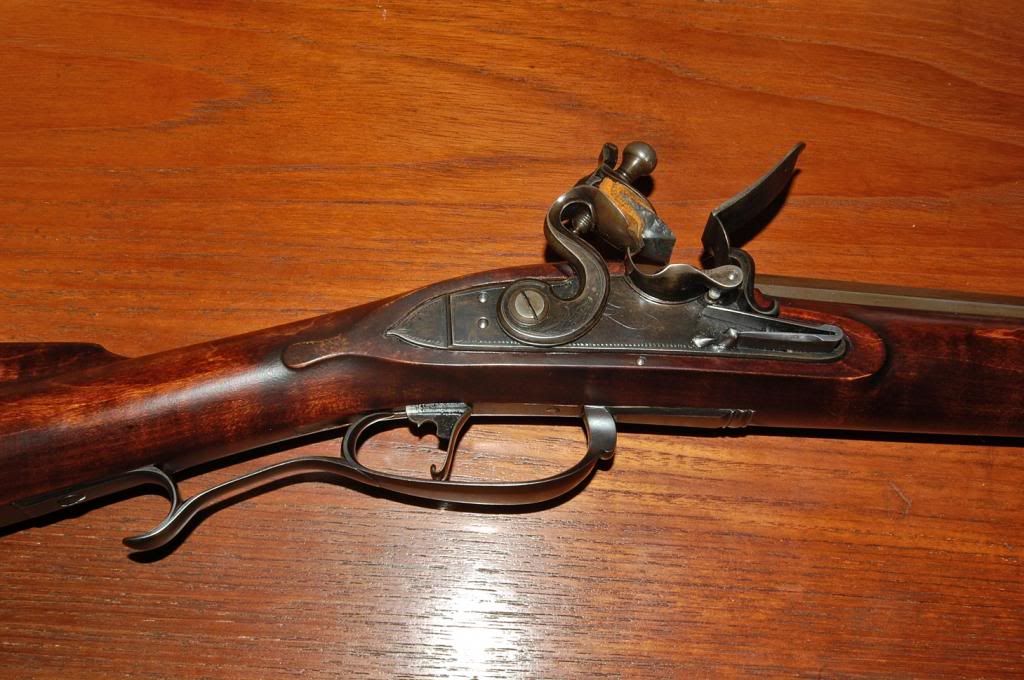
One of my flintlocks was severely damaged, both the lock and the lock mortice. After several months it's ready to be reassembled, but I have a problem. The lock is a Davis Twigg, and I sent it back for a replacement sear and sear spring, and to be put back to factory specs. It's fine, smooth as silk. The problem is that the trigger will now not quite contact the sear bar, and the gun won't fire. The gap is only less than 1/16", but since it's a finished gun, the lock and trigger positions are carved in stone. I need to close that gap. I'm considering either bending the sear arm a tad or peening the trigger to move a little metal on it. Please look at the photos and see if either option is viable, which would be less likely to cause a wreck. I tested both pieces with a small file, both can be cut, the trigger more easily.

I know you builders first advice will be to silver solder it or some such. That wouldn't be easy for me, I need something simpler, if possible..

Contact point on the trigger is in the center of the arch.
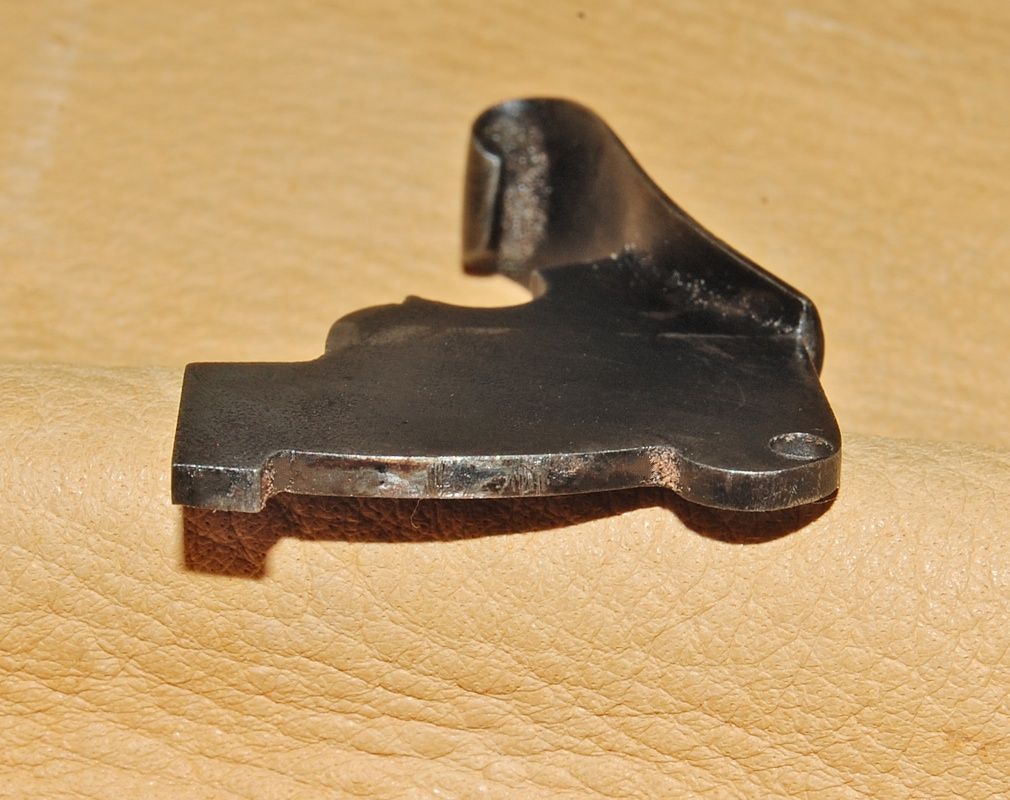
trigger2copy_zpsee660f42.jpg


The lipstick marks the contact point on the sear arm.
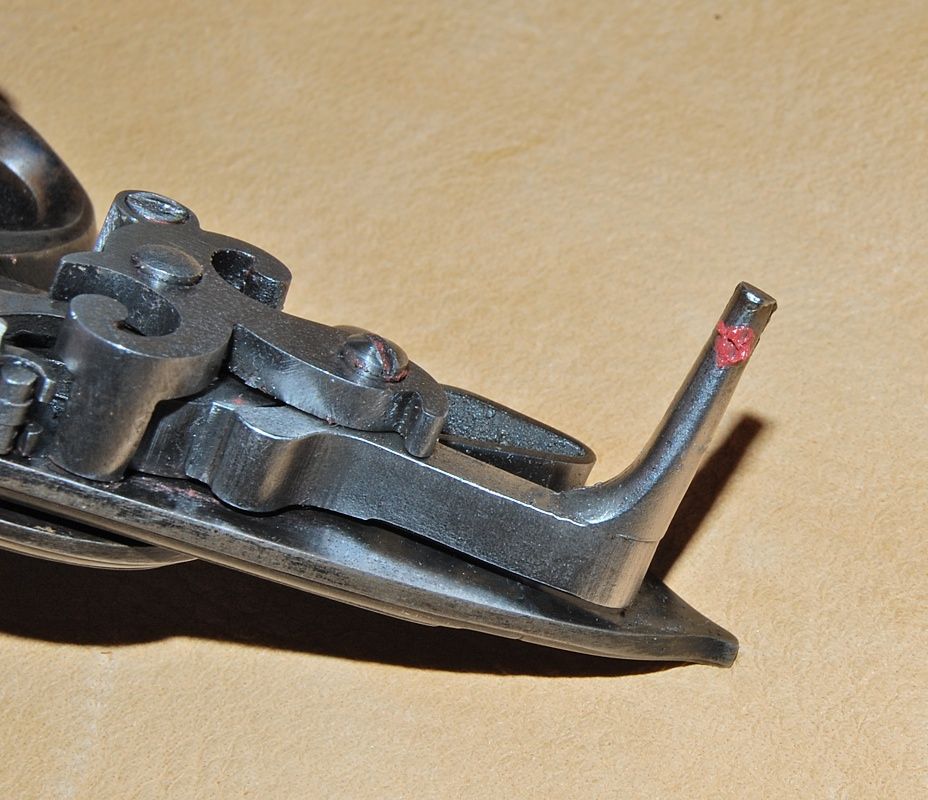
seararm2copy_zps3432d6c3.jpg


All advice greatly appreciated.

Thanks,

Spence
 
Spence, I assume that there is something prohibiting the trigger from traveling any further. Yet even if you find and remove that restriction and allow the trigger to engage the sear bar it will be sloppy with a lot of take up. I think you are right in closing the gap rather than free up the trigger for a longer travel. Bending the sear bar down a touch is not a problem. I have made heat sinks to keep from altering the hardness of the engagement part of the sear and successfully bent the arm down, but I used a very hot torch to heat it quickly, bend, and cool it down before heat could run up into the sear itself, also you may have to open that part of the mortice a touch. Just as easy but a little more work is to silver solder a piece on to the trigger bar, but you say that would not be easy for you. Its hard to tell but the trigger appears to be too thin to get enough of a rise out of it by peening it. Good luck!!!
Robby
 
put a piece of tubing(brass can be bought at hobby lobby store) over the arm....or a collar with set screw and file it down(bought at R?C hobby shops to keep the wheels on plane axles)

neither of these need heat, and will make a quick permanent fix :thumbsup:
 
Hand make a shoe to fit over the top of the trigger then fit it to take up the excess play .
 
Thanks to all for the suggestions. I had spent some time thinking of possibilities, but I didn't come up with all of the ones you did. I'll remember them against future use.

I peened. I decided nothing would be lost from trying that, the trigger wouldn't be likely to shatter, so I put it on the vise and took a good sized ball peen to it. It was obvious after a couple of whacks that the metal was just soft enough to move, so I stretched it as much as I thought necessary. I guessed right, first try. The lock is one of those on which the sear arm comes to rest in the same position whether on full ****, half **** or fired. The trigger now touches it just right, so that there is only about 1/8" of springy movement when uncocked, the sear spring keeping it under tension with no rattle. The let-off from full **** is crisp with minimal trigger movement and a clean break.

This gun is a sentimental favorite, and I had serious doubts it would ever be the same. I've never been happier to be wrong.

Thanks,

Spence
 
As far as I'm concerned I'd rather not bend the sear. I would build up the trigger by soldering a piece of steel or brass to the top of the trigger "flag". Oh MY Goodness! Why Is brass a option? Sliding wear is really not much of a issue, so is impact. Steel is naturally a good choice too. Either is a lifetime fix. BJH
 
Please show some of the "After" pics so we can see what you have done, in case this happens to somebody else. :thumbsup: I'm glad ya got it fixed :thumbsup: .
 
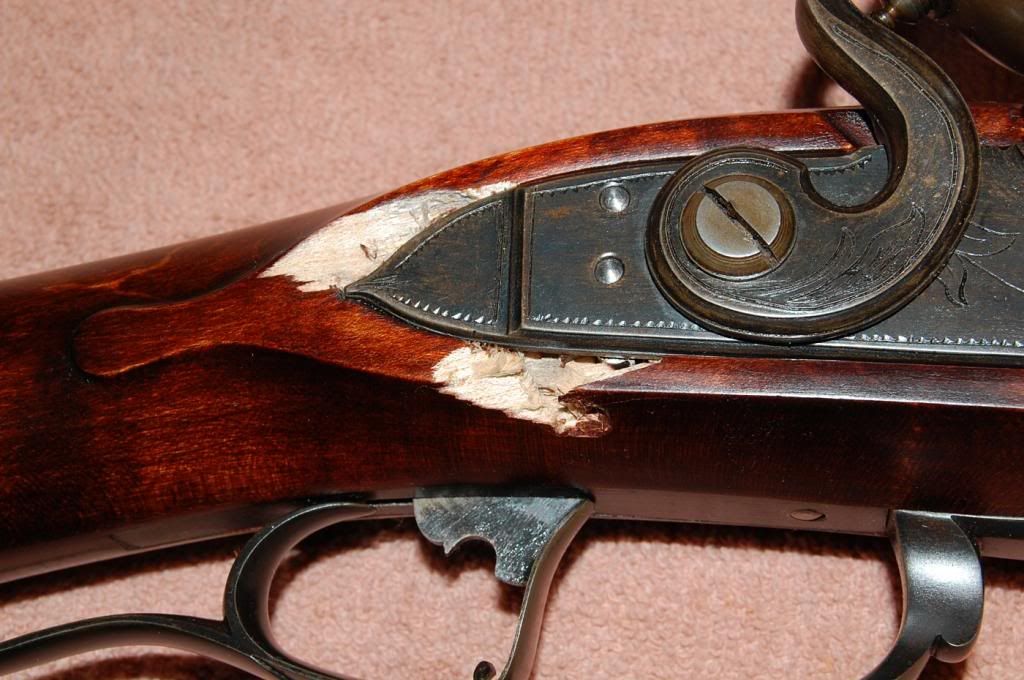
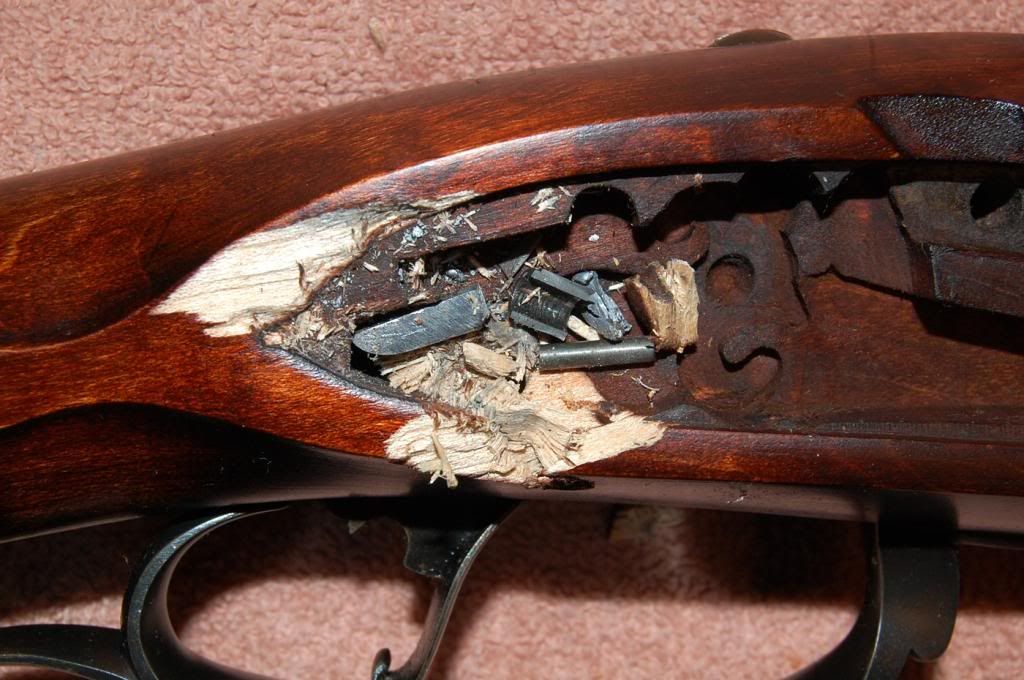
Hmmmm.. can't show you what I did with the trigger/sear, it's reassembled and not available for pictures. I can show you what my problem was. The details have been classified to protect the stupid, but I am allowed to tell you it involved a gunshot wound.

The problem:
woundB_zps26168420.jpg


And when I looked under the lock:
woundD_zpseb958572.jpg


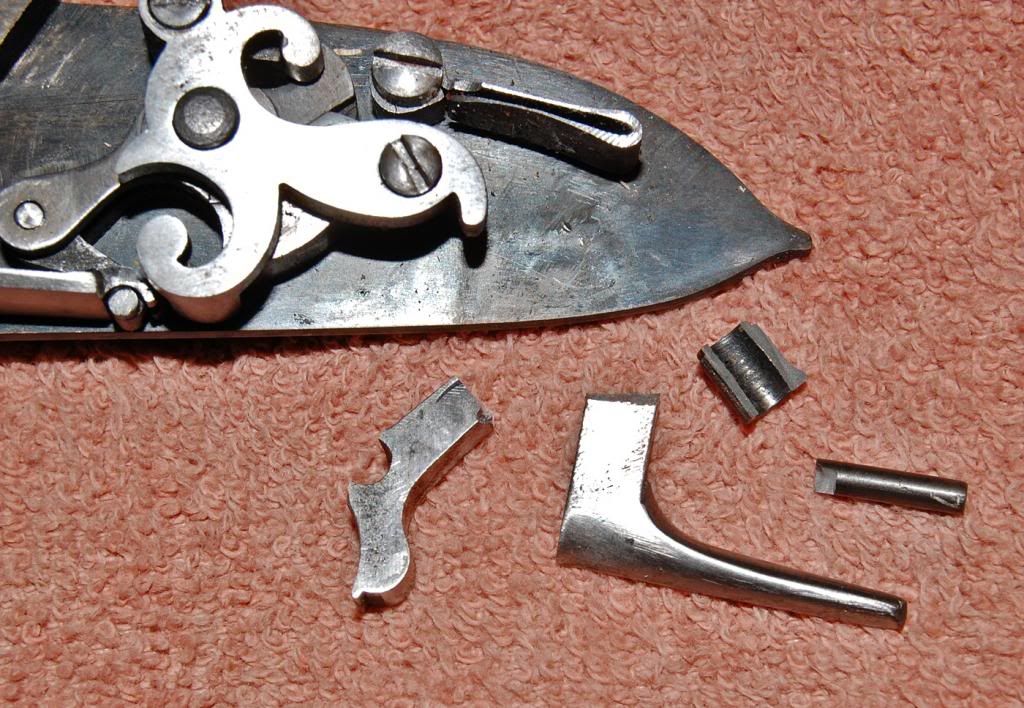
The lock, sear shattered into several pieces, the sear spring permanently collapsed:
woundF_zps40562a81.jpg


I sent the lock back to Davis, they replaced sear and spring, tuned it, and it was A-OK.

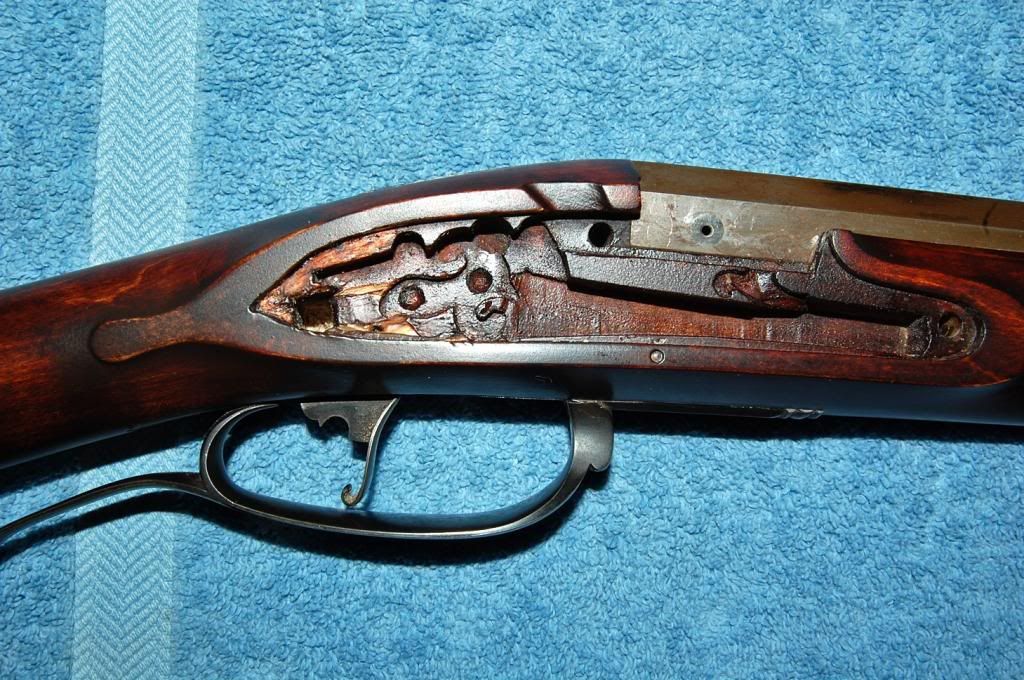
We don't have black powder gunsmiths around here, anymore, but I've been doing business for 40 years with a modern shop, so I contacted the owner, looking for someone to repair the wood. He recommended a fellow, and I let him do the work. He did it very well:
woundH_zps6ac1128a.jpg


woundK_zpsa9b701a6.jpg


woundM_zps0710f753.jpg


When the gun was reassembled everything seemed to go back into its original place, but it wouldn't fire. Took me a lot of investigating and head scratching, but I eventually figured out the trigger wasn't contacting the sear bar. That wasn't easy, that happens down in a deep hole, can't see down in there. I then asked for advice from the board, but rushed to judgement and hammered the edge of the trigger to raise it just enough. It now looks just as in the photo above, but the arch is a little higher and thinner, not easily noticed.

So, after seven months my gun is ready for action. 'Bout time. :grin: Haven't fired her yet, but she seems to be functioning normally.

woundQ_zps354b103e.jpg


I'm not one for naming guns, generally, although I've been calling this turkey gun Long Tom. Think I'll change it to Lazarus. :haha:

Spence
 
GREAT repair job!!!!!

and it sounds like SOMEone accidentally had a discharge in the gunrack...22?

:shocked2:

AD's come in all sizes....but I will say this was a VERY nice repair job!!!!!!!! :thumbsup:
 
Back
Top