You are using an out of date browser. It may not display this or other websites correctly.
You should upgrade or use an alternative browser.
You should upgrade or use an alternative browser.
Hudson Bay Trade Knife Drawing
- Thread starter 44-henry
- Start date

Help Support Muzzleloading Forum:
This site may earn a commission from merchant affiliate
links, including eBay, Amazon, and others.
I think they call it "hollow ground" ?
Great topic by the way, that's going to be a nice tool when finished.
Great topic by the way, that's going to be a nice tool when finished.
- Joined
- Aug 25, 2003
- Messages
- 6,527
- Reaction score
- 1,506
No, I seriously doubt hollow ground, on that type of knife. Just because a wheel is round, doesn't mean you have to hollow grind. A series of metal removing troughs/channels are ground horizontal, then before they are too deep, the blade is ground vertical to the wheel. A cross cutting procedure. Up near the riccasso, A deck sander can be used today, or it can be hand filed.
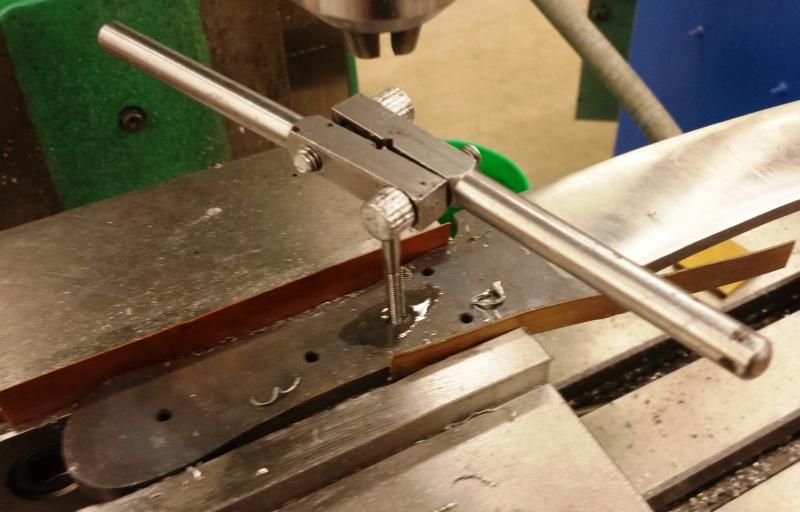
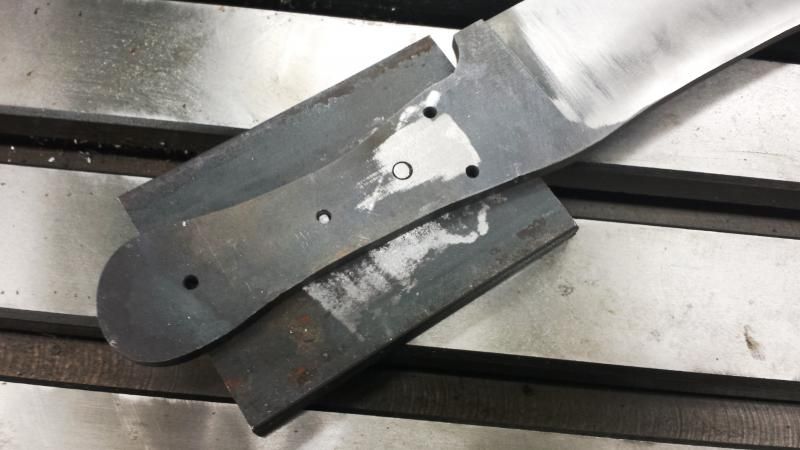
It was a long semester and took me awhile to get back on this project. The next phase is to taper the tang of the handle. With the tang being a full 1/4 inch thick there is a fair amount of metal to remove. I thought about free hand grinding, using guidelines, but figured I would try to just mill it off. Since the shape of the handle does not make for easy, repeatable, clamping, I needed to make a simple fixture that would hold it in place. My solution was a piece of 3/8 inch x 3 inch mild steel plate that had one dowel pin to position off of the handle pin holes and one 10-32 screw to anchor it to the plate. The next two photos show the handle being drilled and tapped for the 10-32 screw hole.
Thin copper shims were used to help clamp the handle without damage.
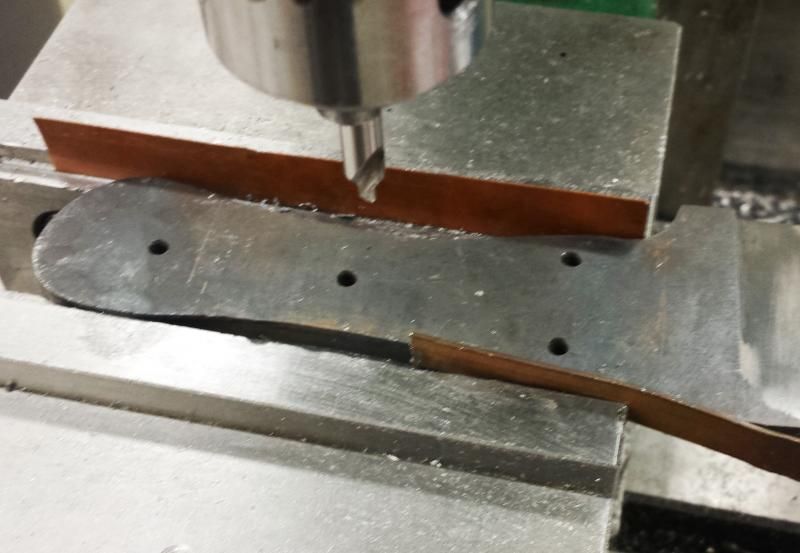
The hole was center drilled and than drilled with a #21 bit prior to tapping. I generally use the mill to help with tapping, though I did not capture a picture of that. My normal procedure is to hold the tap in the drill chuck and lower the tap into the hole turning the chuck by hand a few turns to start the threads. Once this is accomplished I switch to a tap wrench to finish the job. This helps me keep the tap aligned with the hole.
The fixture itself won't win and beauty contests, but it should hold the knife securely enough for light cuts.
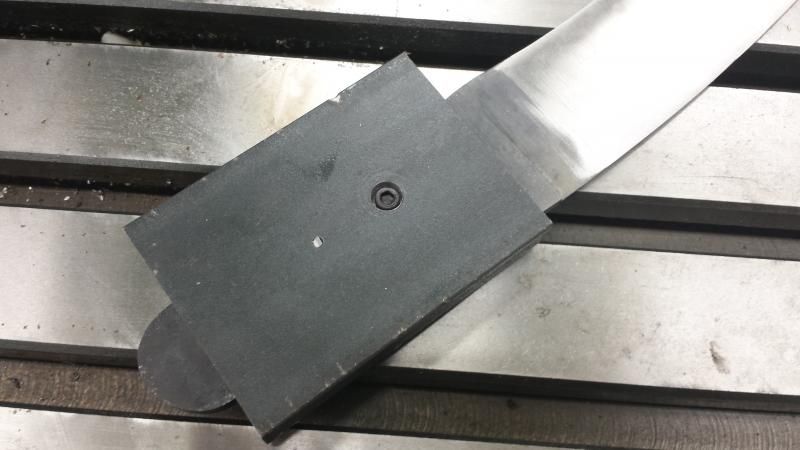
Here is the fixture mounted in the vise with a shim on one end ready for the first cut.
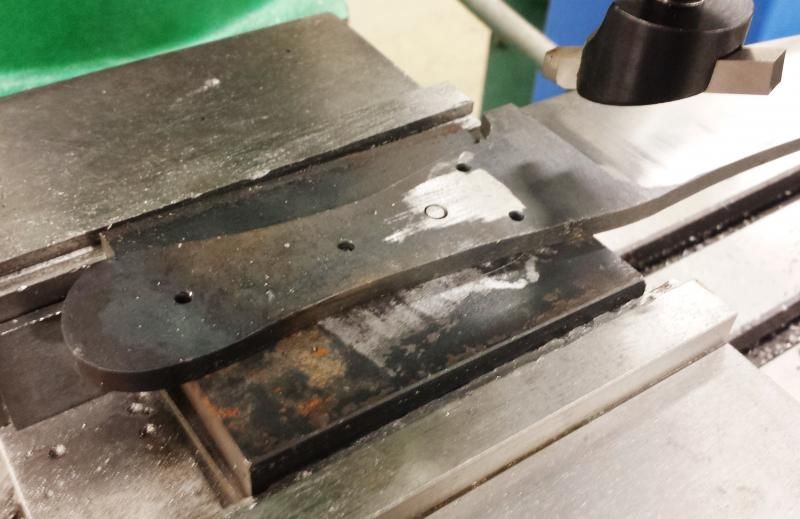
The thickness of the shim needs to be played with to get the correct taper. Once one side is machined the handle can be turned over, but the use of additional shims will be necessary to account for the metal that was removed.
More to follow
Thin copper shims were used to help clamp the handle without damage.

The hole was center drilled and than drilled with a #21 bit prior to tapping. I generally use the mill to help with tapping, though I did not capture a picture of that. My normal procedure is to hold the tap in the drill chuck and lower the tap into the hole turning the chuck by hand a few turns to start the threads. Once this is accomplished I switch to a tap wrench to finish the job. This helps me keep the tap aligned with the hole.

The fixture itself won't win and beauty contests, but it should hold the knife securely enough for light cuts.


Here is the fixture mounted in the vise with a shim on one end ready for the first cut.

The thickness of the shim needs to be played with to get the correct taper. Once one side is machined the handle can be turned over, but the use of additional shims will be necessary to account for the metal that was removed.
More to follow
Similar threads
- Locked
- Replies
- 3
- Views
- 855
- Replies
- 1
- Views
- 349
- Replies
- 6
- Views
- 1K
- Replies
- 4
- Views
- 826


