OK, it is my turn to show off a few pictures.
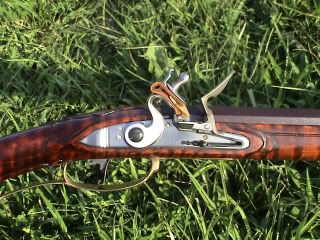
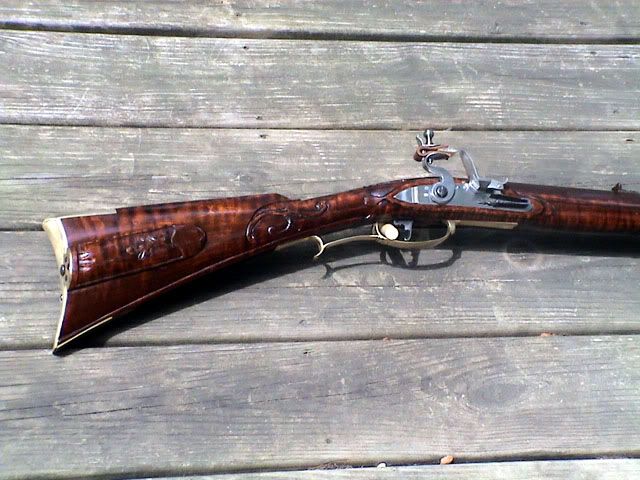
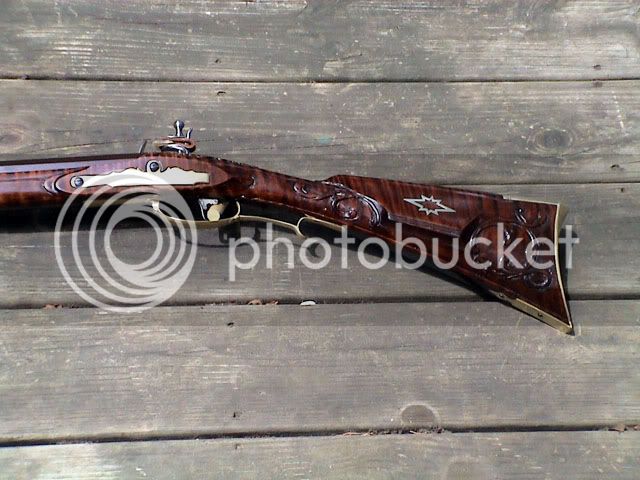
This is a rifle I have been working on for myself for quite a while. In fact if the Energizer Bunny had been around in the 1770's "Energizer" would have been a great name fro this rifle since the project kept going and going and going ...
She got delayed a few times along the way by the birth of my second son, a rifle and pistol for my brother, helping a nephew complete his first CVA caplock kit, finishing a kit rifle for a friend, hafting a couple knives and refinishing two violins along the way, as well as working with a bird dog pup. While this is not my first rifle it really is my first "non-kit" rifle. I completed several CVA/Thompson Center type kits and wanted something more histoically correct with this rifle not to mention something more challenging.
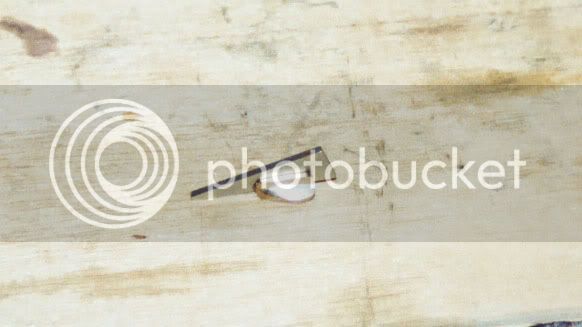
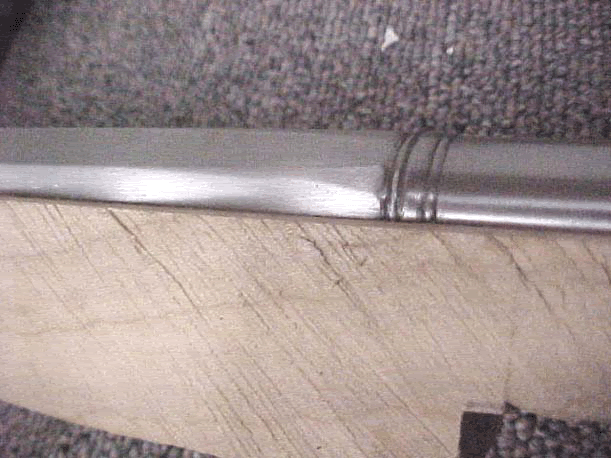
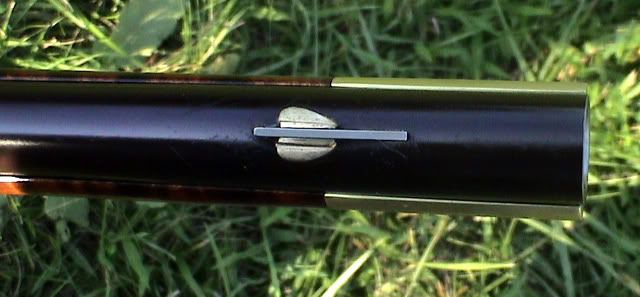
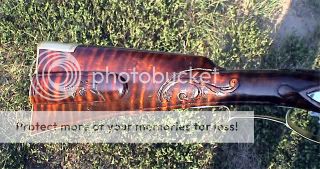
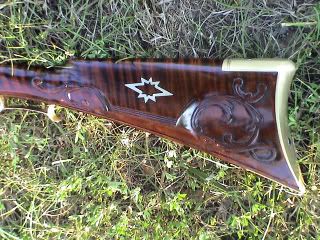
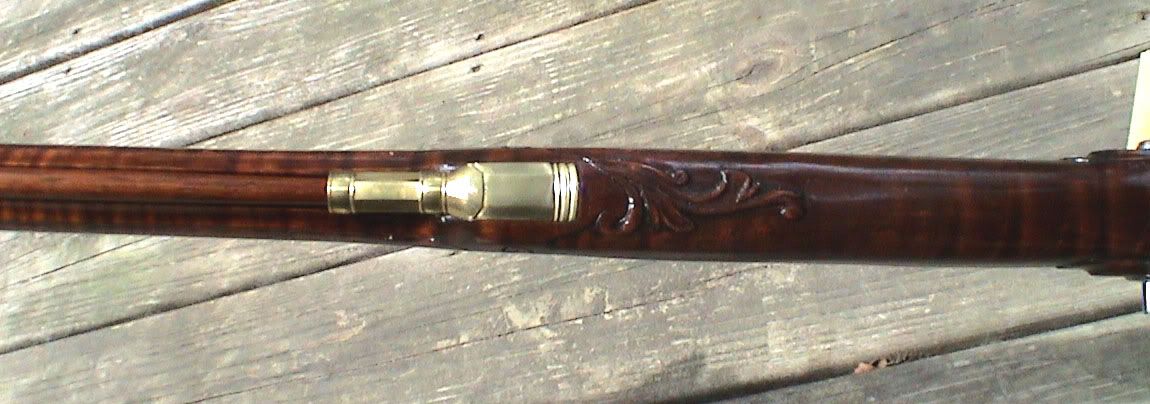
The Stock Blank is Suger Maple bought from Wayne Dunlop and was sent to Fred Miller to inlet the barrel and drill the ramrod hole. Most of the other components were bought from and with the help of Tip Curtis and Jim Chambers. A few parts such as the toe plate, Patch box, Patch box spring, Brass plate on the patch box, front sight base and blade were self made. The front sight was made from a chunk of brass hand filed into a heart shape and fit with a silver blade. The barrel is a "C" weight 38 inch long Colerain Octagon to round swamped barrel rifled for 54 caliber. The transition from the octagon protion prior to the wedding band was eased by filing 8 additional flats. I also conned the barrel as well. I also added the flats and wedding band on the ramrod entry thimbal extention to mirror the butt plate.
I stained the gun with a heavy coat of Laurel Mountain Forge Lancaster Maple stain rubbed back with 0000 steel wool then followed with two light coats of Maple stain. I finished with Permalyn sealer and finish.
There are a few areas I could do better on but overall I am well pleased with this attempt at my first rifle made from a blank.
Comments (constructive and other wise) ...


