Investarm Gemmer Hawken - Range Review

Muzzleloading Forum

Help Support Muzzleloading Forum:

This site may earn a commission from merchant affiliate links, including eBay, Amazon, and others.
I couldn't even move the set trigger on mine. The spring was way too tight and the main trigger screw not enough. But by loosening up the rear spring a little and playing with the height of spring set screw I got it working properly. But the assembly didn't smooth out until I had polished out the working surfaces.
Good to know, thanks. I assume you had to take it completely apart to polish it? How difficult was that? Also, there are no instructions regarding:dunno: the trigger so I am not sure which screw does what?
 
Good to know, thanks. I assume you had to take it completely apart to polish it? How difficult was that? Also, there are no instructions regarding:dunno: the trigger so I am not sure which screw does what?
I checked to see if I had a photo of the assembly handy but I don't. It's not hard at all to disassemble. Start by removing the screw that holds tension on the set trigger spring and remove both. There's a small set screw that tensions the underside of the spring, you can remove it too, or unscrew it enough so that doesn't interfere with re-assembly. I'm jumping ahead, but you will be adjusting that set screw and the spring retaining screw tension to get the desired set trigger pressure you want. Take a few photos before you start taking it apart. Once the rear spring is removed, tap out the pin of the set trigger and remove. Then do the same with the front trigger and remove. Don't try to remove the wire spring that tensions the front trigger. Just note we're the tip rest on the trigger base. There is a slot in the front trigger base that you would think the wire tip would go in for reassembly, but it doesn't, it will fit underneath it. With both triggers out, you can polish up the surfaces were they touch and where the front trigger arm hits the lock sear. I use fine polish stones of varying shapes, but you could use 600-800 grit sand paper back by a small file or popsicle stick to do the same. Don't alter the shape of anything or remove to much anywhere. You just want the working areas smooth, with no burrs. One of the YouTube episodes covers the disassembly which is helpful.
 
And again, the only kit I'd built before was a Pedersoli Kentucky pistol. So I pretty much followed the steps in the "I love muzzleloading" videos. But I recently used the (small amount) of knowledge I gained to go back through the pistol and improve its trigger and lock.
 
Update on my build. Good and bad!

I have the shaping going fairly well, it is really slow. I do not use a rasp because they gouge too much wood and I'm afraid it will cause a problem that I won't be able to fix. I had a "chunk" of wood separate and fly off right infront of the lock, taking part of the lock surround with it! You can see the fix in the pictures! I was VERY upset. It must have been a weak spot or had a "check" in the wood, because i could not see it during most of my sanding etc, then "boom" off it comes. So , I glued and clamped and I guess we will see what happens. Any suggestions on staining to match would be appreciated. The other pieces are coming along. The butt plate are seems OK, the toe plate etc. I need to slim the front end quite a bit yet. The lock fits very nicely, it is right up next to the barrel, the cock moves freely, and you can see it hits the frizzen perfectly IMHO. The flash hole also lined up just where it needs to be. I had flash hole liner in and it sits perfectly. Pls feel free to add comment, suggestion etc. I can use all the help I can get. Thanks for looking.
 

Attachments

  • Gemmer Build 1.jpg
    Gemmer Build 1.jpg
    2.1 MB
  • Gemmer Build 2.jpg
    Gemmer Build 2.jpg
    1.9 MB
  • Gemmer Build 3.jpg
    Gemmer Build 3.jpg
    3.2 MB
  • Gemmer Build 4.jpg
    Gemmer Build 4.jpg
    2 MB
  • Gemmer Build 5.jpg
    Gemmer Build 5.jpg
    1.8 MB
  • Gemmer Build 6.jpg
    Gemmer Build 6.jpg
    1.5 MB
  • Gemmer Build 7.jpg
    Gemmer Build 7.jpg
    1.9 MB
I finished my Gemmer Hawken kit about 3 weeks ago. A .50 flint. Got mine from Muzzel-Loaders.com. They are good people. I used a L & R RPL lock and a nickel silver nose cap from TOW. (Somehow in the process of polishing the stock nosecap, it jumped out of my padded vise and disappeared! Spent 3 days looking for it with no luck.) I was pleased with the kit and I watched all the "I Love Muzzel loading" videos. Very helpful. This was only my 2nd kit build so it was a learning experience. And I know, folks want to see photos. One of these days I'll figure out how to do that with the old iPad I have. Anyway, not trying to steal Snakes thread, but I'm hoping to shoot it this weekend, just been so blasted hot here.
Tom
If you still have your origional lock and are interested in selling it I'm interested.
Owen
 
Looking good Snake! On the area you had to glue, let it fully cure and blend the crack with sand paper to remove any glue on the surface. It should stain fine. Whatever still shows can be considered a character mark!
The crack area is looking better. I put a small amt of JB weld under the tang, barrel joint to even it up and make it more level and it won't compress when I tighten the tang bolt etc. I am working on the nose cap, entry thimble area now, the rest of the stock looks pretty good. You can get caught up in the best, better, perfect syndrome where you just keep going and fussing with every little thing over and over and I have to stop my self and say, Enough, It's fine, leave it alone! I have the metal to look forward to now! Lots of sanding!
 
Looking good Snake! On the area you had to glue, let it fully cure and blend the crack with sand paper to remove any glue on the surface. It should stain fine. Whatever still shows can be considered a character mark!
The crack area is looking better. I put a small amt of JB weld under the tang, barrel joint to even it up and make it more level and it won't compress when I tighten the tang bolt etc. I am working on the nose cap, entry thimble area now, the rest of the stock looks pretty good. You can get caught up in the best, better, perfect syndrome where you just keep going and fussing with every little thing over and over and I have to stop my self and say, Enough, It's fine, leave it alone!
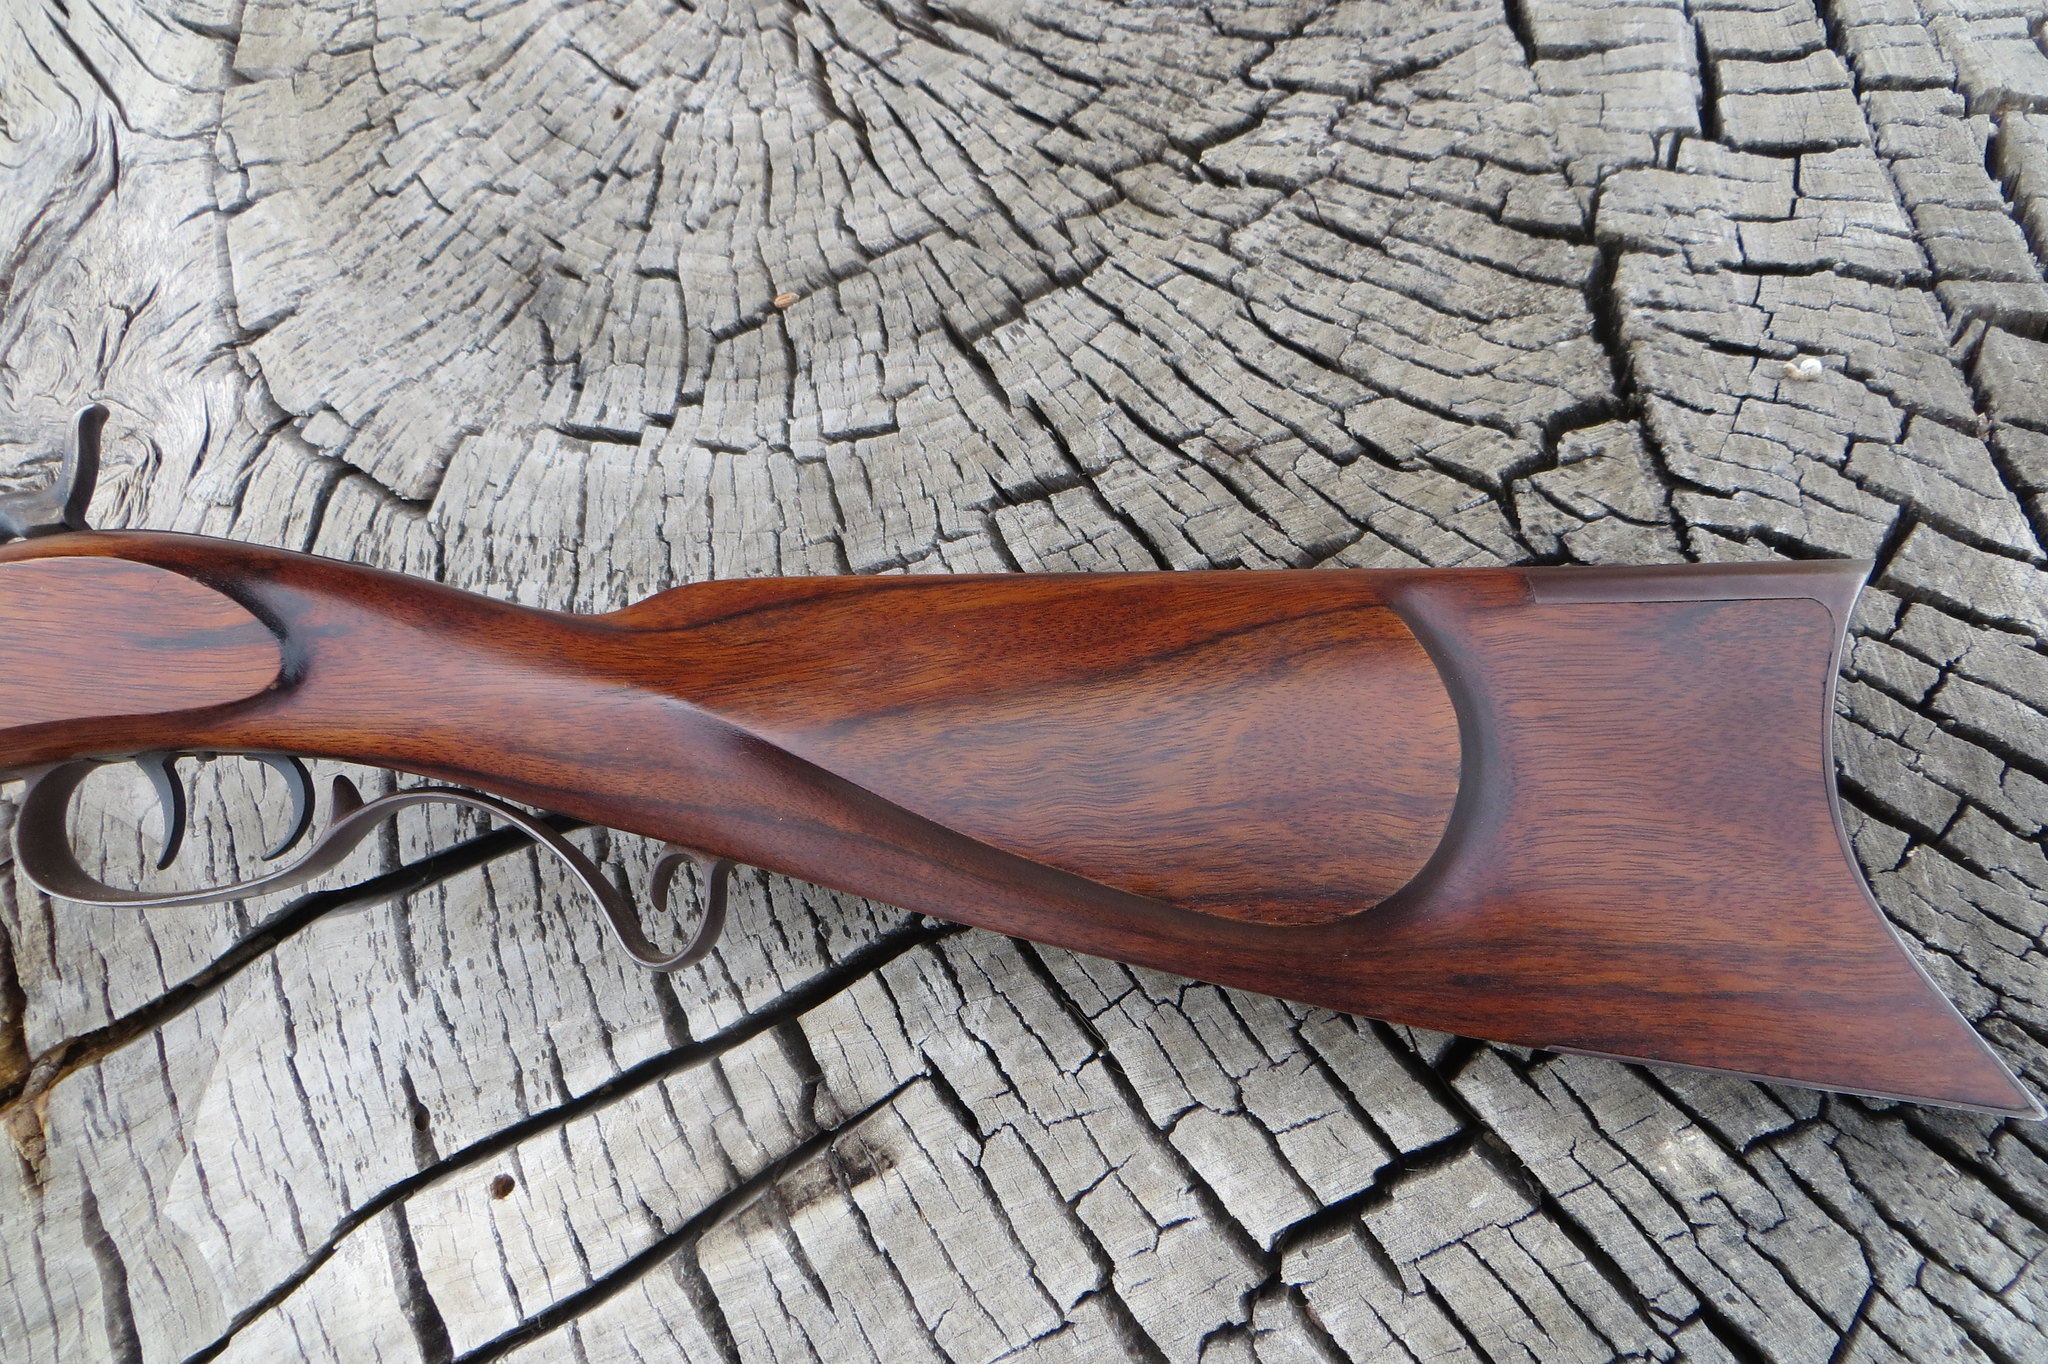
Where the cheek rest meets the wood has traditionally been a radius rather then a square shape. You may want to do this.
IMG_1292 by Oliver Sudden, on Flickr
nice looking stock
 
Back
Top