• Friends, our 2nd Amendment rights are always under attack and the NRA has been a constant for decades in helping fight that fight.

    We have partnered with the NRA to offer you a discount on membership and Muzzleloading Forum gets a small percentage too of each membership, so you are supporting both the NRA and us.

    Use this link to sign up please; https://membership.nra.org/recruiters/join/XR045103

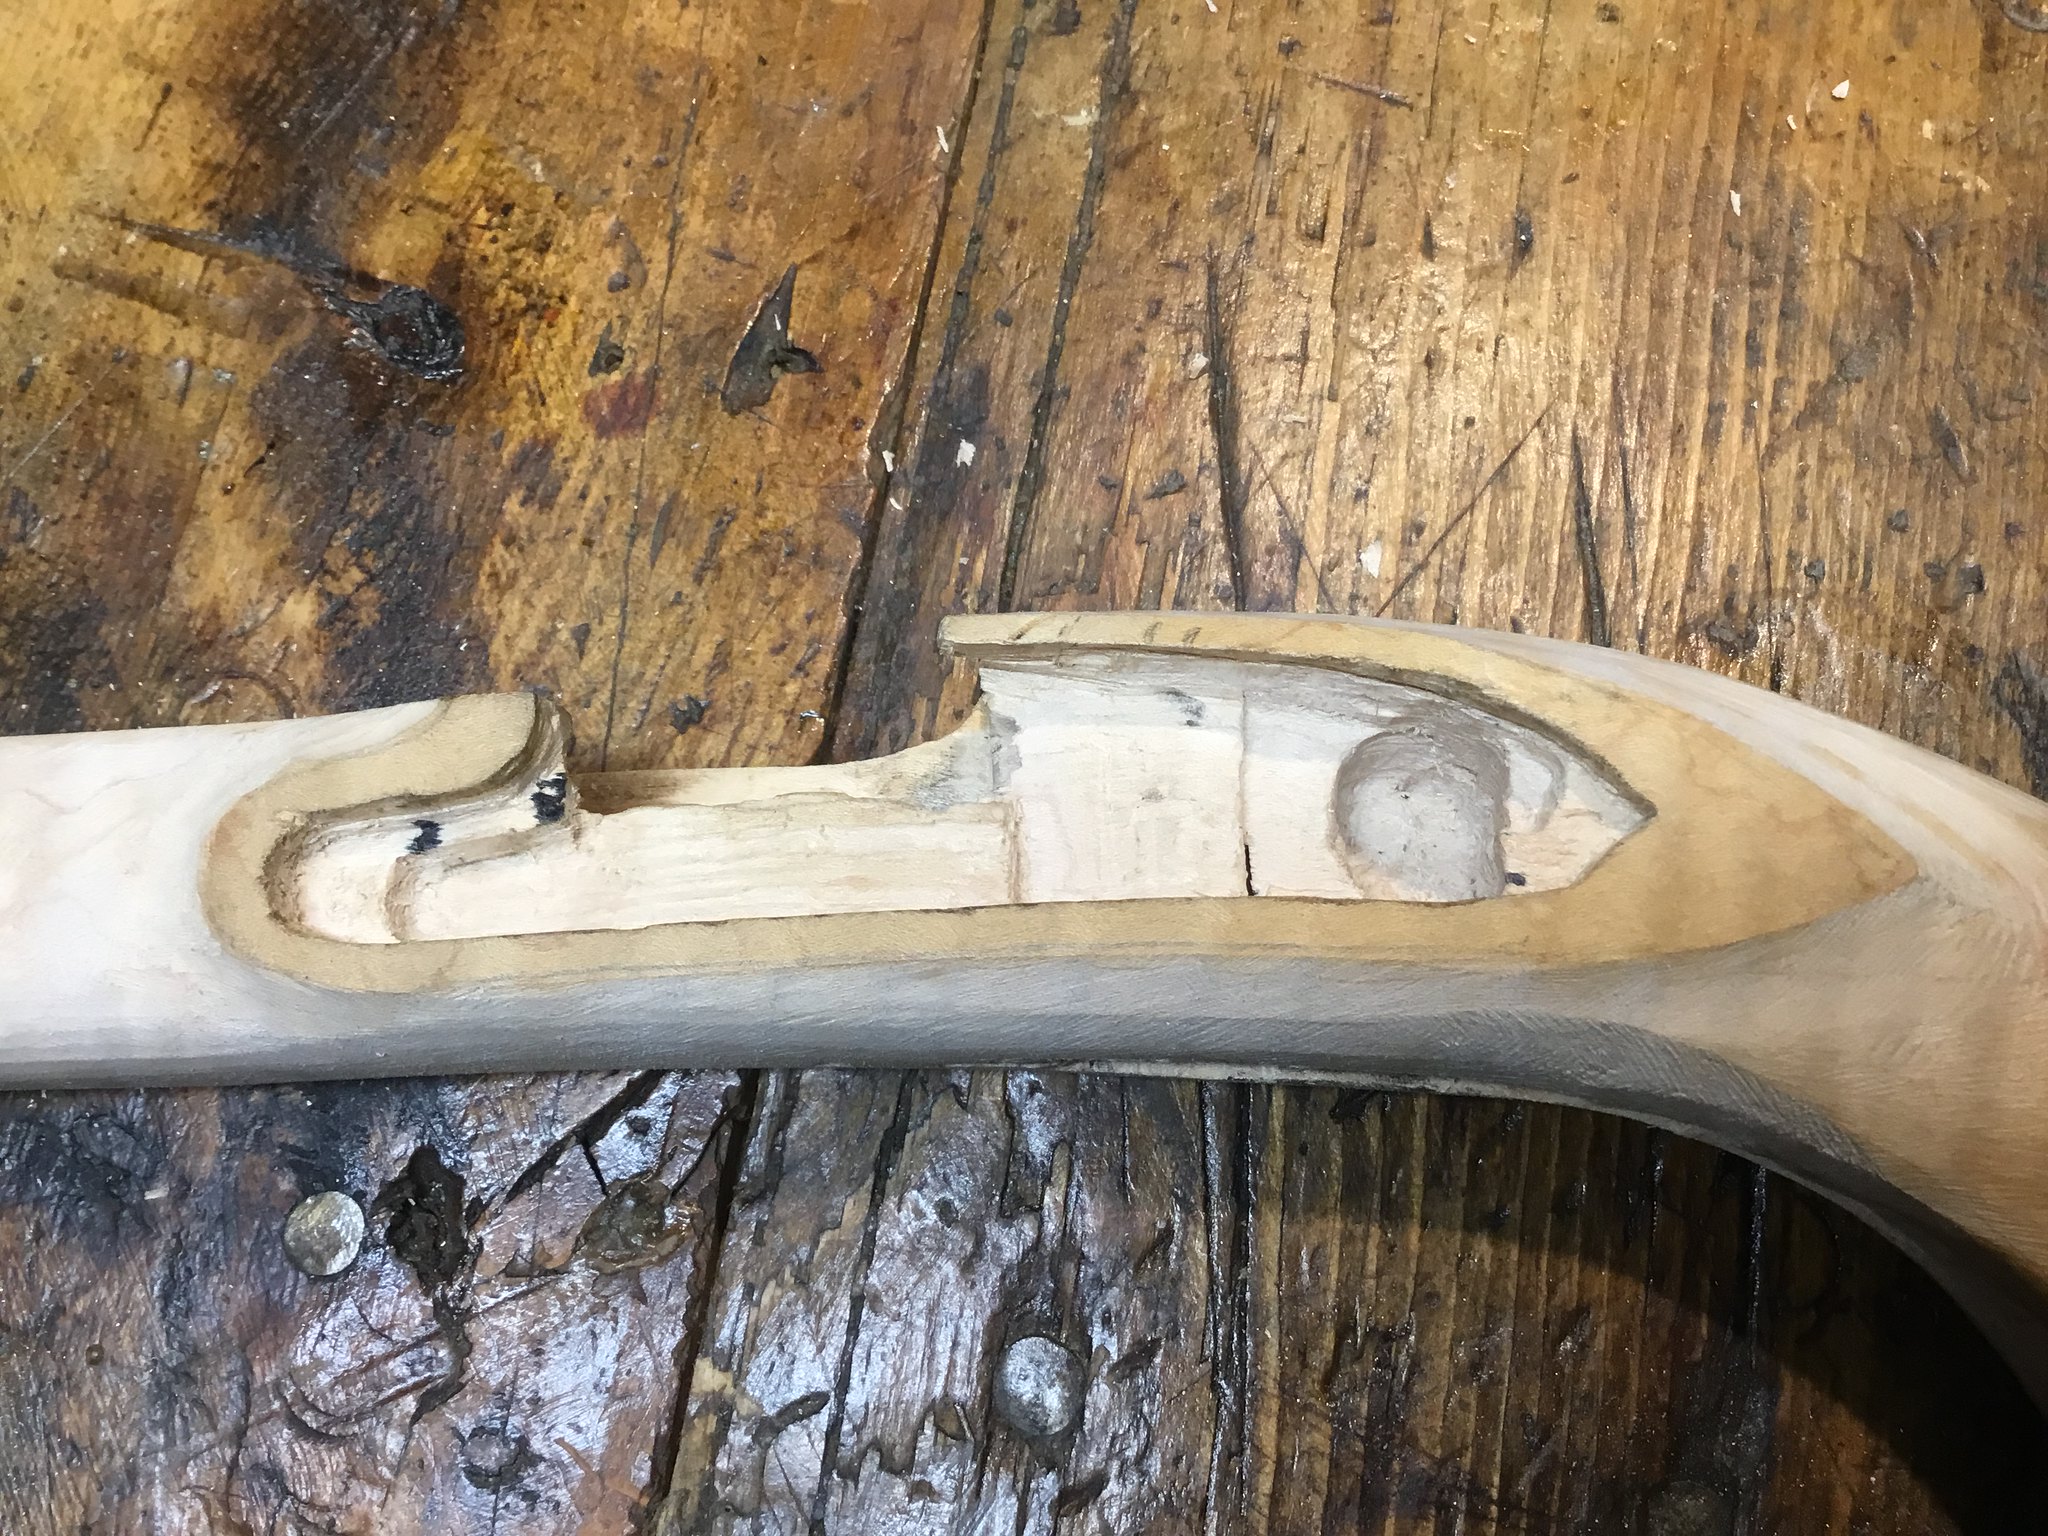
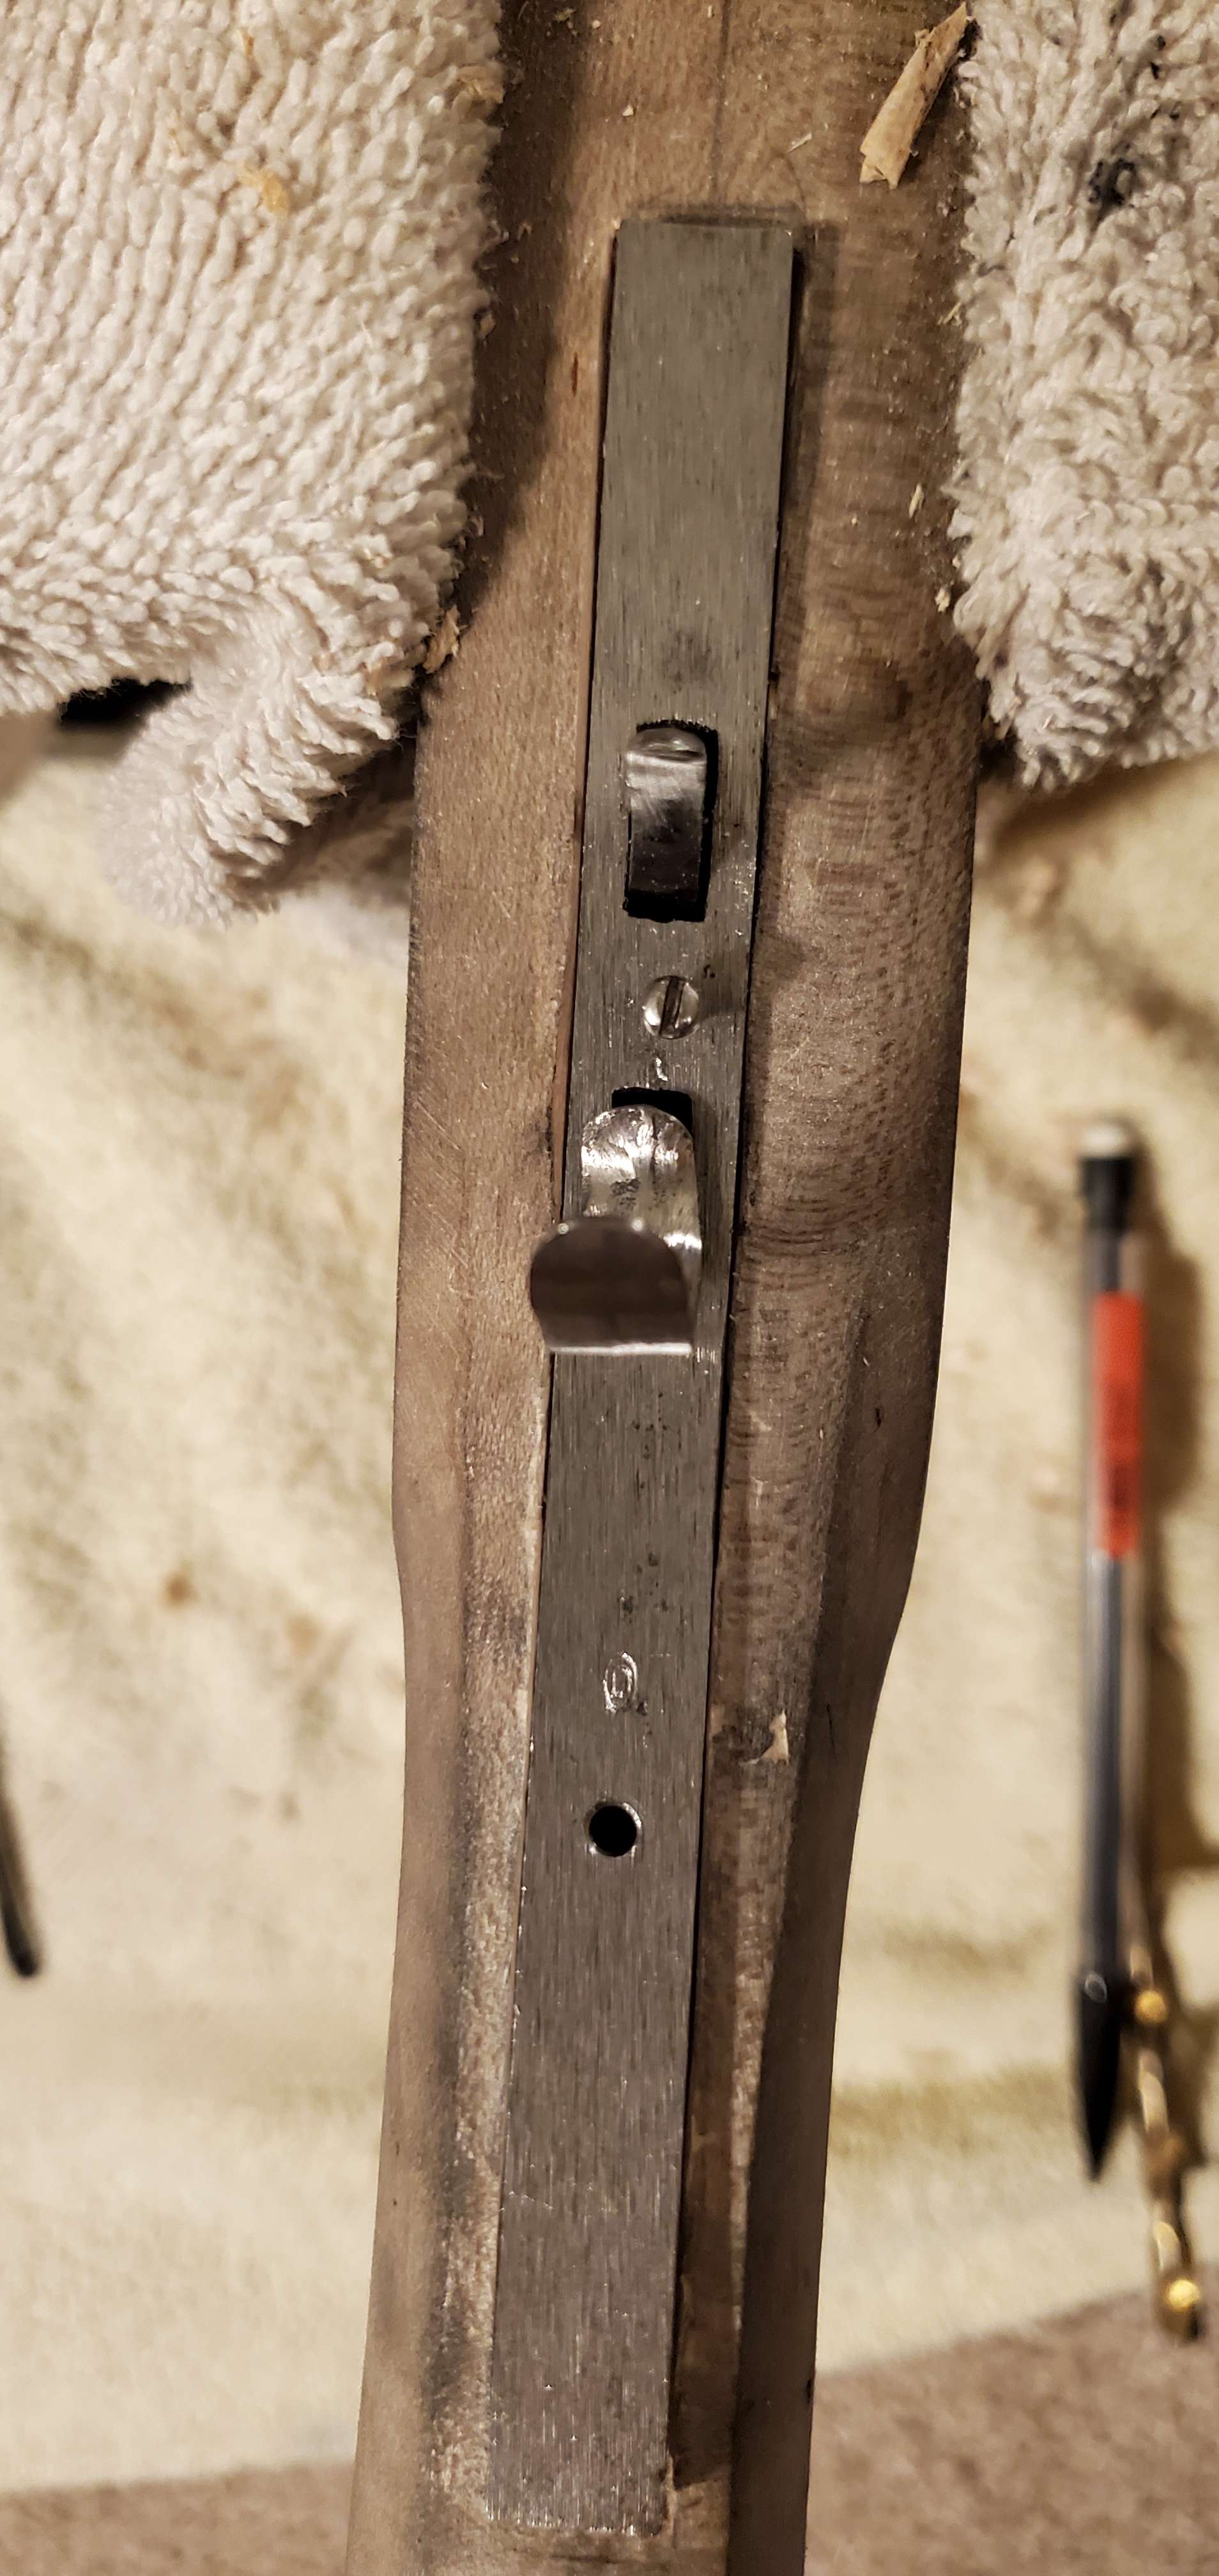
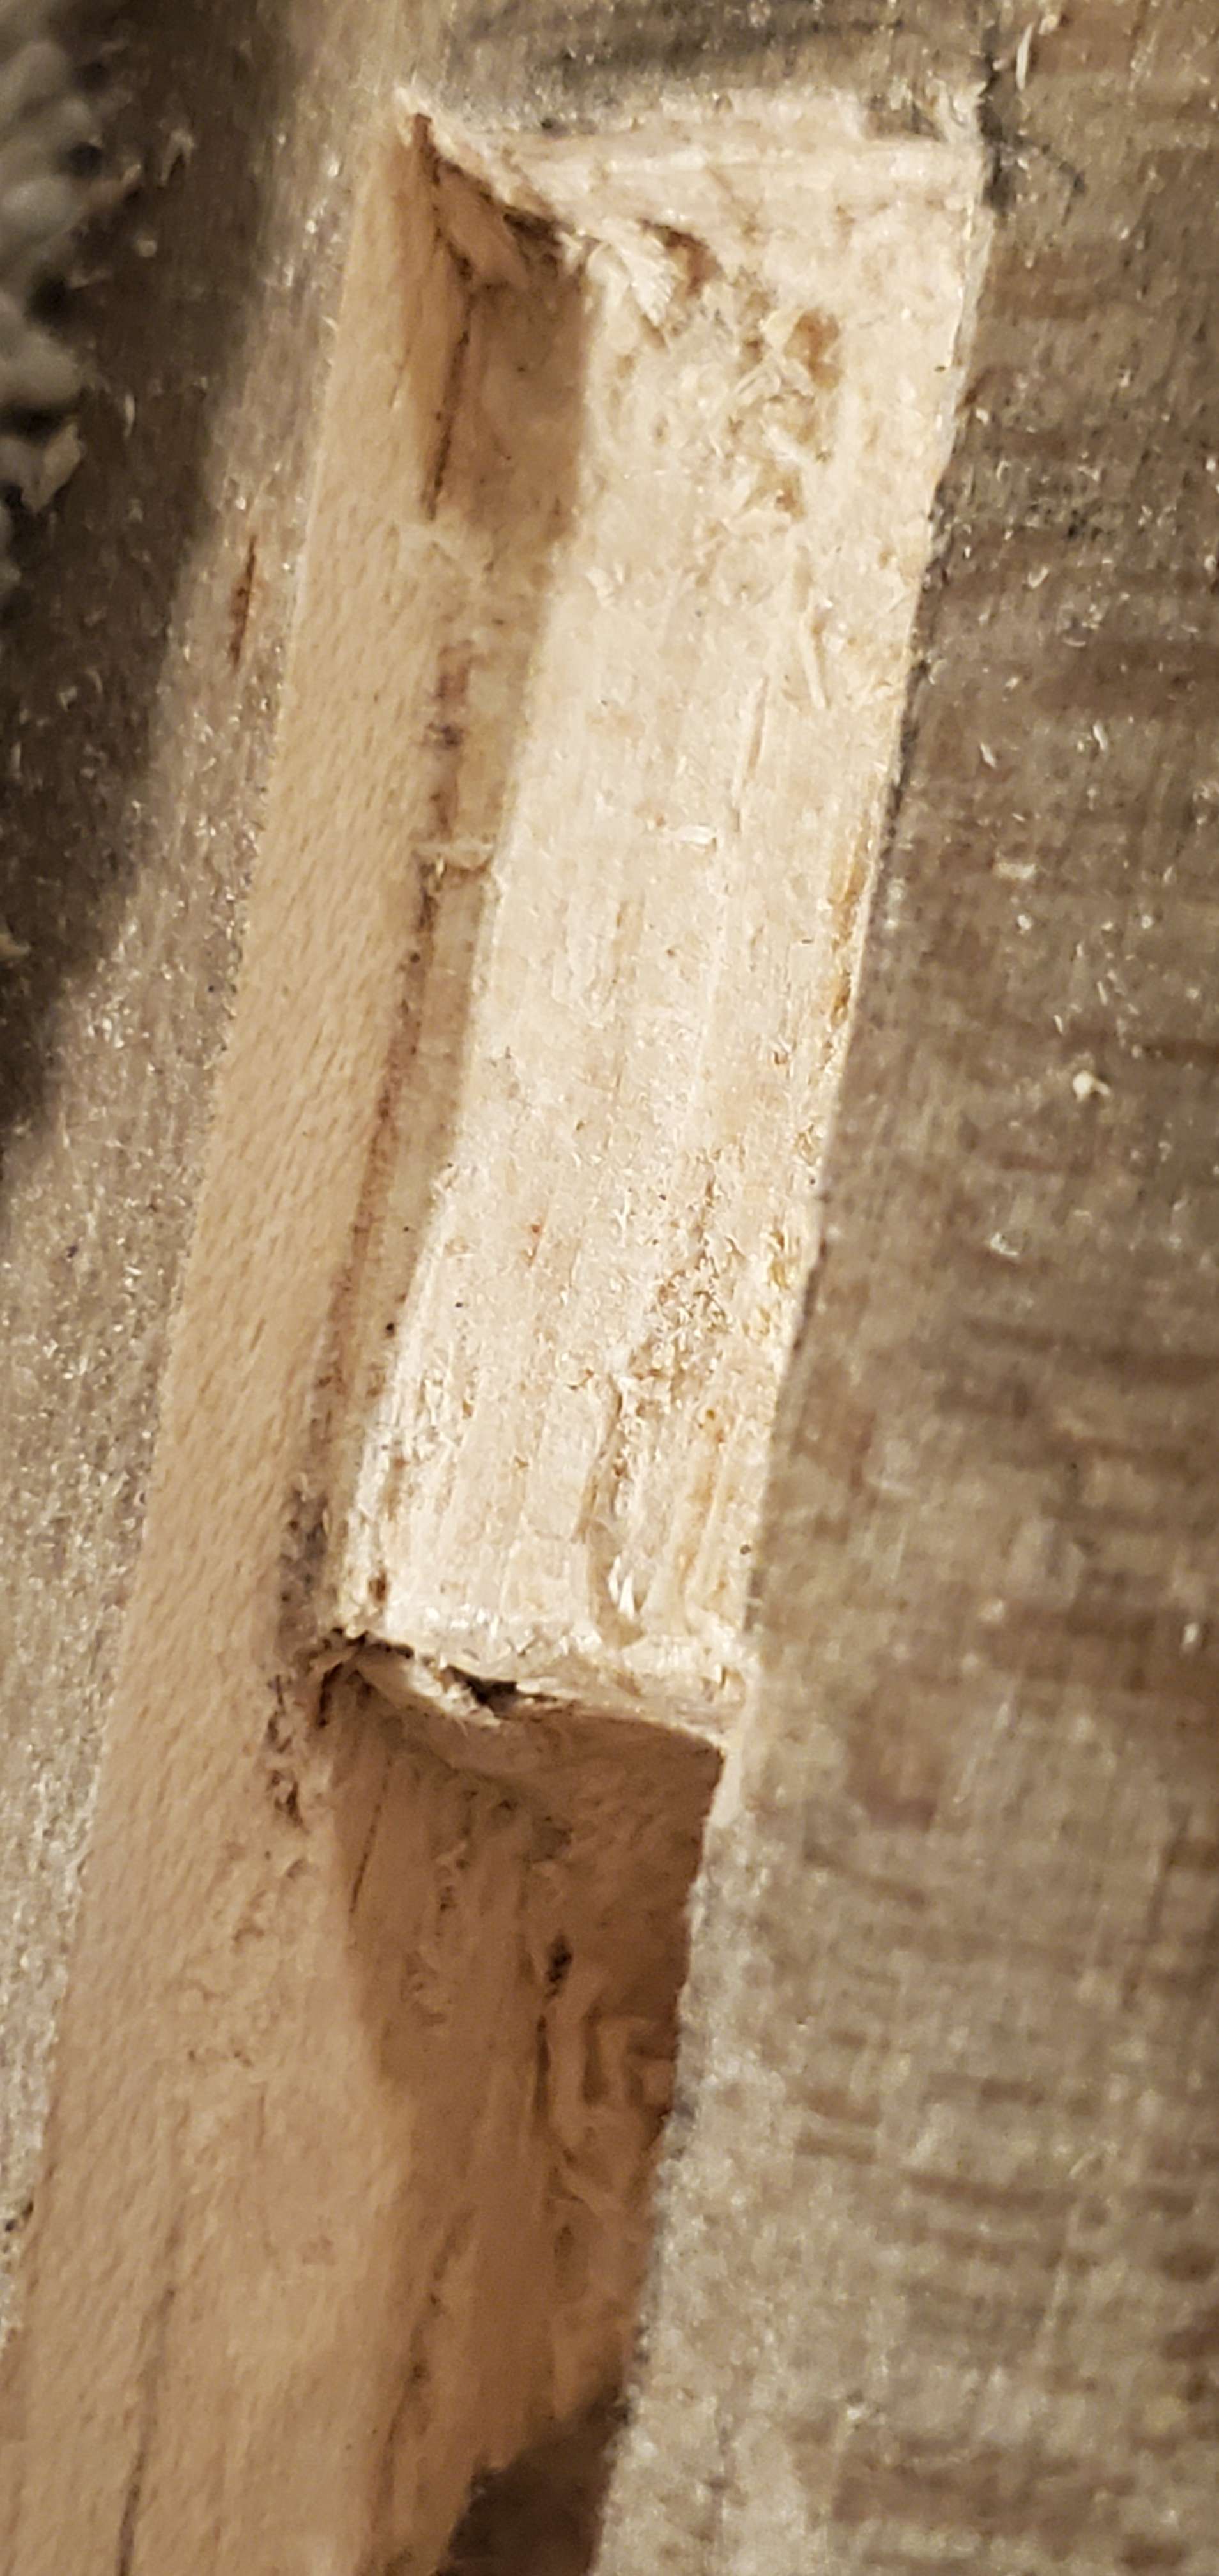
Is this the worst inletting job you've ever seen?

Muzzleloading Forum

Help Support Muzzleloading Forum:

This site may earn a commission from merchant affiliate links, including eBay, Amazon, and others.
Dude,
you need a mentor, or at least some books.
First…. Move that barrl back till it’s solid, flat against the rear of the inlet.
Second…. Fit the lock plate, by itself, to the barrel.
Third, …… fit each piece back in the plate till complete. Make sure the hole for the sear is deep enough. You may need to shorten the sear lever for clearance.
It looks like a pretty soft piece of maple, so inlets should not be that difficult. Most of the depth inlets can be done with forstner bits to depth. Then cleaned up with chisels and knives.
Keep the inlet black VERY minimal. Learn how to sharpen your tools.
Hope this helps.
 
This should be your first cut with an Exacto knife, I tried a pencil line around the lock plate as guide but that didn't give me the precise line like a cut with an Exacto knife. I strop the Exato knife blade a bunch of times before and during the cut to make sure it cuts cleanly. As you can see, I cut out a place for the bolster first so I could lay the lock plate flat on the wood.

lock panel leveling 003.JPG


I have trouble cutting the round nose on a lock inlet and keeping it neat and a close fit. I made what I call a "nose chisel" out of a concrete nail that I shaped to cut a perfect half circle to fit in a Chambers late Ketland lock.

nose chisel toooo.jpg
 
Last edited:
This should be your first cut with an Exacto knife, I tried a pencil line around the lock plate as guide but that didn't give me the precise line like a cut with an Exacto knife. I strop the Exato knife blade a bunch of times before and during the cut to make sure it cuts cleanly. As you can see, I cut out a place for the bolster first so I could lay the lock plate flat on the wood.

View attachment 172386

I have trouble cutting the round nose on a lock inlet and keeping it neat and a close fit. I made what I call a "nose chisel" out of a concrete nail that I shaped to cut a perfect half circle to fit in a Chambers late Ketland lock.

View attachment 172387
 
I agree with Eric. Use the sharpest pencil you can make and trace your outline around the lock plate. Stay to the insides of any line so its smaller than whats intended. That way you can get to the exact size methodically. using an exacto or make a blade from a sheet rock knife blade and mount it in a dowel. They are friendly and allow you to make more exact cuts on radius areas that are the most difficult. On intial depth I put a piece of tape across the blade to act as a depth gauge. tapping down equally so that the cut is all the same depth. I pencil a series of cross hatches inside the area and do the same. That way wood removal becomes less aggressive and more even. It reduces the slipping and gouging that comes with trying to remove too much wood. Slower..but more precise. Finally get an old swiss army knife and grind your own custom tips on it. Cheap but effective. SM
 
No expert here, I have not tried something this ambitious as this, but I found that a set of lenolem sp carving tools were ideal for fine work. Think art store stuff. These cutting tools are intended for block printing. Very fine, very detailed work. And they take a good edge.
Again on the for what it’s worth category I also really like this strop setup. In my opinion it’s better than leather alone. Again you are a braver man than i
 

Attachments

  • FEDE4009-889A-4273-984B-125792440BE3.jpeg
    FEDE4009-889A-4273-984B-125792440BE3.jpeg
    1.2 MB
I second that suggestion for the flexcut slipstrop. I have one and it's very worth having.

Here is my first lock inlet. I think I used 3-4 chisels and regular drill bits. It's not the best, but very functional. I just took my time and used inletting color sparingly.

Best advice I found that helped me was:

- keep chisels sharp!
- you can sharpen chisels with wet/dry paper taped on a flat hard surface. 800, 1200, 2000 grit
- strop after sharpening and often during use
- stay inside your pencil line
- take your time
- use as thin a layer of inletting color as possible


IMG_20220525_010916112.jpg

IMG_20220604_010419318.jpg

IMG_20220607_231412724_HDR.jpg
 
I surely do admire the skill involved. I dare not try it. So very easy to screw up. I once bought a cheat HHawken, finished, and worked for weeks redoing it to make it more authentic. I knew then I'd never be a builder.
 
Trapper.........If you need to see poor inletting , look at some old originals. ( gasp) , Many folks today ,seat their inlays , barrel tangs , patch boxes , etc. , in dye colored epoxie. No sin in that. It's an easy way to make perfect inletting. One common antique m/l barrel inletting job I've seen , is an octagon barrel seated in a round barrel channel. Due to the location , and style of the couple original examples seen , they were probably built in a Pittsburgh , Pa. production shop , of which there were many post 1800. Back then , as is now , "time is money" , that's the only explanation , I can expound. It's all good.............oldwood
 
One item most folks don't mention about , when marking part outlines for inletting , is the lead pencil . Drafting pencils are hard lead , and make super thin lines when sharp. Their designation is a #4 lead hardness. A standard pencil for correspondence and notation is , a #2 or #2 1/2 softer lead. Try a sharp #4 , that should improve your inletting from the start...........oldwood
 

Latest posts

Back
Top