I loaned my camera to my Son, so after I get it back, I'll do just that with another case I'm noodling out.
This is how I build a case (YMMV) :
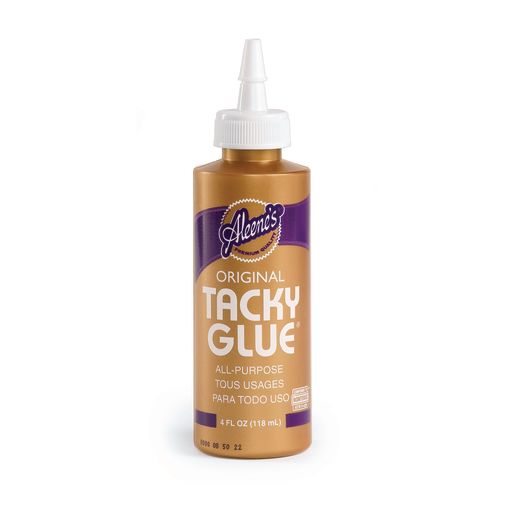
For materials, choosing what kind of wood I want to use, I gather enough 3/16" thick X 24" L x 3" W boards from Hobby Lobby (or other national chain store) to make the partitions, along with two larger 12"x12" sheets (depending upon the size of the gun the case's for) to make the case top/bottom, four 8-1/2" x 11" sheets of colored felt (over 20 colors to choose from) for the interior, a set of 2 small brass hinges, a closure latch, and some wood adhesive for the case body and tacky glue to hold down the felt.
Once I put together the 4 walls and the top/bottom, I slice off the "top" about a 1/2" down from the top/sides juncture.
Using the gun I'm making the case for as a guide/template, I position it inside the floor section to where I want it then trace around it onto the inside of the bottom panel with a lead pencil. Ditto for the flask, cap box, and an old-style ball mould.
Once all the outlines are traced into the bottom, I use a small steel straightedge & the pencil to make a bunch of dual lines ( 1/8" apart) between the gun/flask/etc positions to mark where the partitions will be going.
After that, it's a matter of cutting/fitting the partitions (marking them with location within the case), gluing pieces of felt cut for each wall to cover that wall's top/sides from the bottom of the partition on one side, and over the top to the bottom of the other side, in one piece - leaving a bare wood edge on the bottom of each partition for gluing to the floor of the case.
The partitions are glued to the case floor and to each other, going along section by section
A paper template for the floor inside each section is then assembled (scissors/Scotch tape) & used for cutting out the various felt floor sections.
The next to last step is finishing the outside of the case, including the top edges of the four outer case body walls.
The last step is to install the hinges & closure hardware.
Warning: let the adhesives used in making the lining dry/cure thoroughly (I wait a few days) before placing the gun inside for more than a minute or two - upon pain of having the fumes destroy the finish on the areas where the gun touched the felt ( BT, DT - NTS)
.


