Onojutta
45 Cal.
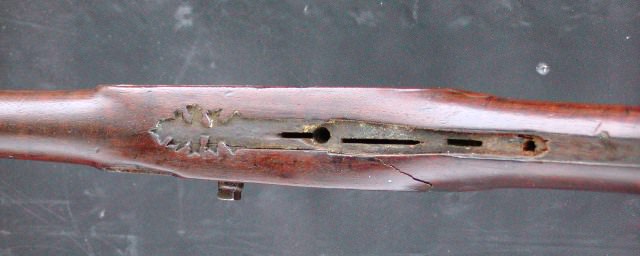
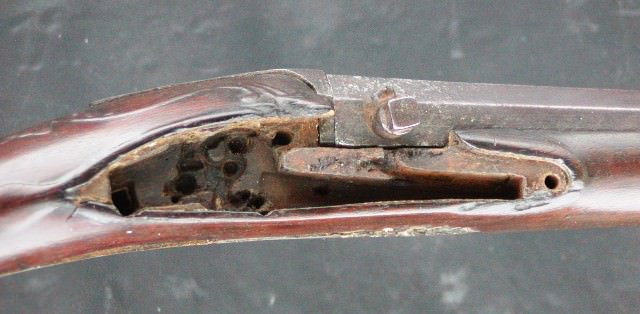
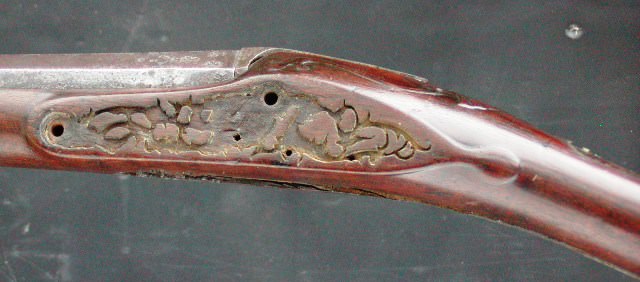
What tool(s) do you use to shape the front of the lock panel, namely from the pan forward and down toward the bottom?

and a good light to show high/low spots.6mm Gouge.
3/8" rat tail.
Dowel and sandpaper.
Put a picture of a lock and mortice that you like right there for you to see while working . With pencil or such draw that edge around d the lock front how you want it . I use a gouge and on the outside of the line I push the gouge straight down and pushing a bit forward for a swoop to the cut . Do that to the entire outline you drew . Then ....take a round rat tail rasp , I like a small course one for this , the diameter is small than my penky finger , and with gun in vice , lock pointed up at you , work that rat tail horizontal to first knock those high perks down , then taking it all down to where you want it . Now , while working g the rasp use your fingernail as a stop so the rasp dies not go past your line into your mortice . light strokes , go easy . Sometimes after doing this I'll look down , take gun out of vice and look down from top of barrel and look at depth of cut , recess around front of lock , and sometimes it isn't deep enough so I havr to repeat the process , gouge cuts down and sweep forward , then work the rasp around the mortice line , use ginger nail of other hand as stop to I dont go past my line ....then take out the gun and check it again . When it is done , look down from top , looking down past barrel , and mark where your lo k mortice stops and mark on the side plate side so when you do the mortice in front of the side plate it is the same length as the lock mortice , symmetrical ...... The tear of both mortices you font need a gouge , just the rat tail rasp . Male your lines like before and rasp it to shape tapering into the wrist . Mark both points so they are symmetrical as well ....Check from top every now and then .What tool(s) do you use to shape the front of the lock panel, namely from the pan forward and down toward the bottom?


Enter your email address to join: