Here is something I have posted a number of times. Not your exact trigger (it’s a TC trigger in the photographs, but basic adjustment is the same as a Davis Deerslayer and Lyman/Investarm trigger), but if you follow along you should be ok. If process steps don’t resolve your issue, you may need to remove/add (shimming) some wood in the lock mortise of the stock, or removal of some metal from the trigger. Try the below steps first. Requires the removal of no wood or metal, both of which can be a PIA add back.
Hope this helps. Here is a description of how I adjust my TC and similar set triggers. Apologize that the photographs are not the greatest.
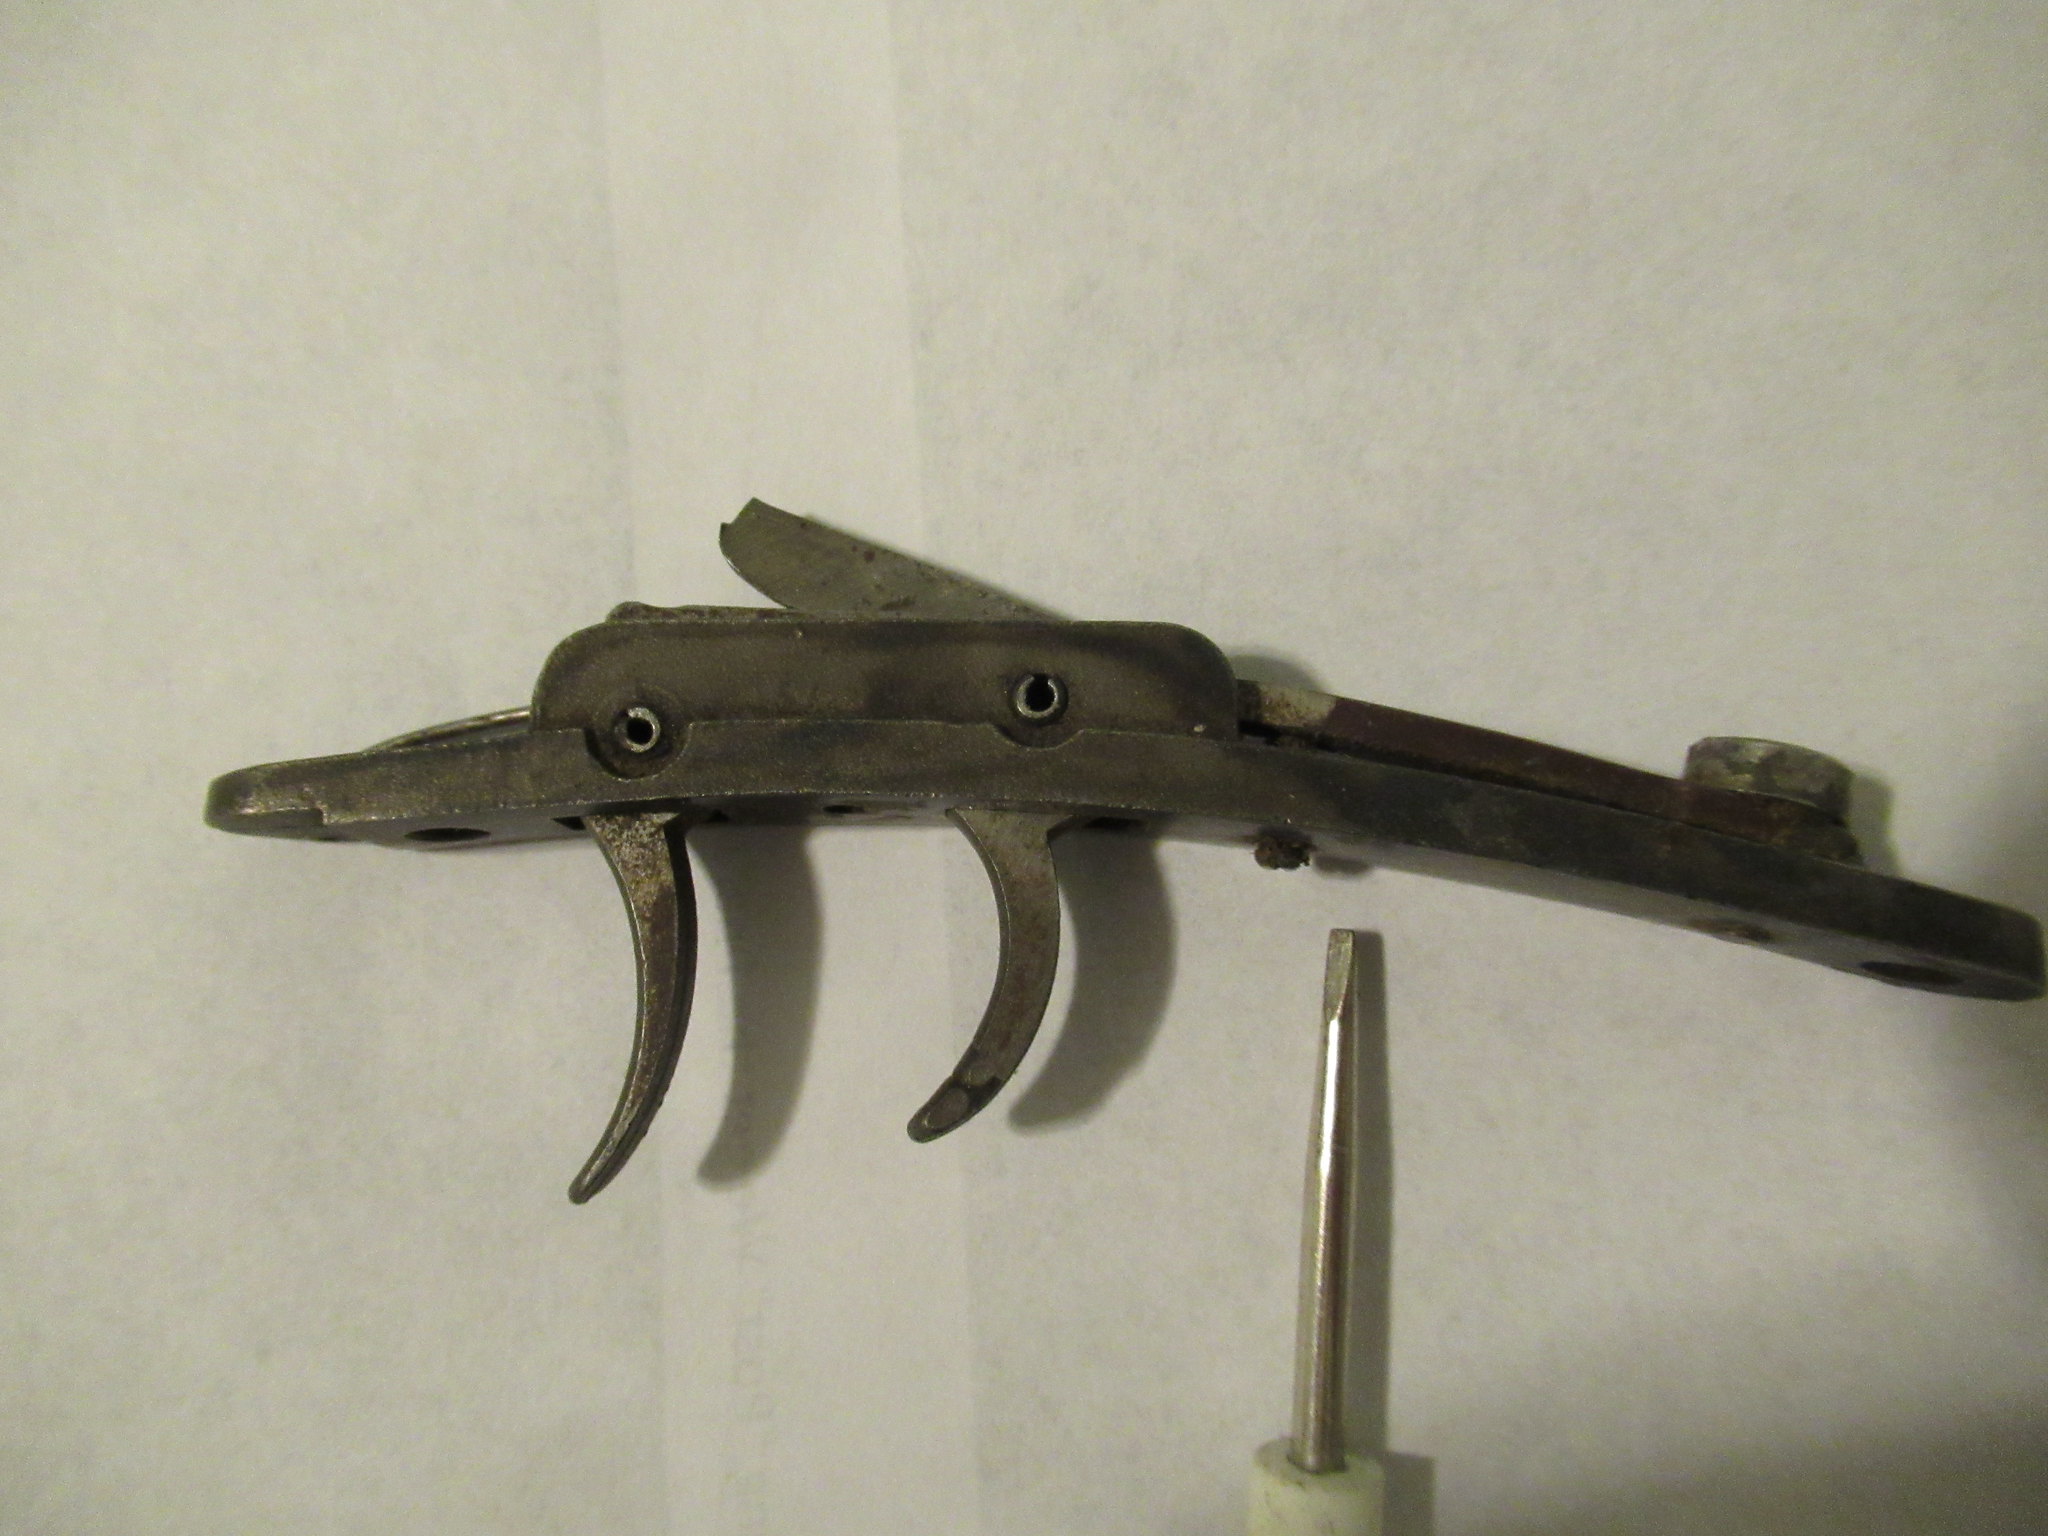
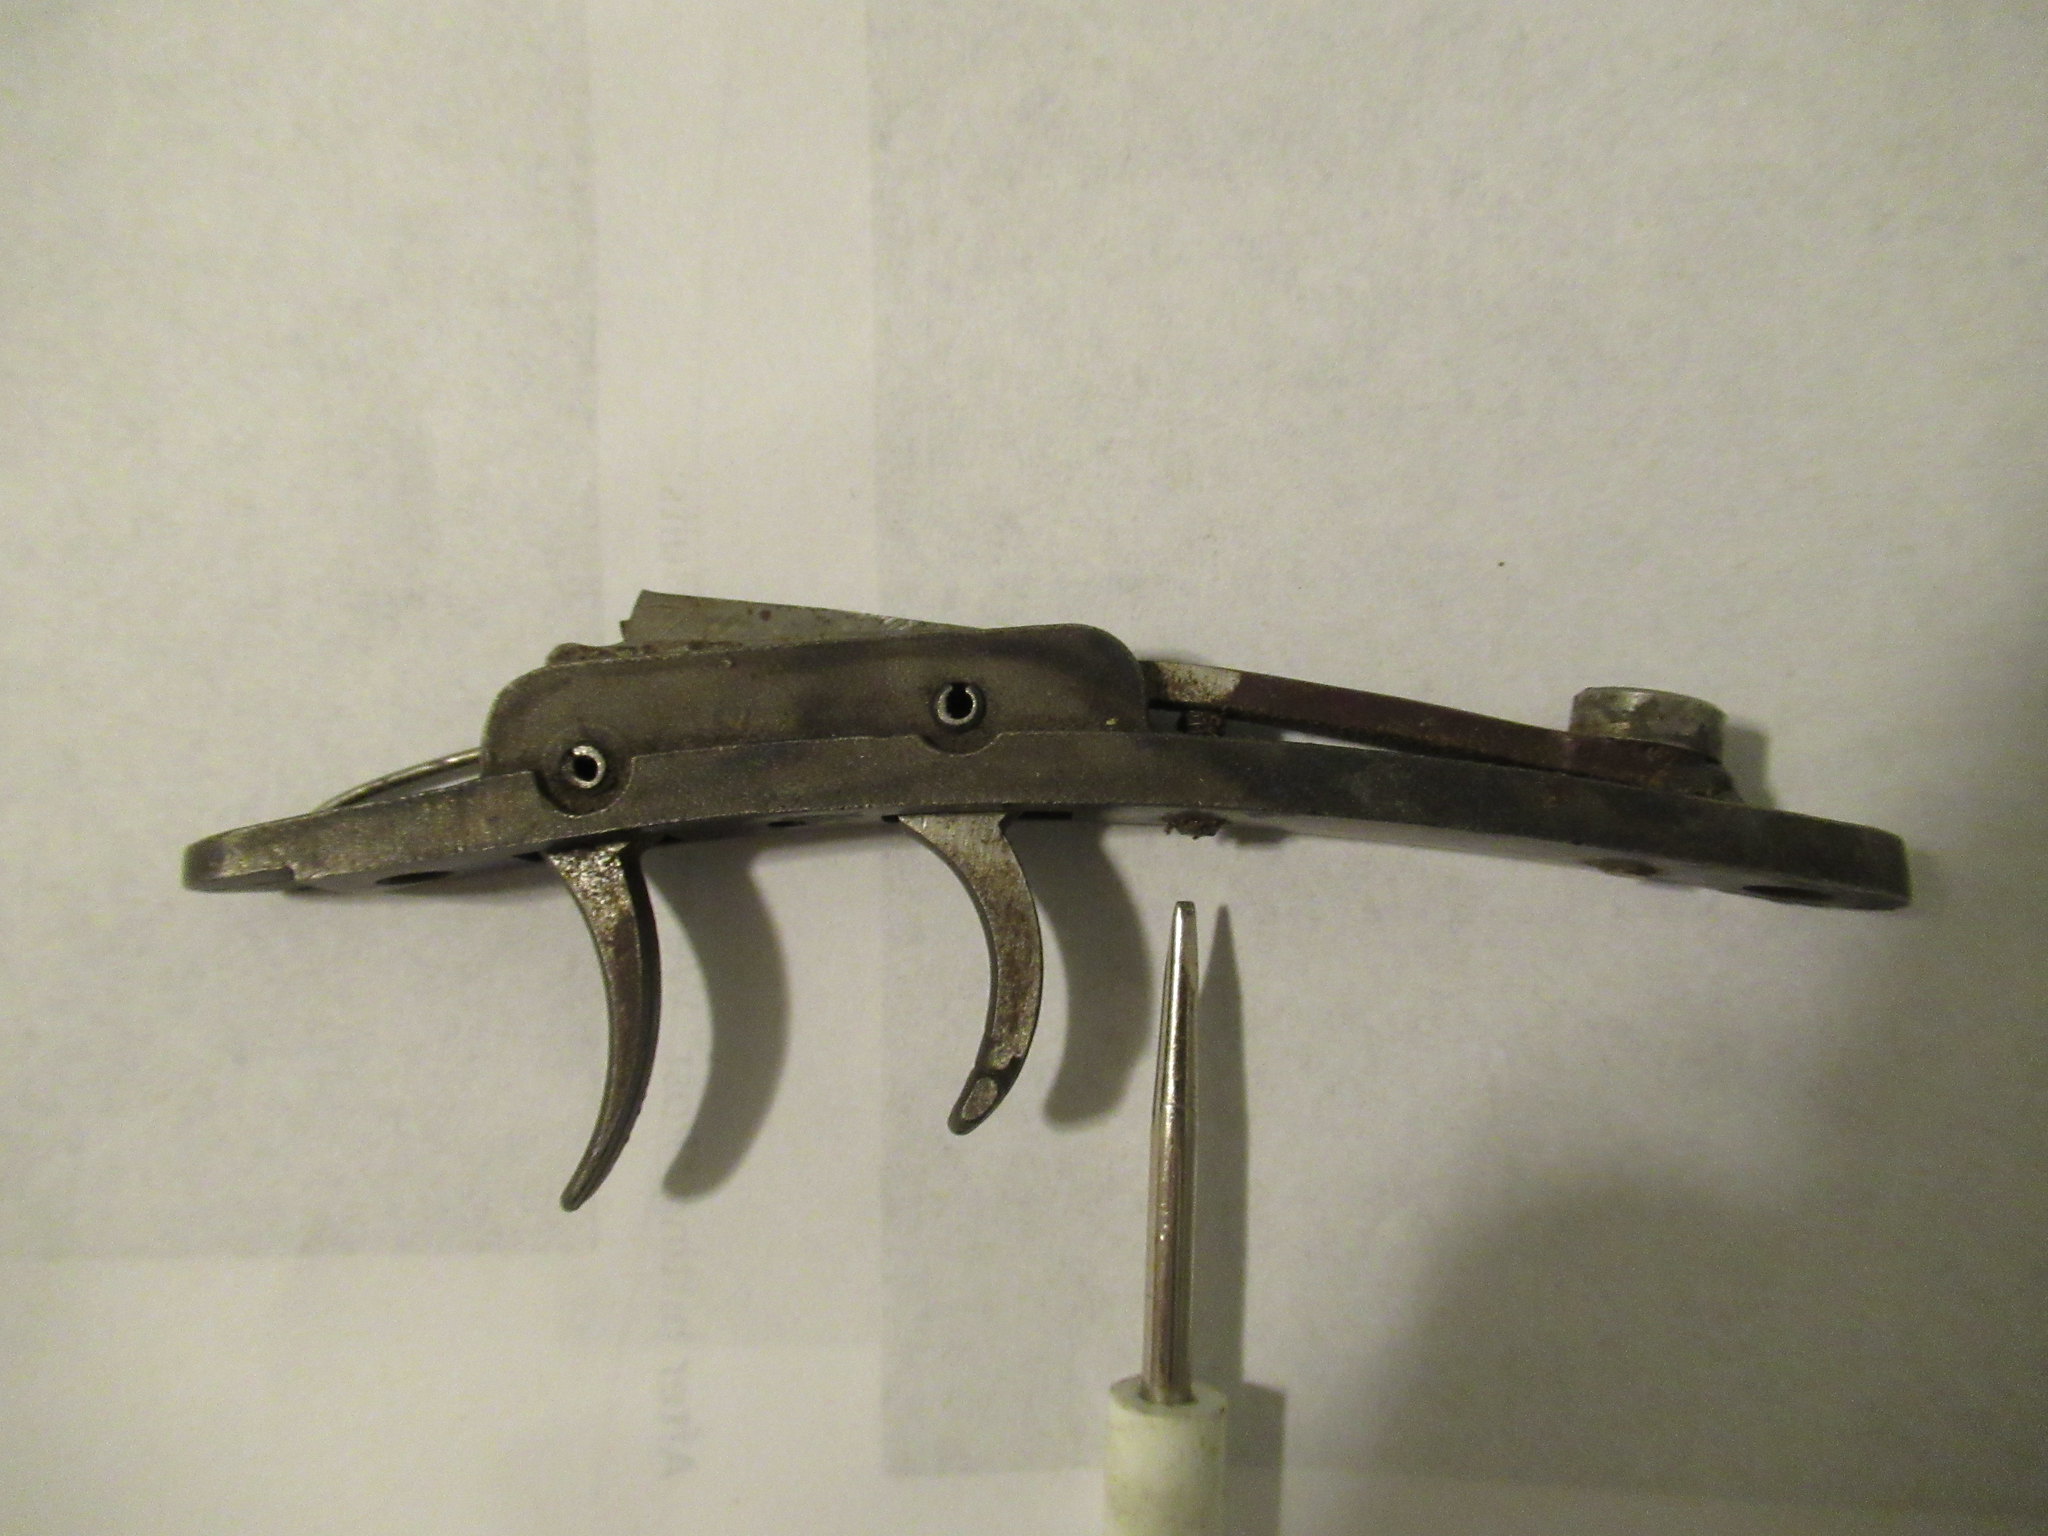
In the first photograph the arrow is pointing at the screw that will adjust the amount of tension on the rear trigger. You can back this screw off to reduce the amount of force to ‘set’ the trigger, but you still need enough tension or force to trip the sear lever on the lock. Once you have found the minimum force required (trial and error adjustment of the screw), tighten the screw a half to a full turn (safety margin). Confirm it is still satisfactory, and then you may want to lock it in place with something like nail polish (I use red so I can easily see it). Make sure the trigger is fully locked into place in the stock when testing its function. If it is lose or out of position it will perform different.

To adjust the ‘hair’ trigger, with trigger assembly out of the gun, set the trigger and turn the screw between the triggers until the trigger pops. Then back off the screw a minimum of a half turn, though I would suggest a full turn for safety reasons. Lock in place with nail polish.