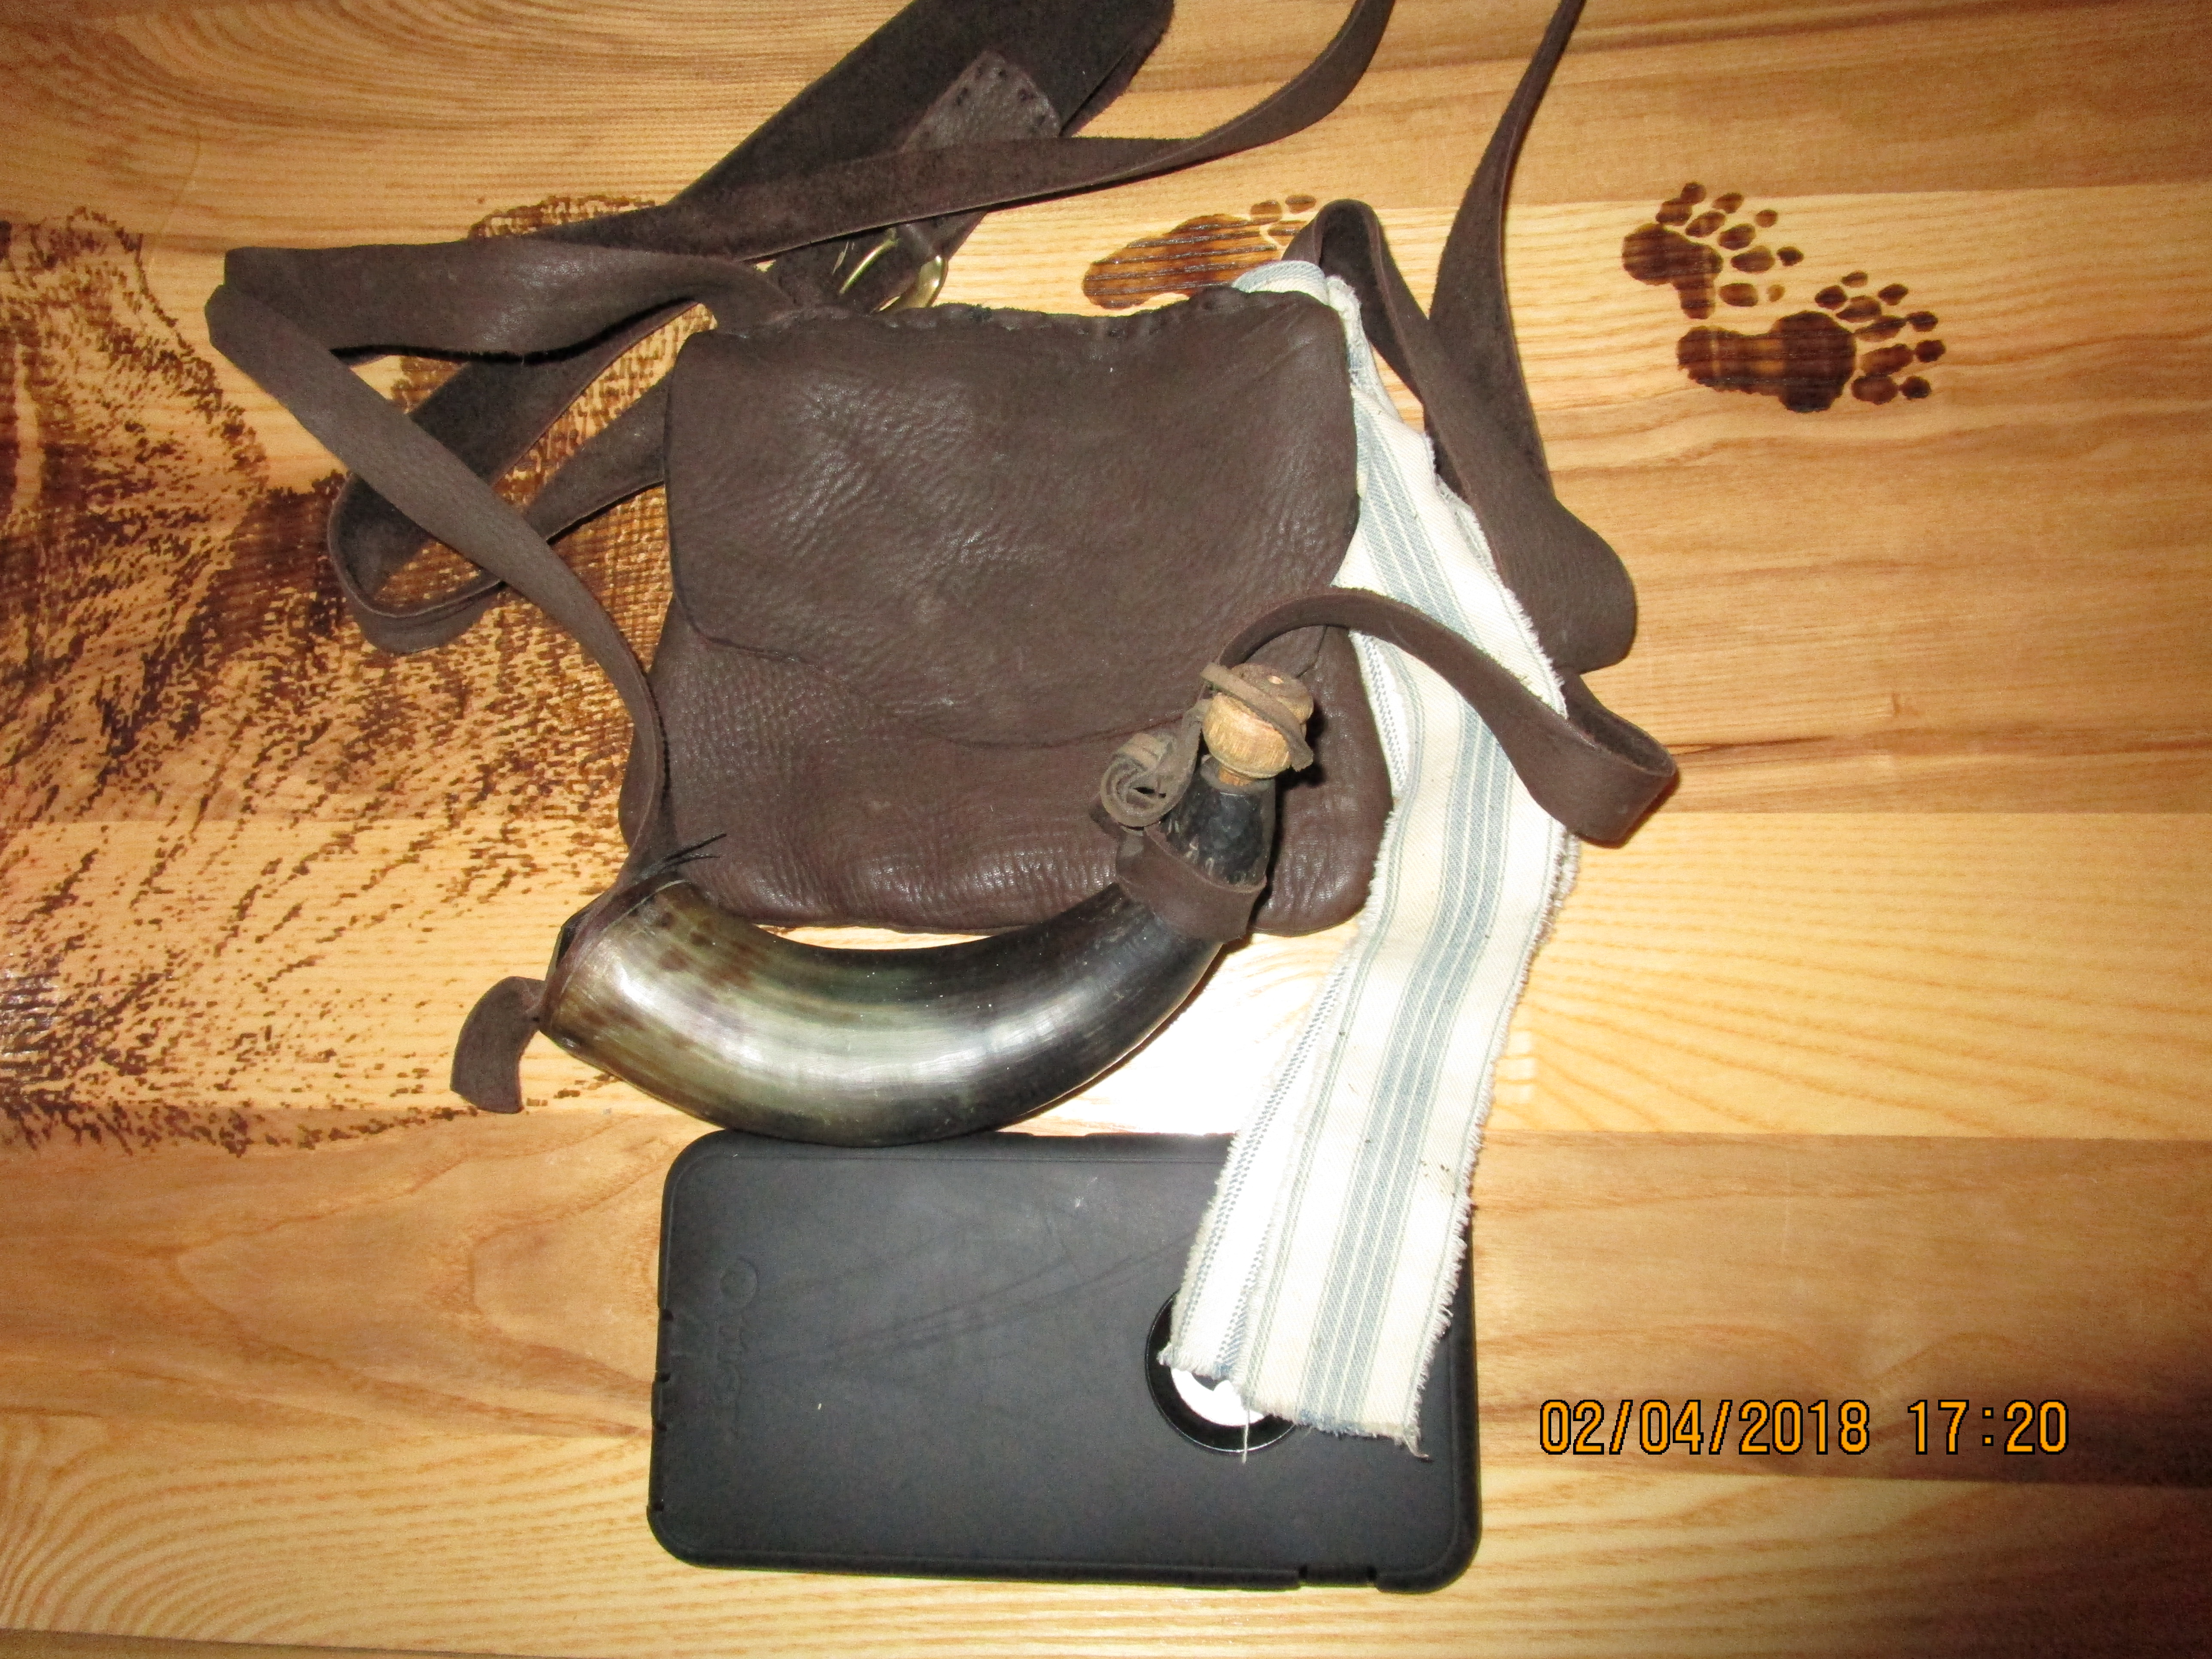
So it makes sense not to sew the bottom edge of the inner flap and use it as second flap. I'm going to try that and worse case scenario I can always sew what I missed later. I agree that the bag above appears to be this very bag pattern.If I’m not mistaken this is the bag in question made from Mr Alberts book pattern…

Thinking back, I may have sewn this one together then inverted it prior too sewing on the flaps along the top edge…
-
Friends, our 2nd Amendment rights are always under attack and the NRA has been a constant for decades in helping fight that fight.
We have partnered with the NRA to offer you a discount on membership and Muzzleloading Forum gets a small percentage too of each membership, so you are supporting both the NRA and us.
Use this link to sign up please; https://membership.nra.org/recruiters/join/XR045103
You are using an out of date browser. It may not display this or other websites correctly.
You should upgrade or use an alternative browser.
You should upgrade or use an alternative browser.
Making a Shooting Bag: Questions
- Thread starter Okurok
- Start date

Help Support Muzzleloading Forum:
This site may earn a commission from merchant affiliate
links, including eBay, Amazon, and others.
I do this stuff for a living so here’s my two cents... first I don’t see a middle spacing piece. That would give you more room. And it is rasier to make if you have one. Now, everything is sewn inside out, this also makes it easier. Hold on I’m going to try and put some pics on here.


 If you have any other questions send an email. [email protected].,!


 If you have any other questions send an email. [email protected].,!
Not really, but you are right it could’ve been drawn easier !I've made many bags and in my opinion, that's a pretty confusing pattern.
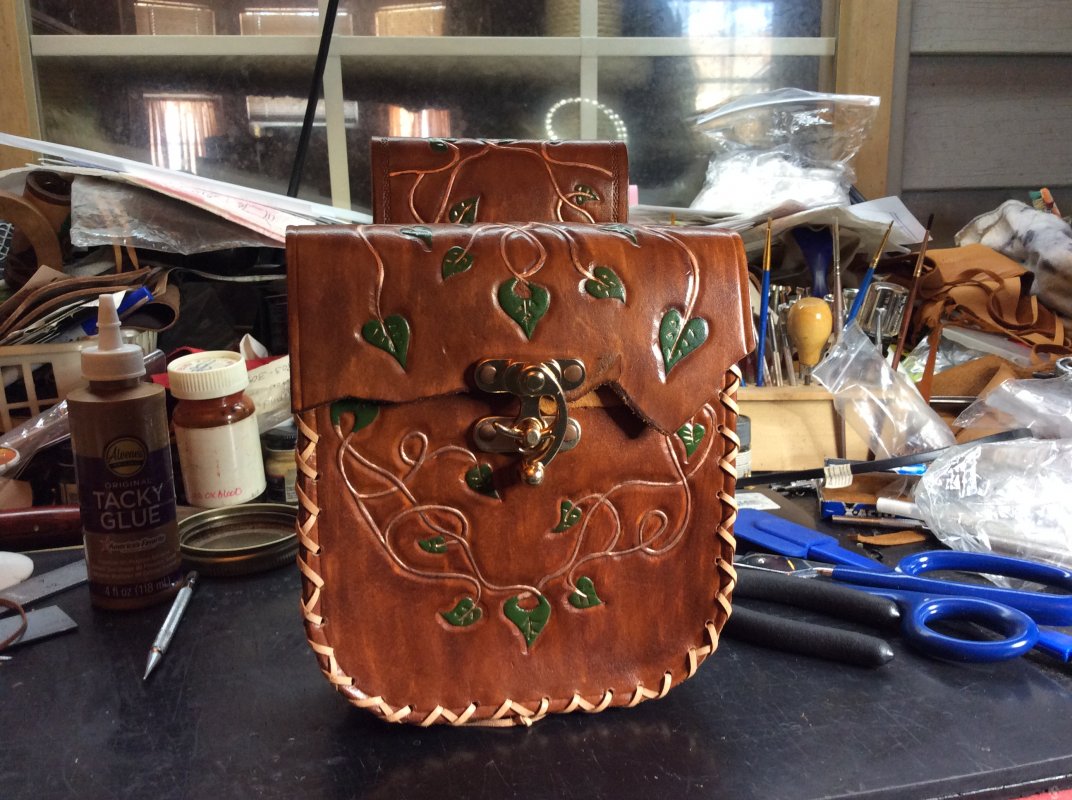
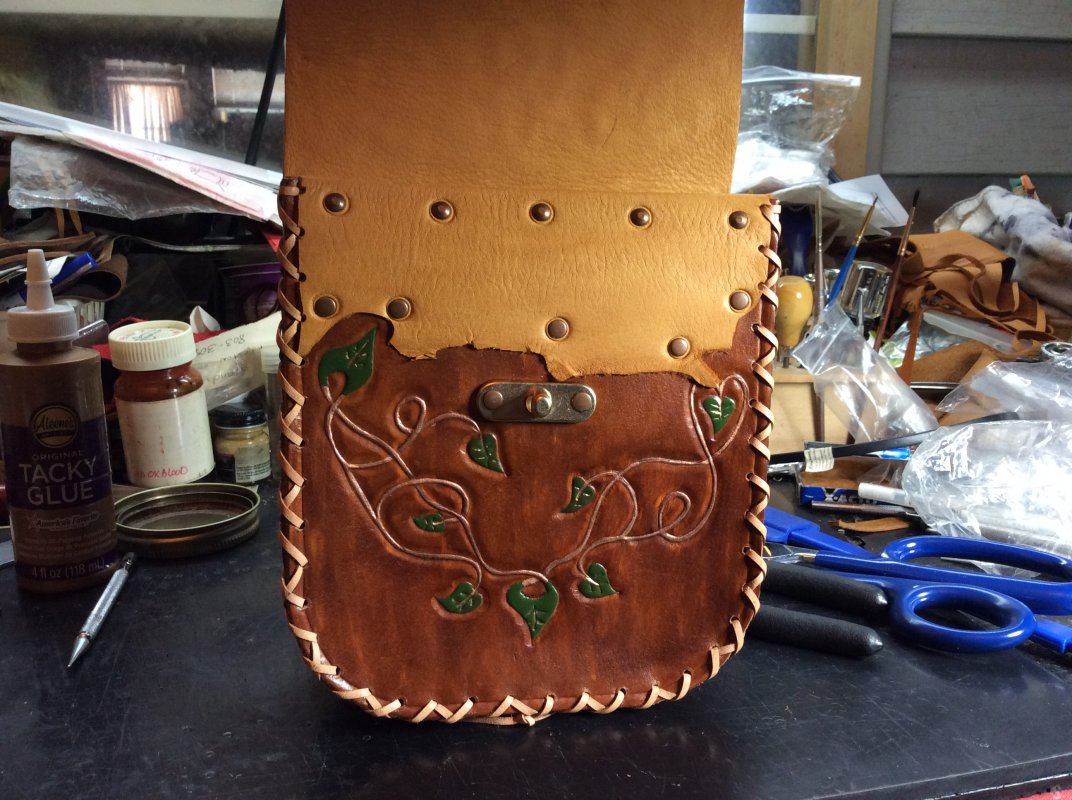
Here's one I made a few weeks back.


Great looking bags, but not the one in question…
I’ll see if I can find the one in the pic and take a couple more pics….
It’s been awhile since I done that one, just remember it came out really small..
But works great with my .36 underhammer!
I’ll see if I can find the one in the pic and take a couple more pics….
It’s been awhile since I done that one, just remember it came out really small..
But works great with my .36 underhammer!
Yea some bags are very small. I guess it all depends on what you need to carry. I have three rifles and two cap and ball pistols, and am getting to put together a couple of .50 cal pistol kits. I’ll have at least one parts bag for each.
Nice looking bag and horn. I have one horn but need to get at least two more and a small flat one for frizzen
Thanks, if you look at the bag I showed and don't include the fancy work and remove the spacer between the front and back it's not dissimilar from the pattern shown by the OP.Nice looking bag and horn. I have one horn but need to get at least two more and a small flat one for frizzen
- Joined
- May 6, 2014
- Messages
- 17,420
- Reaction score
- 16,403
Hi,
This is a flat sewn bag. Sew the back to the front (sew the pocket in first if you chose that option), then put on the inside flap with the outside flap directly over it and stitch them to the rear of the bag across the top. You can see that both flaps have the same shape as the top of the rear portion of the body.
James is correct, this is a flat sewn bag. The illustration below shows T.C. Albert meant the bag it was copied from was sewn this way. (IOW, the bag was not meant to be sewn inside out and turned right side out after it is sewn.) This is the easiest way to sew a bag, though arguably not the best way.

The following illustration Okurok provided from the book, bears out the bag is meant to be flat sewn. See especially on the right side of the illustration that you can clearly see the stitches on the right side of the illustration going up the bag's side. (A bit difficult to see it going up the left side, but it shows it.)

The above illustration also shows a reason why the pattern calls for stitching along the sides and bottom of the flaps. This is meant to show stitching on leather edge banding on the flaps, as you can see on the outer flap.
You can also see the stitching at the top of the flap, that is flat sewn to the back.
Gus
Last edited:
- Joined
- Feb 20, 2013
- Messages
- 665
- Reaction score
- 937

[/QUOTE]

Wow that IS small ! Must be a priming horn, it’s barely bigger than a thumb!
- Joined
- Mar 8, 2020
- Messages
- 86
- Reaction score
- 138
Gus: I, too, thought it was a sewn flat bag until I saw this notation on a photo the OP included:James is correct, this is a flat sewn bag. The illustration below shows T.C. Albert meant the bag it was copied from was sewn this way. (IOW, the bag was not meant to be sewn inside out and turned right side out after it is sewn.)

which seems to indicate that the author, at least, intended that pattern to be turned. He also further re-enforces this with the instructions to cut two of the front and the back.
However If i crop the picture of the bag down, add a few hundred more pixels to it we can clearly see it is probably flat sewn unless their are directions for top stitching it in the pattern.

Leaving me with one of my many confused moments.
Just re-enforces what I have always said about bags: you gotta like it.
Still, I am not one to emulate:
as I, like the hatter, am
Mad Michael.
- Joined
- May 6, 2014
- Messages
- 17,420
- Reaction score
- 16,403
Gus: I, too, thought it was a sewn flat bag until I saw this notation on a photo the OP included:
View attachment 102094
which seems to indicate that the author, at least, intended that pattern to be turned. He also further re-enforces this with the instructions to cut two of the front and the back.
However If i crop the picture of the bag down, add a few hundred more pixels to it we can clearly see it is probably flat sewn unless their are directions for top stitching it in the pattern.
View attachment 102096
Leaving me with one of my many confused moments.
Just re-enforces what I have always said about bags: you gotta like it.
Still, I am not one to emulate:
as I, like the hatter, am
Mad Michael.
Good eyes on seeing the "turned edge" in the instructions. I missed that. However, I agree that's a better way to do it so the stitching is not as exposed. Still as you pointed out as well, we can see the stitches that go up each side in the pic of the example bag.
Gus
MM,
The “ cut two” thru me off when I was making this bag…. Thinking it may have been intended too be a double bag.
But realized that it only meant too cut two pieces of leather ( front & back) from that one pattern piece…

The “ cut two” thru me off when I was making this bag…. Thinking it may have been intended too be a double bag.
But realized that it only meant too cut two pieces of leather ( front & back) from that one pattern piece…
I cut out and sewed the front and back pieces together inside out and turned the bag without thinking. I think the turned edge written on the pattern has to do with a strip of leather that is bent around the edge and sewn on. At least that's what it appears. I have big hands but this bag is real small. I think I'm going to take the advice of cutting out the patterns an inch wider all the way around and sew it flat and see what it does.


I believe that it was meant to be sewn flat. It looks like the edge was rolled under then sewn.
- Joined
- Mar 23, 2021
- Messages
- 2,763
- Reaction score
- 5,895
I cut out and sewed the front and back pieces together inside out and turned the bag without thinking. I think the turned edge written on the pattern has to do with a strip of leather that is bent around the edge and sewn on. At least that's what it appears. I have big hands but this bag is real small. I think I'm going to take the advice of cutting out the patterns an inch wider all the way around and sew it flat and see what it does. View attachment 103578
Don't give up on this bag, Check out Madison Grants book, The Kentucky Rifle Hunting Pouch and you will see all sizes and shapes.
If it is to small for an over the shoulder bag, cut off one side of the upper part and put a couple cuts in the back and make a belt bag out of it.
With that much sewing you have already done a lot of the hard part.
Crow-Feather
32 Cal.
I think at track of the bear there is a book that was sold in the 1810's titled, "How to make a leather possible bag". It's probably the one that most fur trappers used when they needed a new bag.I'm trying to build a shooting bag from T.C. Alberts "Recreating the 18th Century Hunting Pouch" book. Specifically the Tennessee Rifle Bag. I'm experiencing a bit of confusion on how it stitches together. I'm including a picture of the patterns. For some reason it's not clear to me how the inside flap is supposed to go. Does it stitch to the back body as a reinforcement? Are the dashes stitching marks? Then whys is it just on the bottom edges of the front flap but not on top. I assumed by the picture of the finished bag in the book that that probably represents the leather stitched around the edge to finish it. Maybe someone can enlighten me.
View attachment 101675
Similar threads
- Locked
- Replies
- 13
- Views
- 1K
- Replies
- 8
- Views
- 999
- Locked
- Replies
- 19
- Views
- 2K
- Replies
- 7
- Views
- 665


